
Setting Up the SDK
Follow our setup guide to integrate the Reteno React Native SDK with your app.
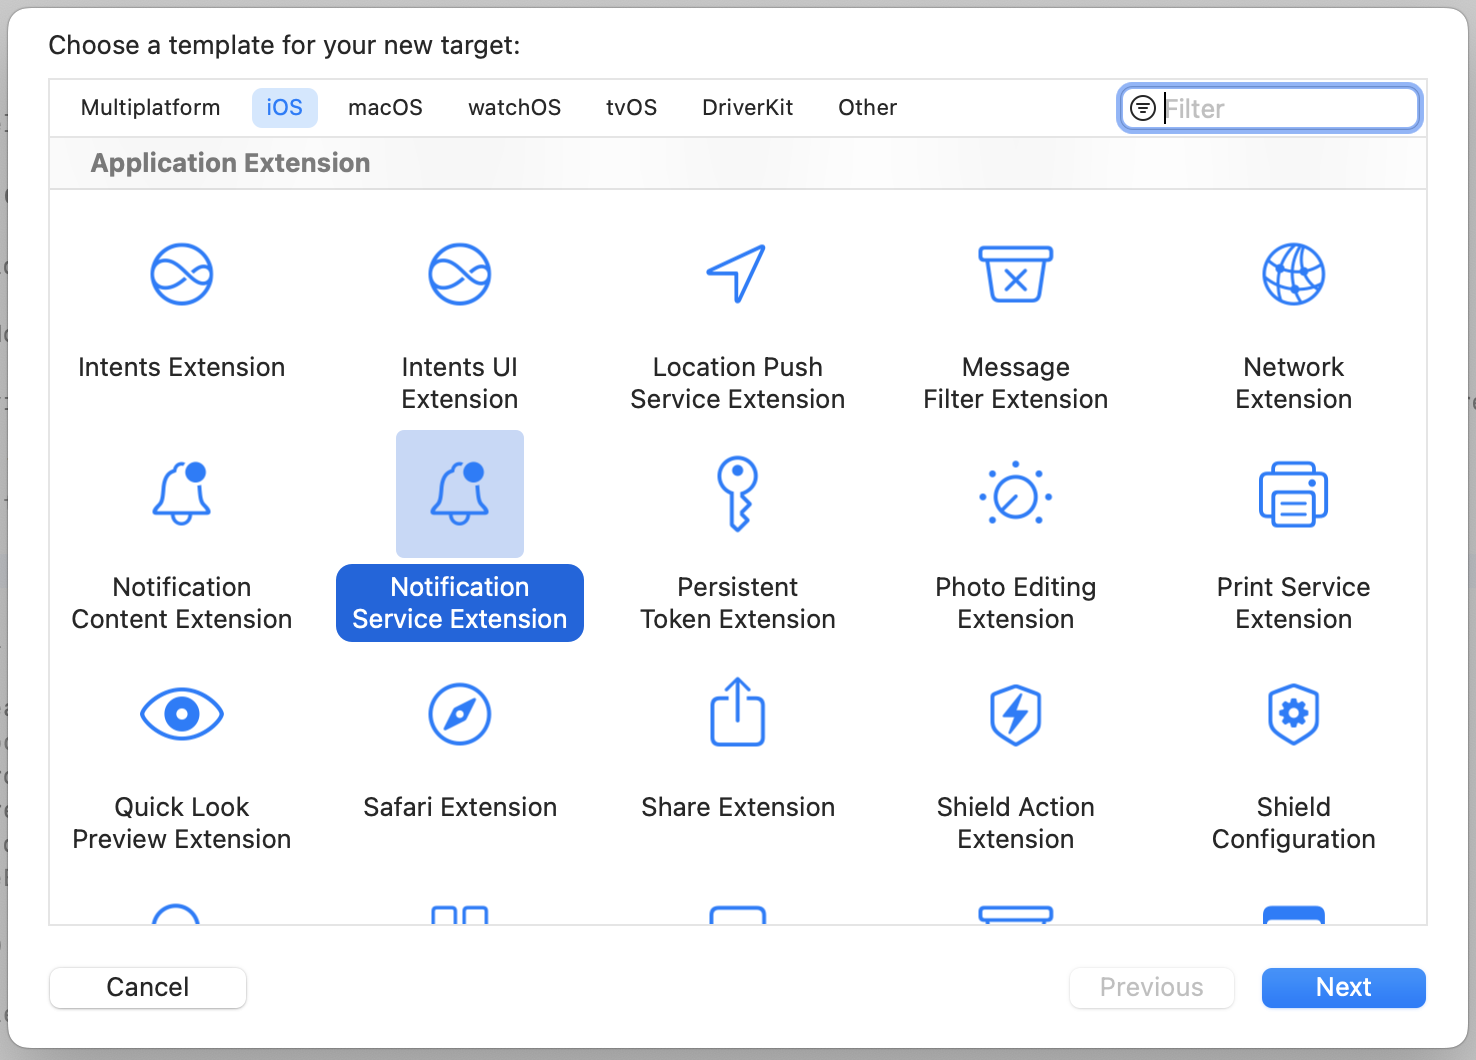
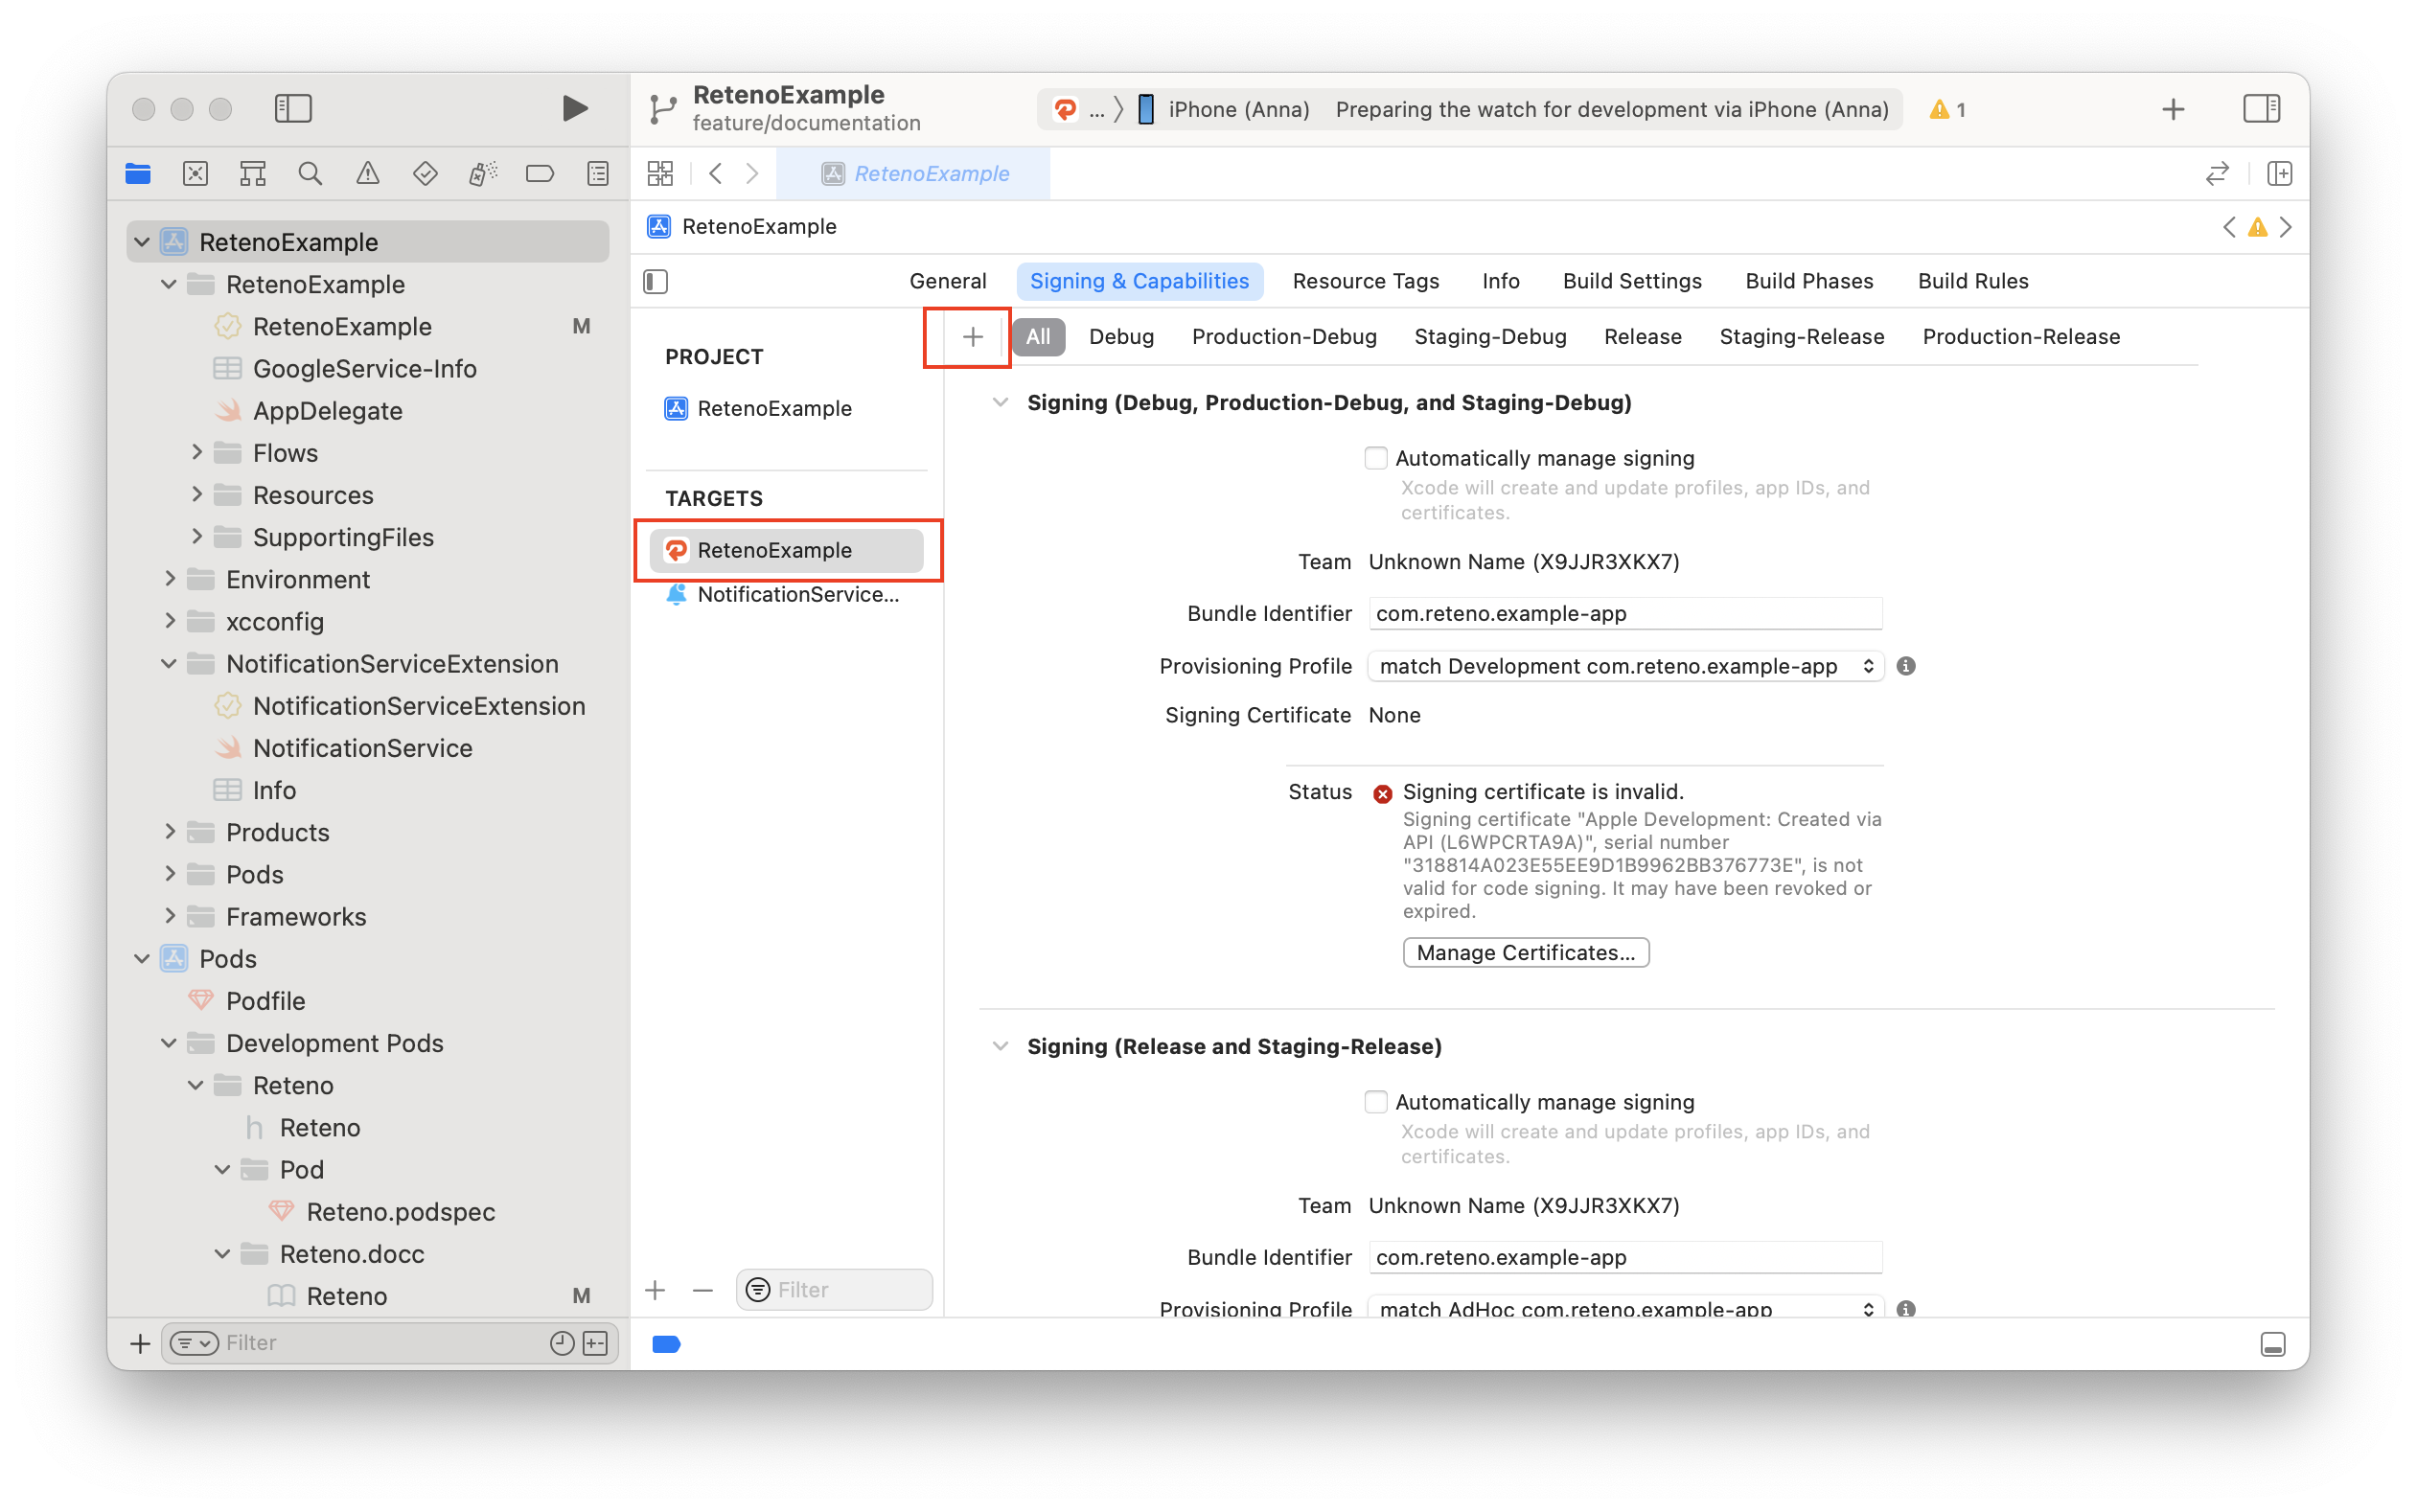
Step 1: Add a Notification Service Extension
The NotificationServiceExtension allows your iOS application to receive rich notifications with images. It's also required for Reteno's analytics features.
1.1 In Xcode Select File → New → Target...
1.2 Select Notification Service Extension then press Next.
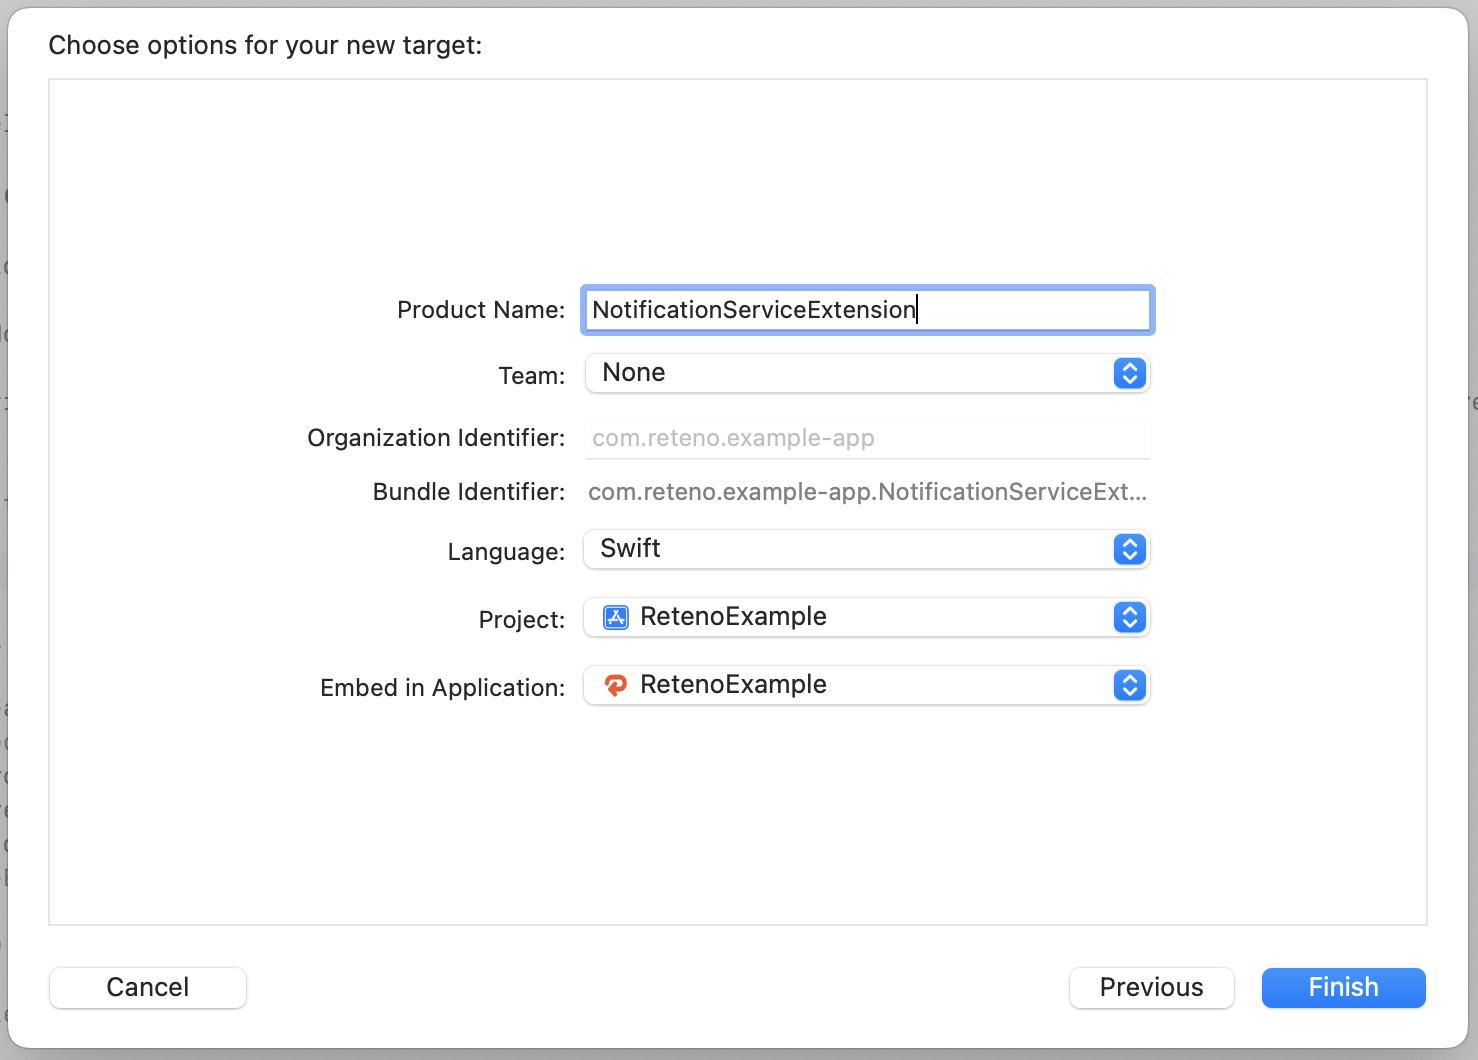
1.3 Enter the product name as NotificationServiceExtension and press Finish.
NoteDo not select
Activateon the dialog that is shown after selectingFinish.
1.4 Press Cancel on the Activate scheme prompt.
By canceling, you keep Xcode debugging your app instead of the extension you’ve just created.
If you activate the prompt by accident, you can switch back to debugging your app in Xcode (next to the Play button).
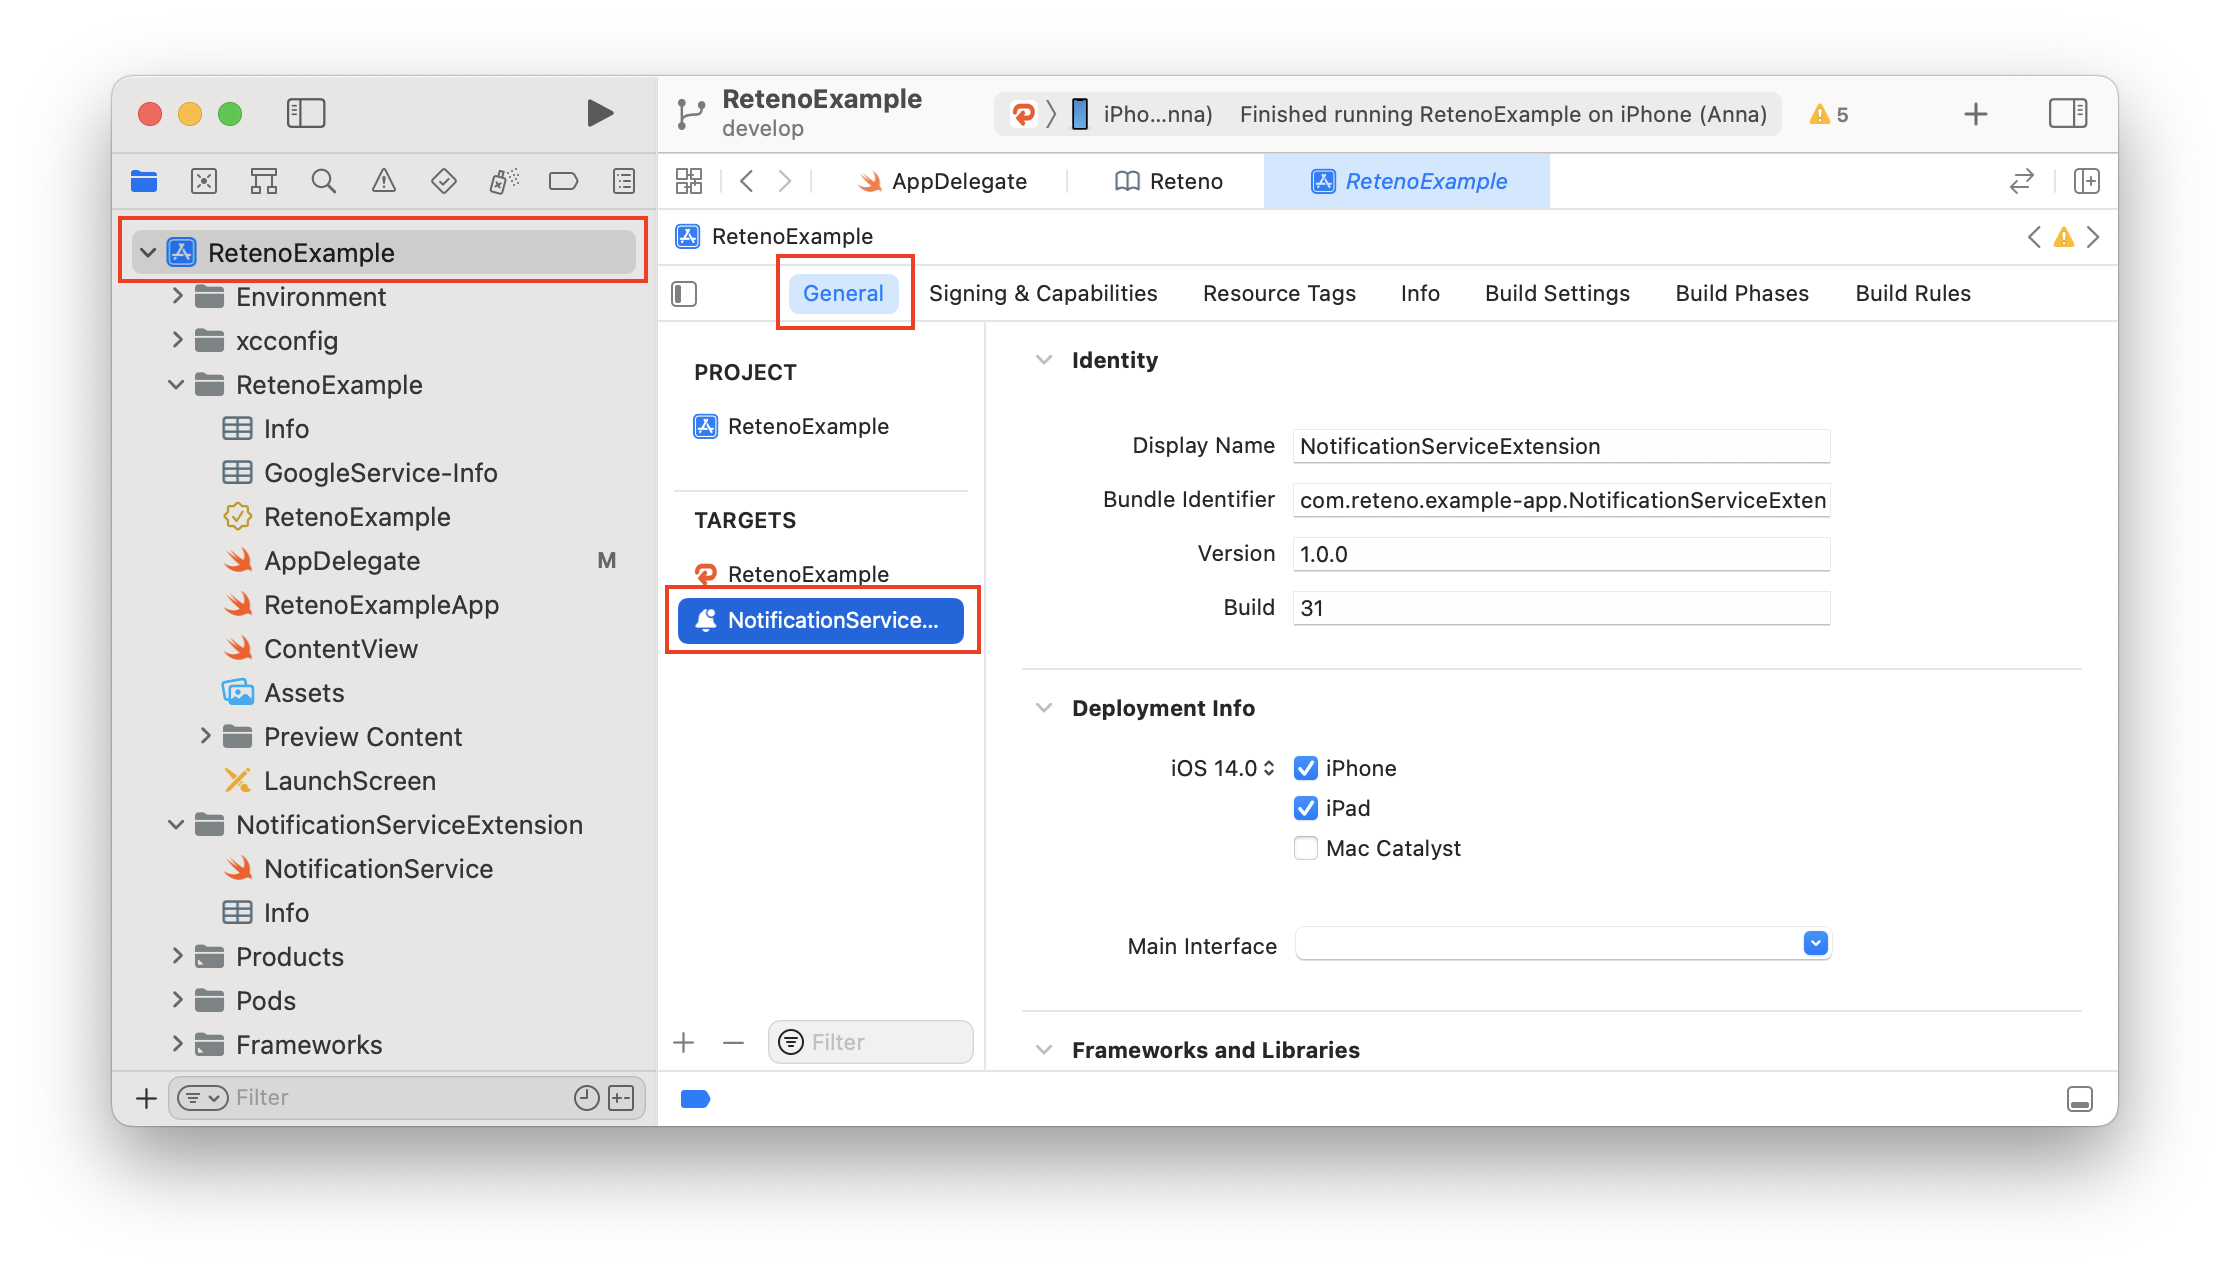
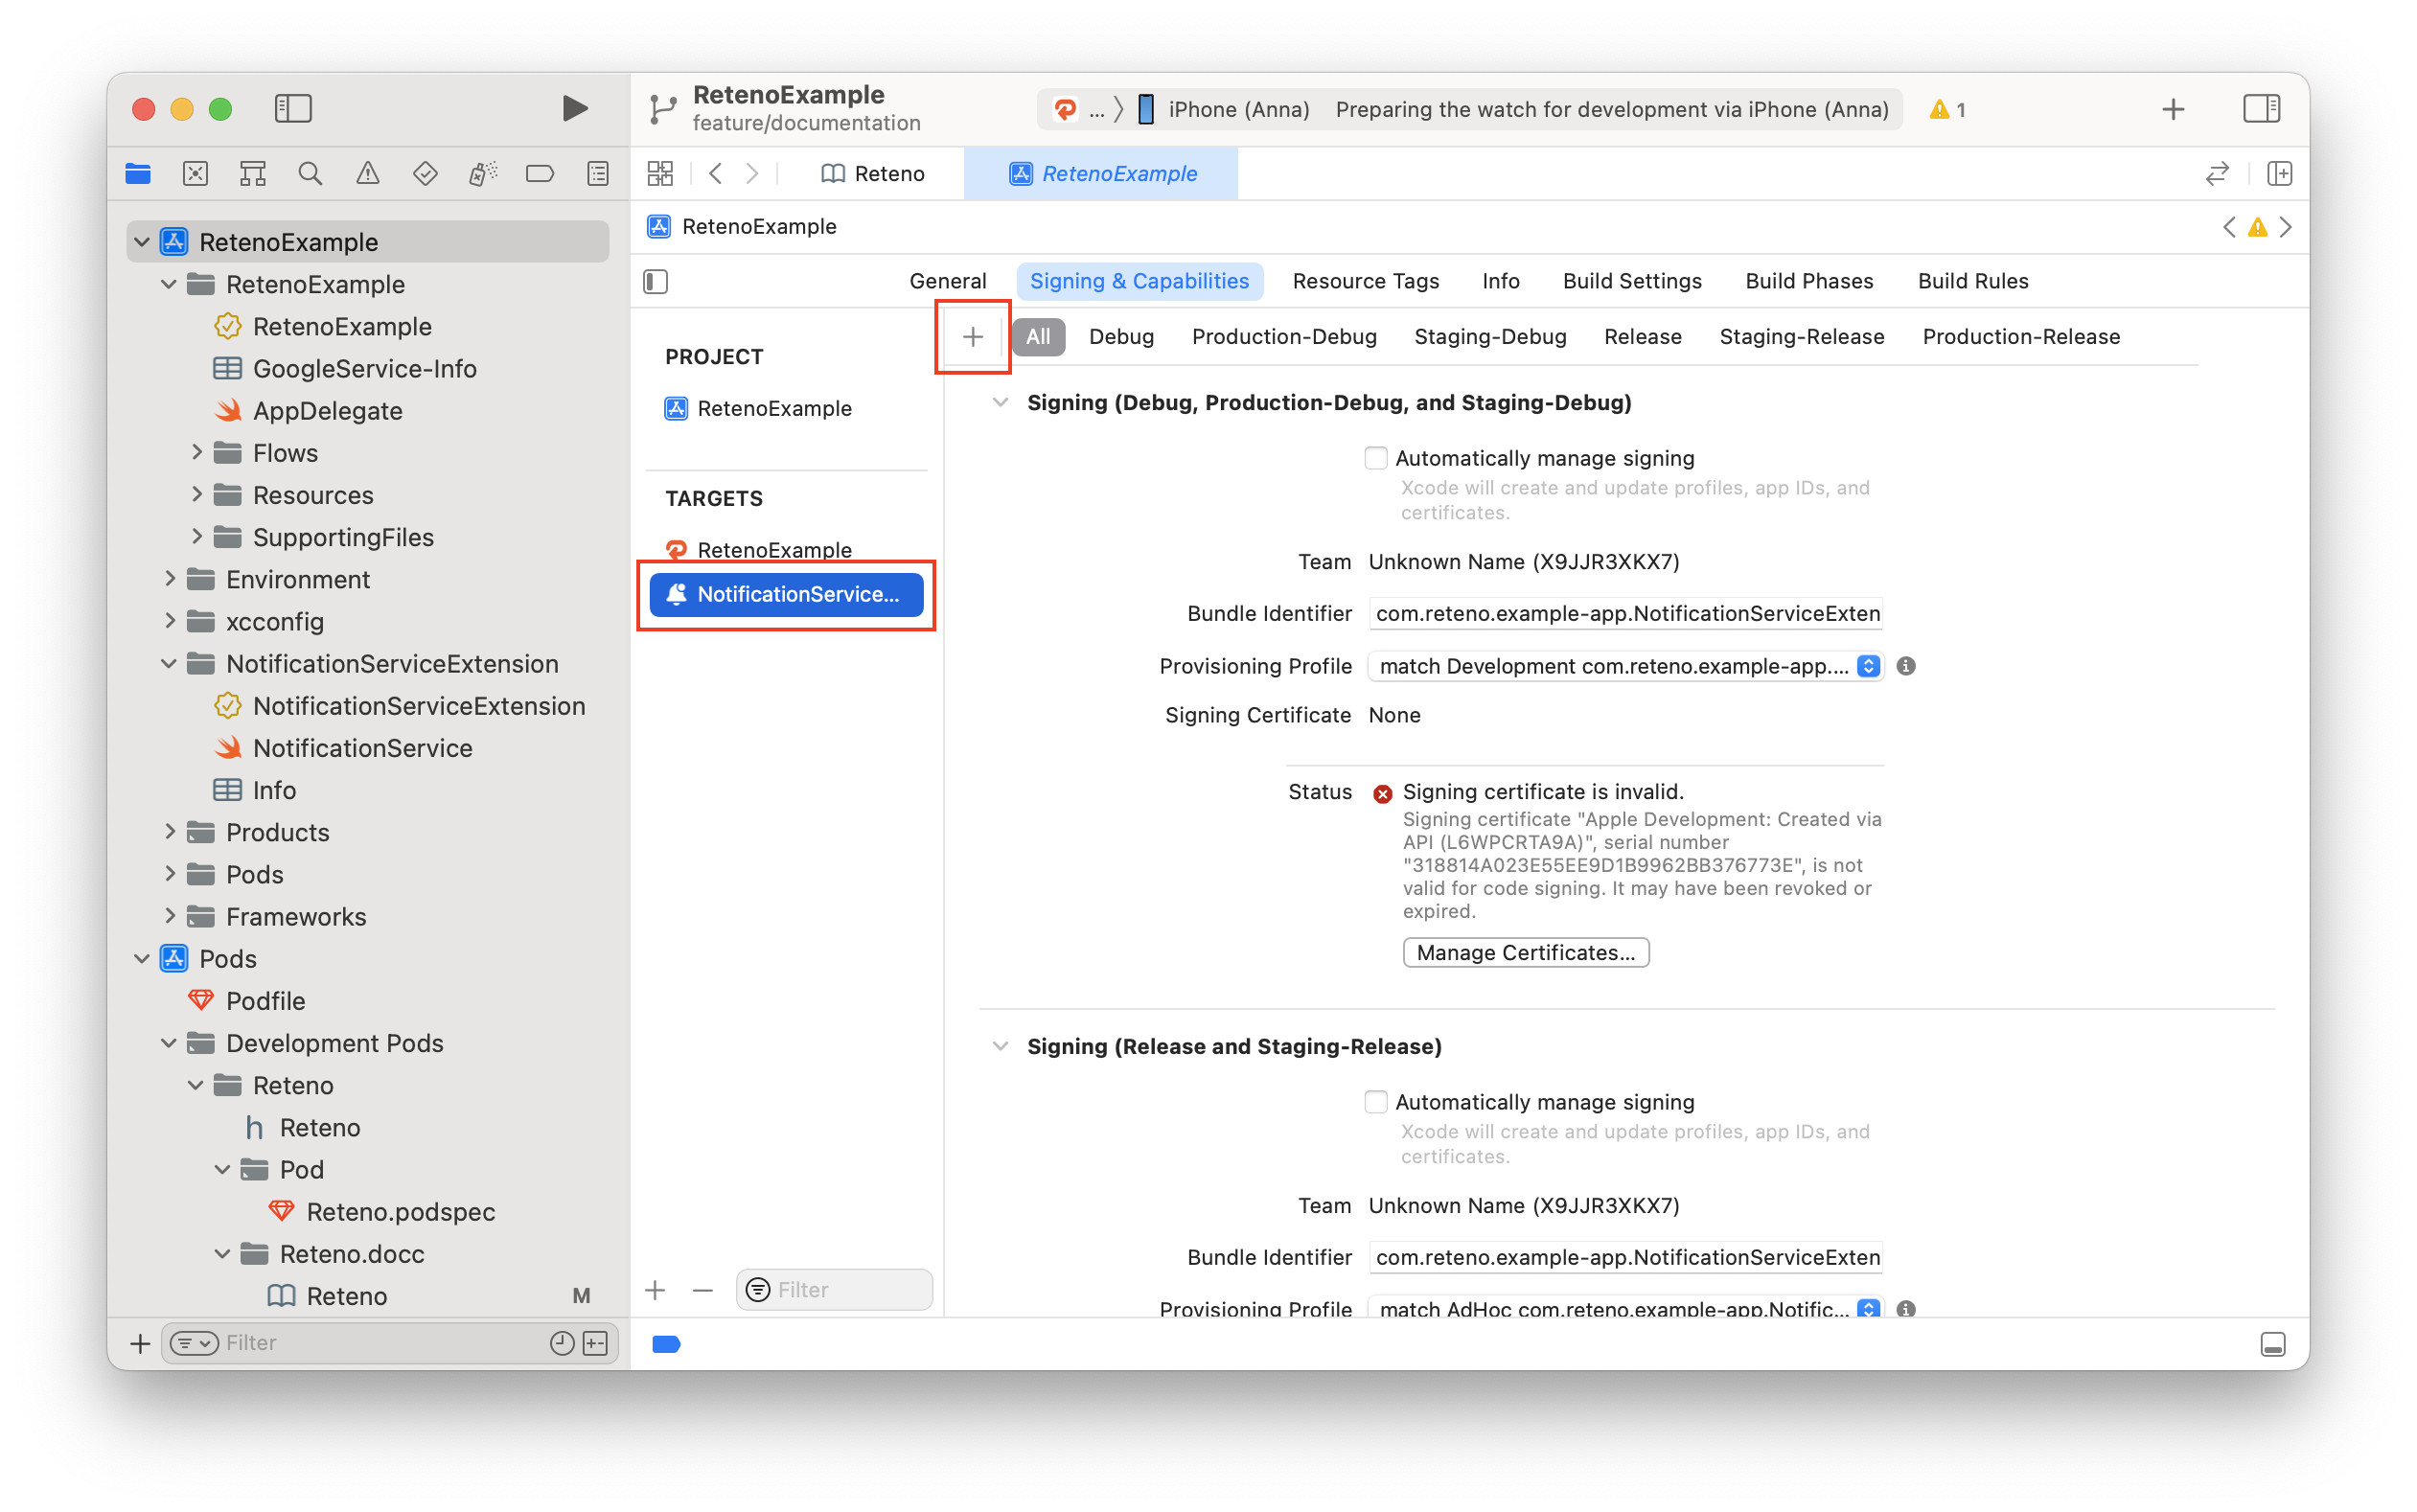
1.5 In the project navigator, select the project directory and select the NotificationServiceExtension target in the targets list.
Check that the Deployment Target is set to the same value as your Main Application Target.
NoteiOS versions under 10 will not be able to get Rich Media.
1.6 In the project navigator, select the NotificationServiceExtension folder and open the NotificationService.swift, then replace the entire file contents with the following code. Ignore any build errors at this point. We will import the Reteno module, which will resolve any errors.
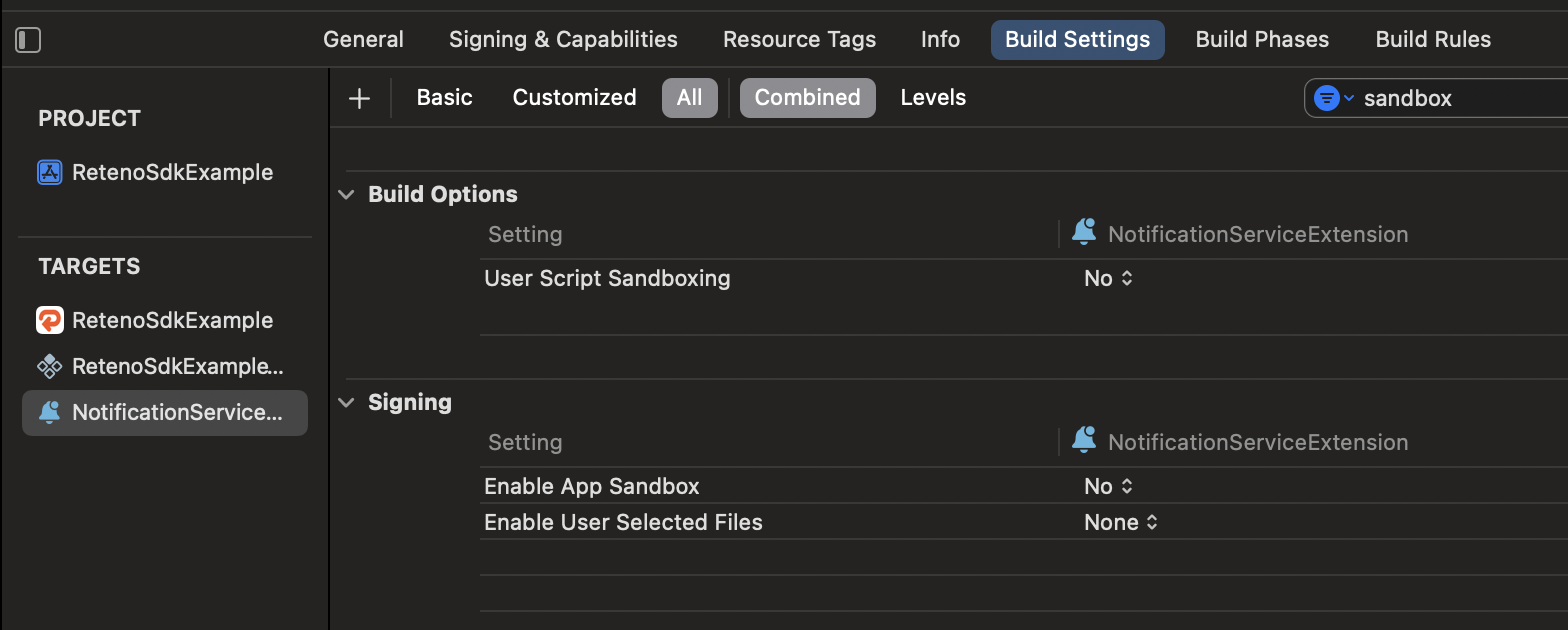
Note After adding NotificationServiceExtension you have to make sure that sandbox is off (like on screenshot below), because it can cause an error.
import UserNotifications
import Reteno

class NotificationService: RetenoNotificationServiceExtension {}
More about Notification Service Extension Modifying Content in Newly Delivered Notifications
Step 2: Install the SDK
2.1 Modify your Podfile to contain next dependencies:
target 'NotificationServiceExtension' do
  pod 'Reteno'
end

target 'RetenoSdkExample' do
  ...
  pod 'Reteno'
end
2.1.1 OPTIONAL IF YOU USE SENTRY-REACT-NATIVE SEPARATELY:
If you have previously used Sentry and had a workaround for Sentry pod, we no longer have Sentry as a dependency because it lead to a version missmatch related to pod installation issues, and starting from reteno-react-native-sdk 1.4.1, we have removed Sentry completely, so you can remove unnecessary pod from your Podfile, you can refer to our example project Podfile.
target 'NotificationServiceExtension' do
  pod 'Reteno'
end

target 'RetenoSdkExample' do
  ...
  pod 'Reteno'
end
2.2 Open the <project-name>.xcworkspace file.
Step 3: Install reteno-react-native-sdk
npm install reteno-react-native-sdk- Don't forget about pods (in iOS folder)
cd ios && pod installStep 4: Initialize SDK in React Native code
To setup SDK you need an SDK_ACCESS_KEY, visit Managing Mobile SDK Access Keys to get it.
Starting from reteno-react-native-sdk v2.0.0, iOS SDK initialization is performed from JavaScript via initialize(...).
Call initialization once in your root component:
import { useEffect } from "react";
import {
  initialize,
  initializeEventHandler,
  registerForRemoteNotifications,
} from "reteno-react-native-sdk";

useEffect(() => {
  const bootstrap = async () => {
    await initialize({
      apiKey: "YOUR_SDK_ACCESS_KEY",
      isDebugMode: false,
      pauseInAppMessages: false,
      sessionDurationSeconds: 900,
      lifecycleTrackingOptions: {
        appLifecycleEnabled: true,
        foregroundLifecycleEnabled: false,
        pushSubscriptionEnabled: true,
        sessionStartEventsEnabled: true,
        sessionEndEventsEnabled: false,
      },
    });

    initializeEventHandler();
    await registerForRemoteNotifications();
  };

  bootstrap();
}, []);
If your app uses @react-native-firebase/messaging, add iosDeviceTokenHandlingMode: "manual" to the initialize options:
await initialize({
  apiKey: "YOUR_SDK_ACCESS_KEY",
  iosDeviceTokenHandlingMode: "manual",
  // ...other options
});
In this mode SDK bridges FCM token to Reteno automatically.
Optional cold-start optimization for push-triggered in-apps: call RetenoSdk.delayedStart() in AppDelegate before React Native bootstraps.
import reteno_react_native_sdk

func application(
  _ application: UIApplication,
  didFinishLaunchingWithOptions launchOptions: [UIApplication.LaunchOptionsKey: Any]?
) -> Bool {
  RetenoSdk.delayedStart()
  return true
}
Step 5: Add App Groups
5.1 In your Main app target got to "Signing & Capabilities" > "All"
5.2 Click "+ Capability" if you do not have App Groups in your app yet.
5.3 Select App Groups.
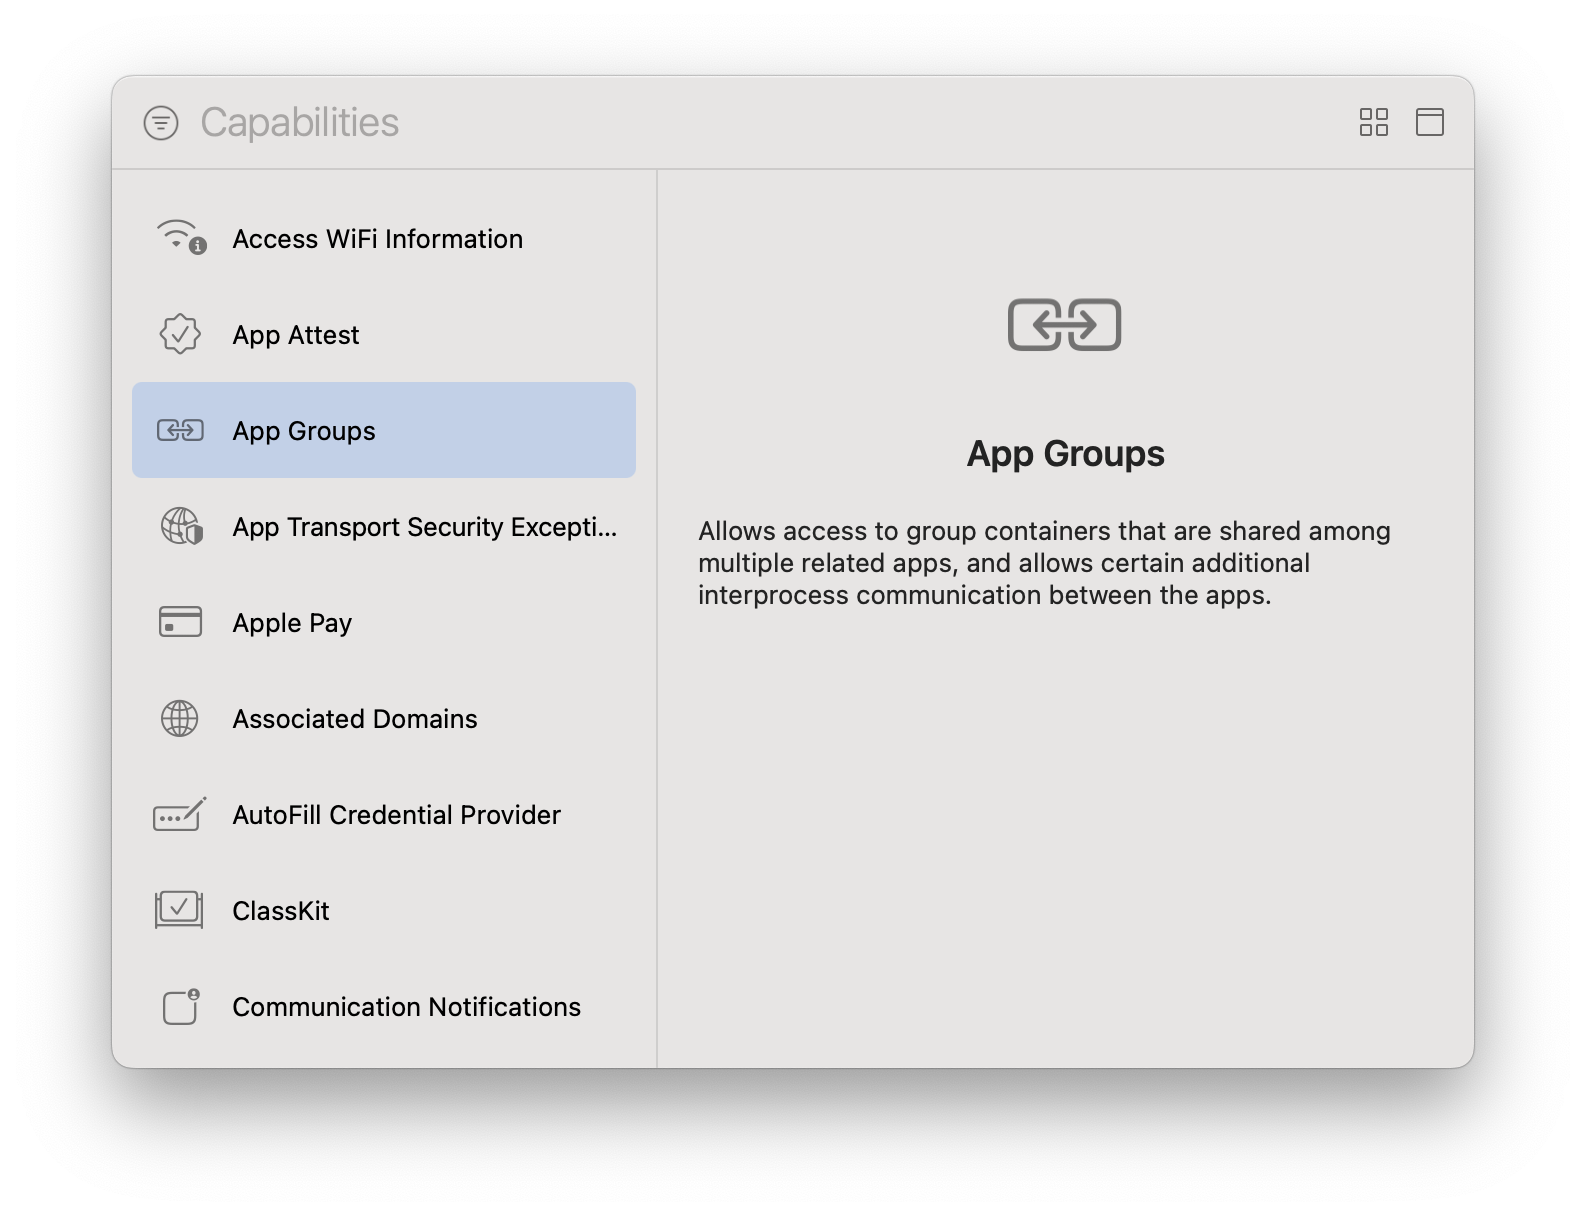
5.4 Under App Groups click the + button.
5.5 Fill the App Groups container as group.{bundle_id}.reteno-local-storage where bundle_id is the same as Bundle Identifier off your app (in the main target) and press OK.
5.6 In the NotificationServiceExtension target and repeat steps 4.2 - 4.5 for extension target.
Note that group name structure should be group.{bundle_id}.reteno-local-storage where bundle_id is the same as your Main App target "Bundle Identifier". Do Not Include NotificationServiceExtension.
For more information visit Configuring App Groups
Step 6: Add Push Notification capability to your main app target (not NotificationServiceExtension!)
Push Notification capability to your main app target (not NotificationServiceExtension!)Step 7: Device token handling in v2.0.0
In v2.0.0 token handling is configured in initialize(...):
iosDeviceTokenHandlingMode: "automatic" (default): use APNs token flow (no Firebase).
iosDeviceTokenHandlingMode: "manual": required for@react-native-firebase/messaging; SDK auto-bridges FCM token at runtime.
If you need fully manual token forwarding, call:
import { setDeviceToken } from "reteno-react-native-sdk";

await setDeviceToken(token);
Step 8: Run your App and send yourself a notification
Run your app on a physical iOS device or ios simulator to make sure it builds correctly. You should be prompted to subscribe to push notifications.