
Converting PSD File to HTML Email Template
Use a PSD template to create a technical specification for an HTML developer. Photoshop provides all required data: element sizes and colors, font names, and layers with different email components. The developer uses this layout to build an email in HTML format.
The quality of the PSD-to-HTML conversion affects how the email is displayed on laptops, tablets, and mobile devices. This step-by-step guide explains how to convert the template correctly.
Advantages of HTML Template Over Email as an Image
First, understand why you should prepare emails in HTML format.
- Correct email rendering. There are over 50 email clients, so your campaign must display correctly in each of them. HTML supports most email client features. In addition, contacts may have issues downloading images—for example, when using a weak internet connection. Some email clients also block images by default.
- Blocking image-only emails. Many spam filters block messages that consist only of images.
- Responsive design. Many contacts read emails on mobile devices. HTML allows you to create emails that are easy to read on screens of any size.
- Detailed performance analysis. When emails contain text and buttons instead of images only, you can track campaign performance by measuring clicks on individual links.
- Enhanced personalization. Personalized emails engage contacts more effectively. HTML emails support variables and dynamic content, which is not possible with image-only emails.
Basic Requirements for an Email Layout in PSD Format
Start by creating a properly structured Photoshop email template.
- Limit the email width to 600 pixels. This width applies to the content area of the email. Use a background to fill empty space on wide screens.
- Create the template using a table-based layout. Email clients do not follow unified standards for rendering HTML emails. Contacts may open emails in clients or browsers that do not support modern HTML and CSS. A table-based layout ensures consistent rendering across all platforms.
- Use standard fonts in the layout. Email clients support a limited set of fonts. Use the following fonts.
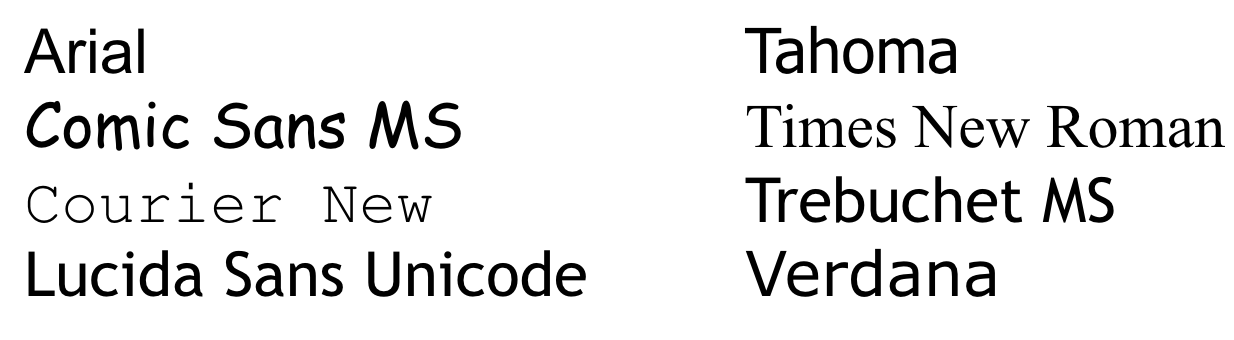
Divide text into meaningful paragraphs. Use different font sizes, headings, and subheadings to structure the content.
- Balance text and images. Image loading may be blocked in email clients for various reasons. In this case, contacts see only the text content. Do not create image-only emails. Add text and buttons instead. Aim for a text-to-image ratio of 50:50 or 60:40.
Adaptation of the PSD Template for Email Campaign
Learn how to properly convert a PSD file into an HTML email template.
Layout characteristics
The template meets the following requirements:
- the content width is 600 px;
- standard Arial font is used;
- images and text are placed on separate layers.
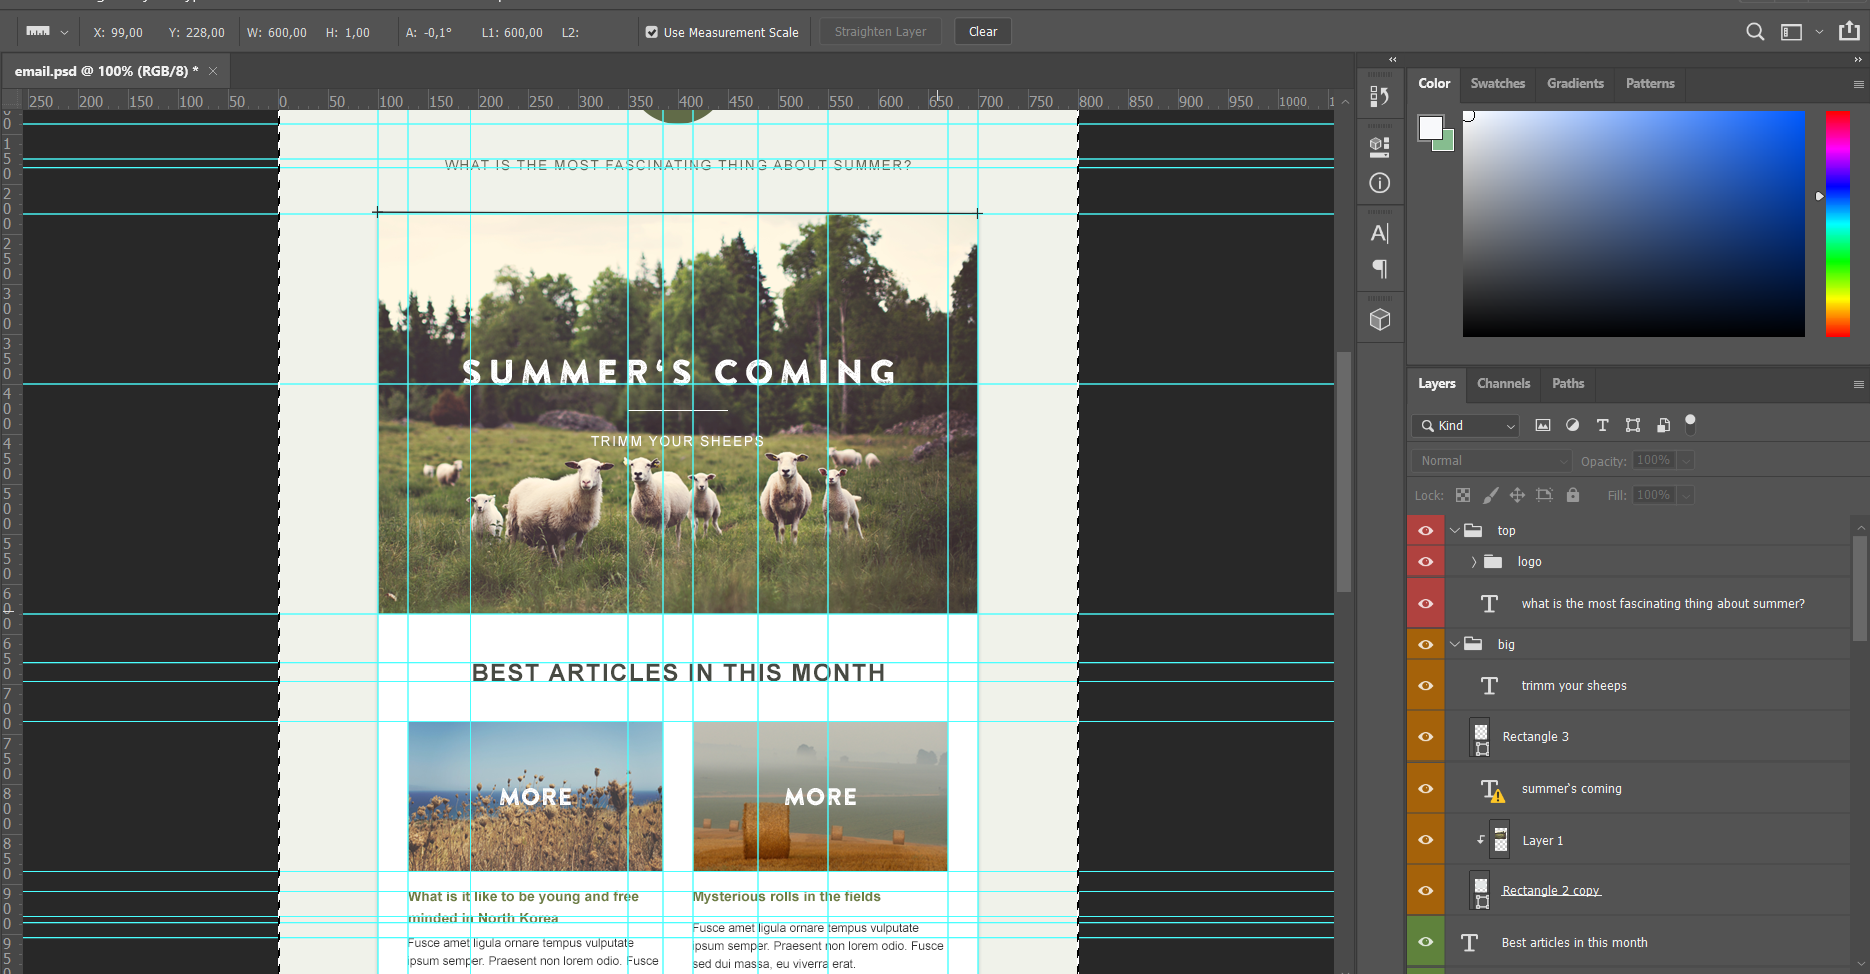
The standard layout consists of the following sections:
- Header
- Content
- Footer

You can view information about individual layout objects by using the Move Tool with the Auto-Select option enabled.
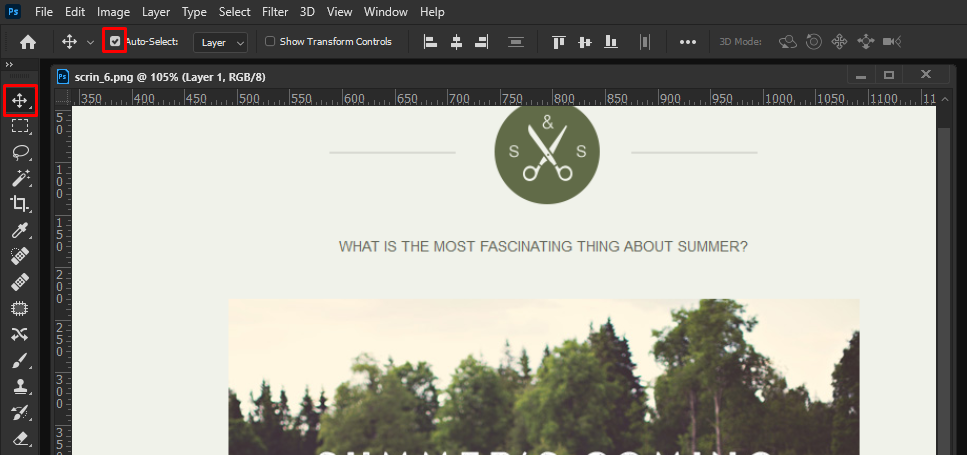
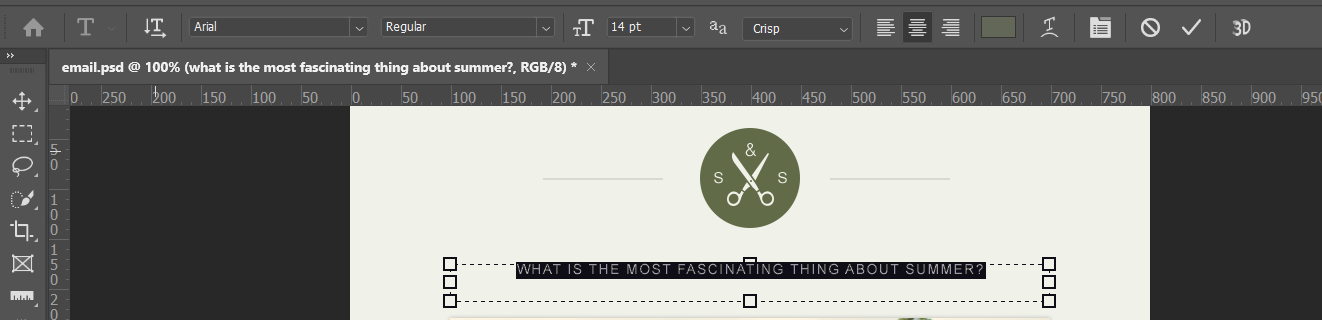
Click any layout element to select it in the layers panel. You can use auto-selection to get font information.
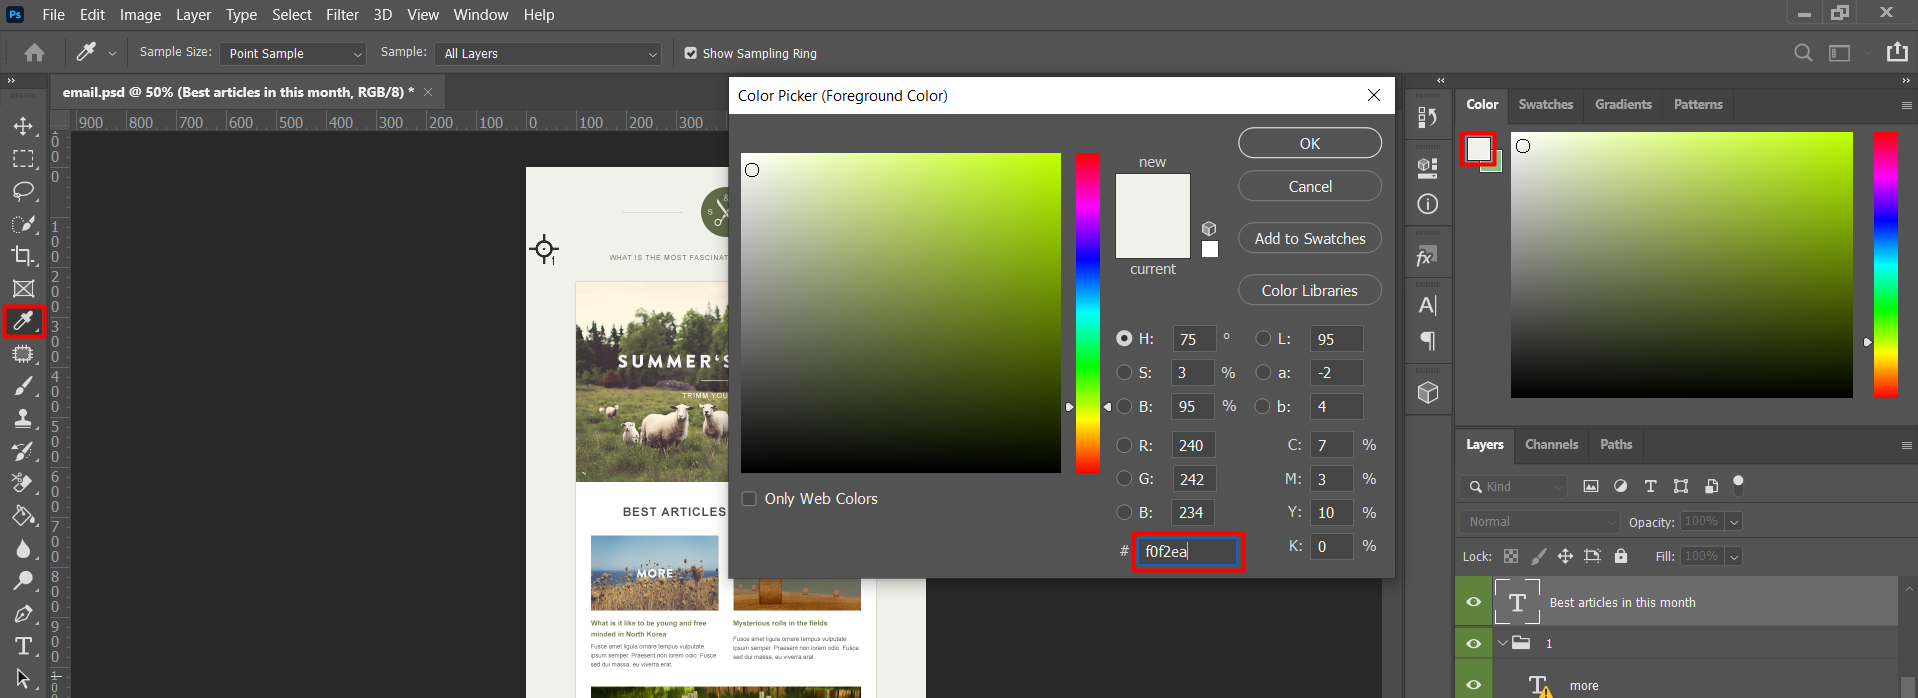
You can view the color value in the Color Picker window.

Find the color of other elements by using the Eyedropper tool.
Use the Ruler tool to define padding between layout elements.
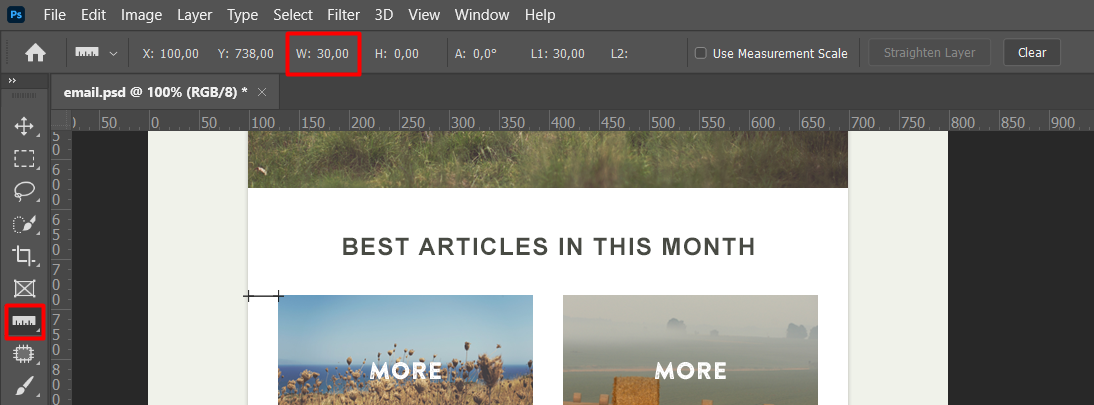
So, the layout has the following parameters:
- the text font is Arial;
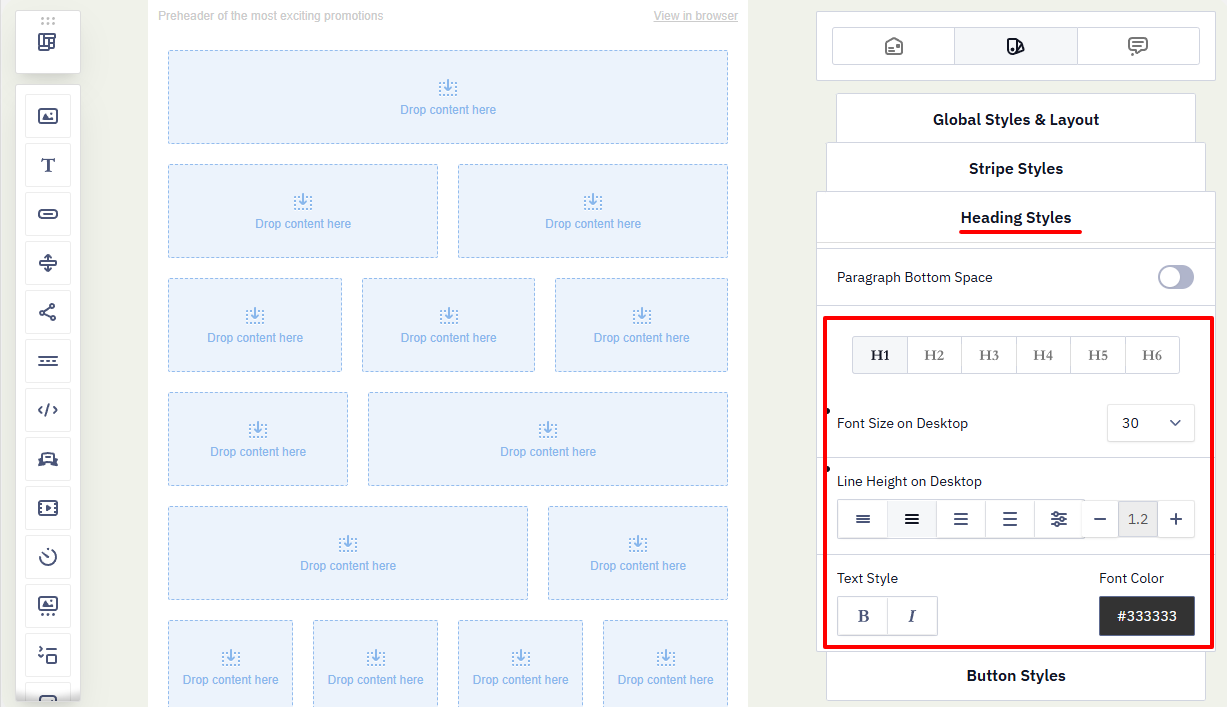
- the font size for the text is 14 px, for the heading it is 24 px;
- the color of the heading is
#484a43; - the background color of the header and the whole email:
#f0f2ea; - content font color is
#333333; - links color is
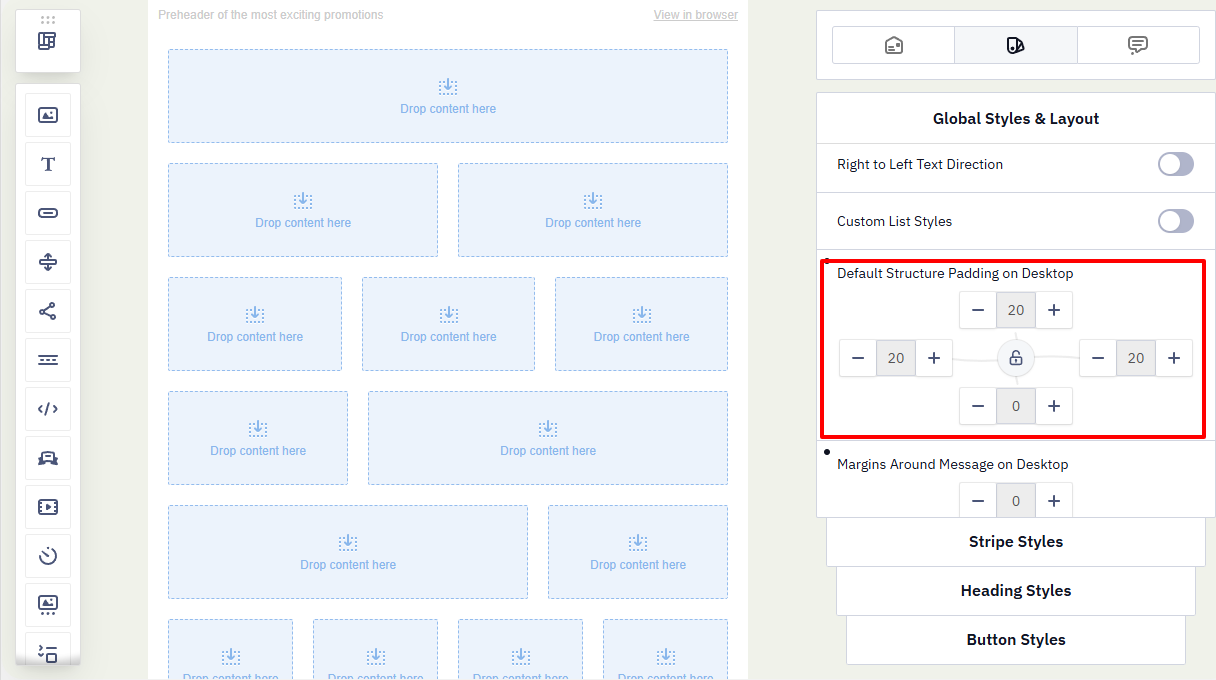
#6d7e44; - the padding from the edge of the email to the content part is 30 px.
The Image Set feature saves multiple images from a template at once. Find a detailed description in the Photoshop User Guide.
Once you have the basic data from the layout, proceed to forming the HTML template for the campaign in Reteno’s editor.
Transfer layout to the editor
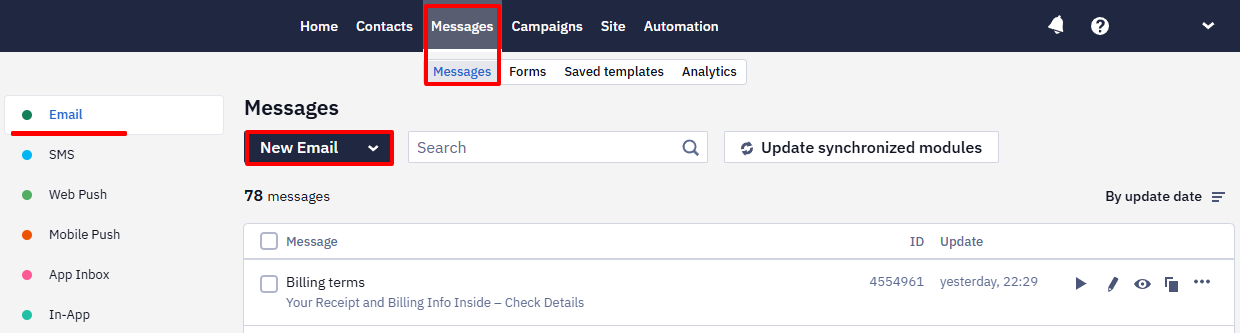
- Go to Messages → Messages → Email and click New Email.
- Open the Gallery tab and select Empty from the Lifecycle emails templates. It contains various empty structures to fill with content, copy, or delete as needed.
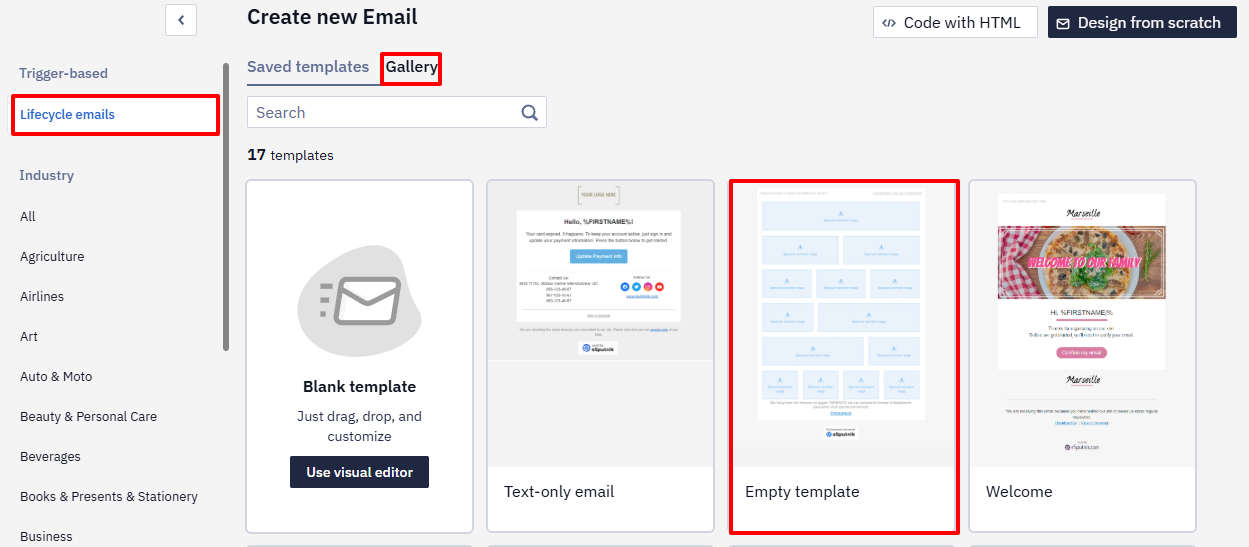
Use any other template similar to your PSD layout to reduce email creation time.
Design creation
Start by configuring the General Styles panel.
- Go to the Global Styles & Layout tab and specify these parameters according to the
PSDlayout:
- General Background Color
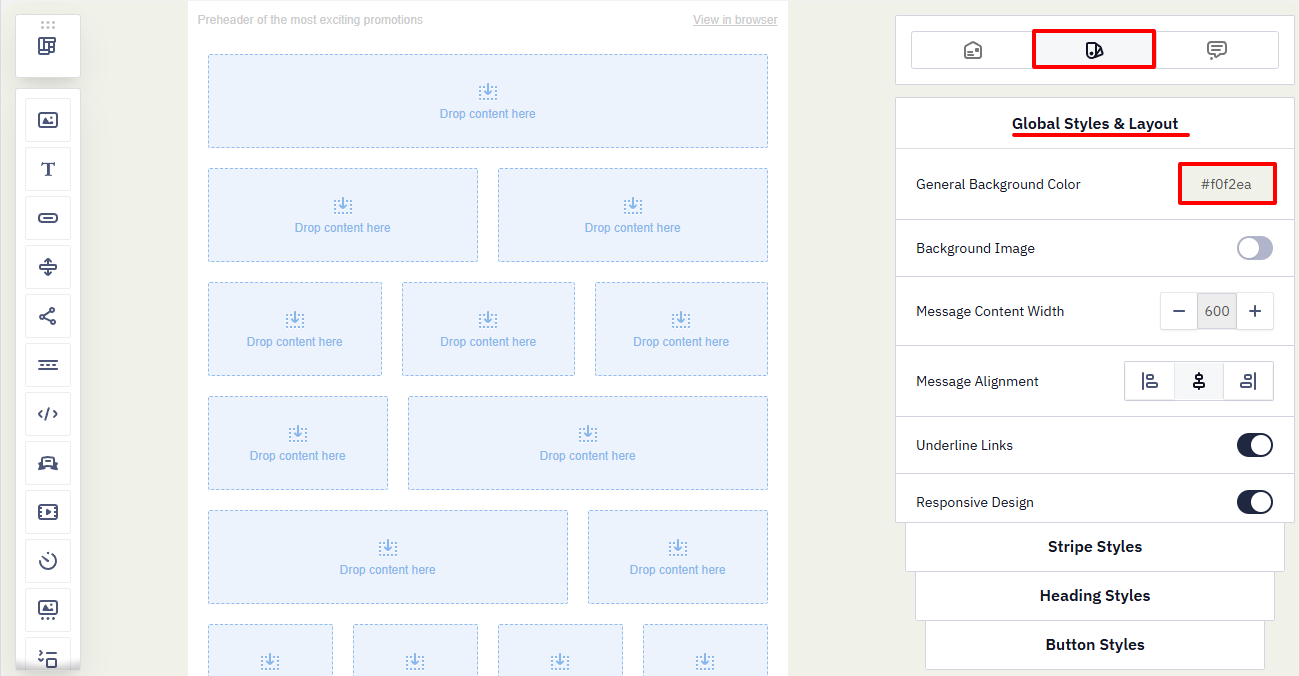
- Default Structure Padding on Desktop
- In Heading Styles, specify the font parameters for each heading type in your email.
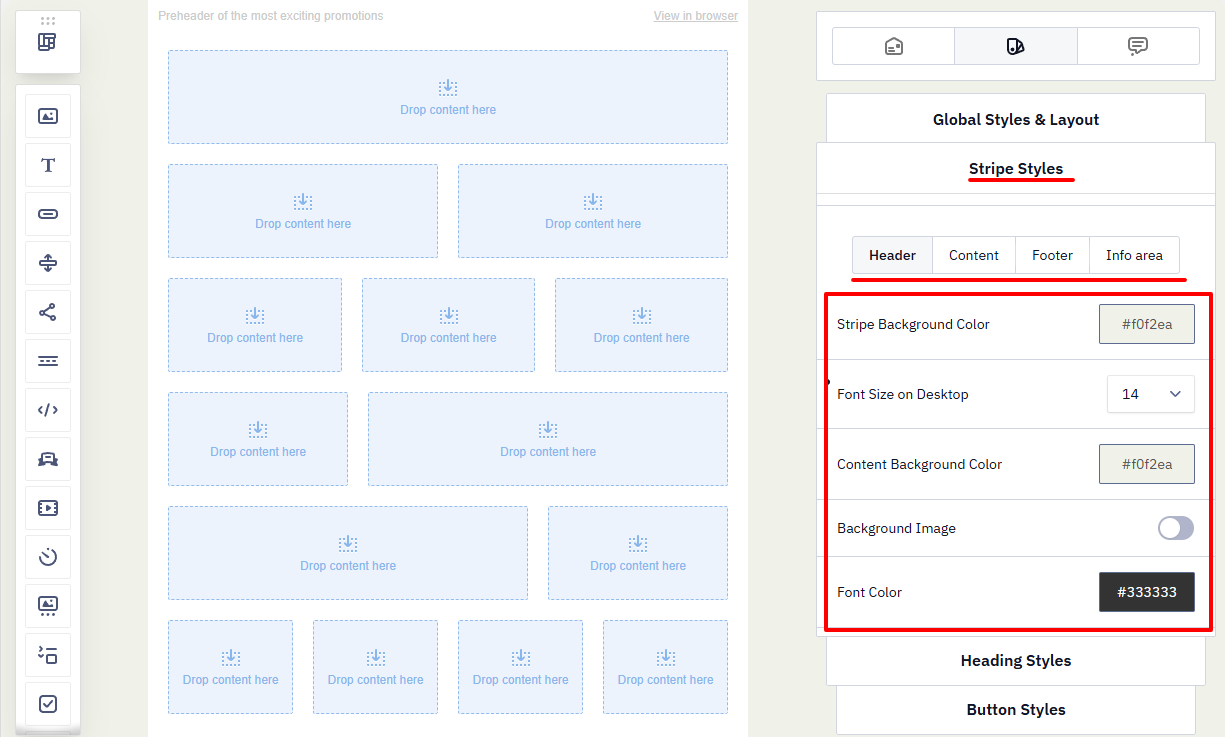
- In the Stripe Styles tab, specify the type, size, and color for each corresponding email part:
- Header
- Content
- Footer
- Configure the mobile version of your email. Specify font sizes for header, content, and footer sections.

ImportantDon't make your content or footer background transparent—some devices may display it in white instead of the background color.
You can adjust your email display on mobile devices directly during the email creation process.
All information you add to General Styles displays in the CSS section of your email code:
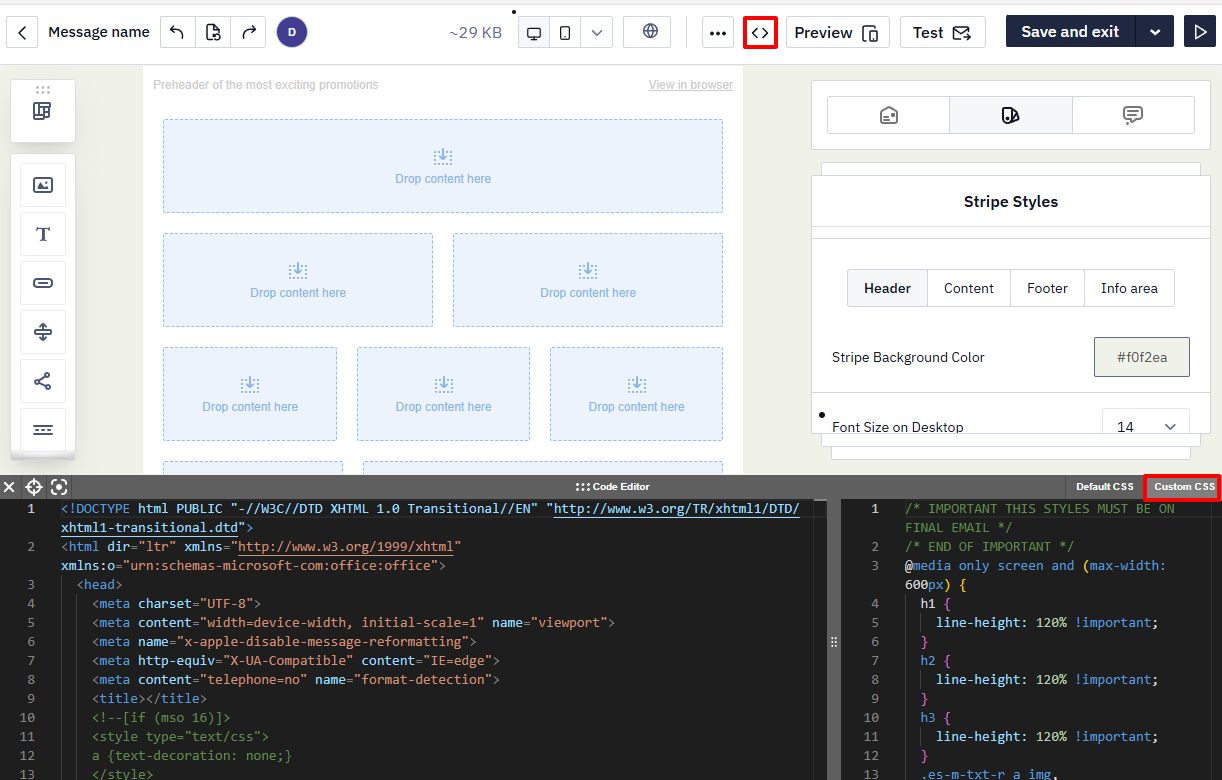
After you fill in all the information in the Global Styles & Layout panel, go to the Stripe settings.
Creating the content part of the email
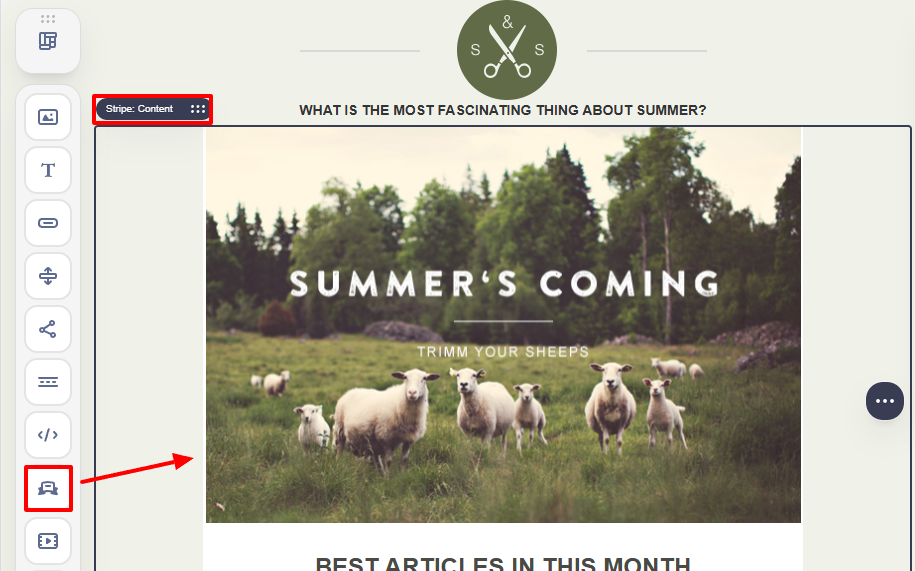
Your emails in the editor consist of strips, structures, and containers. Set the appropriate stripe type for your design style to apply correctly:
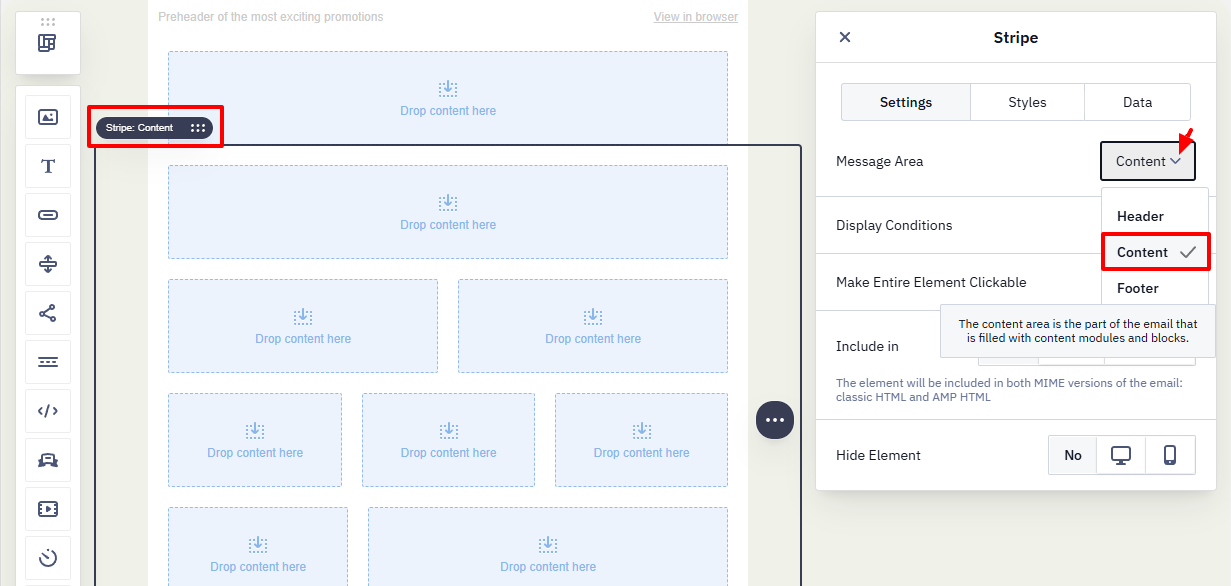
ImportantThe number of stripes increases your email code weight, affecting display (for example, in Gmail). Use only necessary strips — separate the header, content, and footer, but avoid separating the content part into multiple strips.
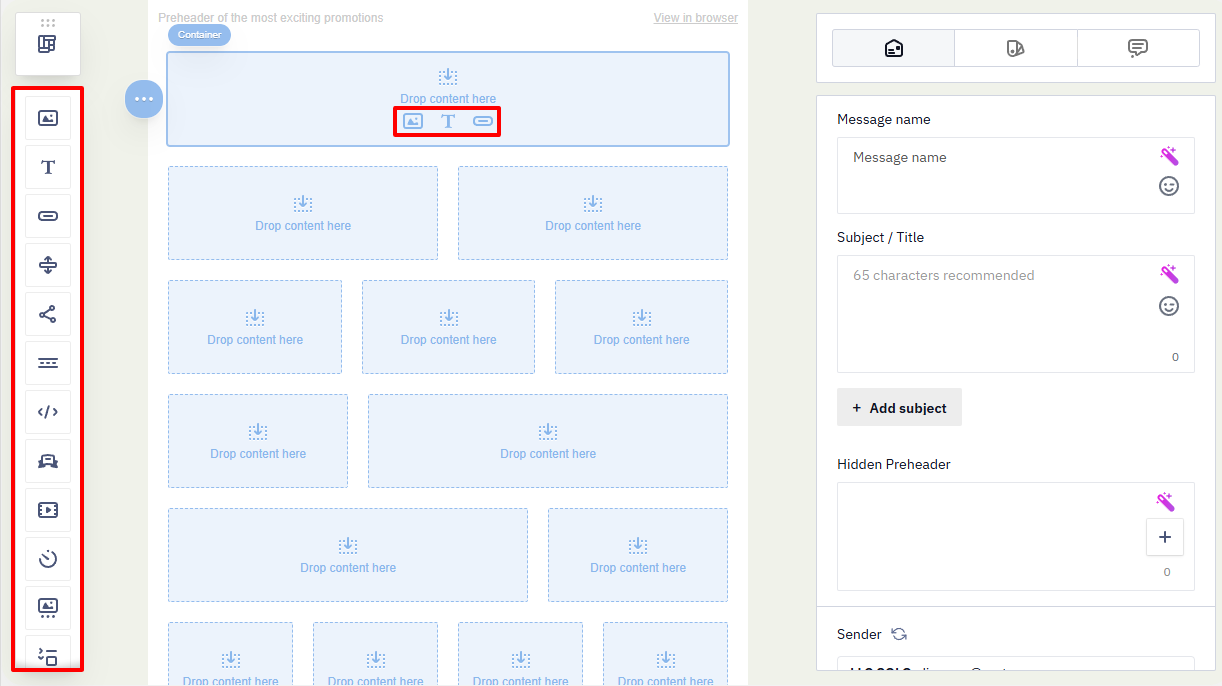
Fill your email with content by using the buttons to add basic blocks, or drag the required blocks from the side panel.
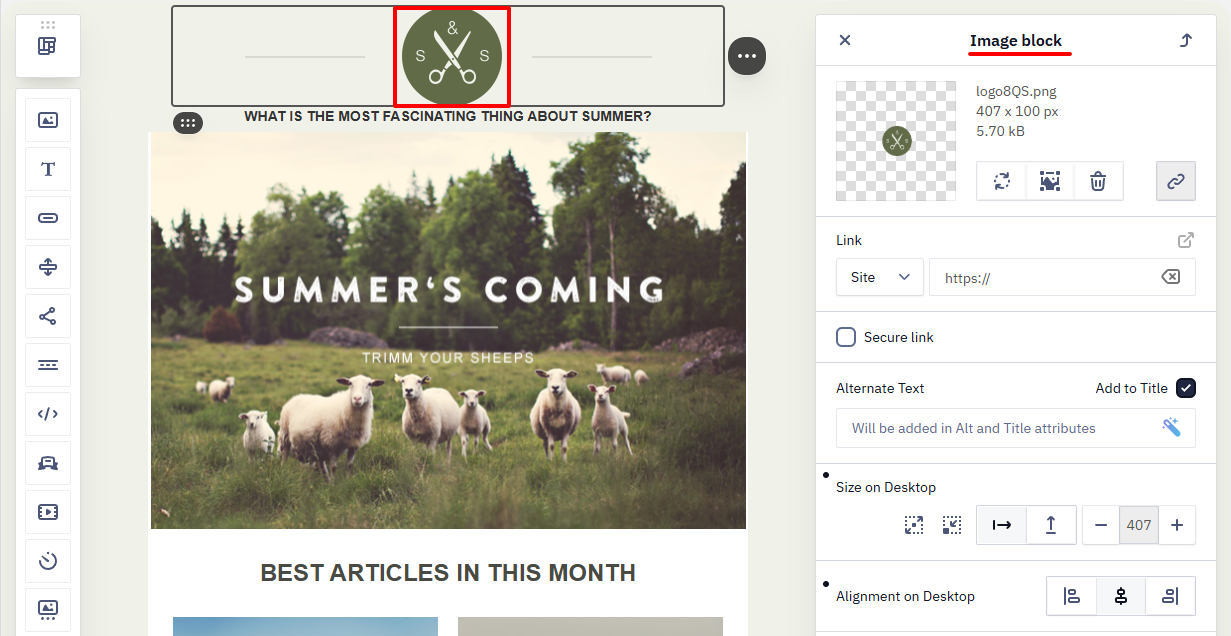
- Create your email header by adding your logo and text. Don't forget to add alternative text and a link to your site in the logo:
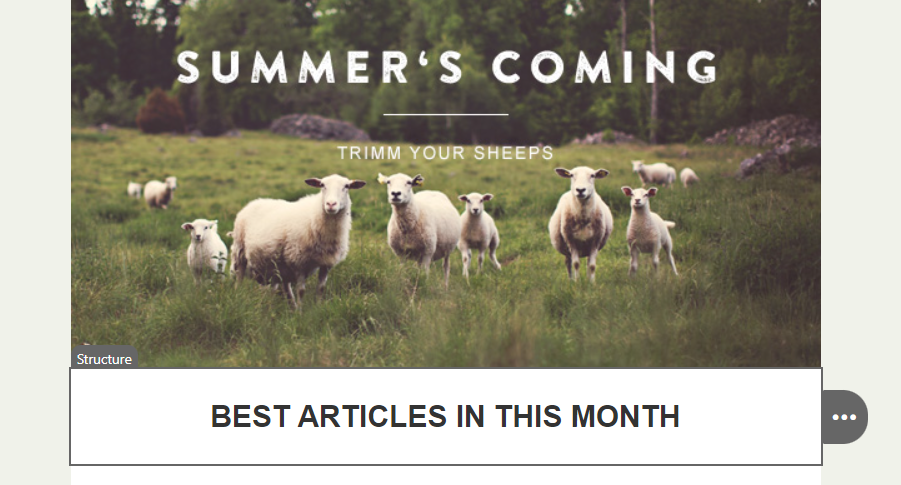
- In the Сontent stripe, create a structure with the banner.
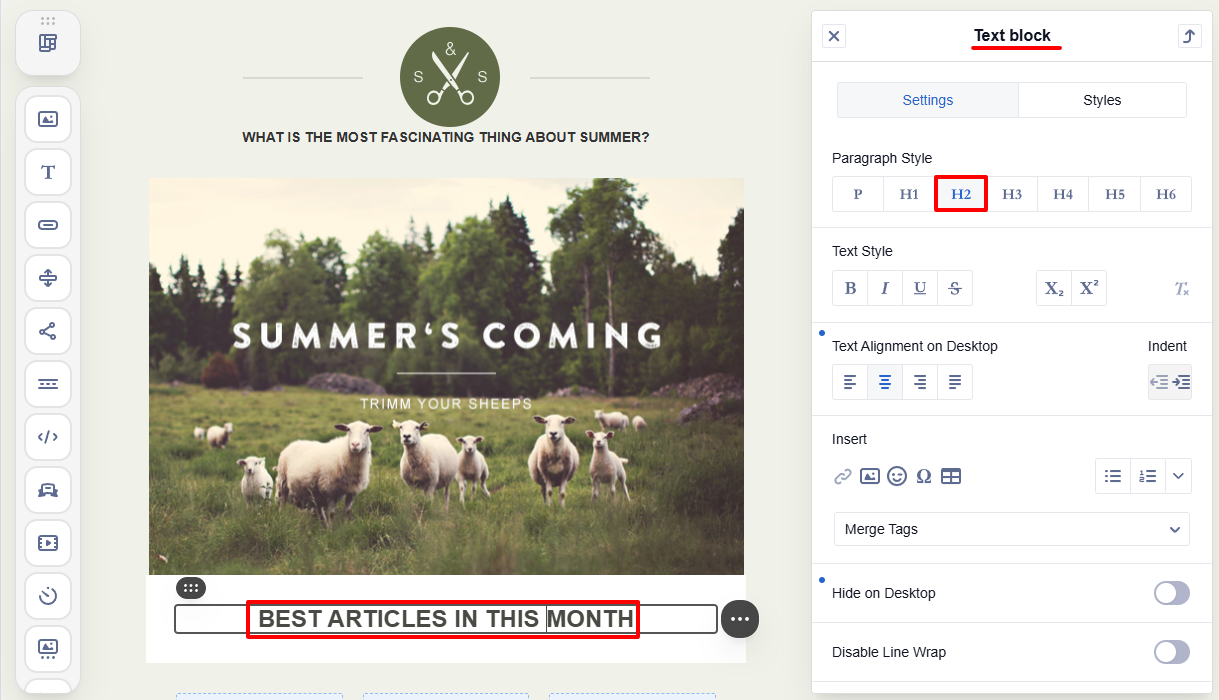
- Use another structure with a text block for the heading:
- Apply formatting to your text by selecting H2:
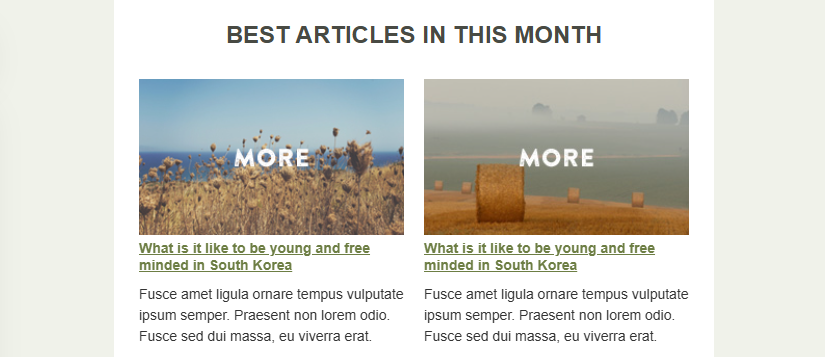
- Use a two-block structure for the next part of your email. Then add containers to the structure for the image and text.
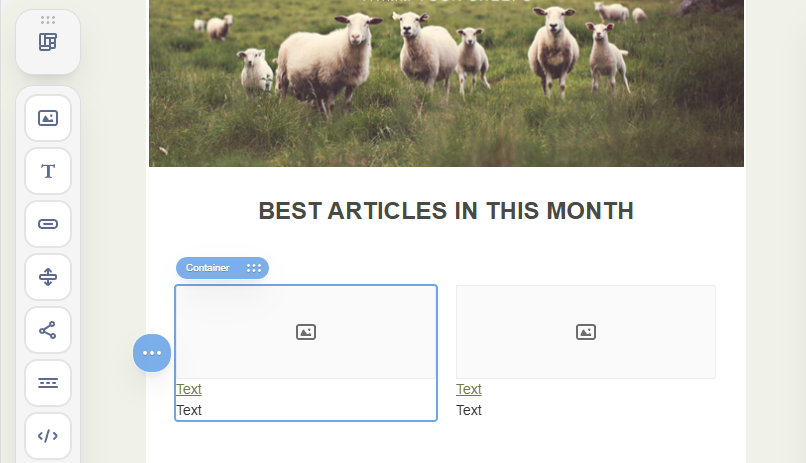
- Fill in the data:
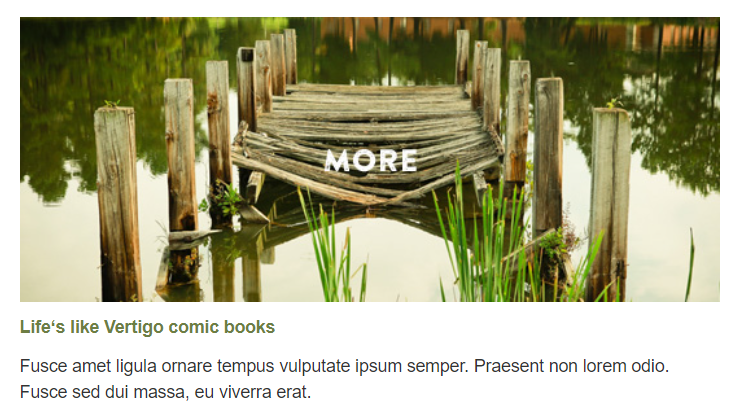
- For the next part of the email, add a new structure with an image and text.
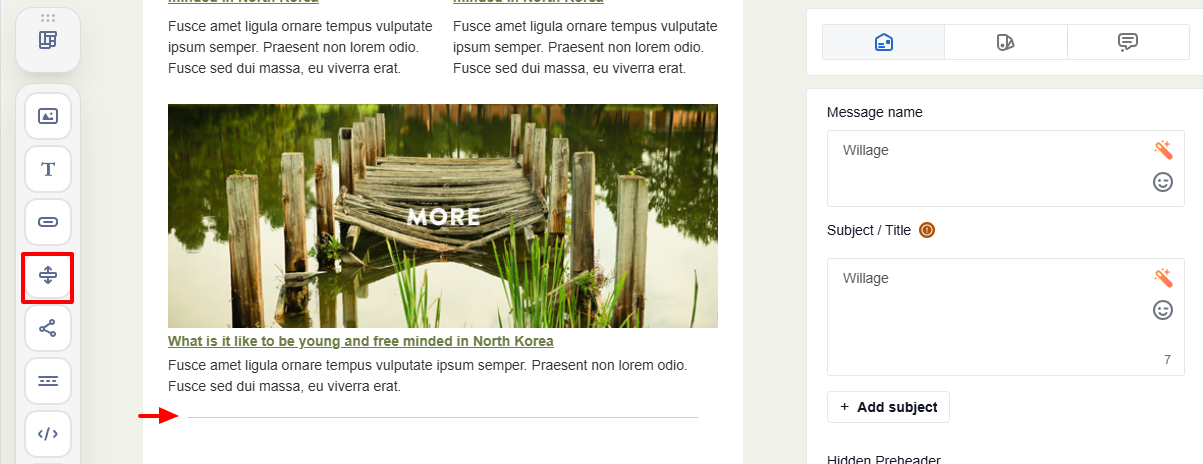
- Visually separate your content part and footer by using the spacer block.
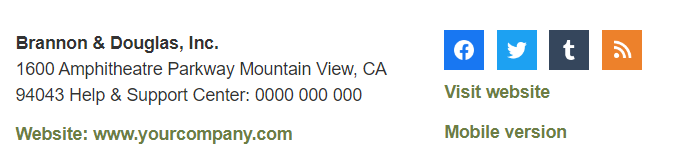
- Create a footer with your contacts and social networks using a two-part structure: the left part contains text blocks only, and the right part contains the Social block and text.
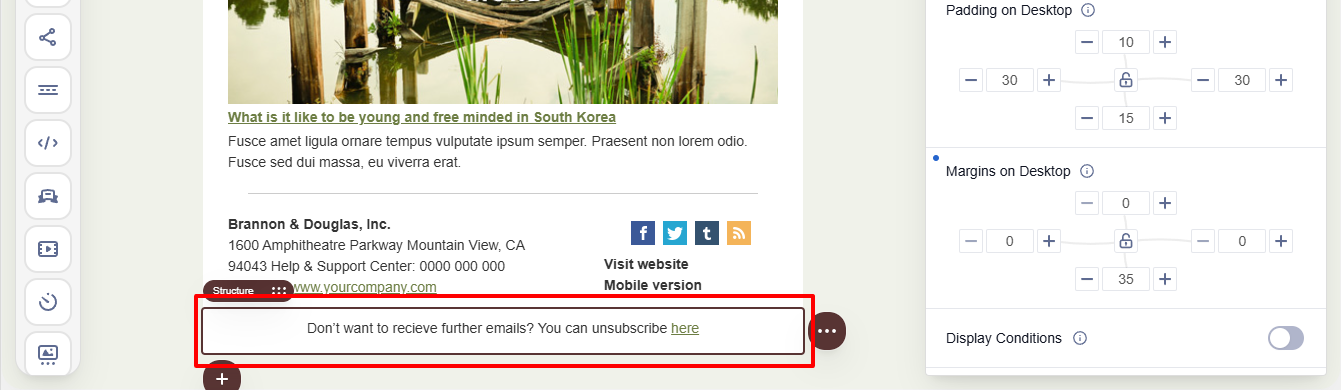
- Create your unsubscribe text using a structure with a single container. Set the background color to match your entire email.
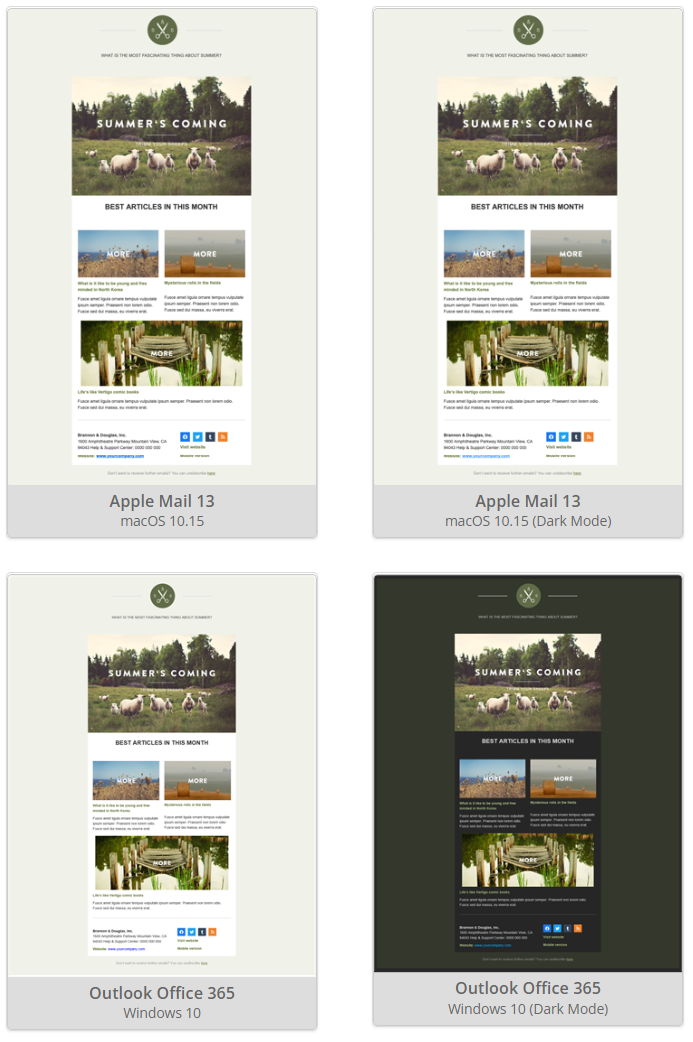
- Check your email display on desktop and mobile using the preview button.

Your email layout should look like this:

Test your email display on various devices and email clients using specialized services.
Updated 12 days ago