
Adding Custom Fonts
Custom fonts let you create a unique style for your emails. Add fonts from Google Fonts or upload your own, then apply them in the email editor.
Font Sets in Reteno
Reteno supports three font sets:
- Safe — system fonts supported by most email clients. Use these for reliable rendering.
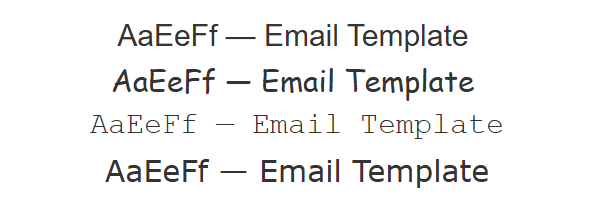
- Web — web fonts supported by modern devices and browsers. Some email clients fall back to system fonts.
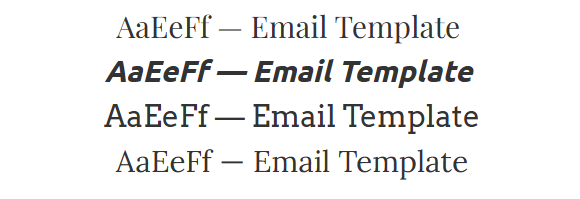
- Custom — user-added fonts. Commonly used in banners. Support in text blocks depends on the email client and often falls back to system fonts.

Email clients that support custom fonts:
- iOS Mail and Apple Mail;
- Outlook 2016 and Outlook 2011 for Mac;
- Android App and Android Mail 2.3, 4.2, 4.4;
- Lotus Notes 8.
Adding Your Font to Reteno
Before you begin, make sure you have editor access to the email campaign where you want to use the font.
- Open an existing email or create a new one.
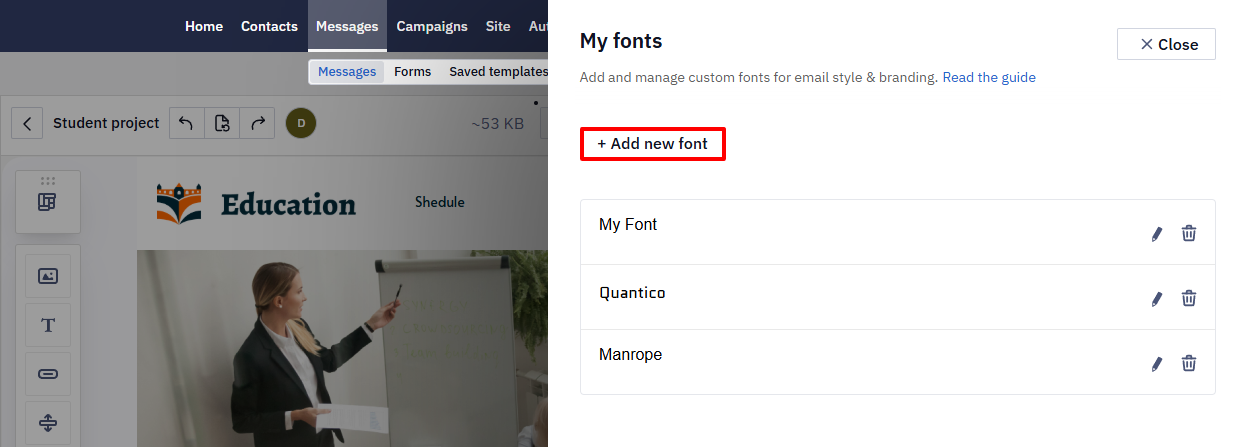
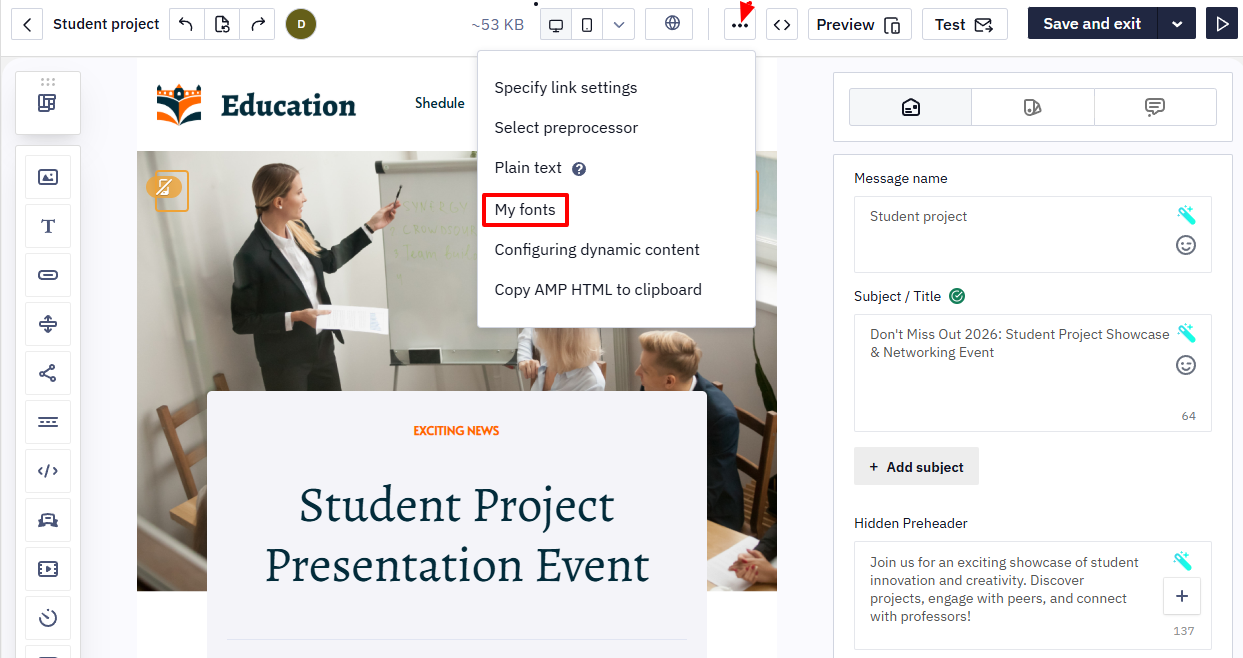
- In the Email management panel, click Advanced settings → My fonts.

- Click Add new font.
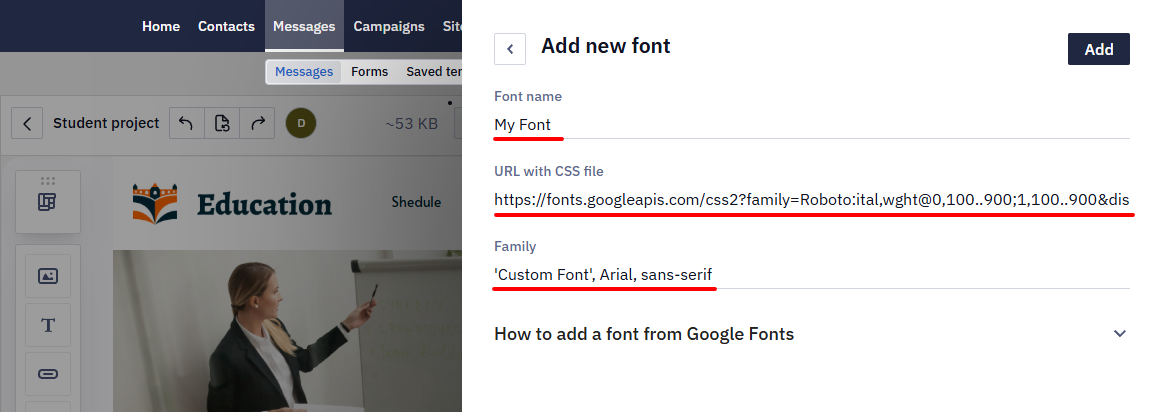
- In the Add new font window, enter the font parameters (all required):
-
Font name
-
URL with CSS file
-
Family
You can get font parameters in one of the following ways:
-
using the Google Fonts library (or another font library),
-
creating your font.
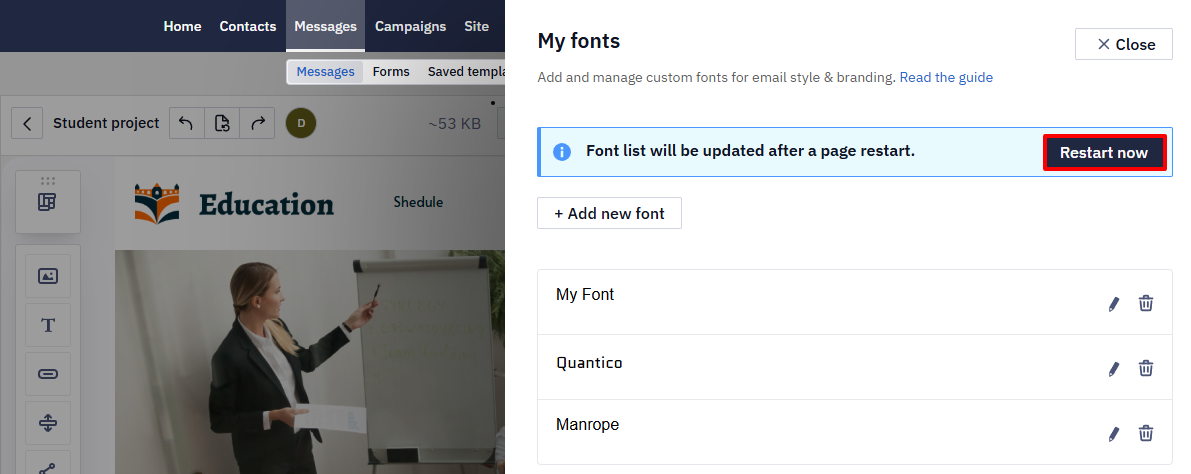
- Click Add and confirm page restart.
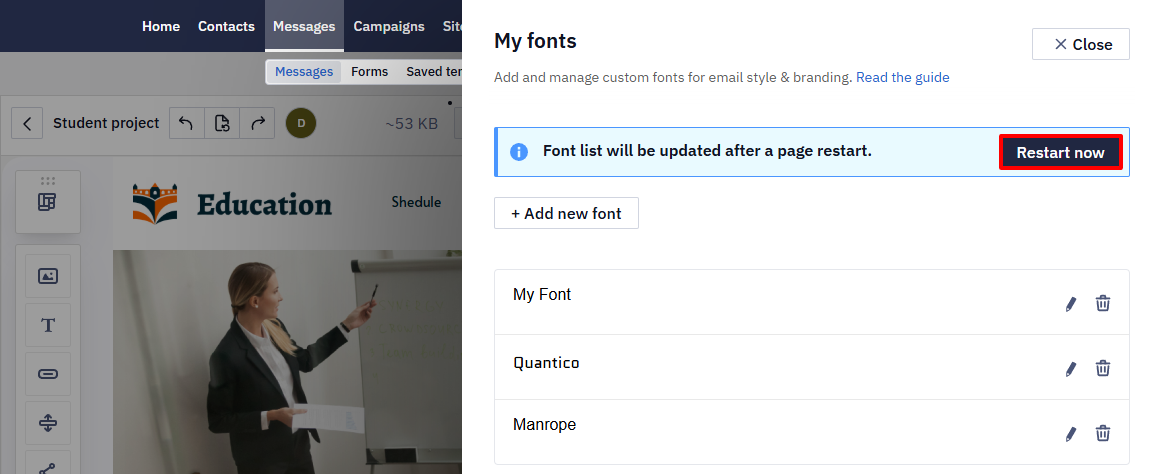
After the restart, Reteno displays the font in the list. If you have unsaved changes, you can postpone the restart. Save the email and reopen it to make the font available.
Add a Font from Google Fonts
TipOpen two browser tabs: one with Reteno and one with Google Fonts. This makes copying values easier.
- Go to fonts.google.com.
- Find a font using search or filters.
If you know the font's name, use the search or filter fonts by category, language, and properties (number of styles, thickness, angle, width, etc.). Also, you can sort fonts by trending, popularity, novelty, or name.
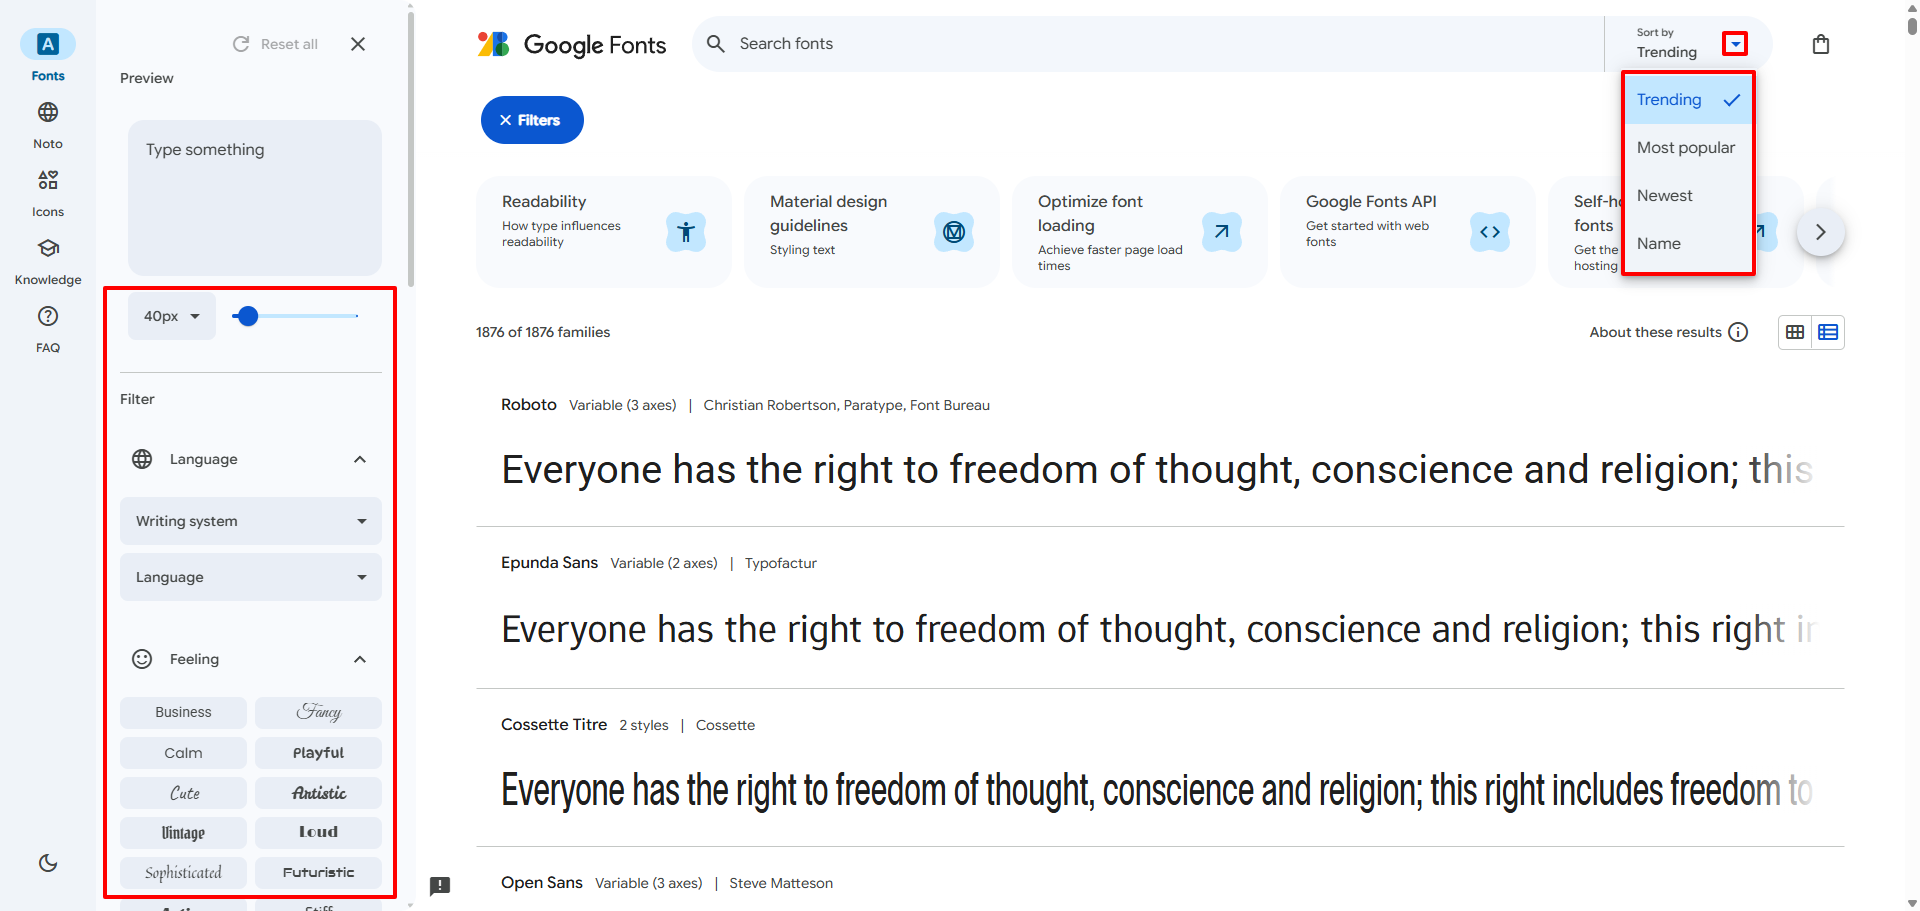
ImportantDo not select multiple styles at once. Add each style separately (for example, Regular, then Bold). Each style is added as a separate font.
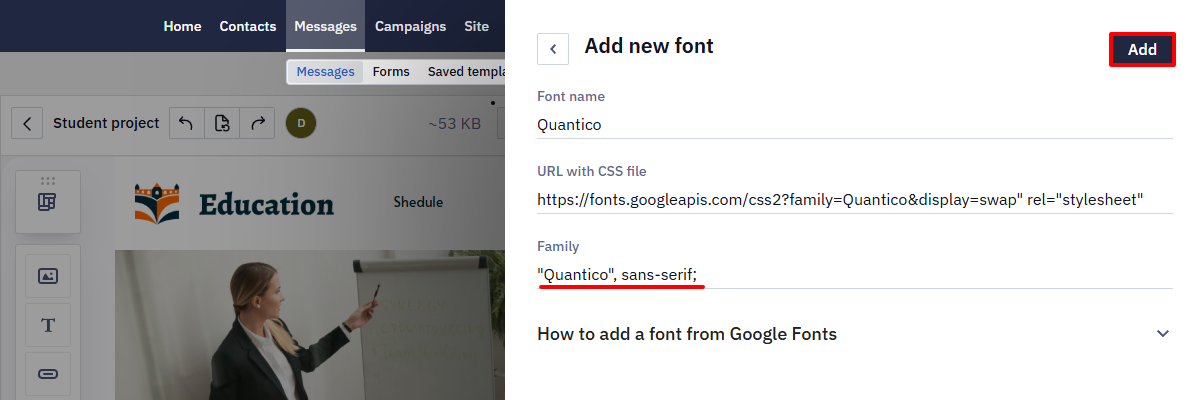
Example: add Quantico (Regular 400).
- Open the font page and click the font field.
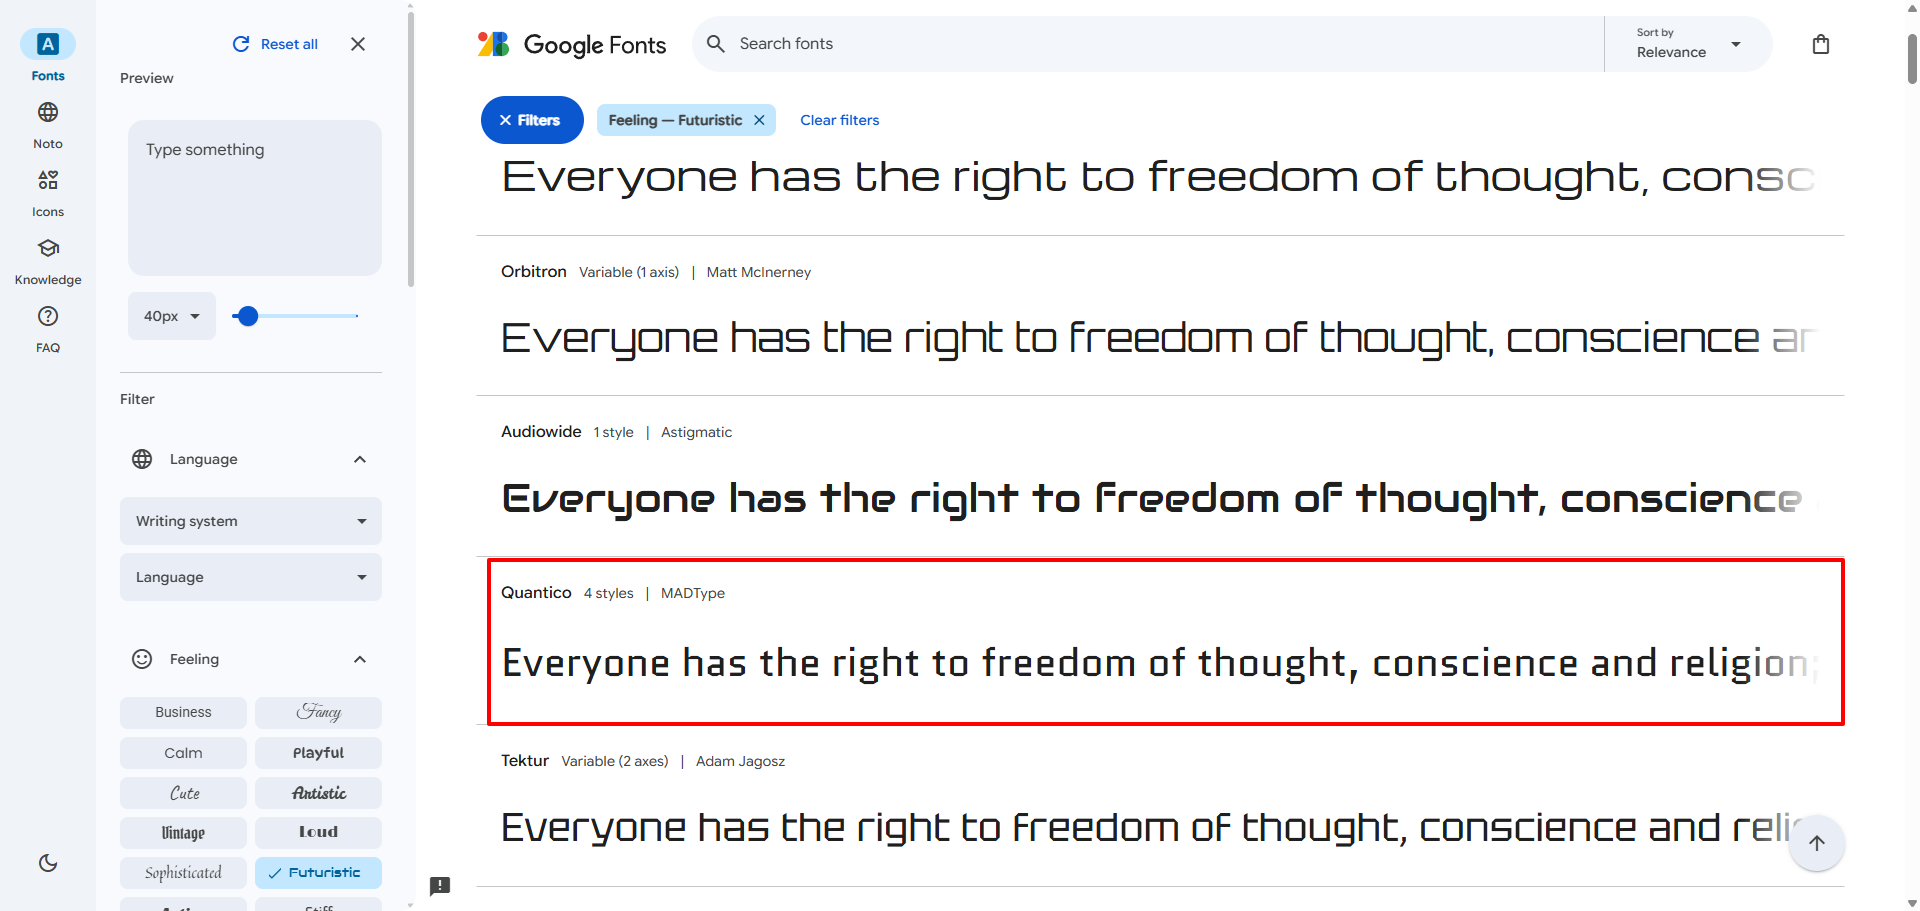
- Click Get font.
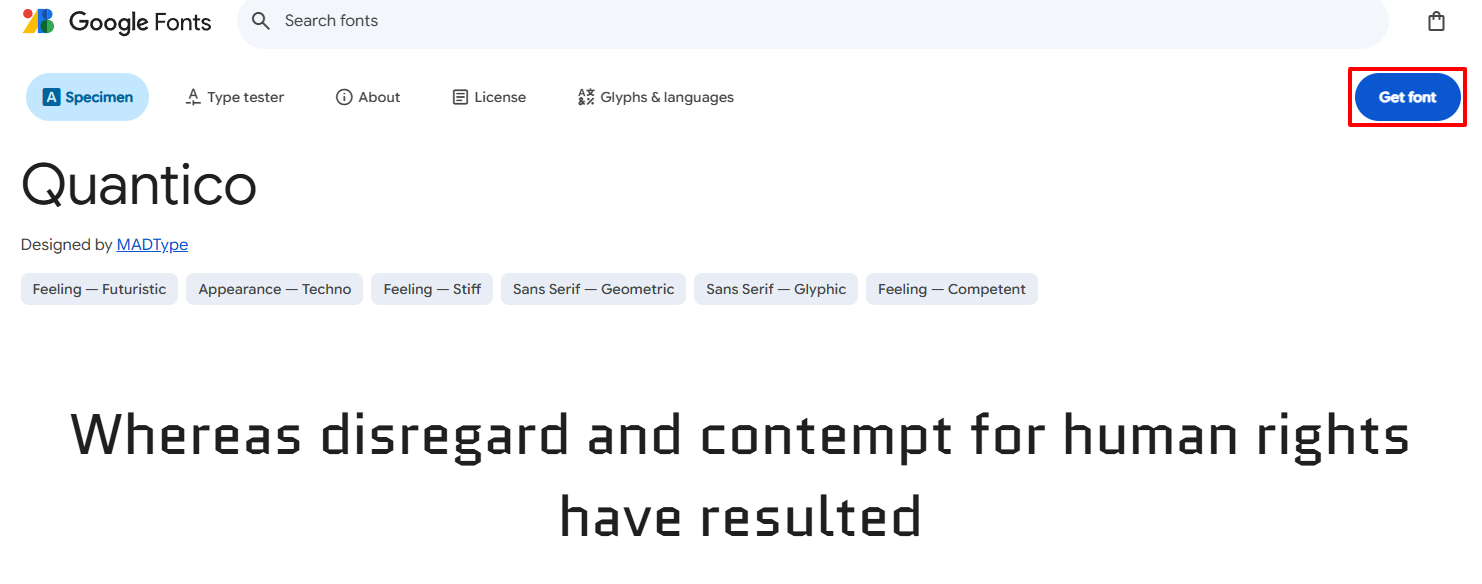
- Click Get embed code.
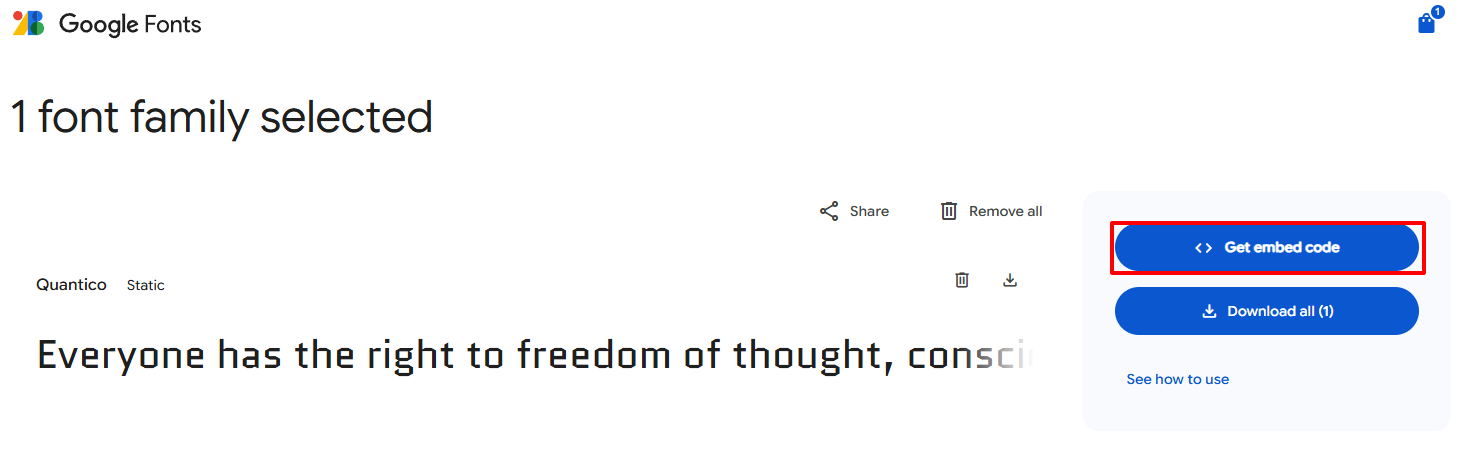
- In the styles list on the left:
- Leave only the Regular 400 toggle enabled.
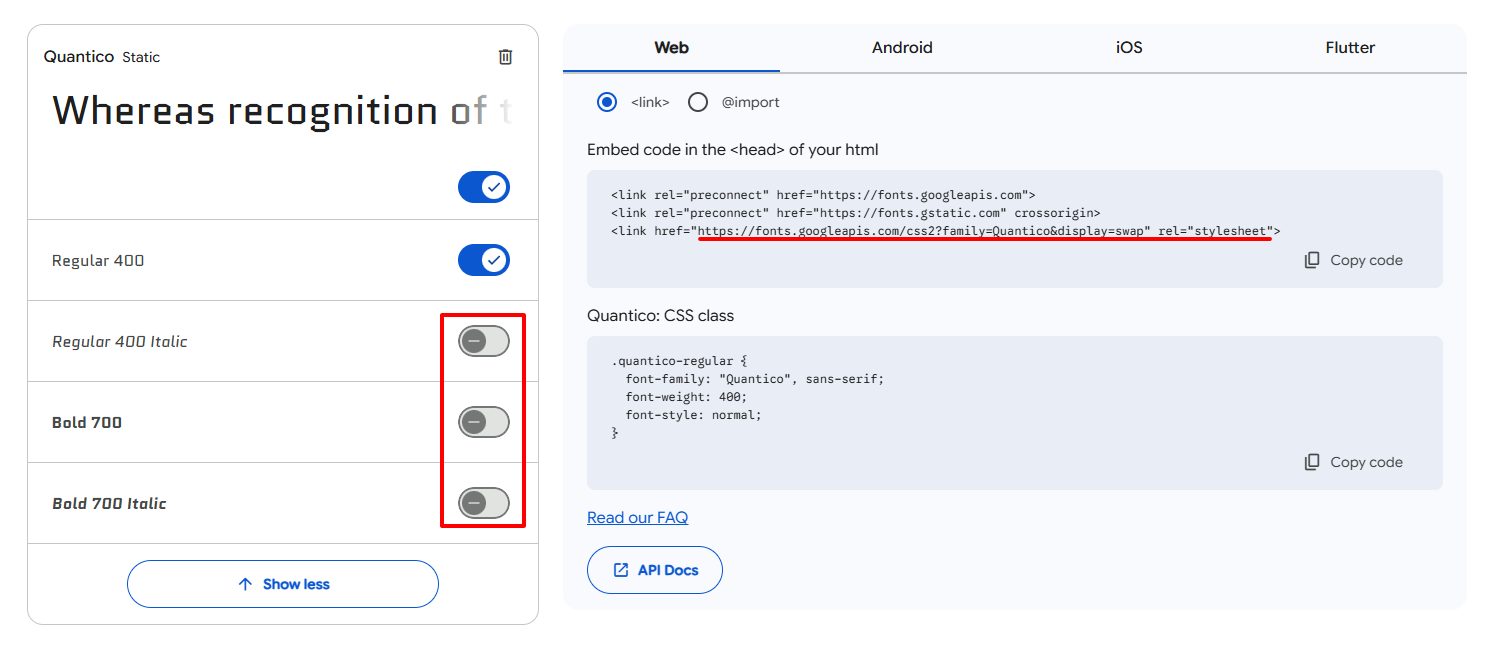
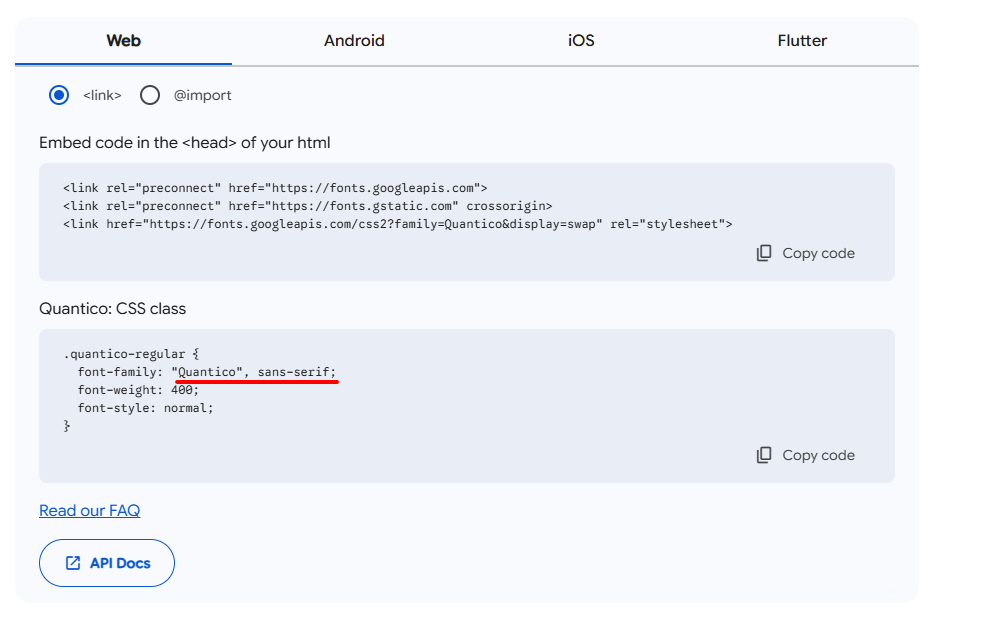
- From the top menu, select the Web tab and choose the
<link>integration method. - Copy the value of the
hrefattribute in the following format:
<https://fonts.googleapis.com/css2?family=Quantico&display=swap>" rel="stylesheet"
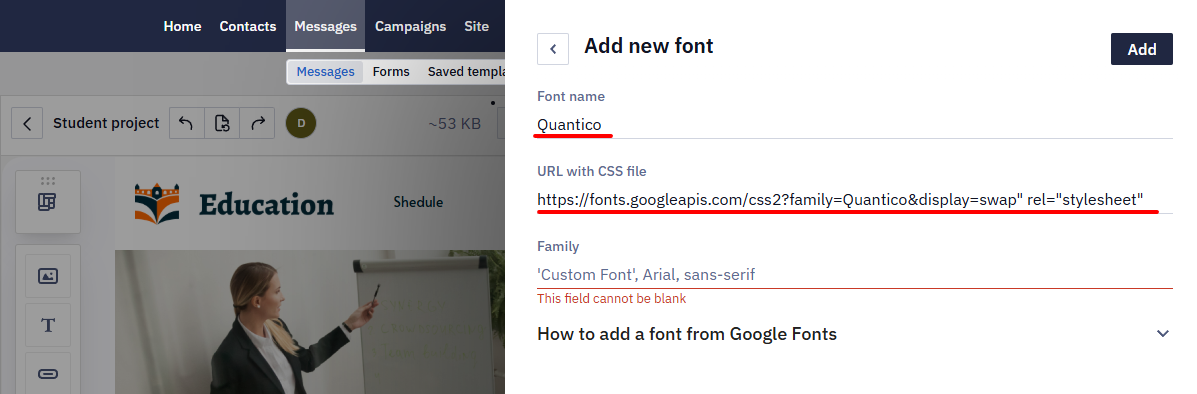
- Switch to the Reteno tab, go to My fonts, and click Add new font.

- Paste the link into the URL with CSS file field.
- In the Google Fonts tab, in the Quantico: CSS class section, copy the font family value in the following format:
"Quantico", sans-serif;
- In the Reteno tab, paste this value into the Family field and click Add.
ImportantThe value for Family must be copied directly from the fonts' library. The font with a random name will be invalid.
- Click Restart now.
Adding Your Own Font
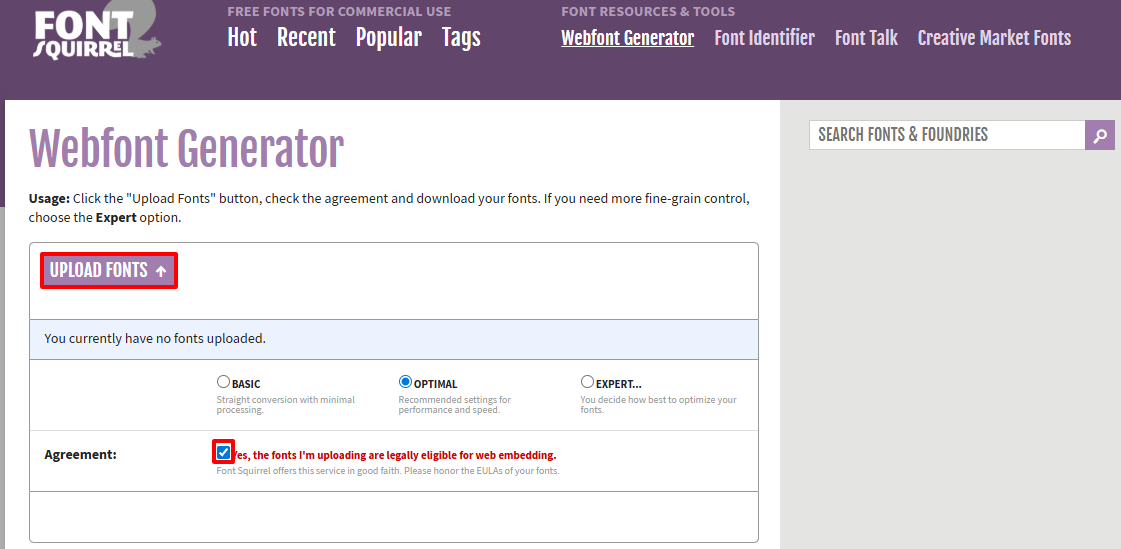
Let's look at the Font Squirrel resource as an example.
To upload your font, you need to add the link to your server CSS file in the URL with CSS file field.
- Go to fontsquirrel.
- Accept the license terms.
- Click UPLOAD FONTS to upload the font file in
TTFformat.
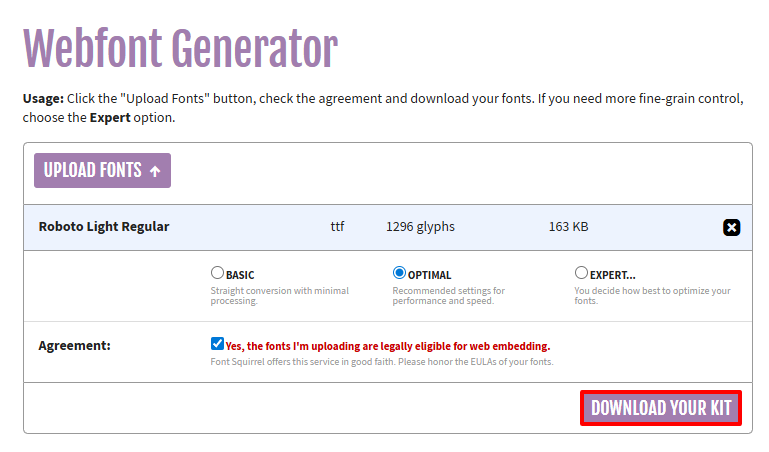
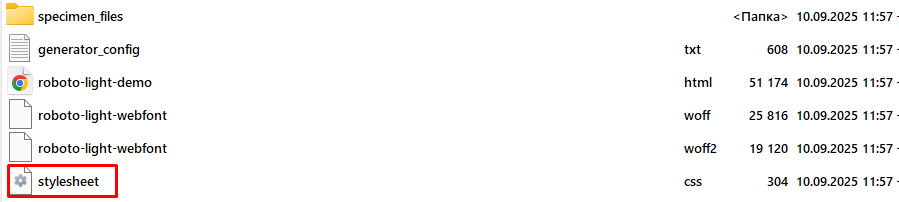
- Click DOWNLOAD YOUR KIT and download the generated ZIP archive with the stylesheet.css file.
- Add
srcto the filestylesheet.cssto your server with the necessary font in the formatwoff2(the script in this format would be in the kit), for example:
@font-face {
  font-family: 'Manrope';
  font-style: normal;
  font-weight: 200;
  font-display: swap;
  src: url('https://fonts.gstatic.com/s/manrope/v1/xn7gYHE41ni1AdIRggOxSuXd.woff2') format('woff2');
  unicode-range: U+0400-045F, U+0490-0491, U+04B0-04B1, U+2116;
}- Upload the stylesheet.css file to the server.
- In Reteno tab, go to My fonts, and click Add new font.

- Paste the Font name, URL with CSS file, and Family in the fields and click Add.
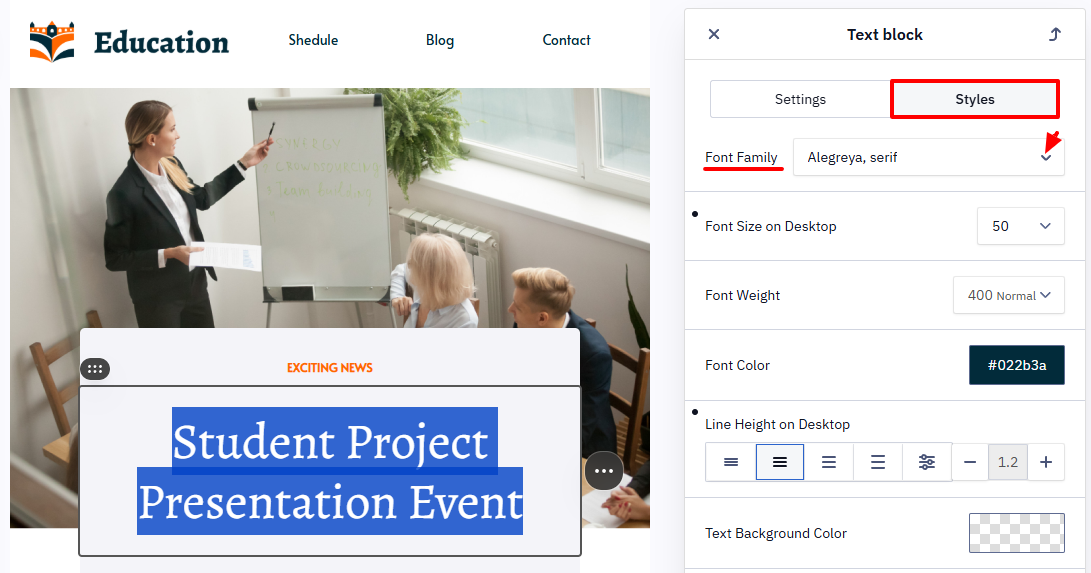
Use a Custom Font
- Select the text in the block
- Go to Styles, and open the Font Family drop-down menu.
- Switch to the Custom tab and select the font.
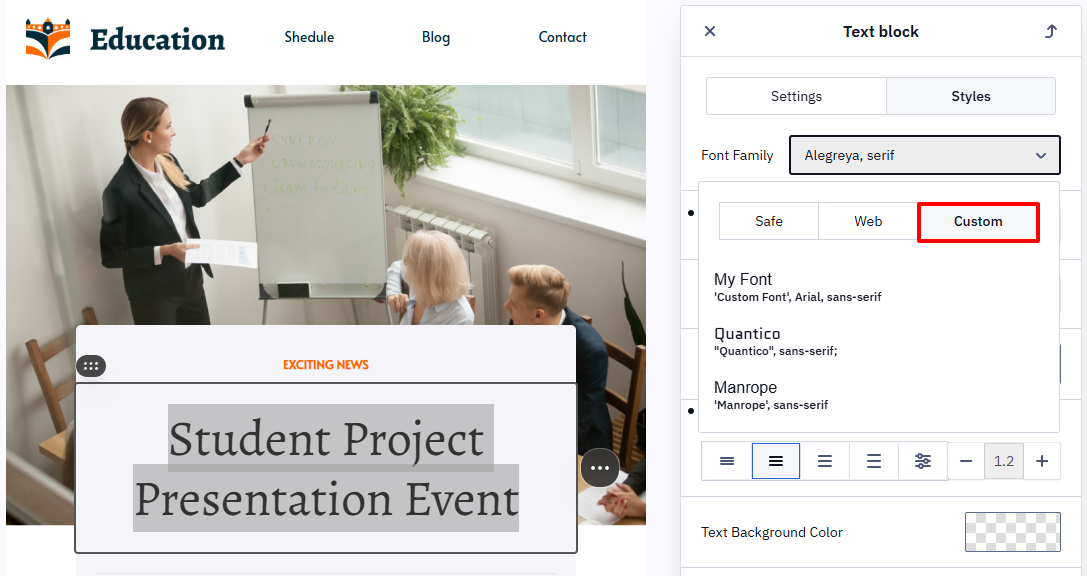
The font is applied to the selected text.
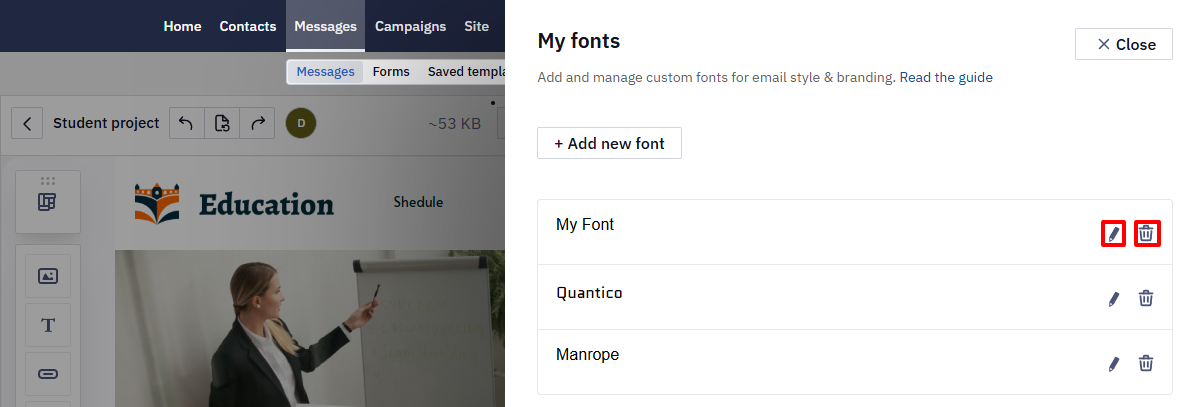
Edit or Delete a Font
- Open Advanced settings → My fonts.
- Click:
-
the Pencil icon to edit the font;
-
the Trash icon to delete the font.
Custom Font Usage Details
- If a font isn't displayed in an email, check whether it's available on the device where the email is opened. If the font isn't available, the email client replaces it with a standard font.
- Some fonts support only languages that use the Latin alphabet and can't be used for languages that use the Cyrillic alphabet.
- Do not use custom fonts for body text. Use them only in images-for example, in banners.
- The email subject line and preheader are always displayed in a standard font defined by the email client.
- When you use a custom font, consider how the email looks in clients that don't support it. Fallback fonts may appear larger and break the layout. Always test the email and configure fallback font family, size, and spacing to ensure correct rendering.