
Actions After Form Submission
After creating the subscription form, you can configure the following actions to occur after a contact submits it:
- Add contacts to a segment.
- Double Opt-In.
- Email confirmation.
- Redirect after clicking on the confirmation link.
- Onboarding.
Add Contacts to a Segment
By default, new contacts collected through subscription forms are saved to your account without being added to segments. To save new contacts to a segment:
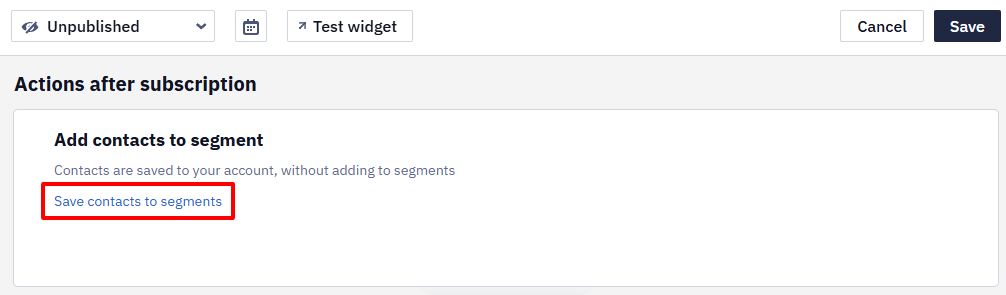
- In the Add contacts to segment section, click Save contacts to segments.
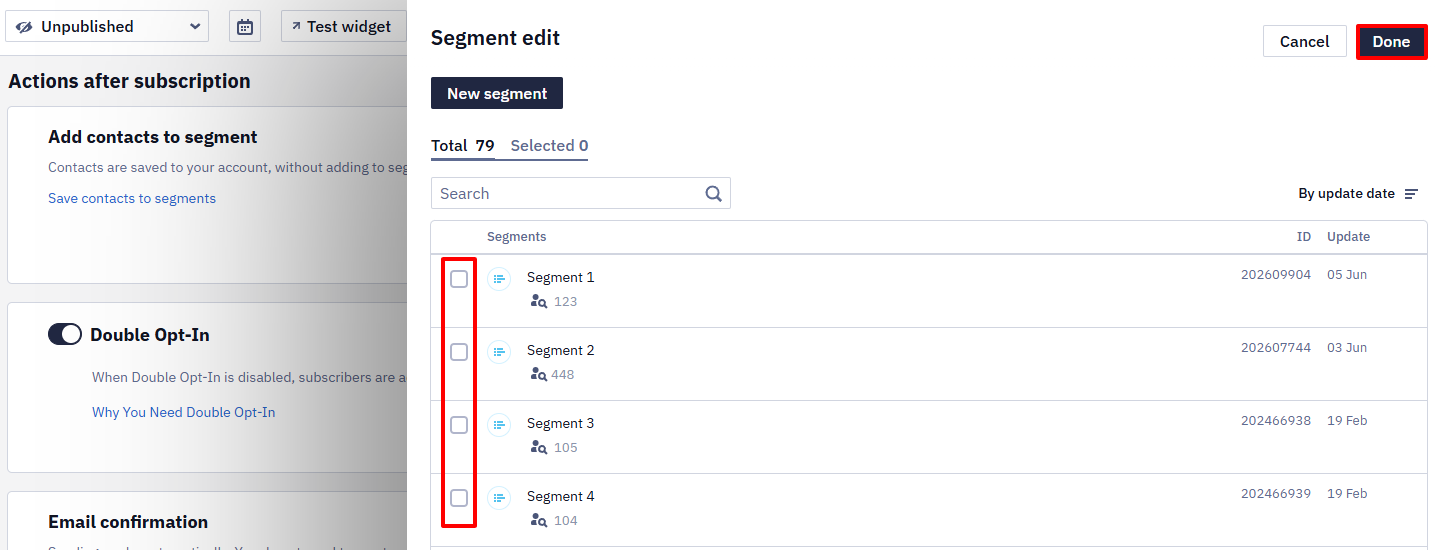
- In the Segment edit window, select the corresponding segment or segments and click Done.
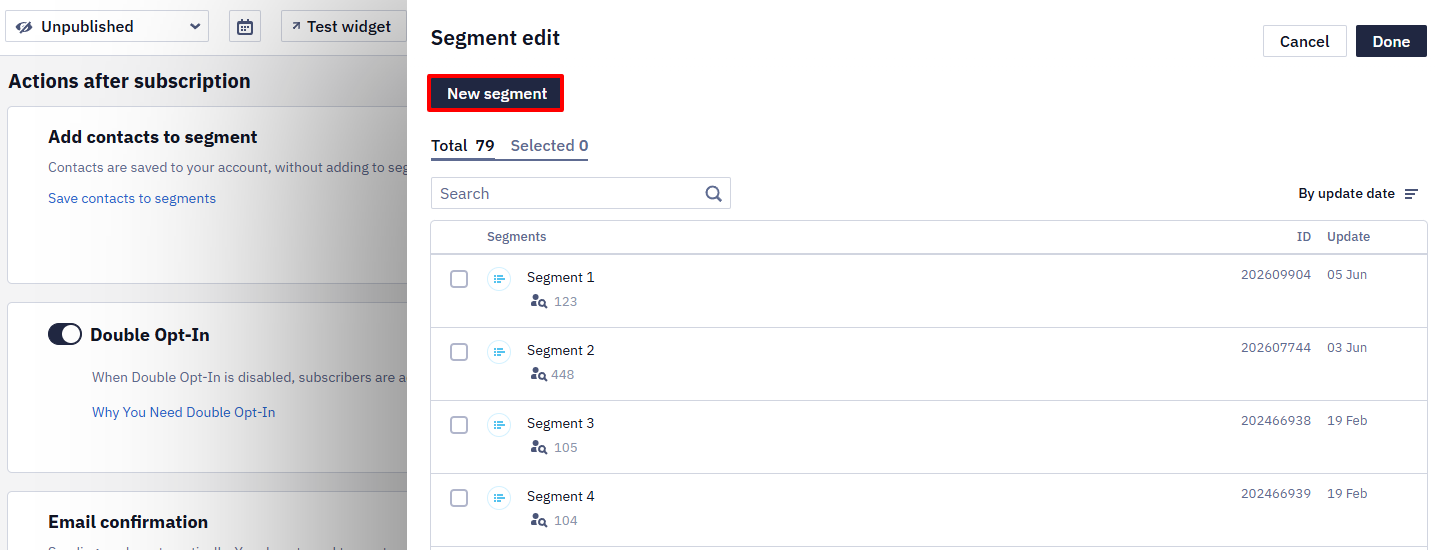
You can create a new segment to add new contacts who subscribe using this widget.
Double Opt-In
When a subscription form is created, the Double Opt-In option is enabled by default in its settings to verify the email address specified by the contact by sending a confirmation email to that address.

Important
- When this option is enabled, a subscription confirmation email is sent. There is no need to use the SysContactConfirmed event in your workflows.
- When the option is disabled, the email addresses of all contacts are automatically added as confirmed. We advise you not to use this method to avoid being marked as spam.
Pages the Contact Sees After Subscribing
The system takes into account the contact's current status and the Double Opt-In setting, and shows the corresponding page in the widget:
- For a request form, the Success page is always shown after submission.
- A new contact will see the Success page. If Double Opt-In is enabled, they will also receive a confirmation email.
- An active and confirmed contact will see the Existing page.
- If the form is set to check subscription only for this widget, the Existing page is shown only to a contact who has already subscribed through this same widget. The first time this widget is filled out, the Success page is shown even if the contact is already active in the database.
- A contact who previously subscribed but didn't confirm their address, or has a spam complaint mark, will see the Success page. If Double Opt-In is enabled, confirmation is requested again; if disabled, the contact's status changes to confirmed, and the spam complaint mark is removed upon resubscription.
- For a contact in the blacklist, confirmation is not requested again, but the widget still leads to the Success page.
The Page Depends on the Browser, Not Only on the AddressAfter the first submission, the browser stores the contact's identifier. Every later submission from the same browser is attributed to that contact, so the visitor sees the Existing page even when they enter another address that isn't in your base. A new contact is created only after the browser's cookies and site data are cleared, or in an incognito window.
When testing a widget, open the site in a new incognito window to see the Success page again.
NoteThe contact's status does not change instantly — it takes up to a couple of minutes. An email sent right after the form is submitted, such as a gamified widget reward, can fail to send and return the
Contact is not subscribederror. Add a Timer of about 2 minutes before the sending block, or use Send obligatory (transactional) email — it reaches the contact regardless of status, but leaves the status unchanged.
Email Confirmation
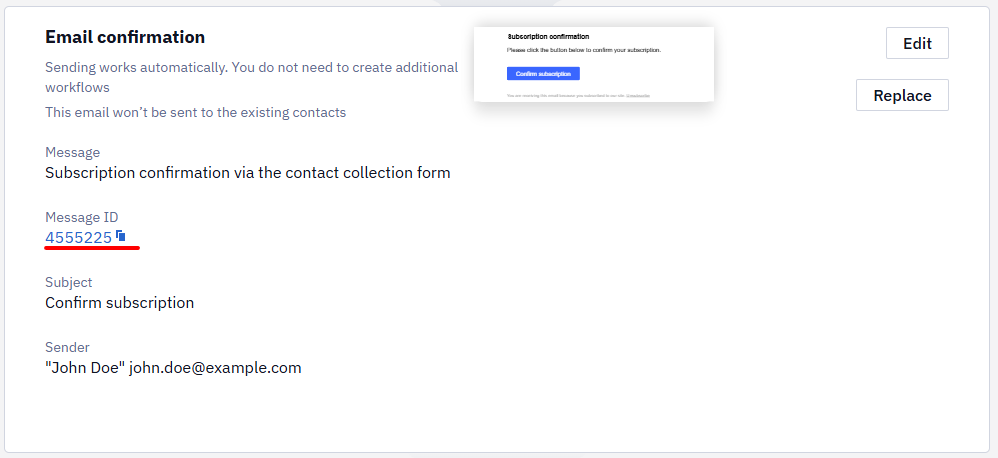
Initially, a default email message is added to the settings of this section, which will be sent to new contacts. A preview of this message is shown in the section.
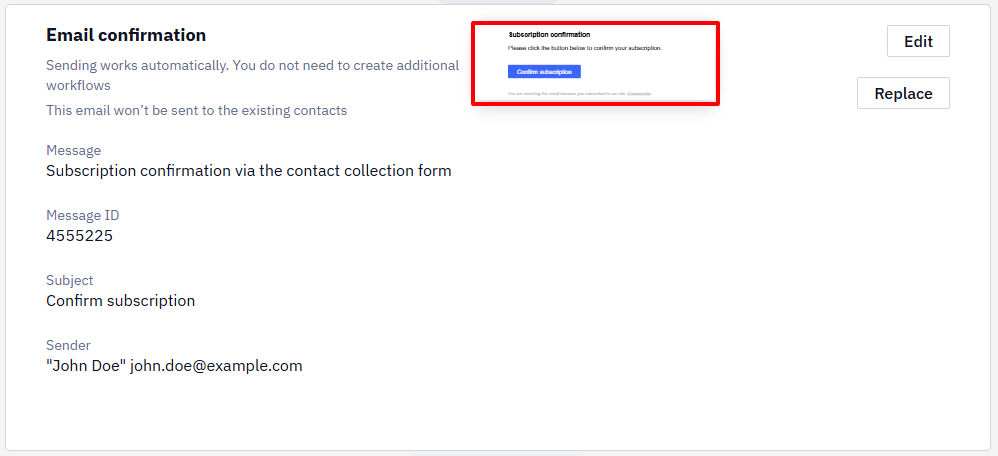
To edit the default message:
- Click the Edit button. This navigates you to the email editor.
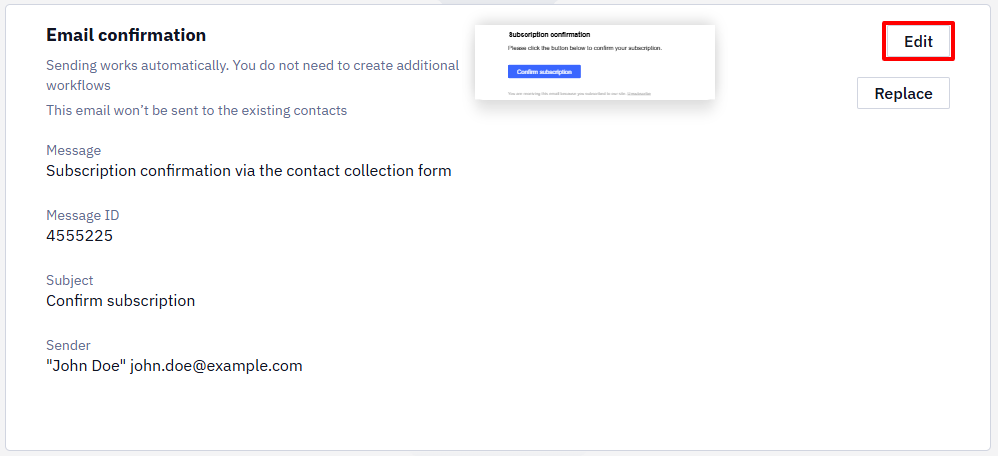
- Make the necessary changes and save the message. For more information about working with the email editor, see this article.
To replace the default message:
- Select Replace.
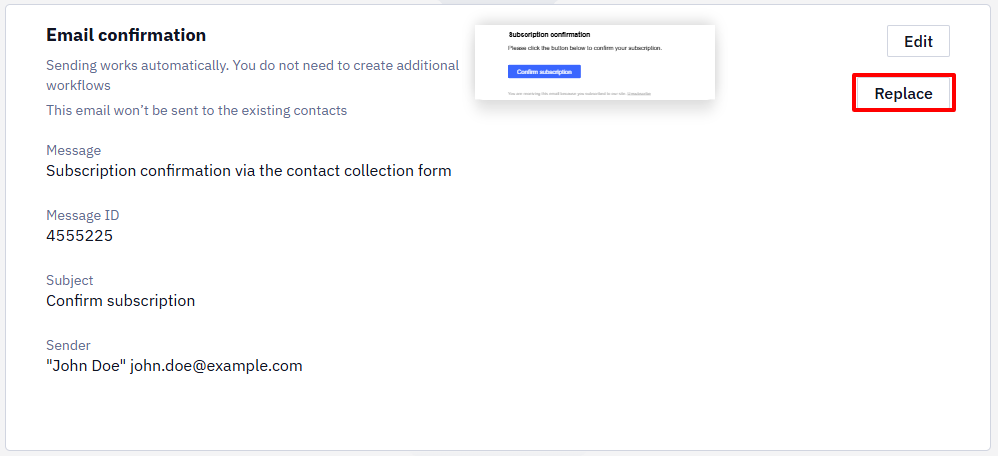
- Select the message.
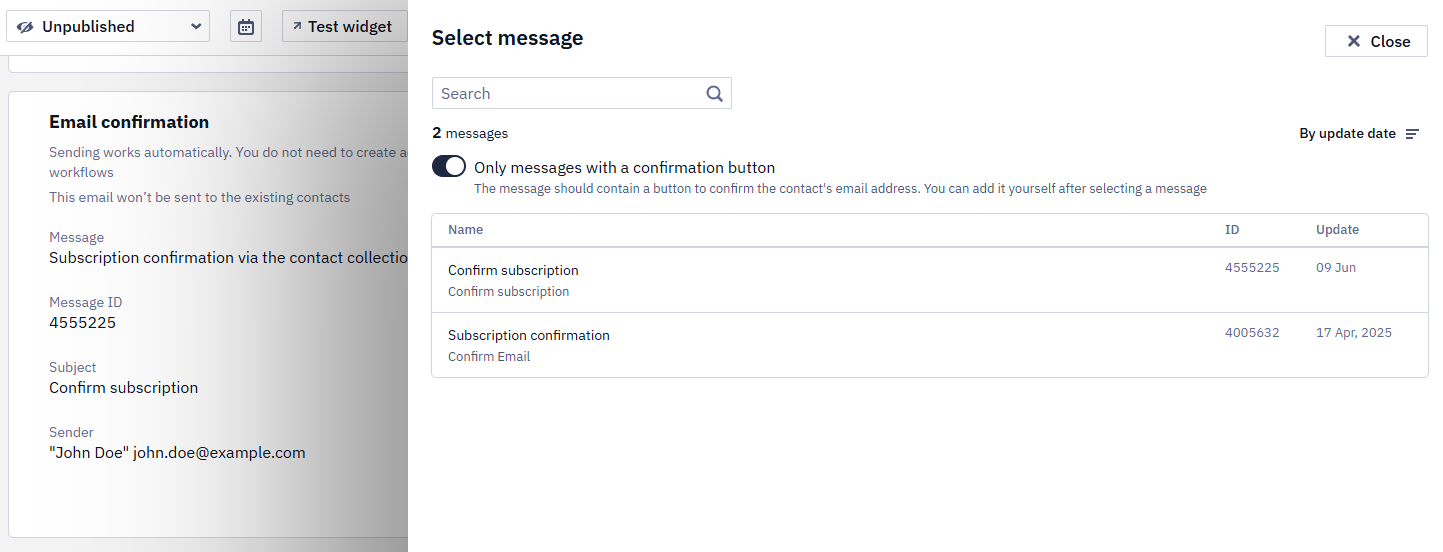
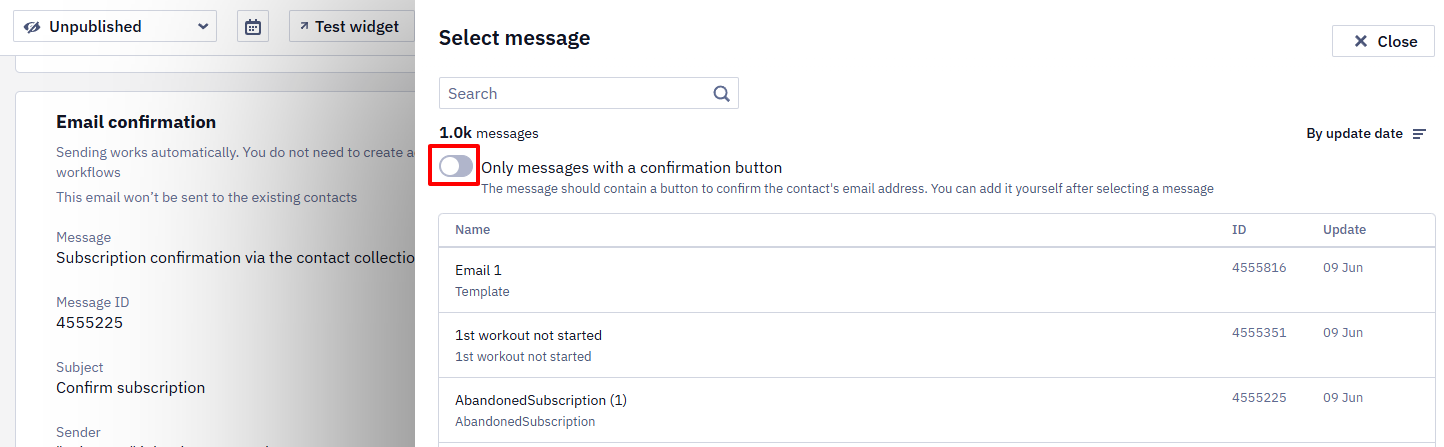
You can disable the Only messages with a confirmation button option to select from all your messages and add such a button to the selected message by yourself.
In the Email confirmation section, you can copy the message ID to quickly find it later in the general list.
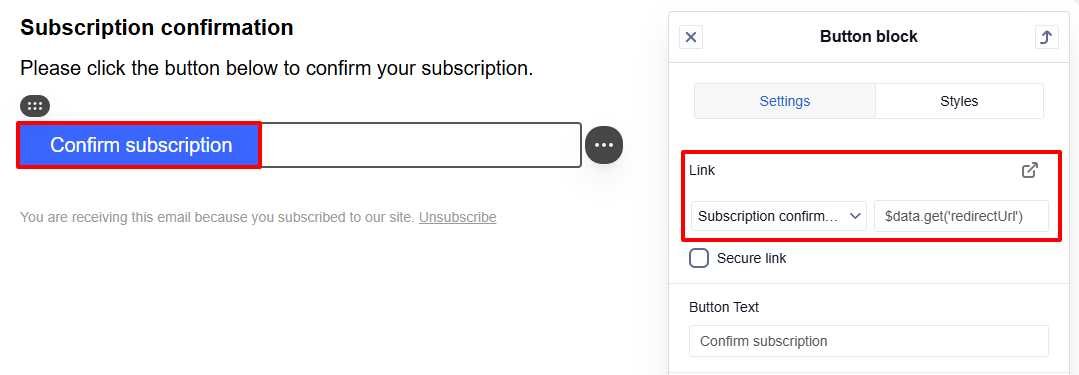
AttentionThe button for confirming the email address shall have the following settings:
- Link
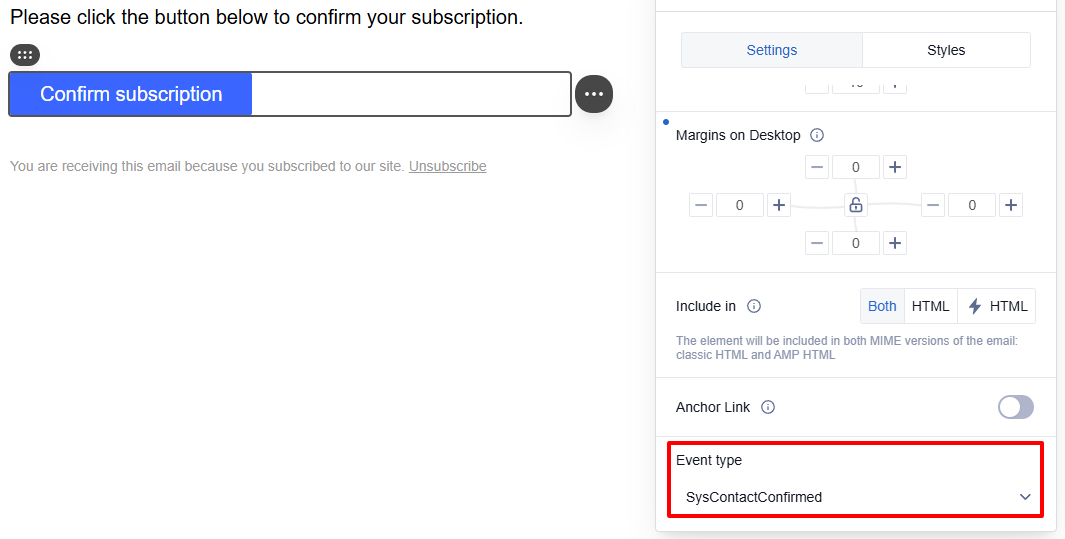
- Event type
Link:
- Type:
Subscription confirmation, - Value:
$data.get('redirectUrl')
Event type: SysContactConfirmed
If you need to change the system workflow, see the instructions.
Redirecting After a Click on the Confirmation Link
Once a contact has verified their email address, you can redirect them to:
- Redirect page
- Verified domain URL
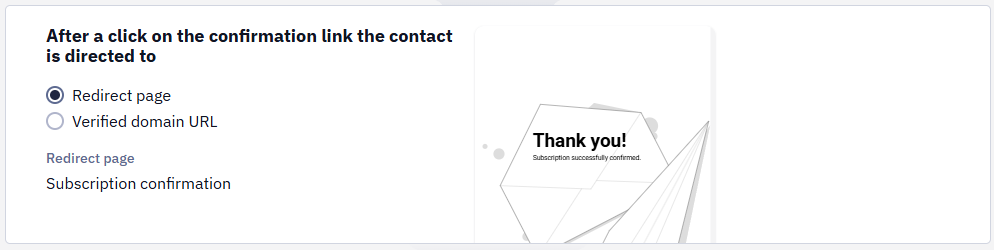
If you select Verified domain URL, specify your company website or its subdomain in the URL field.
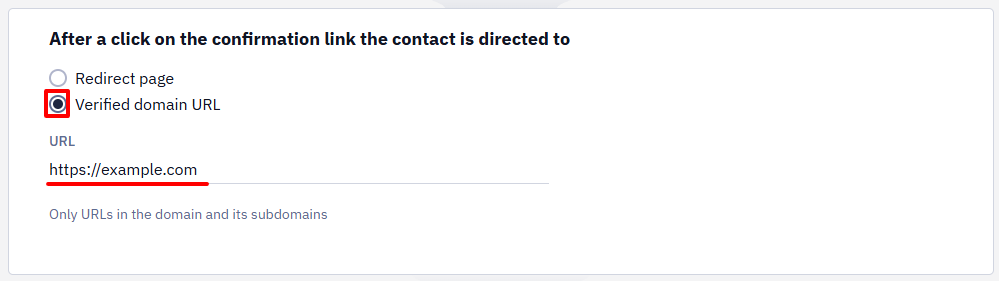
If you don’t have verified domains, click the Verify domain button.
More details about verifying domain >
NoteThe widget is displayed in the language of the website page, and the subscription confirmation email is sent in the language of the user's browser. The standard confirmation page (Redirect page) is not multilingual — by default, it is displayed in the language selected when the account was registered. To show a confirmation page in another language, specify your own page in the Verified domain URL field, or contact [email protected] to change the language of the standard page.
Onboarding
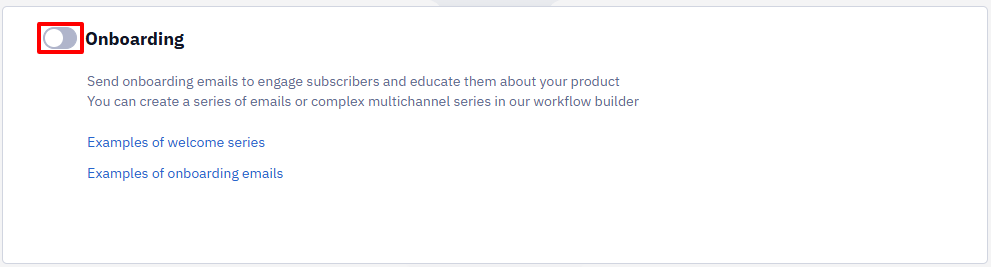
Set up further communication steps to be triggered after your subscribers confirm their email addresses. To do that:
- Enable the Onboarding slide button.
- Choose one of the following options:
- Send welcome email
- Send welcome series through workflow
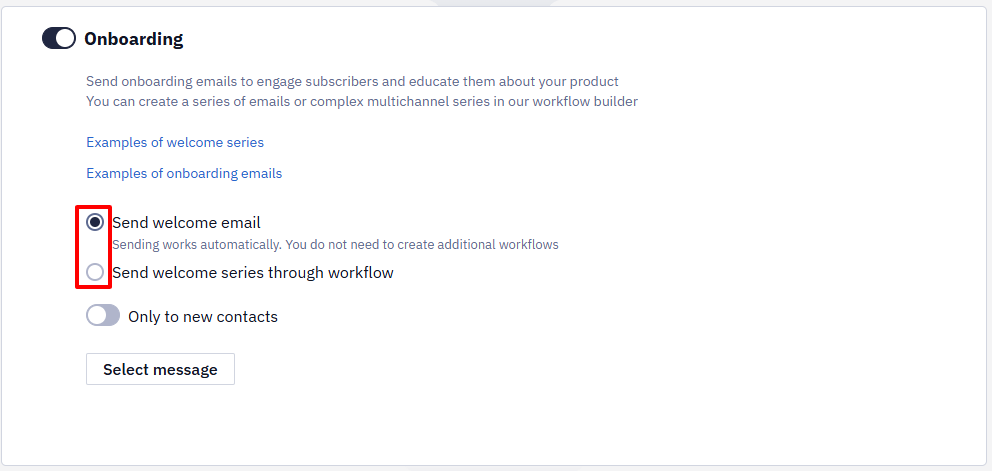
If you selected the Send welcome email option:
- Click on the Select message button.
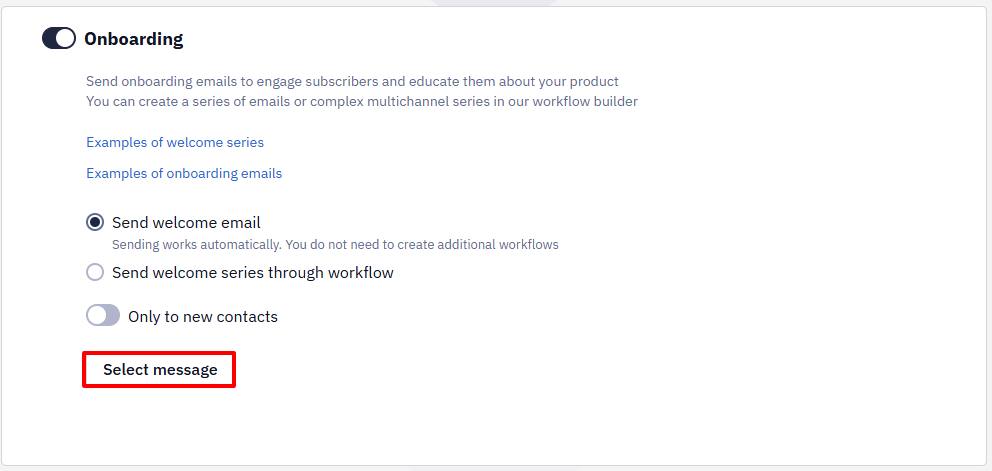
- Select the required message.
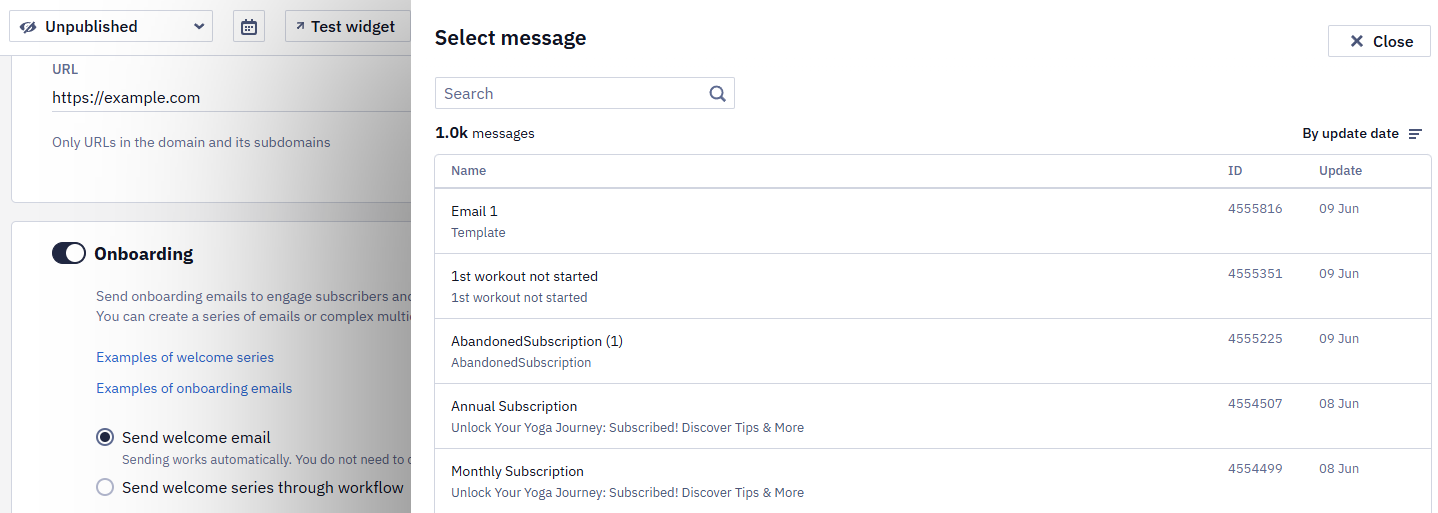
Just like in the email confirmation, you can replace the message, edit it, and copy the ID.
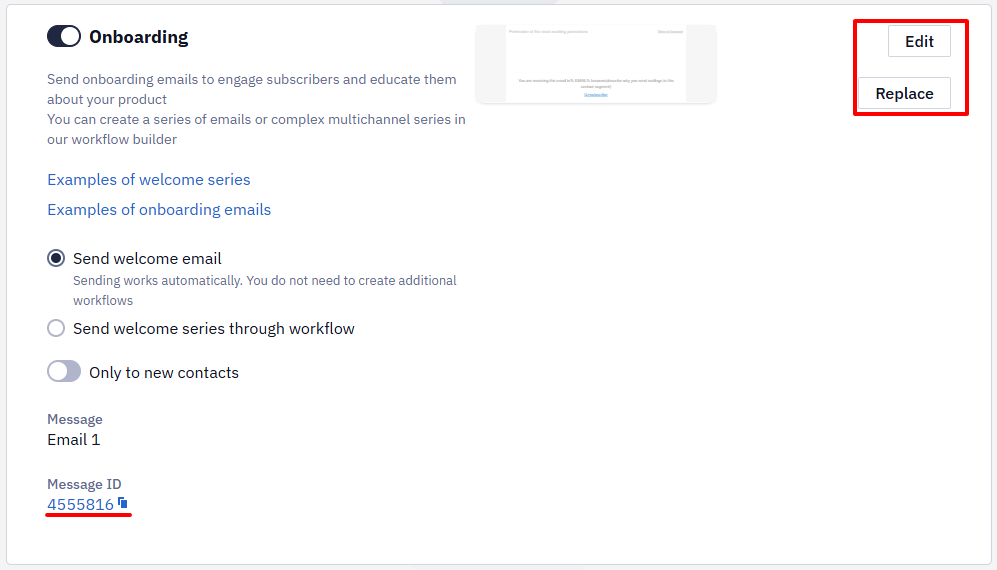
NoteThe email will be sent automatically, it is not necessary to create an additional workflow.
If you selected the Send welcome series through workflow option:
- Select the event type from the dropdown list. It only displays event types from the Subscribe/Unsubscribe category.
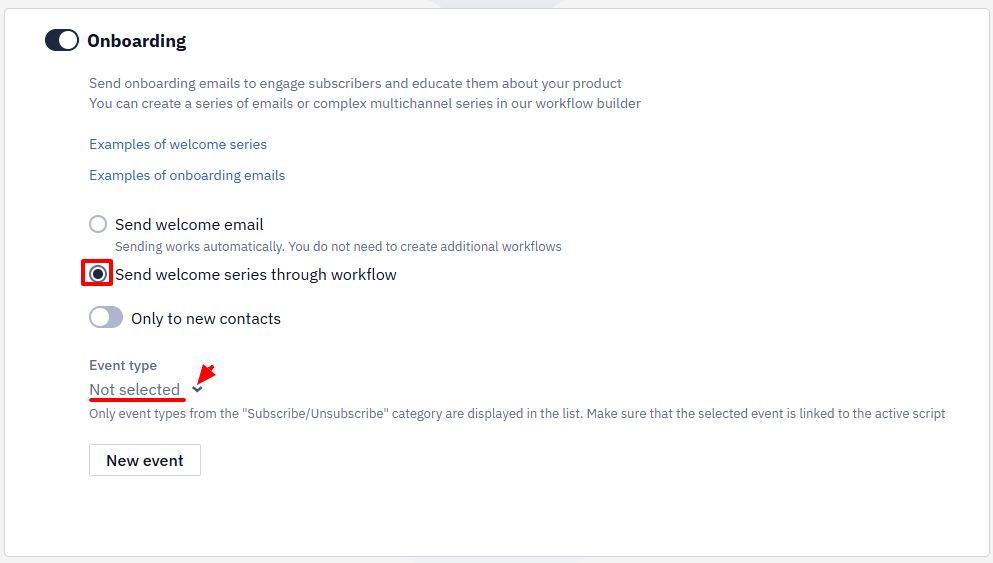
Or
- Click the New Event button and create the new event type in the opened window. Read more in this article.
Important
- The welcome series workflow is triggered only after a contact confirms their email address. You do not need to add the Contact confirmed condition in such workflows.
- To trigger the welcome series workflow, you must select the same event type as selected in the widget settings.
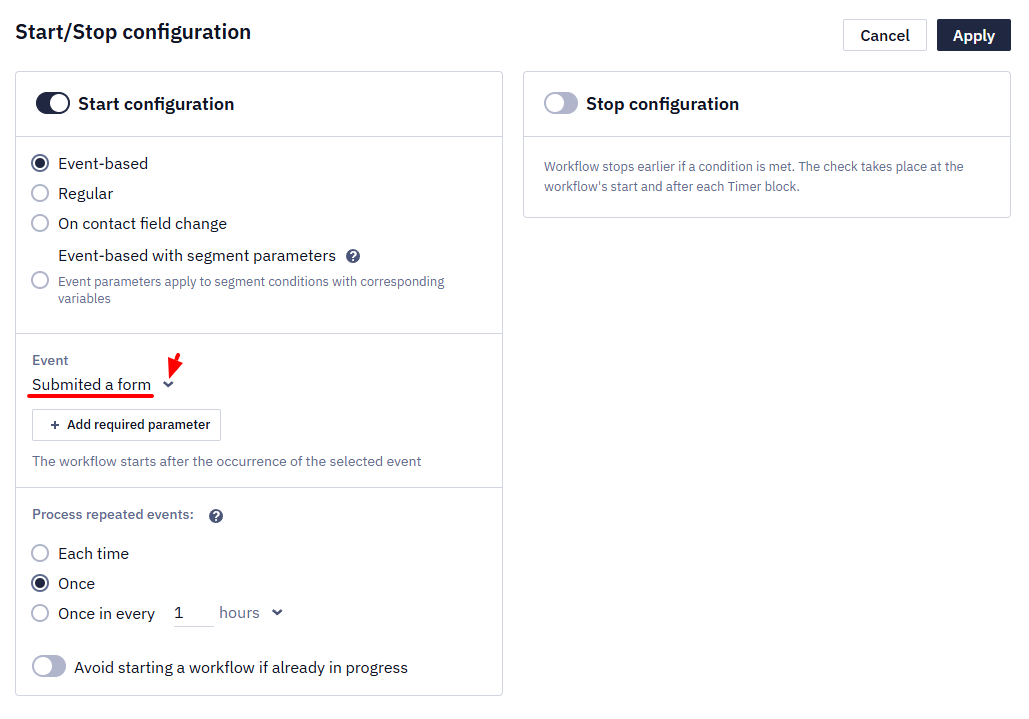
Activate the toggle Only to new contacts to avoid sending a welcome campaign to existing contacts.
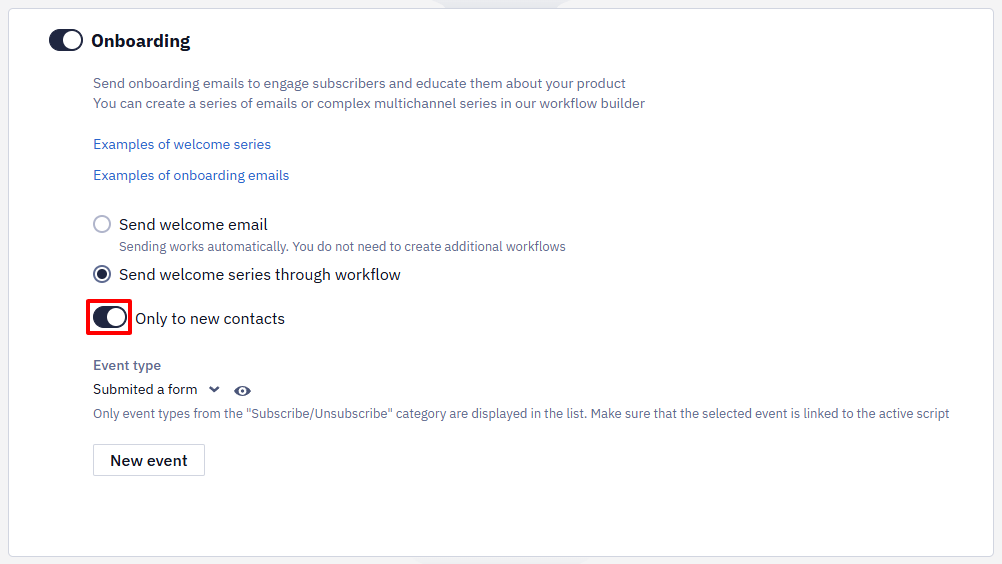
After that, create a welcome workflow and select the event specified in the form in its launch settings.
Contact Channels After Subscription
A subscription through a widget matches the contact in this order: external ID → email and phone together → email → phone → token. A channel that already exists in the account — on an active or a deleted contact — is not written, so that no duplicate appears. If the phone number filled in the form already belongs to another contact, that number reaches neither the contact profile nor the data that starts the workflow: the contact matched by email gets the event. When the workflow after the widget sends to a phone number, add a branch for contacts without one. See Contact Identifiers and Matching.
Updated 5 days ago