
Creating Additional Fields
Additional fields in contact cards are created to store specific information about contacts — their personal promocodes, memorable dates, location, etc. Creating fields allows for advanced contact segmentation and deeper personalization of communications.
Additional Fields Tab
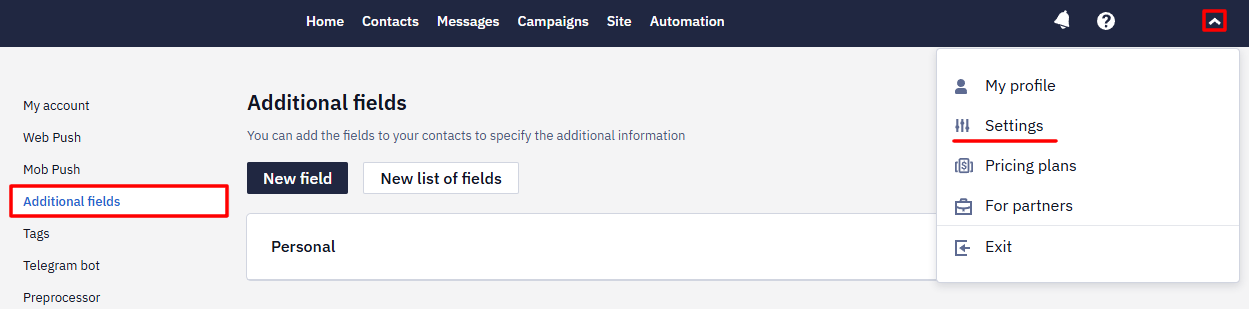
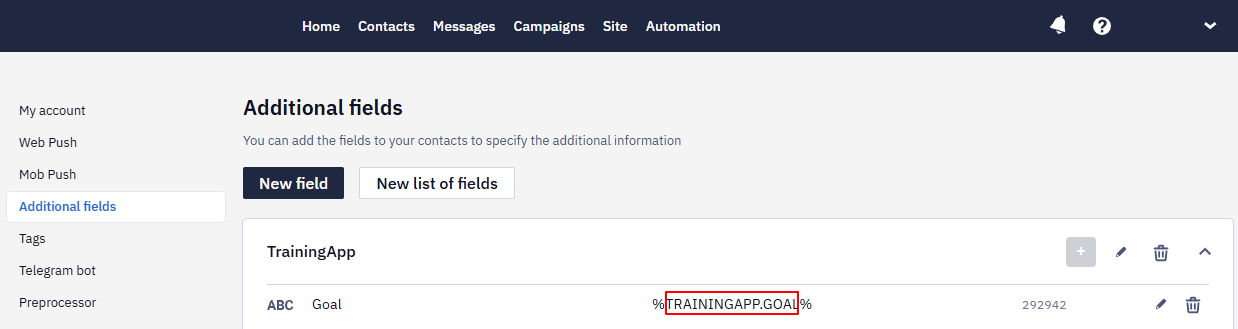
Additional fields are listed in the account settings → Additional fields tab (by default, there is only the Personal list with the Birthday and Gender fields).
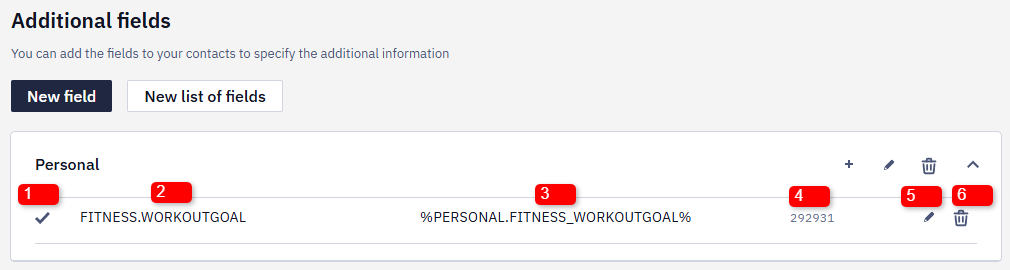
The list of additional fields displays:
- Field type (text input, date, etc.)
- Field name.
- Variable for automatically inserting the contents of the field into the message and updating contact cards with event parameters via SDK.
- Field ID.
- Edit field button.
- Delete field button.
You can create lists and add fields to them.
Creating a List
Creating lists allows you to group fields by a specific common value: personal data, product preferences, etc. The algorithm for creating a list of fields is as follows:
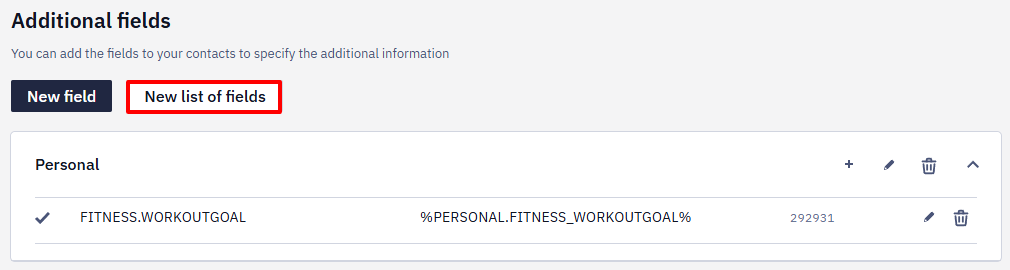
- Click the New list of fields button.
- Enter a name for the list, for example — Onboarding for all fields to be filled in on onboarding, Usage Statistics — for all fields that are calculated.
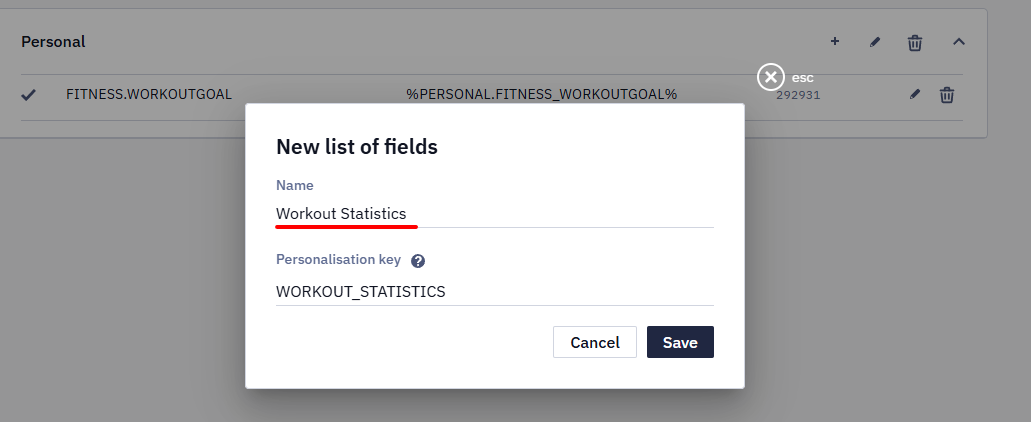
- The personalization key is generated automatically based on the name, but you can change it. This key is used when creating a variable for a field from this list (therefore, it is better to choose a more concise option).
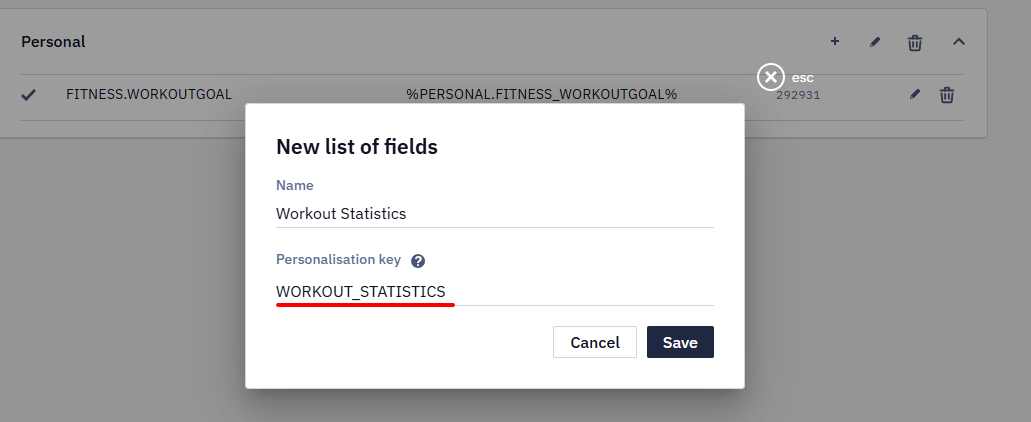
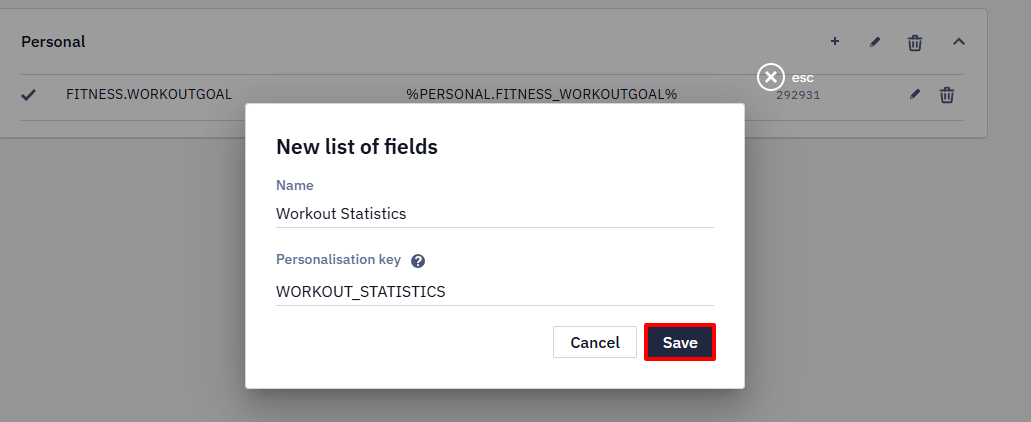
- Click Save.
Note
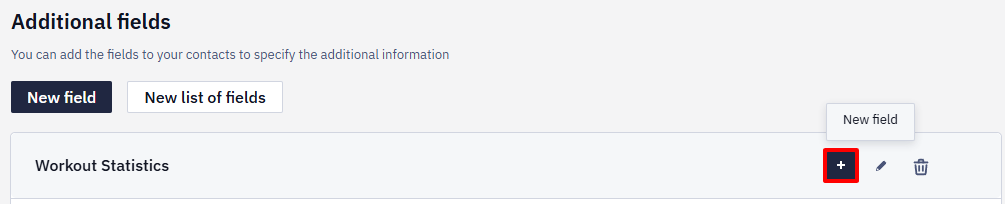
- A list will be inactive until the first field is added to it
- Before you delete a list with fields, delete the fields it contains
Adding Fields
- Click plus to create a field in the list.
- Specify the field's name and, if necessary, edit the automatically generated personalization key.
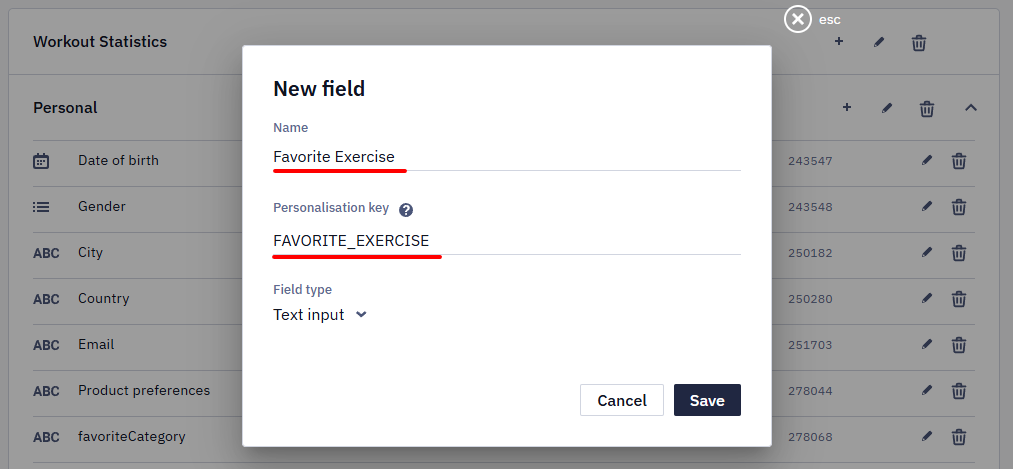
- Select the field type (by default, it is saved as a text input).
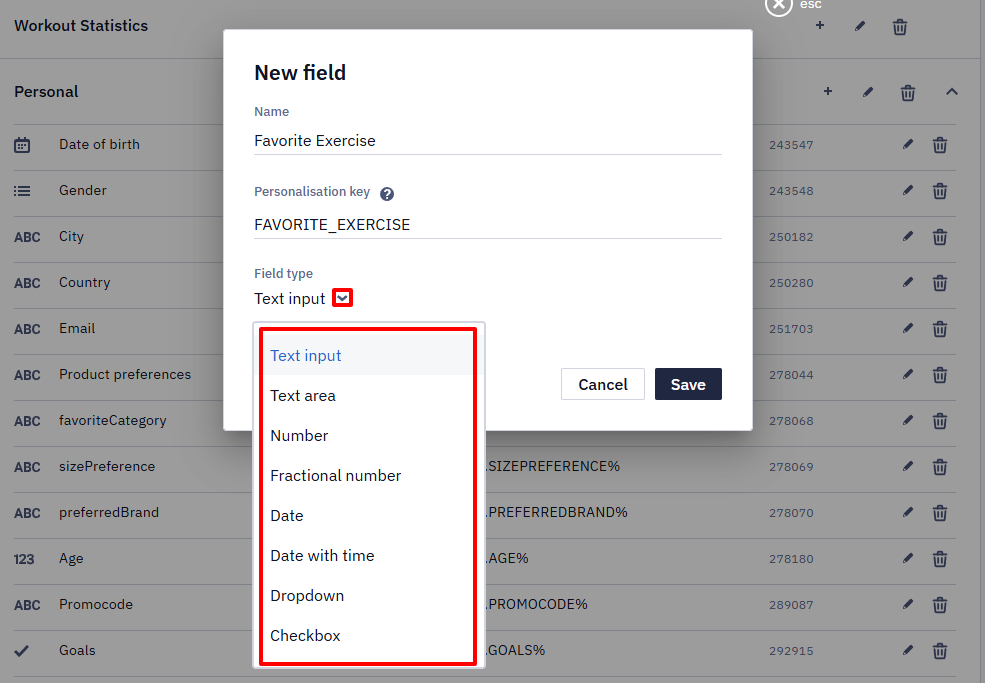
Field Types
Depending on the contact data type, the following field types are available in the system:
- Text input can contain up to a thousand characters, both letters and integers. Special characters are not supported. You can use this field type, for example, to record the name and address of a contact.
- Text area can contain up to five thousand characters, both letters and integers. Special characters are not supported. You can use this field type, for example, to record answers to detailed questions.
- Number can only contain integer values from -2147483647 to 2147483647 (order ID, number of bonuses, etc.)
- Fractional number can contain whole numbers and fractions (amount of orders, etc.)
- Date – values must be transmitted in the ISO 8601 format . Date format:
YYYY-MM-DD. The Regular date option is used to create dynamic segments for regular communication around recurring events such as anniversaries, birthdays, etc.
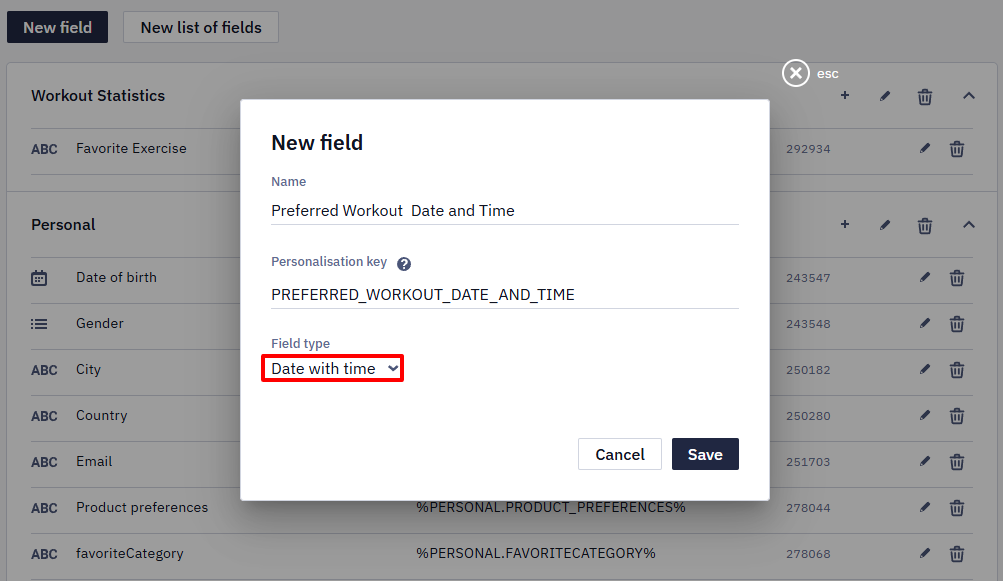
- Date and time — accepted formats:
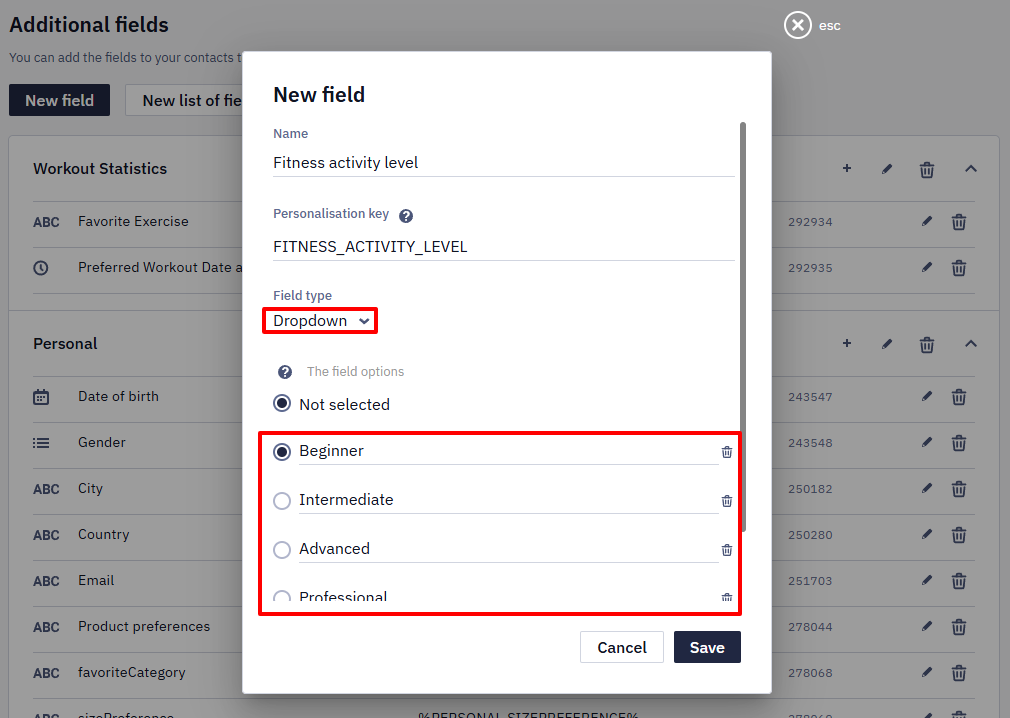
YYYY-MM-DDTHH:mm:ssZfor UTC orYYYY-MM-DDTHH:mm:ss±HH:mmwith a UTC offset. Use this format for date-and-time values, such as promo code validity periods. - Drop-down list contains predefined values: gender, status, or language of a contact.
ImportantDo not use the period symbol in the field name. For example, you can write Marital status separated by a space or underscore
- The Checkbox allows a contact to select more than one answer option.
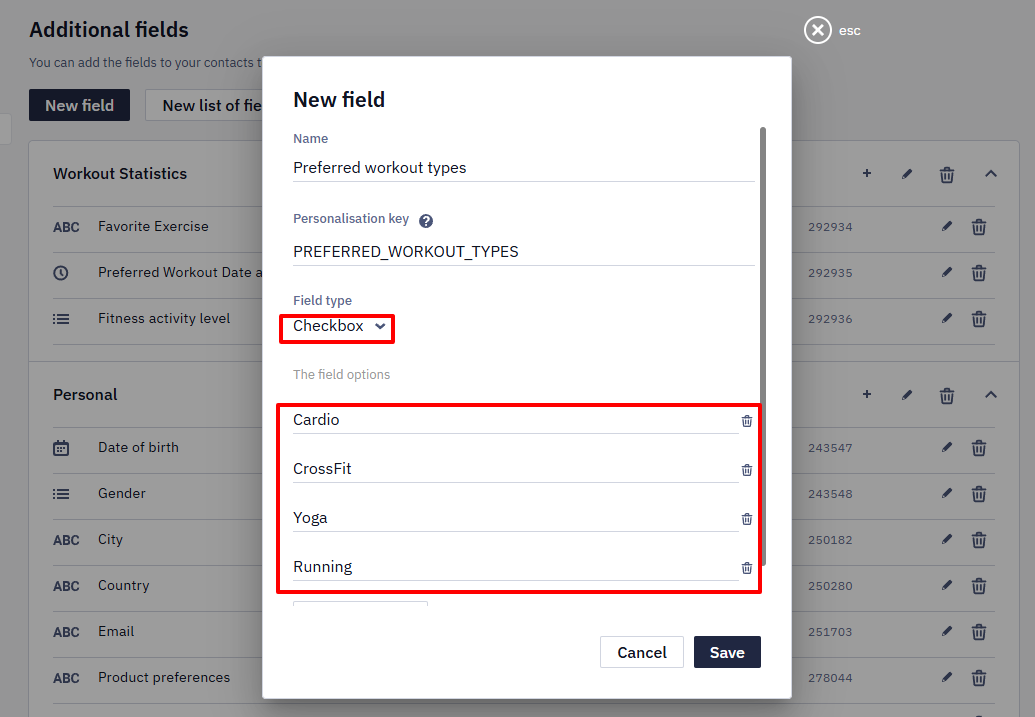
To write or update a checkbox field using the Add/update contacts API method, pass the field ID (the numeric value specified in the list of fields) in the fields array and specify the value separated by commas:
{
  "fields": [
    {
      "id": 87166,
      "value": "Chinese"
    }
  ]
}
Also, specify the customFieldsIDs object identifier, which lists additional field IDs to update. Only additional contact fields which IDs are in this list are updated.
NoteAfter creating an additional field, the system will require up to an hour of synchronization before the field becomes available via АРІ.
Updating Custom Fields with Data from Custom Events via SDK
Use contacts' fields variables without % characters as a key to update corresponding contact fields via SDK.
Android example:
{
   "userAttributes":{
      "email":user.mail,
      },
      "fields":[
         {
            "key":"TRAININGAPP.GOAL",
            "value":"lose weight"
         }
      ]
   }
}

Reteno.setUserAttributes(externalUserId: String, user: User?)
iOS example:
let UserAttributes = .init(
    email: user.email
    fields: [.init(key: "TRAININGAPP.GOAL", value: "lose weight")]
}

Reteno.updateUserAttributes(externalUserId: "USER_ID", attributes: UserAttributes)
Updated 28 days ago