
Creating a Web Push Notification
Setting up Web Push includes:
- Creating a Google Project to collect tokens for web push notifications.
- Adding a website to your Reteno account.
- Configuring permission request prompt.
After finishing all the necessary settings, you can create a Web Push campaign.
Creating New Web Push Notification
Go to Messages → Messages → Web Push. Click the New Web Push button
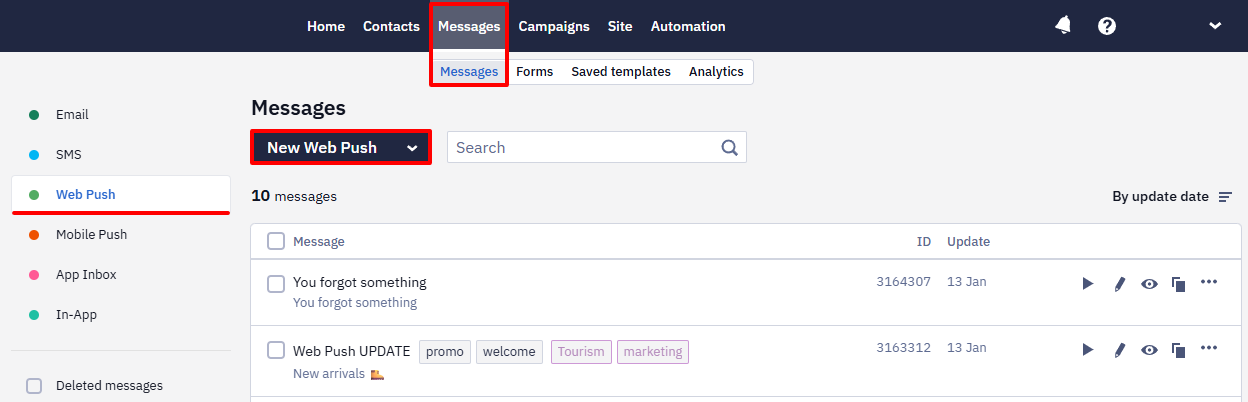
Main settings
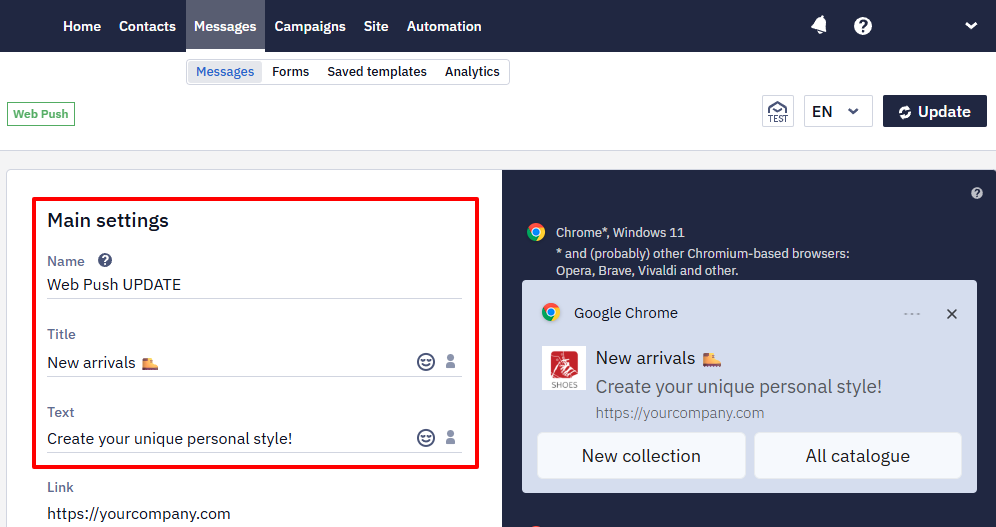
Fill in the following fields:
- Name. The system name that the recipient will not see.
- Title. Stick to no more than 30 characters for correct display on different devices.
- Text. The main content of the Web Push. The optimal number of symbols is 45-70.
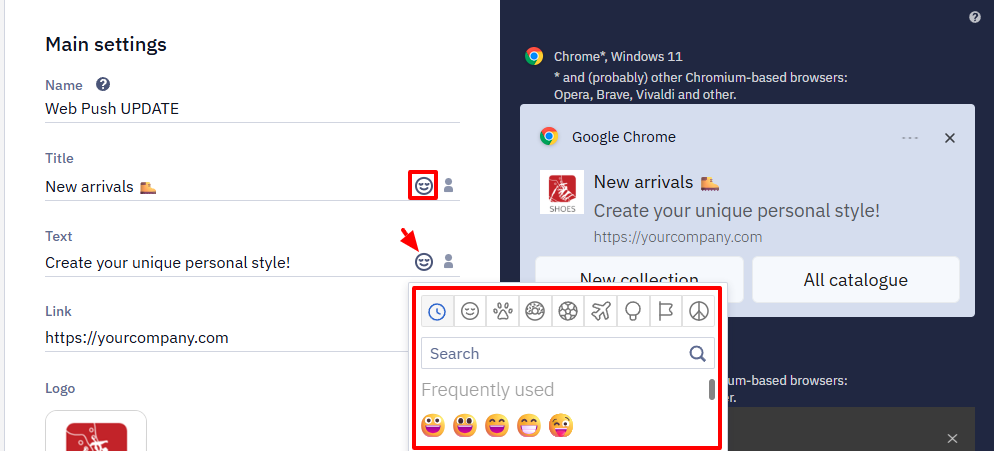
Use emojis in the title and text fields to improve interaction and capture users' attention.
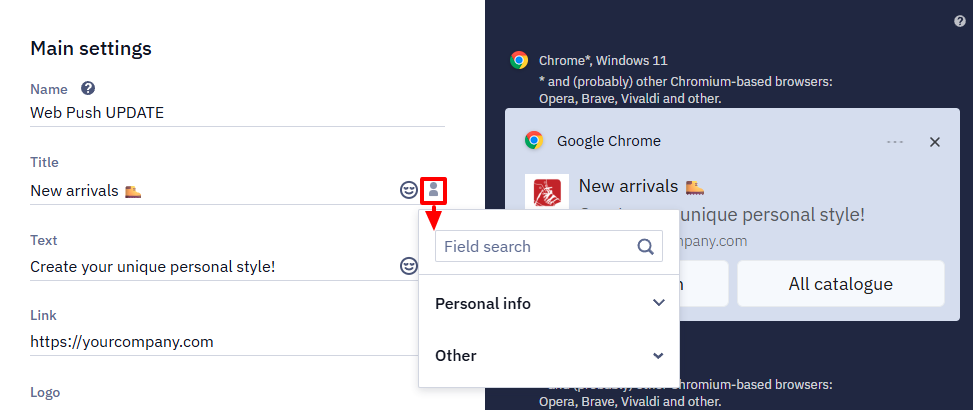
- Personalization. Use the dynamic variables to add a name, city, bonuses or any personal data available in the user profile. Click on the Personalization icon in the Text or Title field to select data.
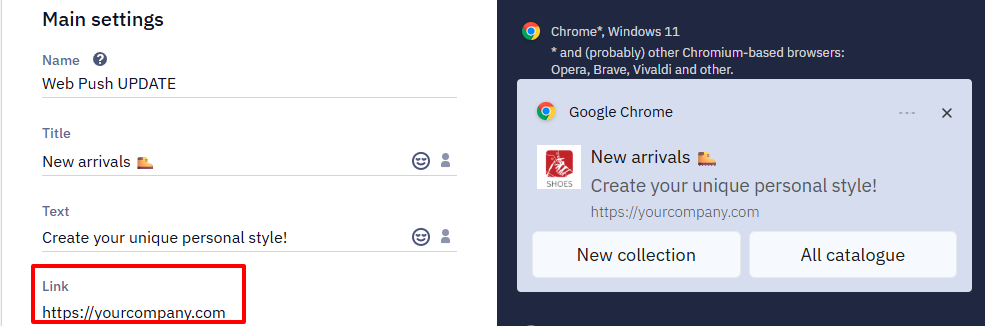
- Link. Add the landing page URL.
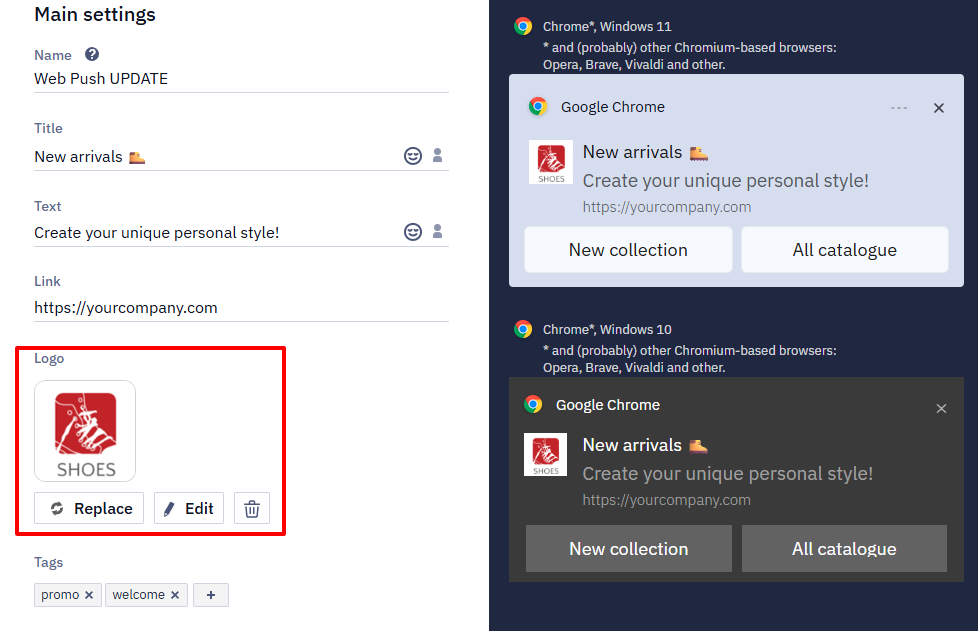
- Logo. Upload
JPEGorPNGfile up to 128 KB. You can also use a variable or a link to the image. Use only thehttpsprotocol for direct references in expressions.
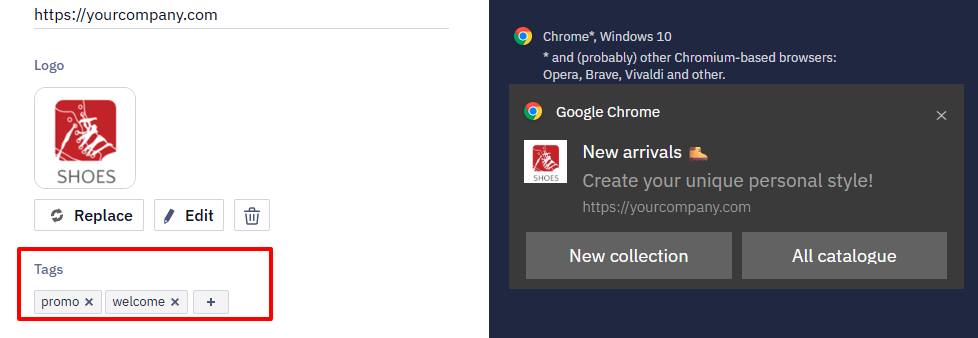
- Tags. Select tags from the list or enter a new one and click Enter. Use tags to filter search results and set campaign frequency strategy.
Chrome settings
Fill in the following fields:
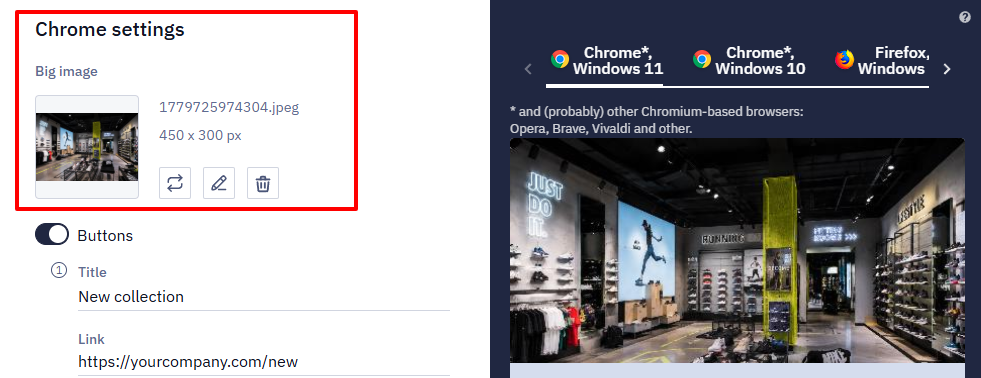
- Big image. Upload
JPEGorPNGfile up to 1.89 MB. You can also use a variable or a link to the image. Use only thehttpsprotocol for direct references in expressions.
The image is passed to the browser as is: the browser or the operating system scales and crops it, so it can look different on different platforms.
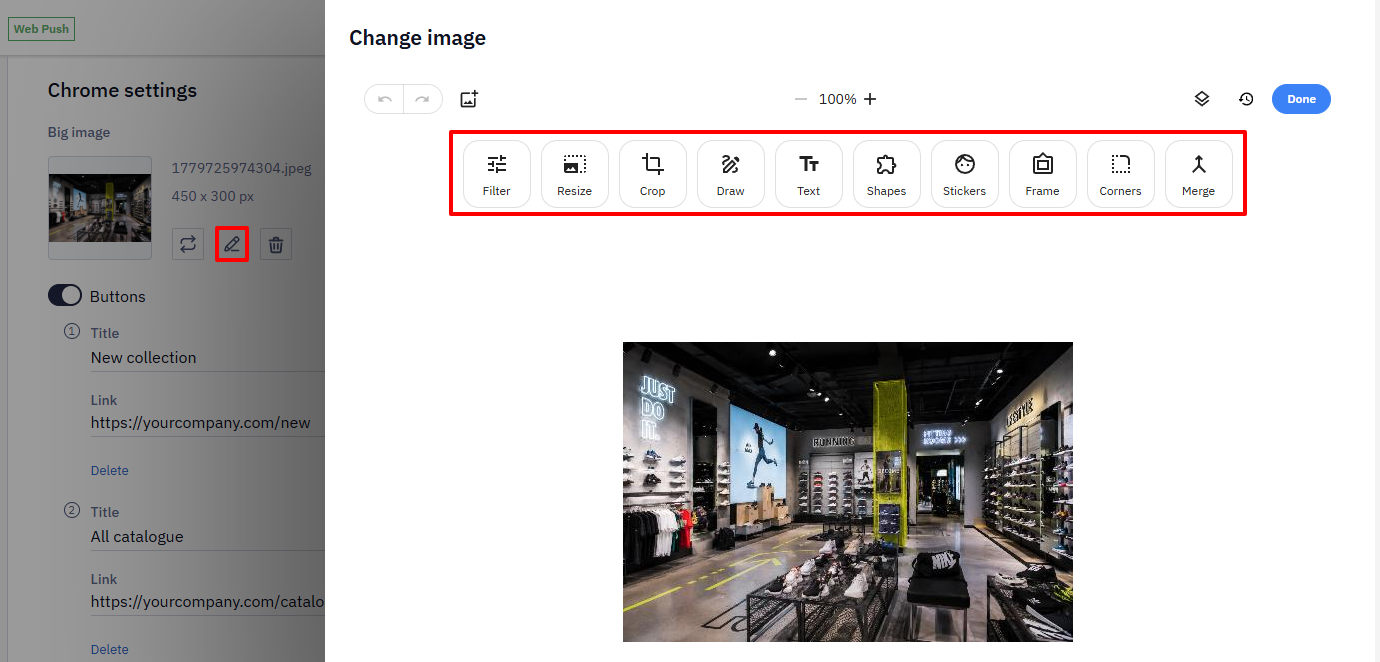
NoteYou can edit Logo and Big image directly in the editor when uploading (if it does not meet the requirements) or after uploading (the Edit button). After editing, the image is saved in
PNGformat.
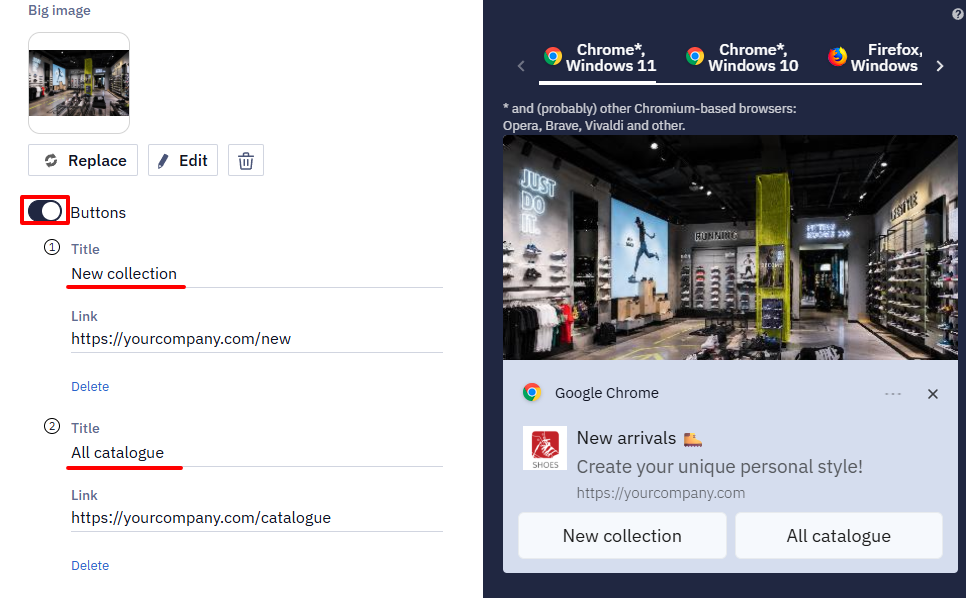
- Button. You can add one or two buttons with the following parameters:
- Title — the text on a button.
- Link.
Additional settings
Fill in the following fields:
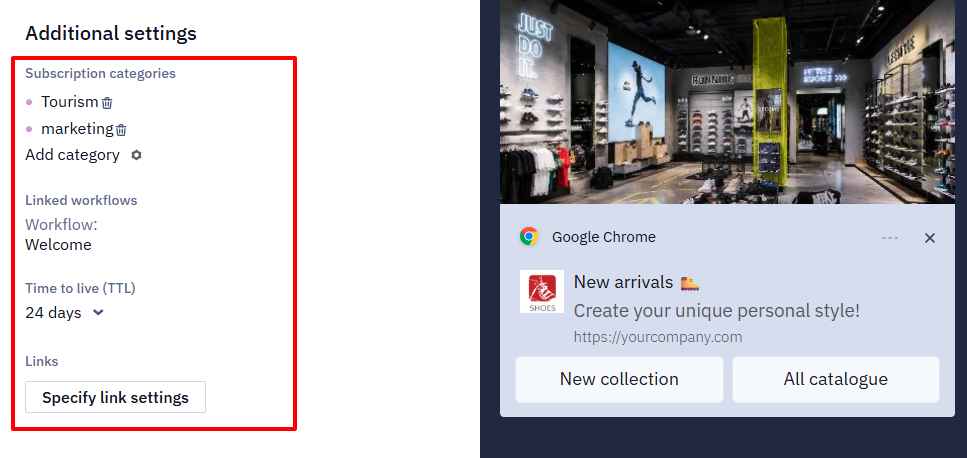
- Subscription categories. Manage subscription categories to send messages to your contacts based on their preferences.
- Time to Live (TTL). TTL — the period after which the message will not be displayed if it has not been delivered by this time. By default, it’s 1 day, but you can select other options.
- Links. Configure link settings for UTM tags. Learn more >
Multilingual version (optional)
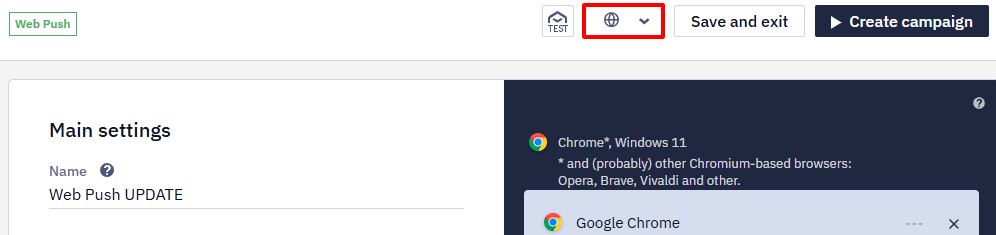
In our platform, you can create a multilingual version of any message. Click the Globe icon in the top panel, specify the default language, and add language versions. Fill each version with the content in the corresponding language. You can switch between versions within one template in one click.
Learn more about multilanguage >
Testing Message
You can test a message in two ways:
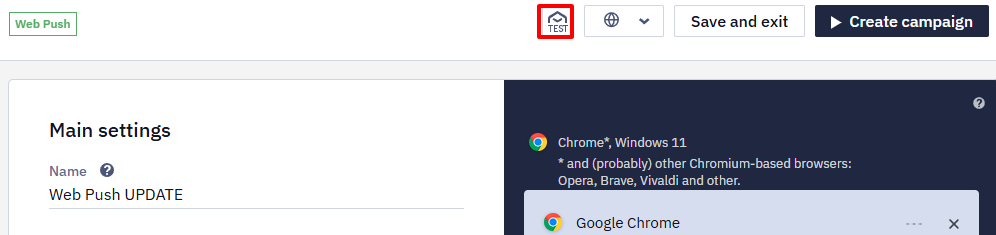
- In the message editor, click the TEST button on the top panel.
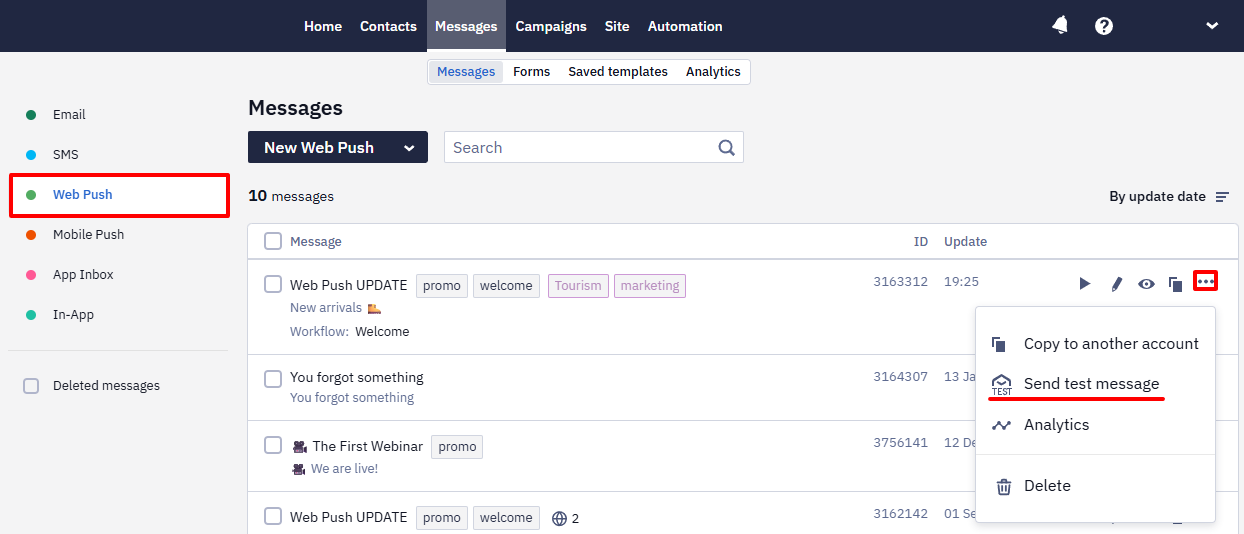
- From the message list — open the menu with three dots to the right of the message name and select Send test message.
Creating Campaign
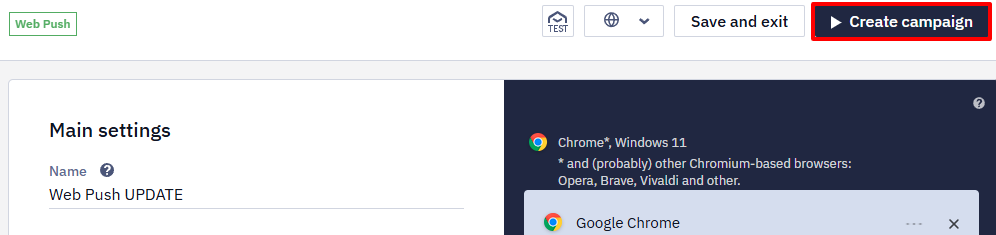
- Click on the Create campaign button.
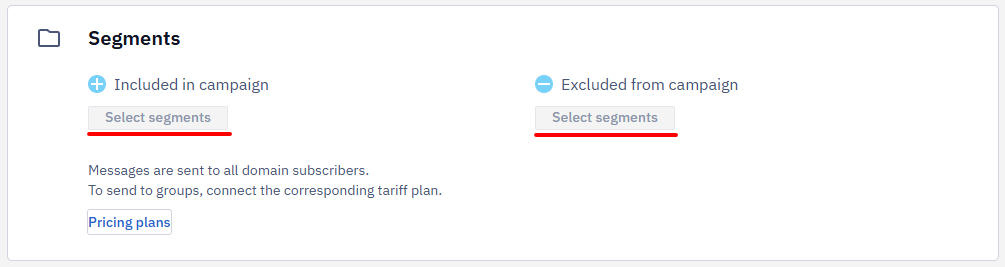
ImportantMessages are sent to all domain subscribers. To send to segments, connect the GROWTH pricing plan.
- On the general checkout page:
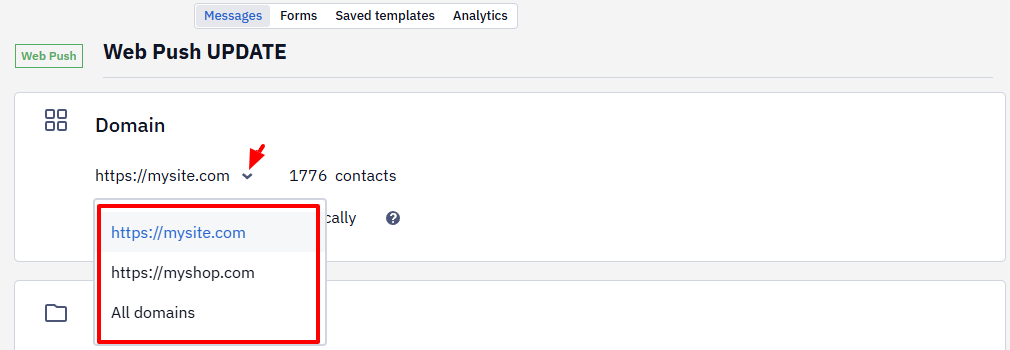
- In the Domain section, select the domain you want to send the message to. If you want to send the campaign to all domains, select the appropriate option from the drop-down list.
- The message will be on the screen until the contact clicks on it or closes it. You can activate the switcher to hide notification automatically.

- In the Segments section, you can select segments to include or exclude from the campaign.
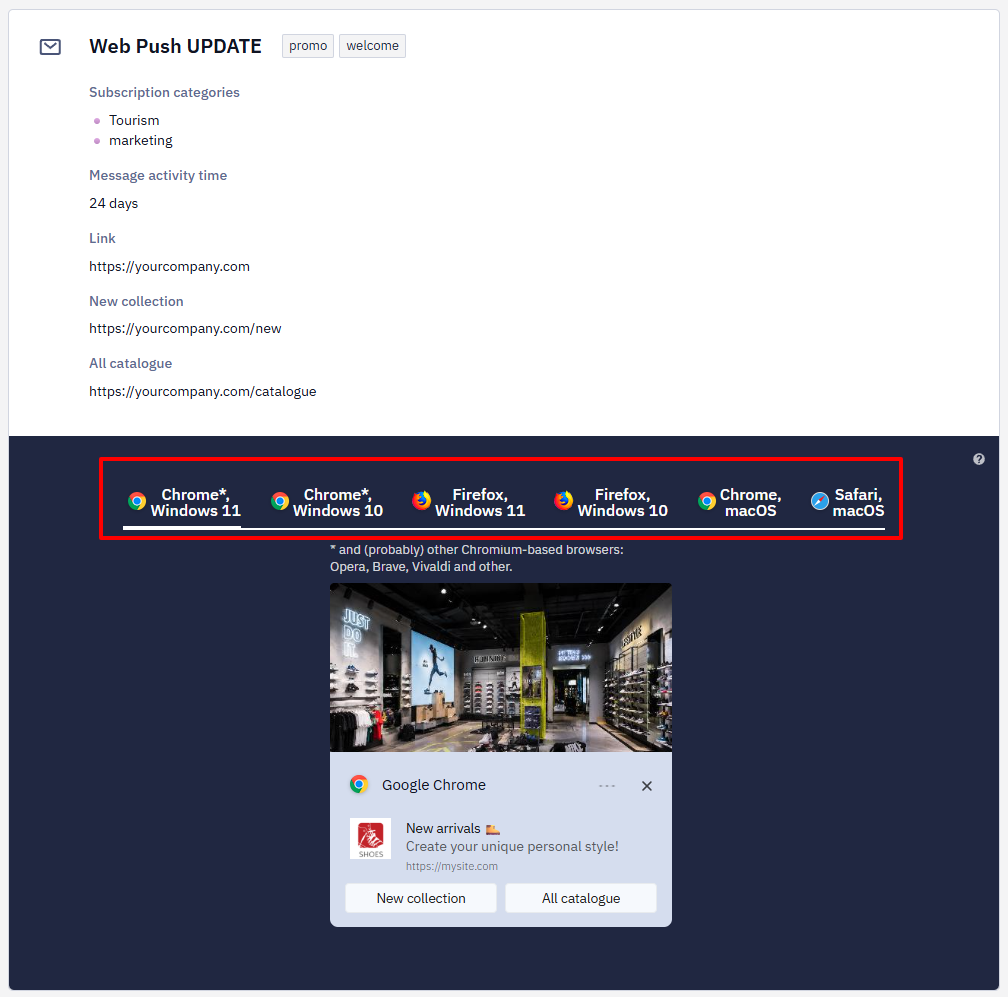
- See all the necessary information for verification: Subscription categories, Message activity time, Links, and Button titles. You can see how the message will look on different operating systems:
- Windows – Chrome, Firefox browsers.
- macOS – Chrome, Safari browsers.
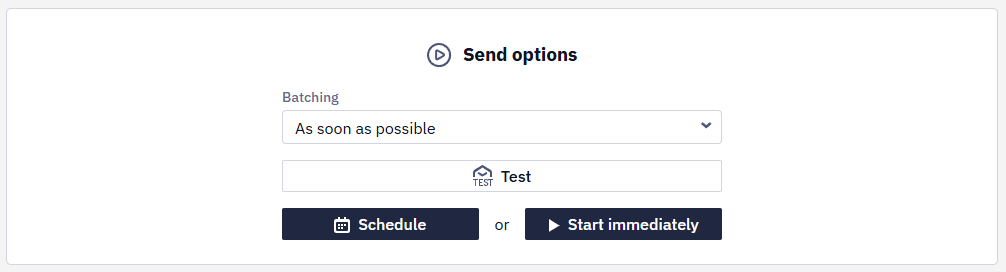
- In the Send options, you can set the batching. Click the Start immediately button to launch the campaign. For a delayed start, select the Schedule button and set the date and time of sending.
Updated 8 days ago