
Quickstart Guide
This guide will walk you through the integration process, covering essential steps such as managing user data, setting up communication channels, and SDK integration. By the end, you'll be equipped to fully leverage Reteno to engage users, drive growth, and optimize communication workflows in your mobile app.
1. Create Account
First, visit reteno.com to create an account. During the sign-up process, you’ll be asked to provide details about your app, country, and time zone. Once these steps are completed, your account will be set up, and you'll be ready to begin integrating your mobile app with Reteno.
2. Add Contacts
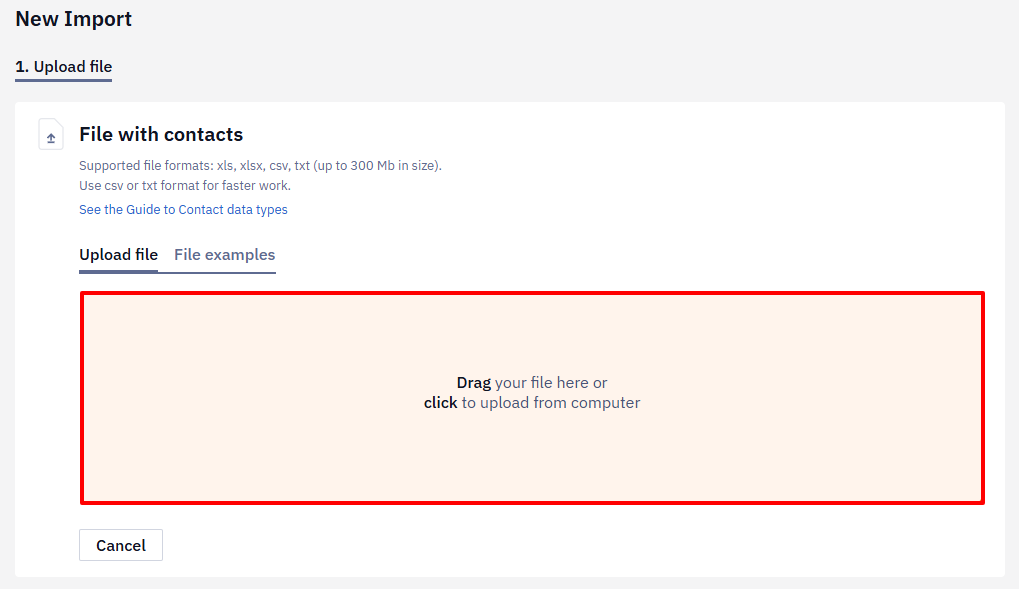
Importing File
Reteno allows for seamless bulk contact import via a CSV, XLS, XLSX and TXT file.
NoteUse
CSVorTXTformat for faster work.
- Upload File: Navigate to the Contacts → Import section and upload the CSV.
- Map Fields: Ensure that each column in your file is mapped to the appropriate contact data fields (e.g., email, name, subscription type, goal). Correct field mapping is crucial for further real-time contact updating.
- Review Import: Review the import summary, which flags any errors or incomplete data.
After correcting errors, define segments for storing contacts and complete the import process.
See details on contact importing >
Real-time Updating
Our backend API will help you keep your data up-to-date.
- Generate API Key: To enable real-time updates for contact data, navigate to the API Settings and generate an API key. This key will allow secure communication between your system and Reteno.
- Invite Developer: Share the API key with your development team or invite a developer to your Reteno account to help set up the integration.
- Test Request: Have your developer run test requests to ensure the API is correctly set up. This will allow real-time updates to your contact data, such as adding new users or updating existing profiles.
By completing these steps, you'll be well on your way to leveraging Reteno for powerful user engagement and retention through automated, personalized campaigns.
See details on real-time contact updating >
3. Connect Mobile App & Integrate SDK
The first step in integrating with Reteno is connecting your app. You’ll need to provide the app name, select the target platforms, and connect the Notification Services (FCM/APNs). Once this is done, you can proceed with the SDK integration.
Integrating Reteno's SDK into your mobile app is crucial for maximizing user engagement, automating marketing processes, and driving app growth. Here's why your app should integrate the Reteno SDK:
- Seamless Data Synchronization: The SDK ensures that user data, including profile updates and activity tracking, is automatically synced with Reteno, allowing for consistent and up-to-date user insights across campaigns
- Event-Triggered Campaigns: You can set up event-based workflows that send targeted messages or offers in response to specific user actions, like completing a workout or passing a lesson, enhancing the user experience.
- Personalized Push Notifications: With Reteno’s SDK, you can send personalized push notifications to users based on their behavior, preferences, and app usage patterns, helping increase engagement and retention.
- In-App Messaging: Reteno’s SDK supports in-app messaging, providing another effective communication channel for promotions, offers, and user engagement within the app environment.
- Enhanced Segmentation: By integrating the SDK, you can collect detailed user behavior data, which allows for more refined audience segmentation, leading to better-targeted campaigns.
- Performance Analytics: The SDK also enables tracking of campaign performance and user interactions, giving you valuable insights into what resonates with your audience and helping to optimize your marketing strategies.
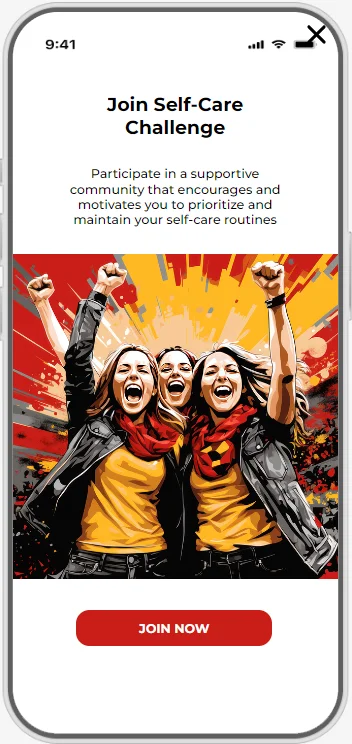
4. Set Up Mobile Pushes & In-Apps
Your app is connected — time to set up Mobile Push and In-App messages!
- Create Message: Use Reteno to design Mobile Push or In-App messages.
- Send Test Message: Send a test notification to your device.
5. Set Up Email Channel
Now that your contact base is uploaded, it's time to prepare for sending email campaigns.
- Domain Verification: Verify your email domain to ensure that your messages are delivered.
- Warm-Up Domain: Start by gradually sending emails to build the sender's reputation and avoid being flagged as spam.
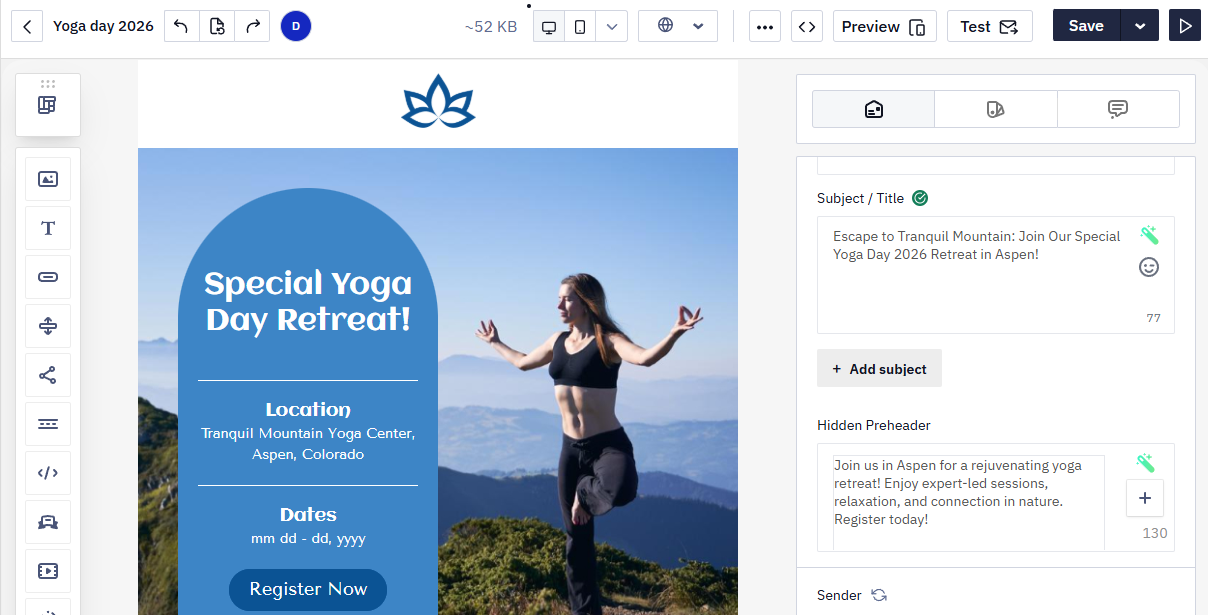
- Create Message: Design your first email campaign using Reteno's drag-and-drop editor.
- Send Test Message: Send a test email to yourself to verify formatting and content.
Once your test email looks good, you’re ready to start your campaign.
More on setting up email channel >
6. Create Campaign
Now that your channels are set up, you can start engaging users through targeted campaigns.
Broadcasts
Create a one-time broadcast to send a message to your entire contact base or a specific segment.
Workflows
Configure workflows of automated campaigns:
- Predefined Workflows: Choose from predefined workflows that align with your marketing goals (e.g., onboarding, re-engagement, reminders).
- Start/Stop Configuration: Easily configure when a workflow should start or stop based on user actions or other conditions.
- Workflow Editor: Use the workflow editor to design advanced, automated campaigns that trigger messages based on user behavior.
- Launch Test Workflow: Once your workflow is ready, launch it by the test request to ensure proper functionality.
Final Steps
With your contacts uploaded, channels set up, and campaigns ready to go, you're now equipped to leverage Reteno for full marketing automation. Start engaging your app users with personalized, data-driven campaigns today!
Updated 6 days ago