
Connecting Mobile App
Learn how to implement push notifications on Android and iOS devices.
Before you start sending push notifications in your mobile app using our system, you have to connect the mobile app to Reteno.
NoteIn the Pricing plan section, select the plan that best suits your organization based on the available number of mobile app tokens in your contact list.
To connect your mobile app with Reteno:
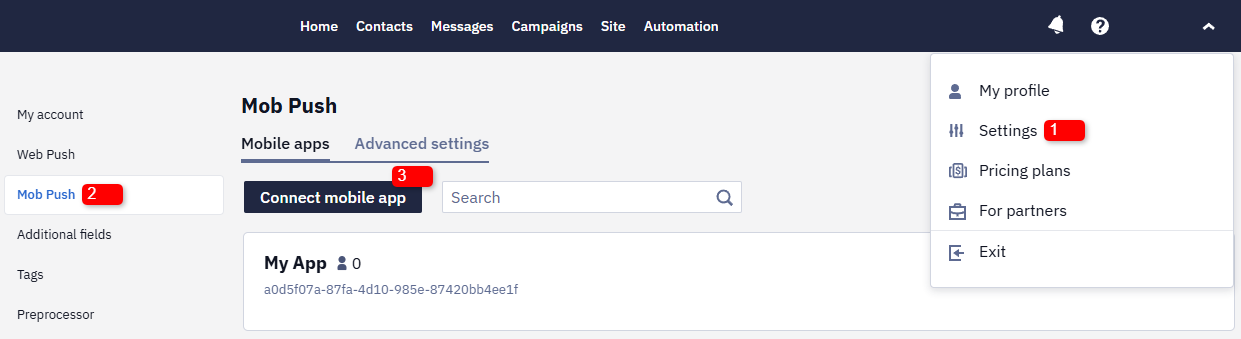
- Go to Account → Settings.
- Click Mob Push in the left-hand side menu.
- Click Connect mobile app on the Mobile apps page.
Create separate applications with different API keys for your stage and production environments — this keeps release risks down and lets you verify the final product before it ships.
There's no dedicated "sandbox mode" toggle. Isolation comes entirely from those separate apps: each has its own API key and Firebase/APNs credentials, its own contact base, and its own push delivery. A device is registered under whichever API key it currently uses, so switching that key re-registers it as a new contact under the other app — push history and subscriptions don't carry over between stage and production.
You can connect several apps that share the same bundle ID or Topic. One mobile app, though, can't be connected to two Reteno accounts at the same time: the mobile SDK access key is tied to a single account, and contacts in one account aren't accessible from another.
Workflows, event types, and messages are shared across the account and aren't tied to an app: events from a test build trigger the same workflows as events from a production build. If the test environment needs its own workflows or event types, create a separate account for it. If separating contacts, keys, and push delivery is enough, a separate app is all you need.
Step 1. App Name
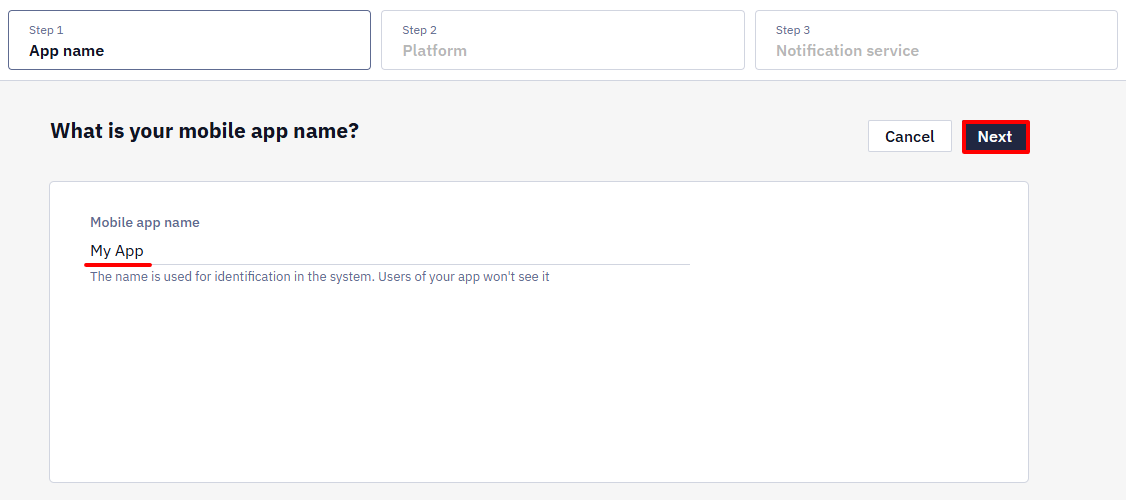
Type the application name in the Application name field.
Step 2. Platform
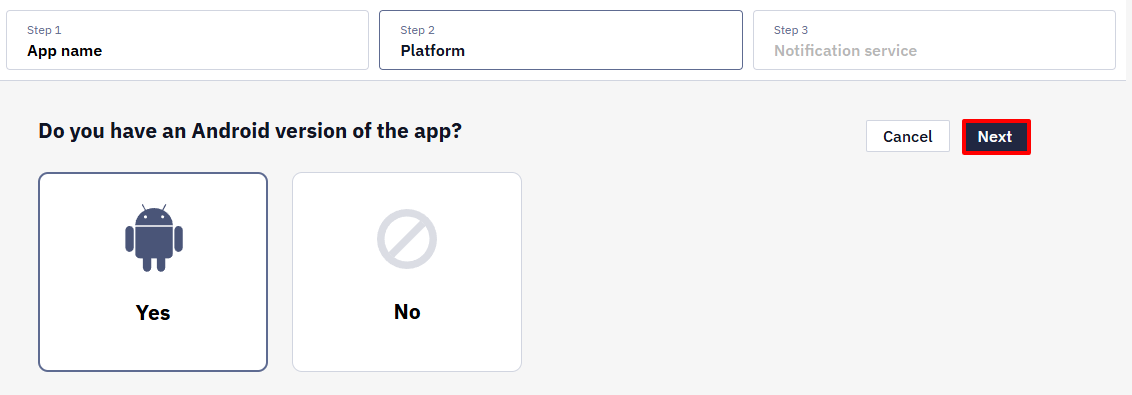
Select whether you need to set up Android and iOS mobile notifications.
Step 3. Notification Service
Depending on your choice in Step 2, you will have the following setting options:
- Firebase Cloud Messaging (FCM) for all platforms.
- Apple Push Notification Service (APN) for iOS.
- FCM for Android and APN for iOS.
FCM
- Click Upload file.
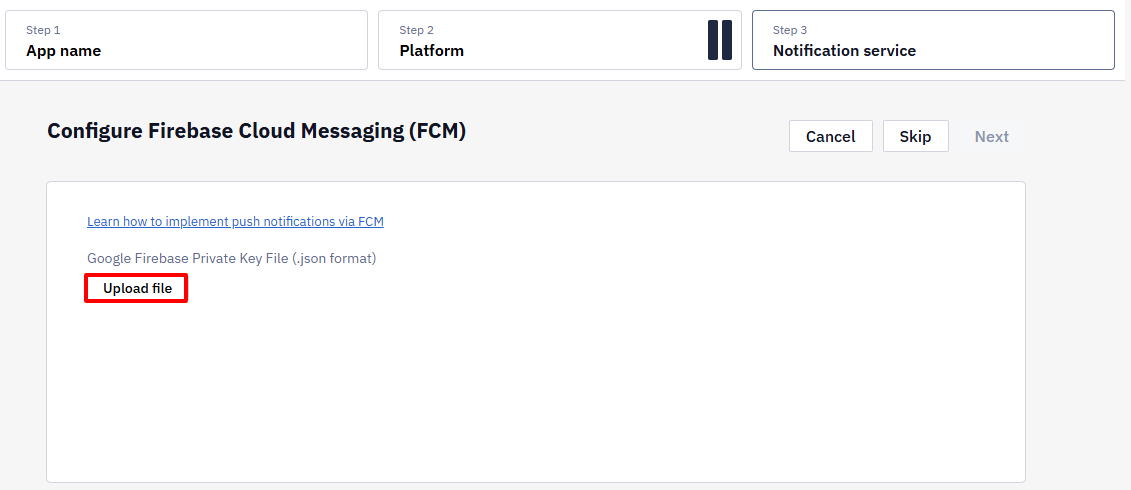
- Click on the field and upload the Google Firebase private key JSON file from your computer, or drag your JSON file and drop it in the field.
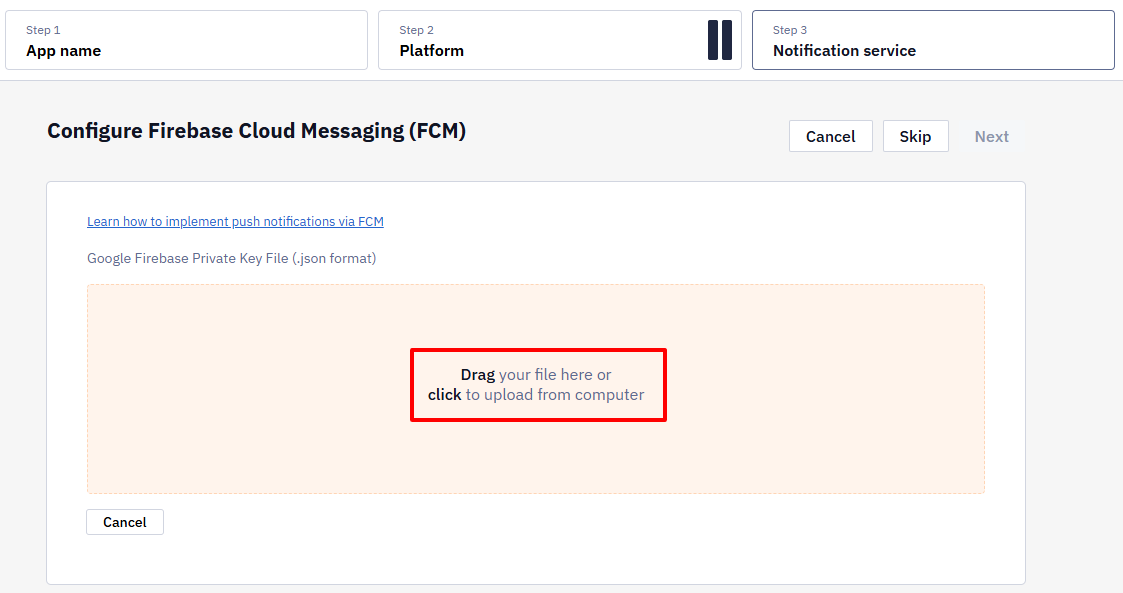
NOTESee the Firebase documentation for details on how to generate a private key file in Firebase.
- Click Next to complete the configuration.
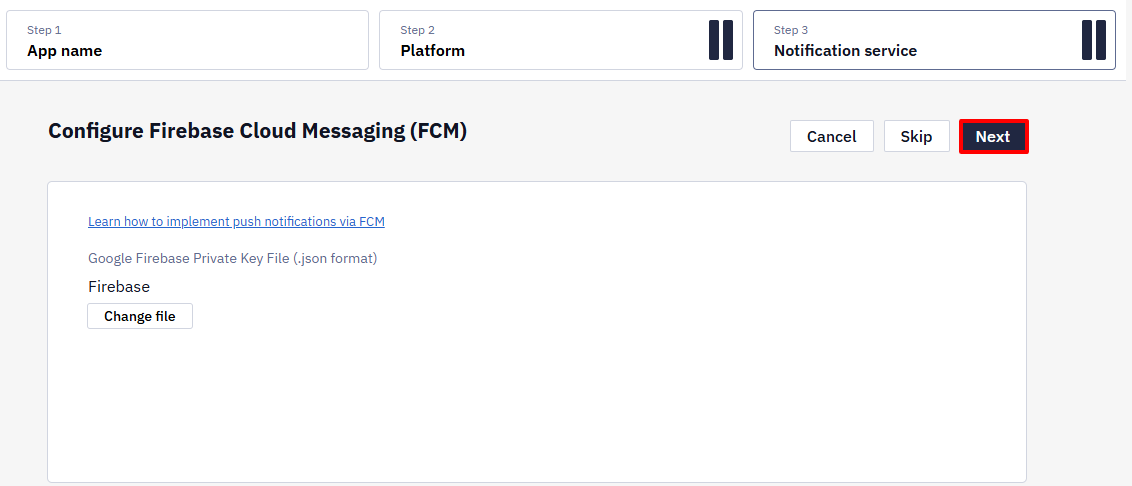
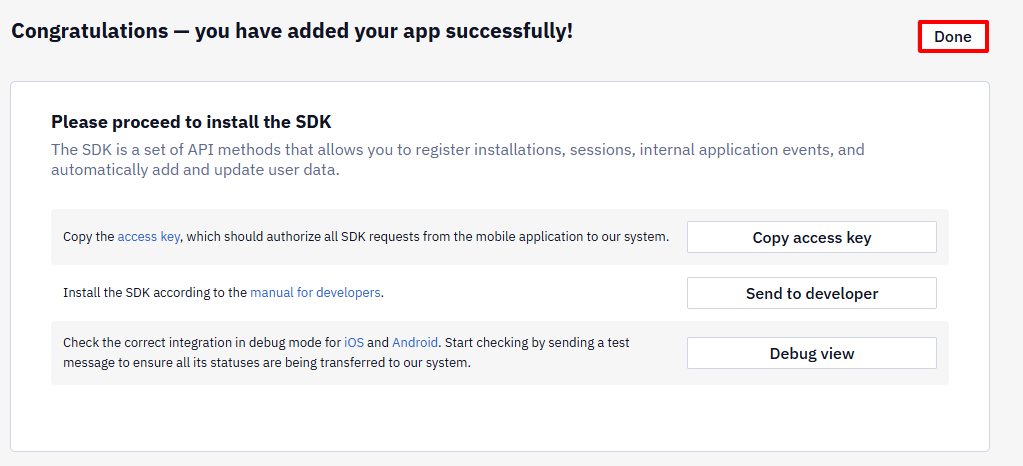
- Click Done on the top right of the window.
APN
Select one of two options:
- Using tokens
See the Apple Developer documentation for details on how to establish a Token-Based Connection to APNs
- Using certificates
See the Apple Developer documentation for details on how to establish a Certificate-Based Connection to APNs
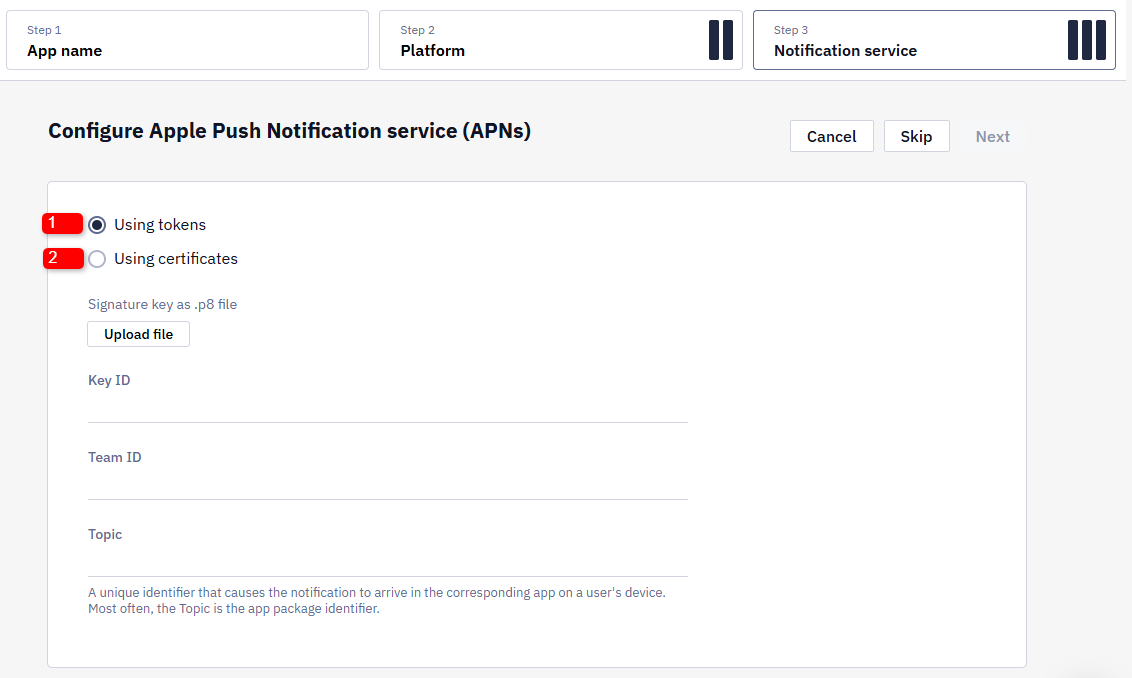
Using tokens
- Click Upload file.
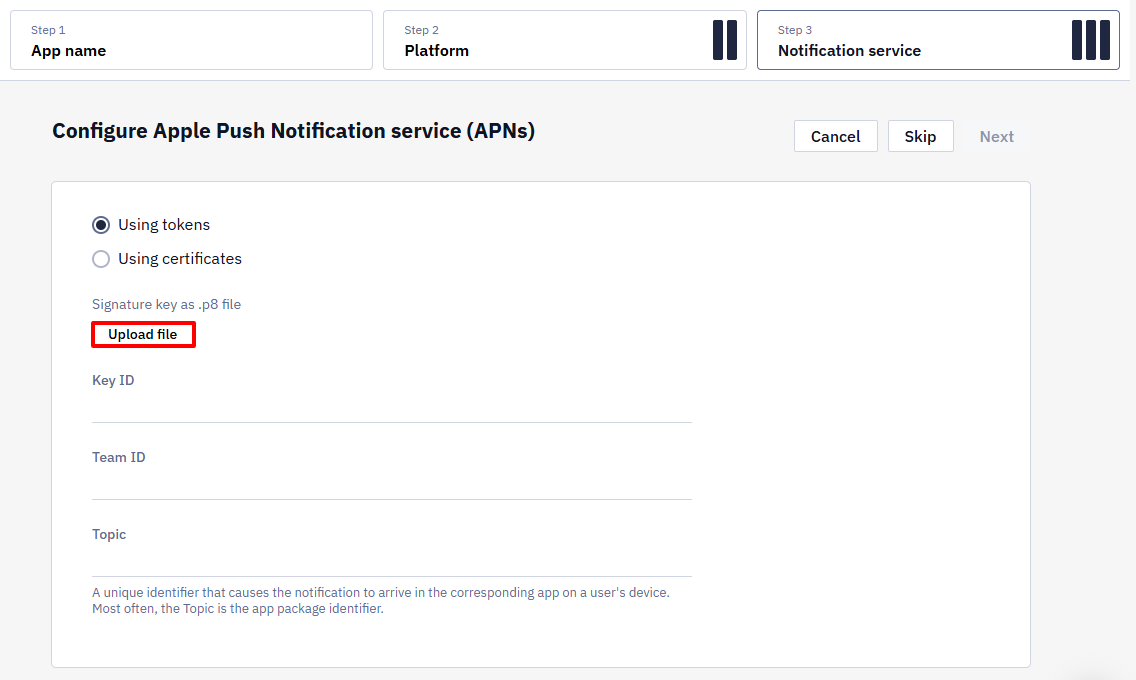
Read more about these fields >
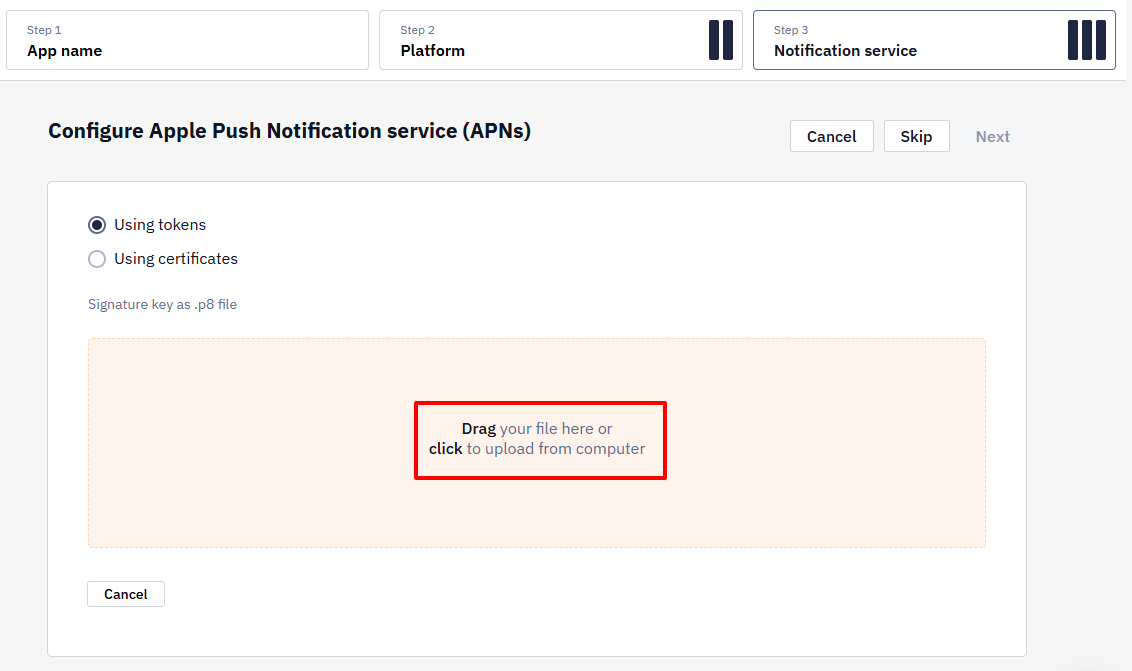
- Click on the field and upload the Apple push notification authentication key in
P8format from your computer, or drag your P8 file and drop it in the field.
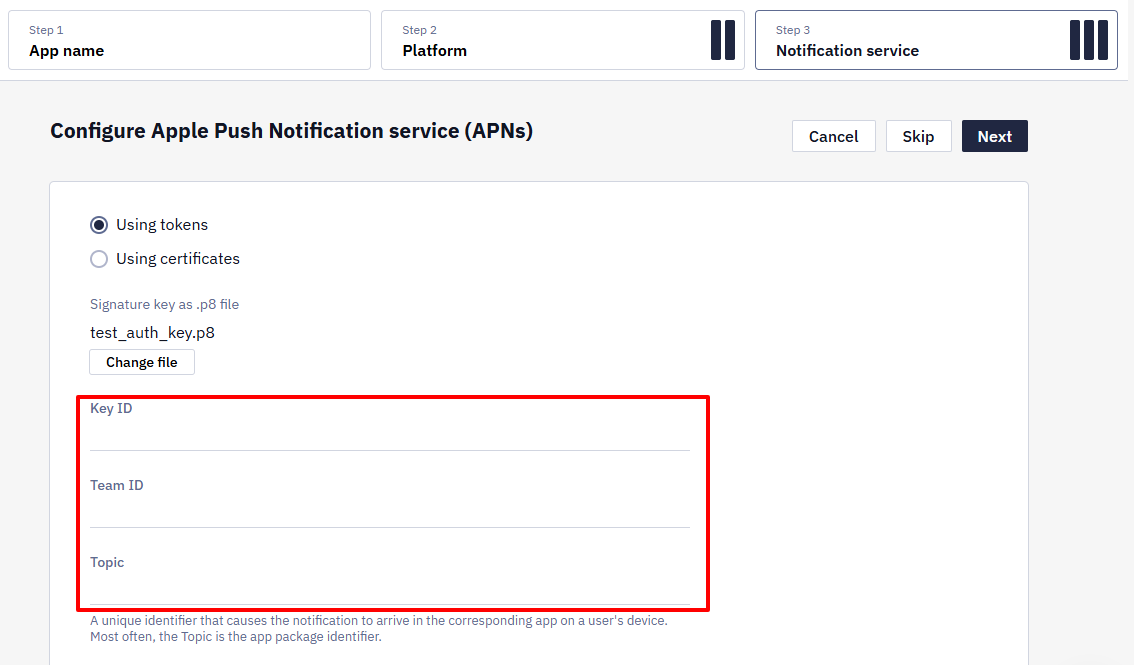
- Enter the following in the corresponding fields:
- Key ID — the 10-character key identifier you obtained from your developer account.
- Team ID — the issuer key, the value for which is the 10-character Team ID you use for developing your company’s apps. Obtain this value from your developer account.
- Topic — a unique identifier that causes the notification to arrive in the corresponding app on a user's device. Most often, the Topic is the app bundle identifier.
- Click Next to complete the configuration.
- Click Done on the top right of the window.
Using certificates
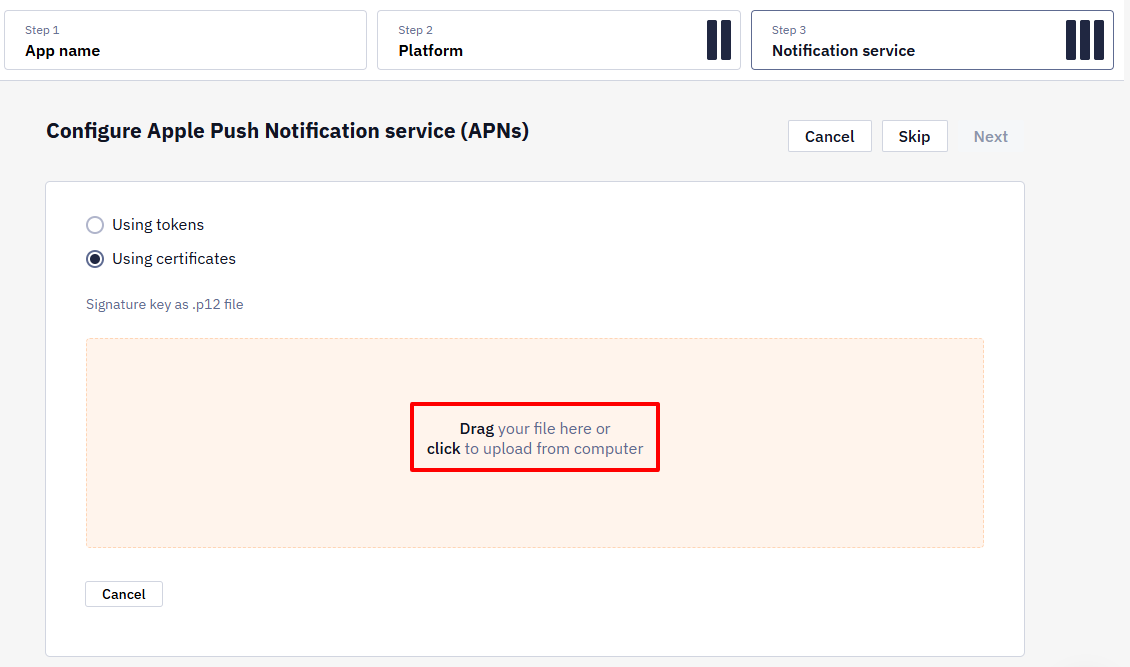
- Click Upload file.
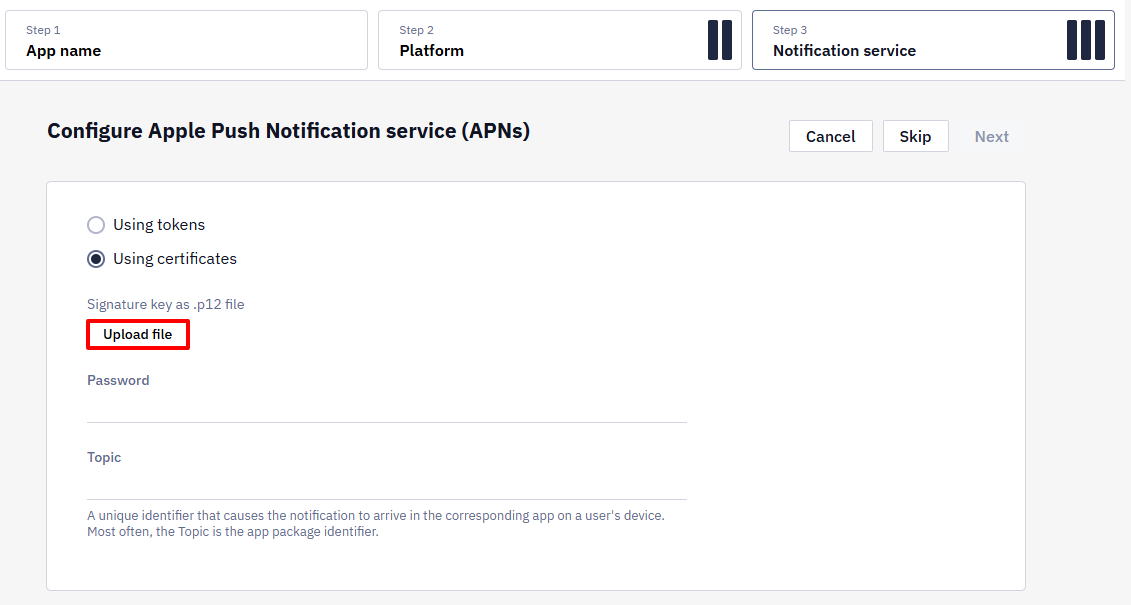
- Click on the field and upload the Apple certificate file in
P12format from your computer, or drag yourP12file and drop it in the field.
- Enter the Password and Topic in the corresponding fields.
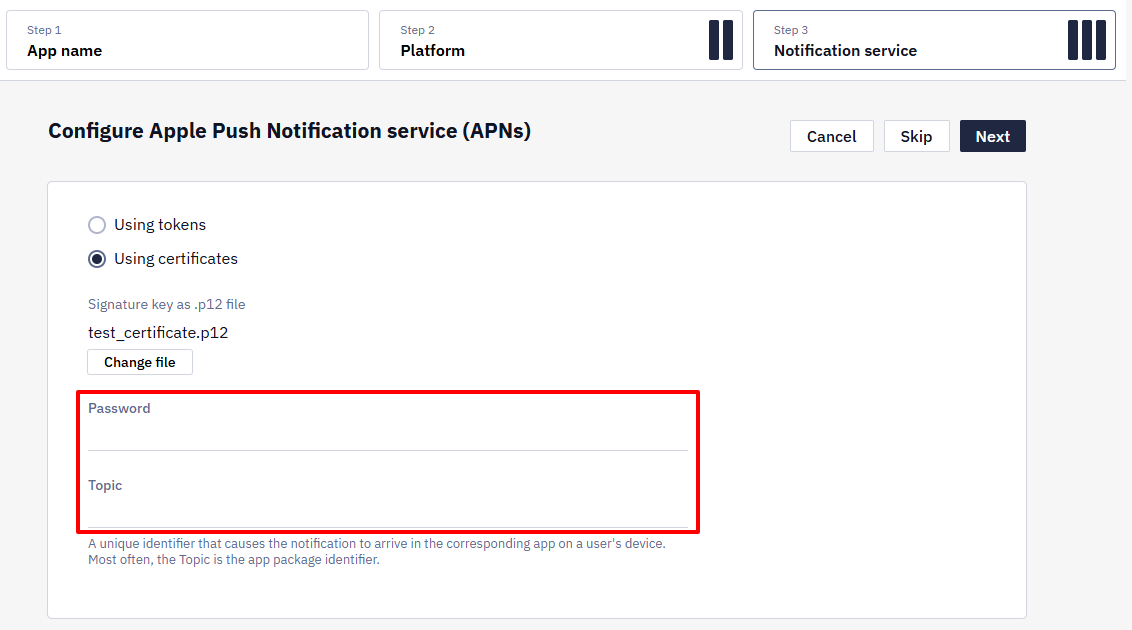
Read more about these fields >
- Click Done on the top right of the window.
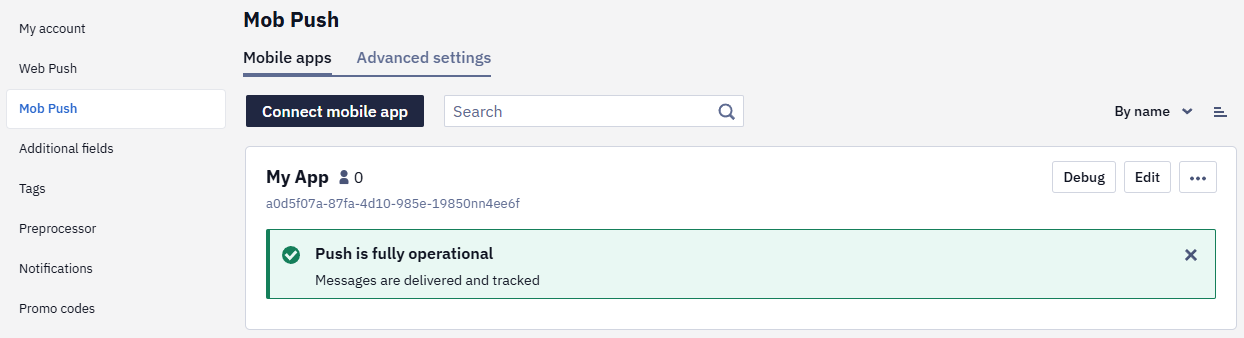
If everything is configured correctly, you will see a corresponding notification.
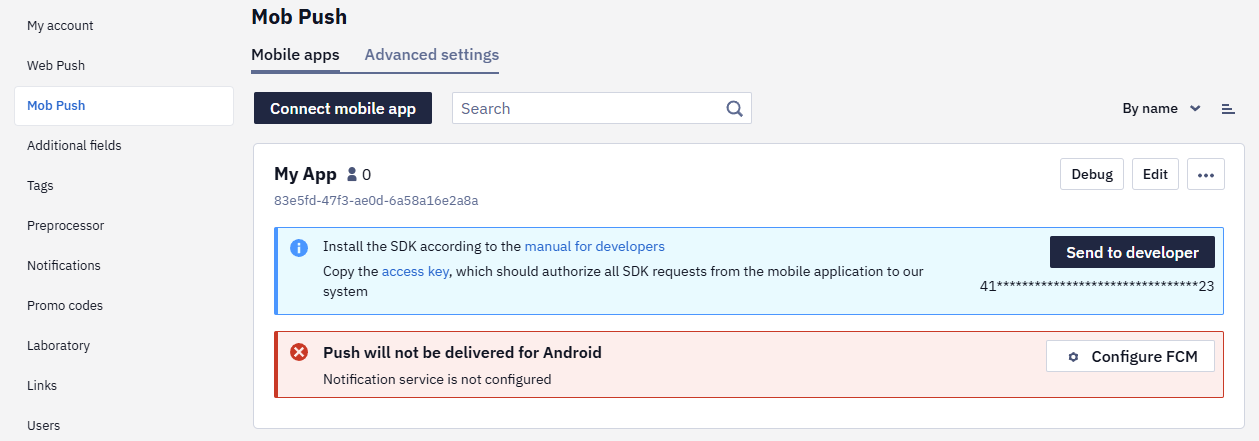
If there are errors in the settings, you will see a list of them and a link to recommendations for fixing them.
Checking Statuses After Connecting
After connecting the app, send a test push to a device on each platform — Android and iOS — and tap each one. Until delivery and click statuses arrive from a device on a platform, the mobile apps page shows a warning for that platform that the delivery result is unknown. Once the statuses arrive, the warning disappears.
Deleting a Mobile App and Its Tokens
Tokens tied to a mobile push app are removed together with the app. If the app had a mix of SDK-added and API-added tokens, some tokens can remain after deletion.
NoteDelete the app first and then verify the result — don’t pre-emptively delete tokens through the public API.
If tokens remain afterwards, contact [email protected] and provide the app UUID, how the tokens were added, and how many of them there are.
Managing Mobile Push Token Duplication
NoteBy default, the system prevents token duplication when different users log into the same app on one device, helping avoid sending notifications to the wrong contacts. Enabling duplication may affect report accuracy and the uniqueness of contacts.
Enable this setting if one contact manages multiple accounts (e.g., stores or branches) within the app on a single device. This ensures that push notifications are delivered to all associated accounts without requiring the user to log in and out.
- Go to your account settings → Mob Push → Advanced settings, and enable the Allow token duplication switch.
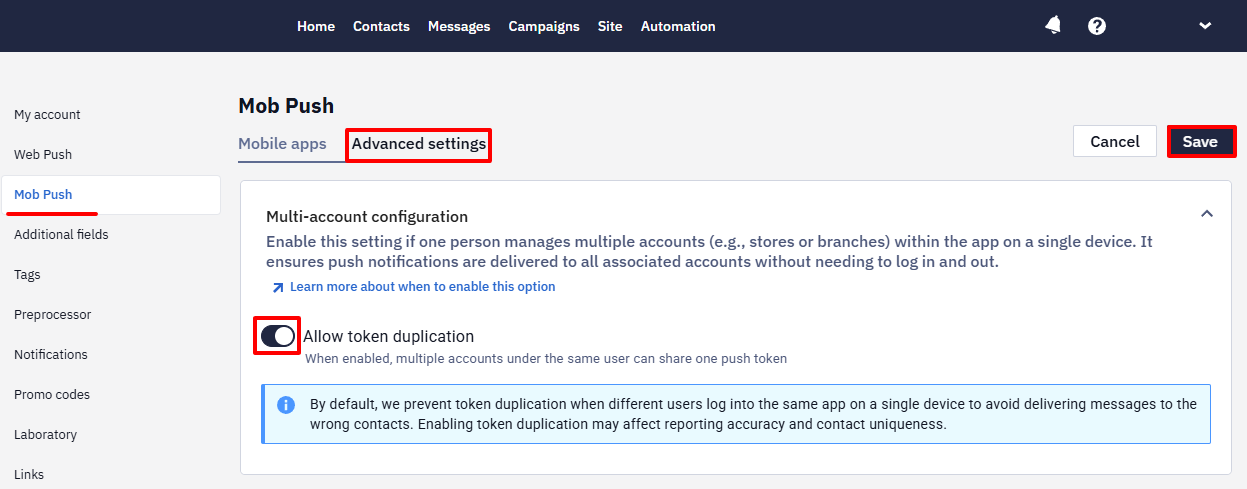
- Save your changes.
Updated 22 days ago