
Adding Tags
Tags help you organize and manage messages, workflows, segments, and reports within your marketing campaigns.
Use tags to:
- Filter and search by category (for example,
promo,trigger). - Organize contact segments and track their performance.
- Filter reports to view statistics for specific categories by channel (for example, email).
- Setup a frequency strategy for broadcasts.
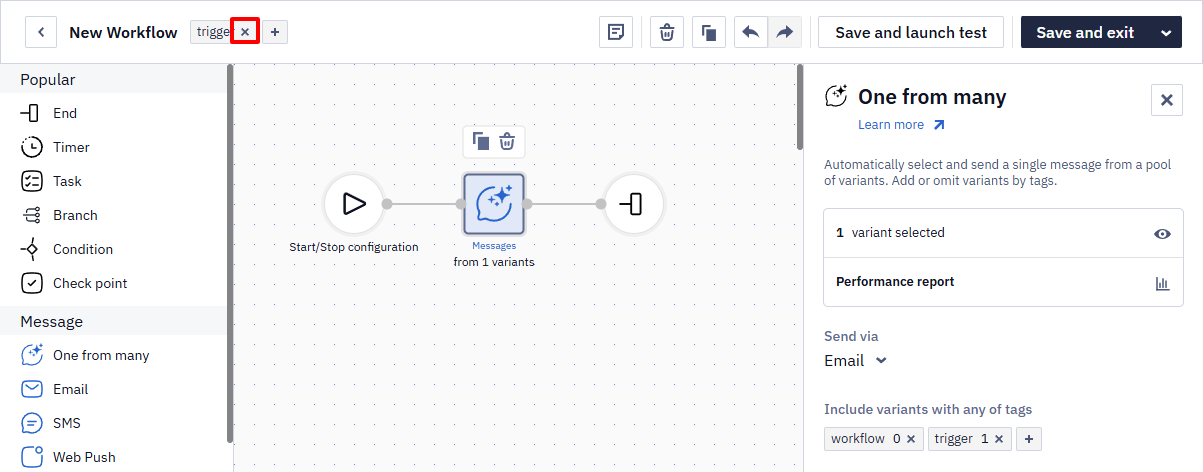
- Fully automate A/B testing of campaigns at every stage of user interaction.
More about campaigns using the One from many message block >
Reteno offers two tag types:
- Communication tags – used across all communication channels, reports, and workflows.
- Segment tags – used exclusively for contact segments.
Creating Tags
- Go to your account settings and select the Tags tab.
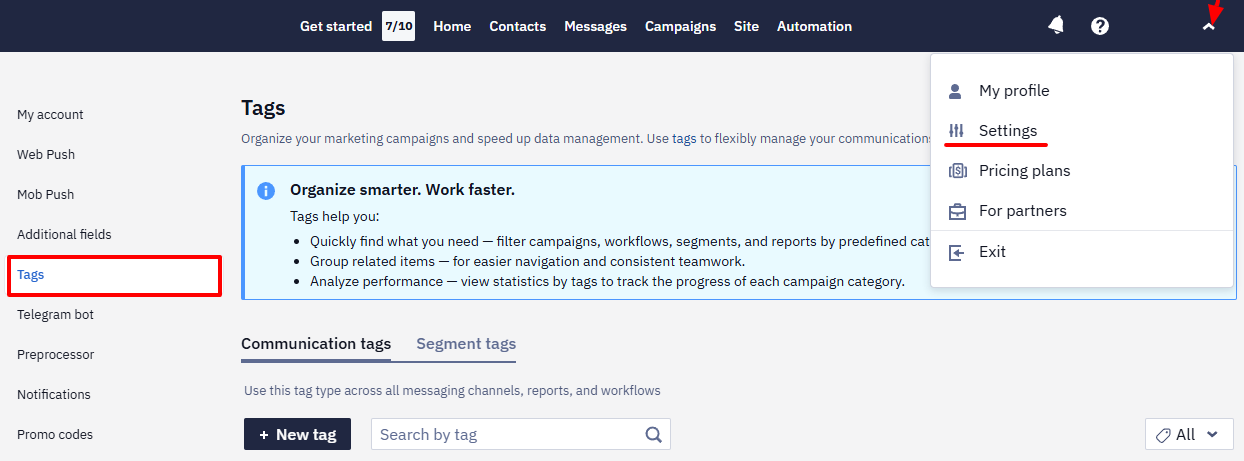
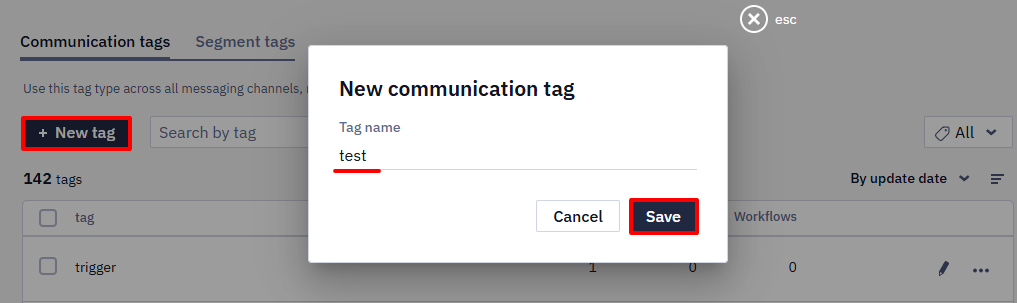
- Select the tag type (Communication or Segment), click + New tag, enter a name, and click Save.
Note
- Special characters are not allowed in tag names.
- The maximum tag name length is 50 characters.
- A system tag named
underperformedis automatically assigned to messages used in the One from many block that have low click-through rates. Learn more >
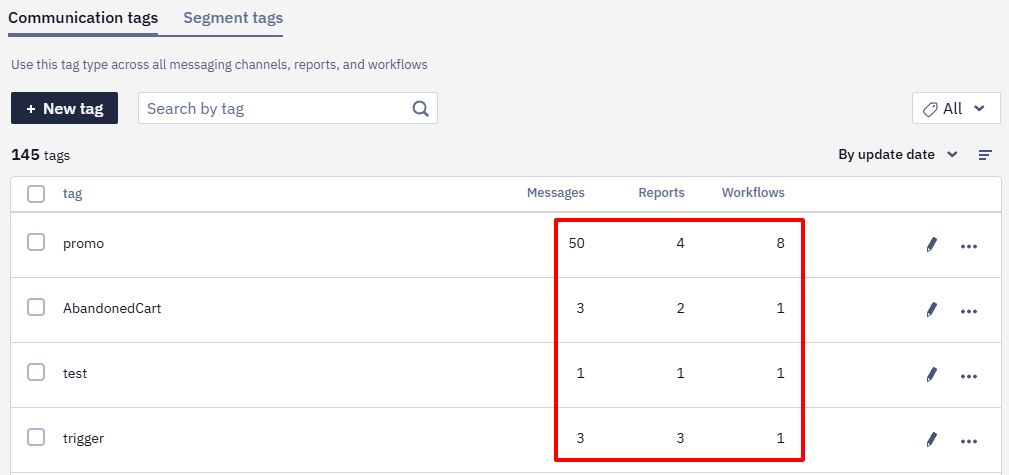
When you create a new tag, it immediately appears in the general list. The columns Messages, Reports, Workflows, and Segments will show a value of 0 until the tag is applied to an item.
Editing/Deleting Tags
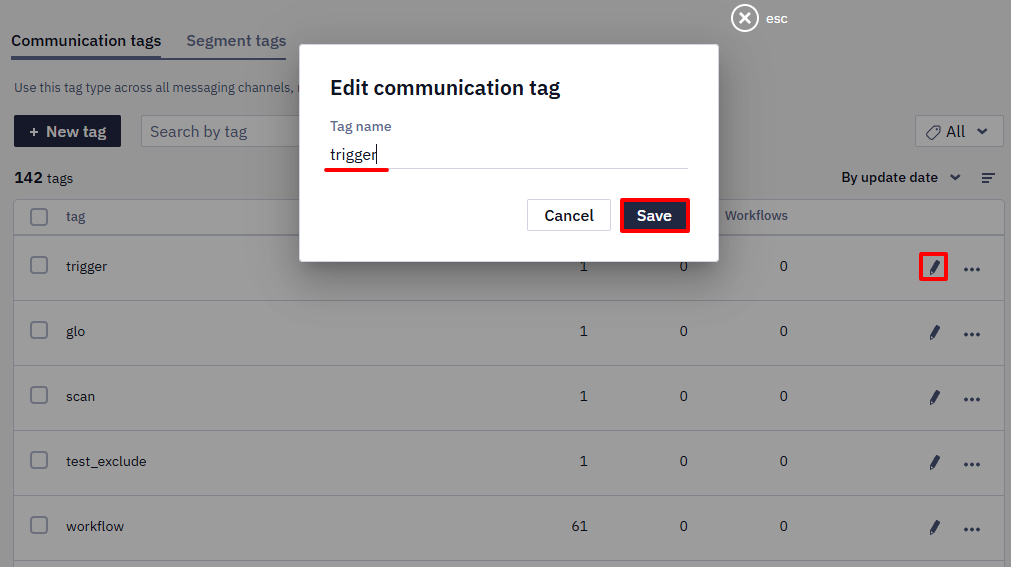
To edit a tag name, click the edit icon, make your changes, and click Save.
You can delete a tag using either method:
- Click the three-dot icon, select Delete, and confirm the action.
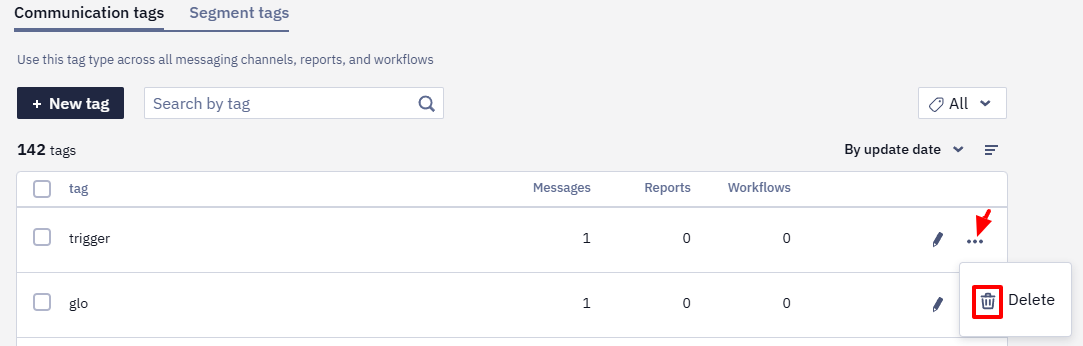
- Select the checkboxes next to multiple tags and click the Delete button to remove them all at once.

Searching, Filtering, Sorting
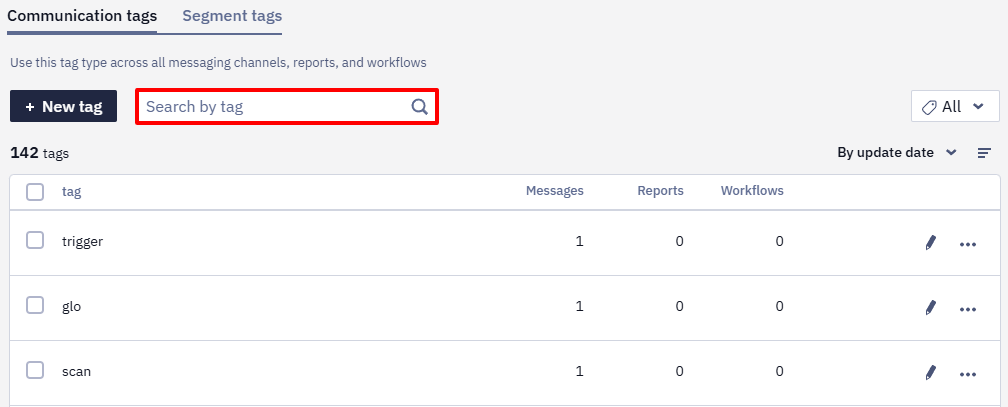
Search for tags by name within the selected category. Segment tags will not appear in the Communication tags tab.
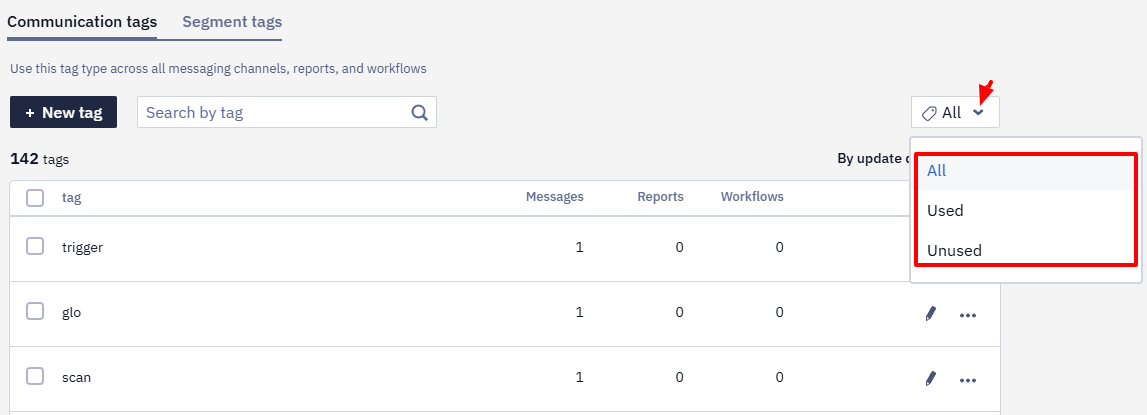
Filter by usage to view only tags applied to items or only unused tags. By default, all tags are displayed.
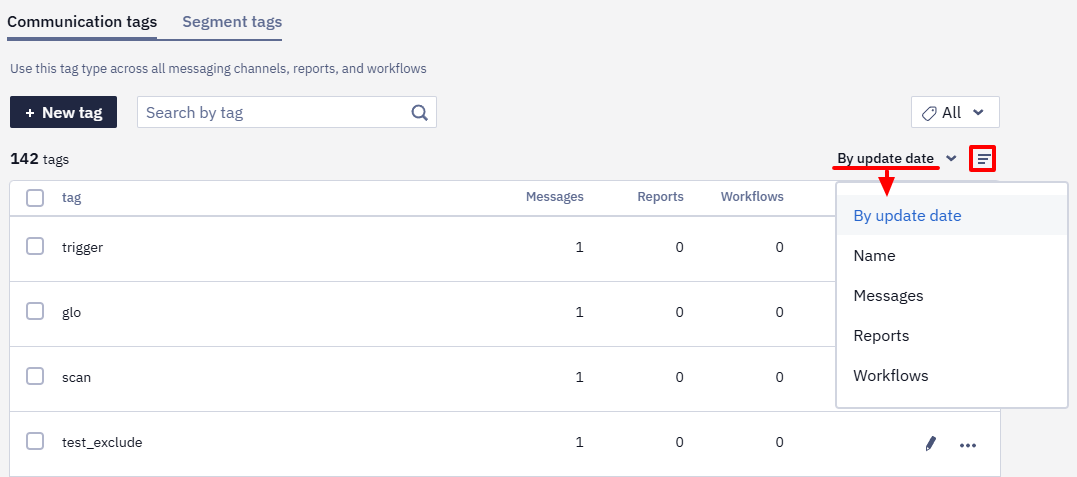
Sort tags by update date, name, or frequency of use across messages, reports, workflows, and segments.
Adding/Removing Tags
Add or remove tags using either method:
- In the settings of messages, reports, workflows, and segments.
- Via the lists.
Messages, Reports, Workflows, and Segments
Emails
In the Message Settings panel, in the Tags section, select a tag from the list or create a new one.

Short Messages, Reports, Workflows, and Segments
Each element has a tag field. Locate this field and click Add tag to apply tags.
Note
- You can add multiple tags for convenience.
- To create a new tag, enter its name — it can be a word, a short phrase, a number, or a combination of letters — and press Enter.
- Added tags will appear next to the items in the general list.
- To sort out all the items with required tag, simply click any tag.
To remove a tag, click the x icon next to it.
Lists
This method allows you to modify tags for multiple items simultaneously without editing each item individually.
Let’s look at an example of adding tags in an email message list.
- Open the list.
- Select the checkboxes next to the messages you want to modify.
- Click Add tags or Remove tags, select the tags, and click Add to confirm.
The changes will be applied to the selected messages.
Updated 13 days ago