
Using A/B Tests In Workflows
A/B testing helps validate hypotheses and understand the preferences and behavior of the target audience
Built-in functionality allows testing:
- email subject lines;
- widget displays.
Using workflows, you can test the effectiveness of various elements of triggered messages, such as text, calls to action, images, or sending via different channels.
Use the Split block from the Conditions blocks for split testing.
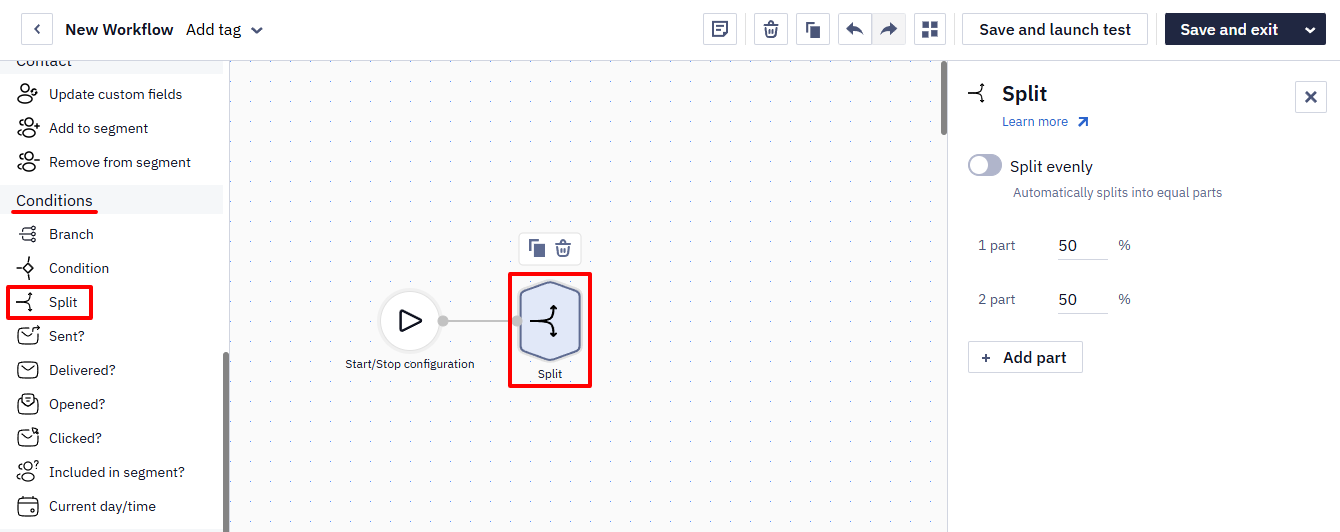
Let's consider an experiment using the example of an abandoned cart:
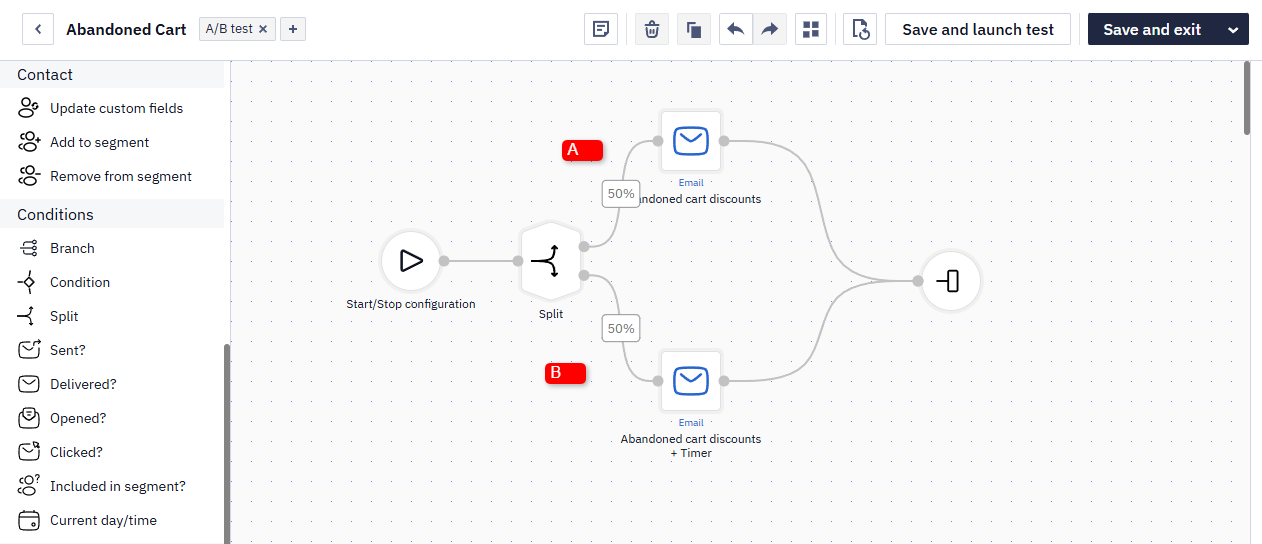
- The first message contains a discount on items abandoned in the cart:
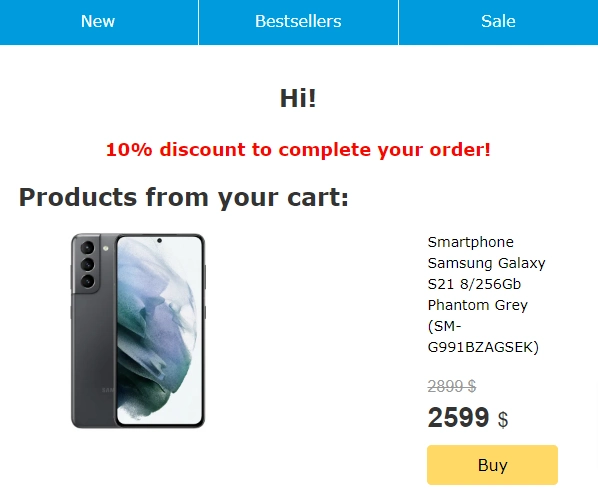
- The second message contains a timer with a countdown until the end of the discount.
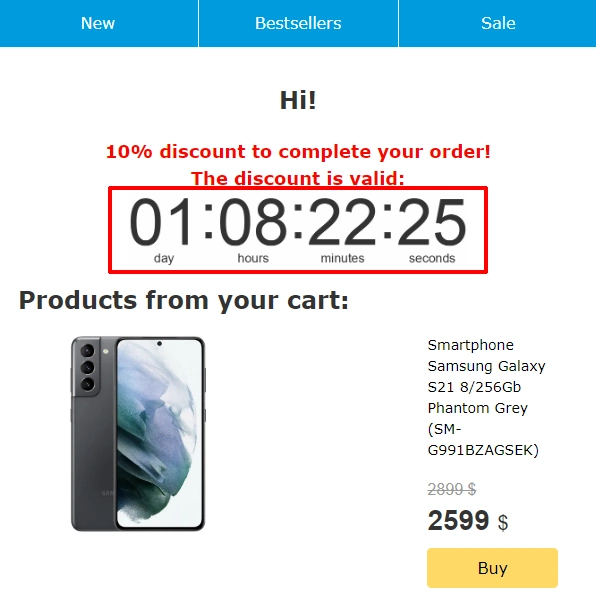
The goal of this test is to check whether a timer counting down the time until the end of the promotion influences the purchase decision.
Creating a Workflow for Testing
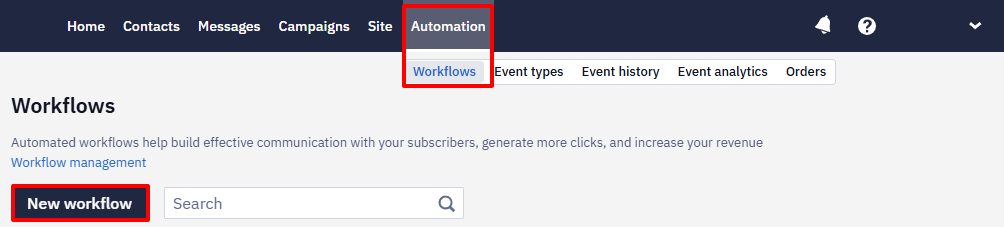
- Go to Triggers → Workflows, and click the New workflow button.
- Enter its name and tags (optionally).
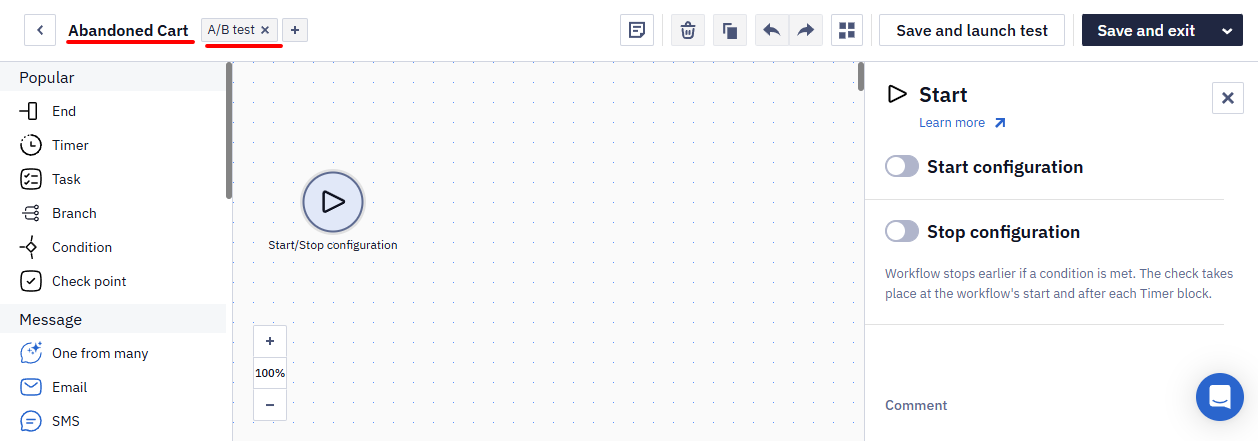
- By default, the Start block already starts the workflow. Then add blocks:
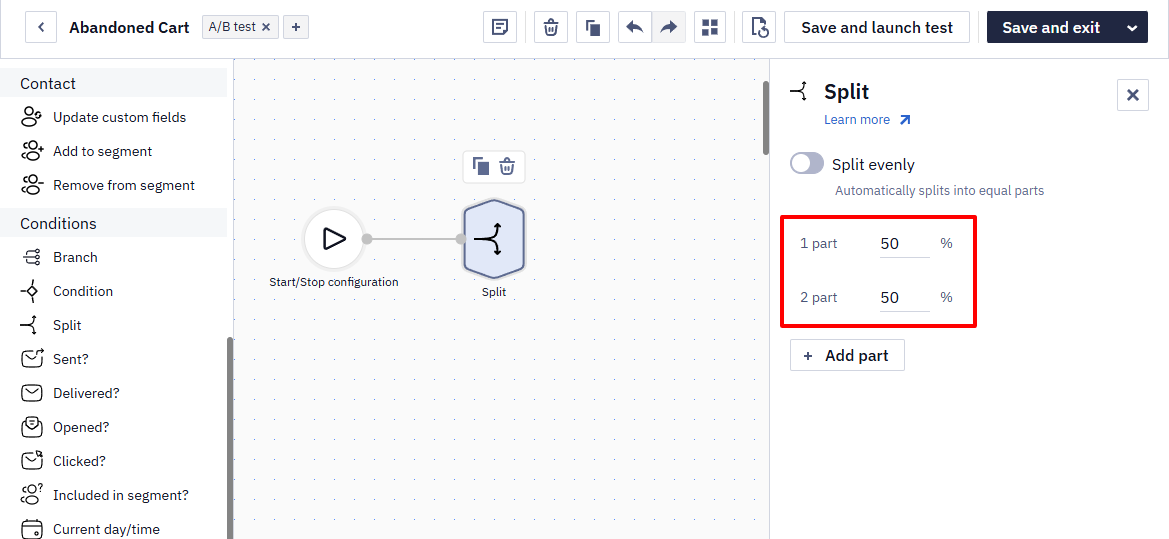
- Split, where contacts are automatically distributed between workflow branches 50/50. To change the ratio, drag the slider in the block settings to the left or right.
- Email for A and B branches; select the message in the block parameters.
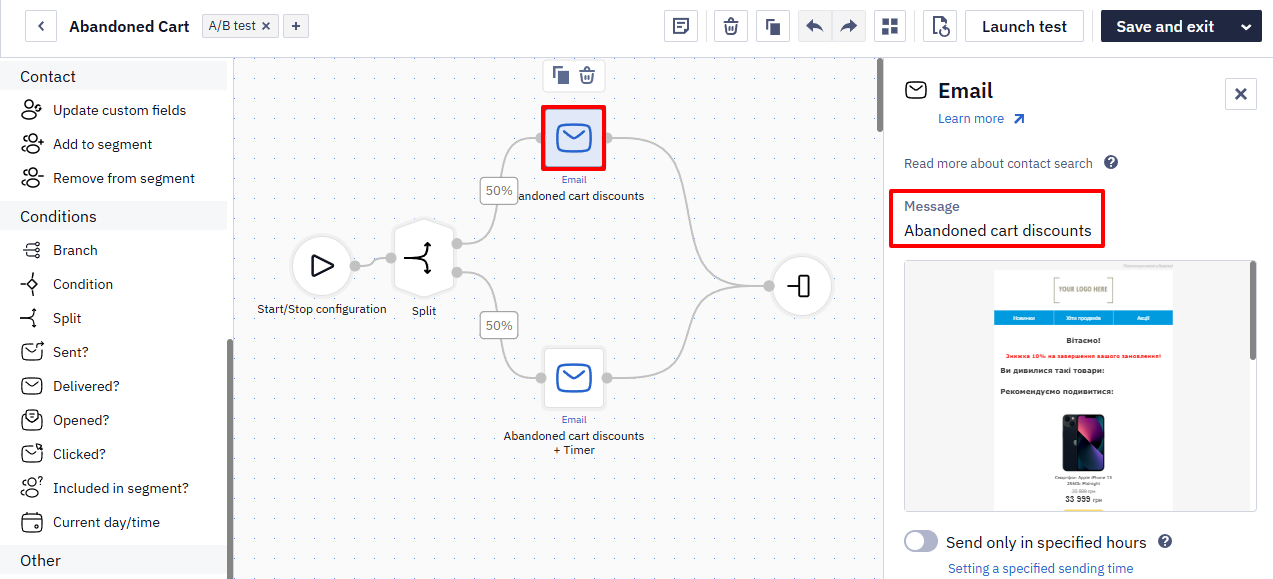
- End.
The workflow will look like this:
- Click Save and exit.
After launching the workflow, the system will randomly distribute contacts between two branches in a 50-50 ratio. Each contact will receive only one message, according to the branch they fall into.
Setting Up Workflow Launch and Checking Results
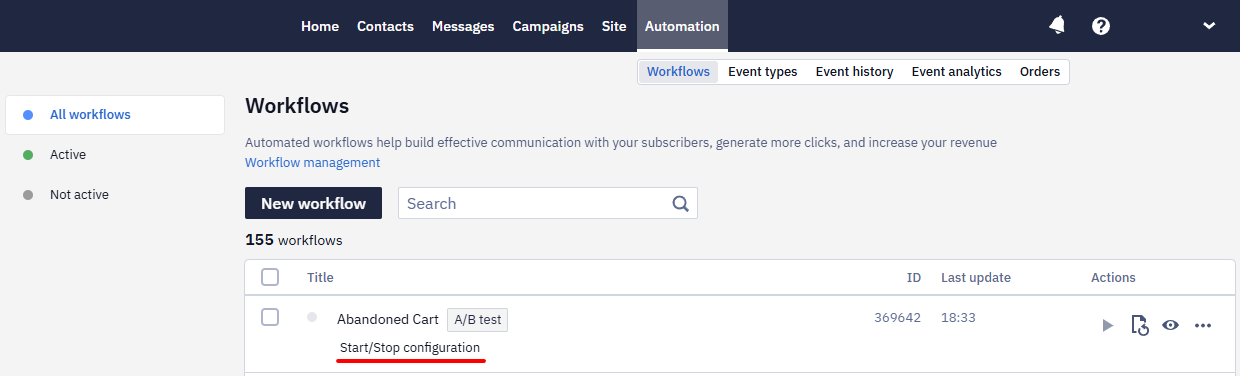
- Go to Triggers → Workflows and click Start/Stop configuration in the field of the created workflow.
- Enable the Start Configuration slide button, select Regular, and a dynamic segment for the campaign.
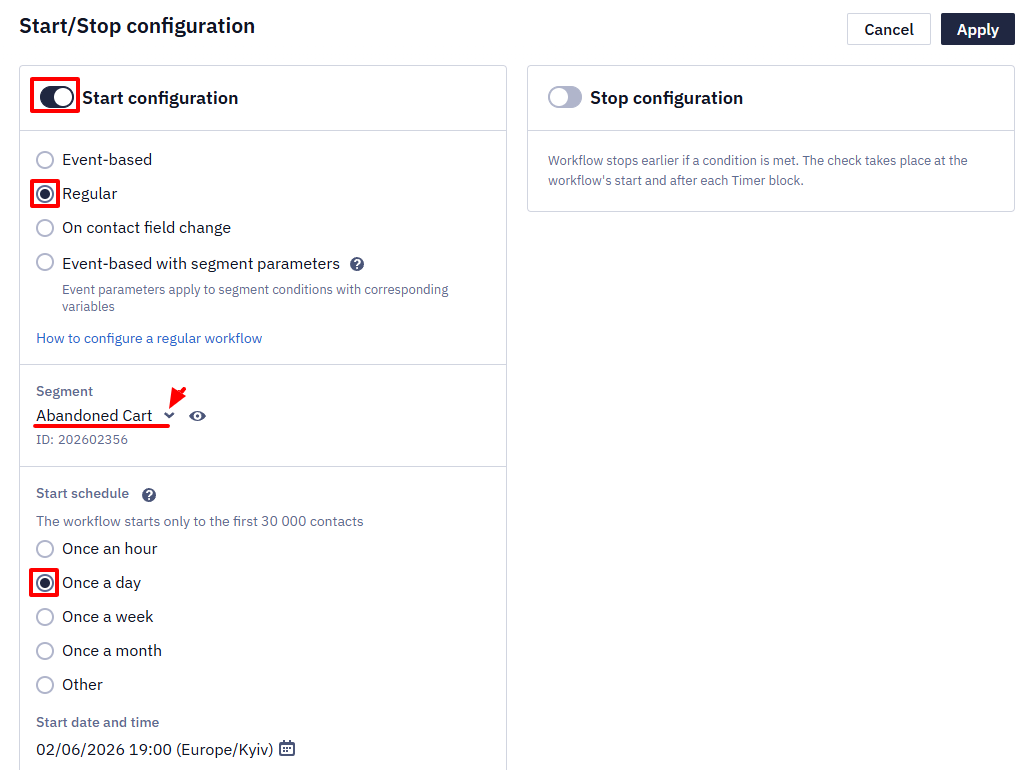
- Configure launch conditions and click Apply.
- Activate the workflow.
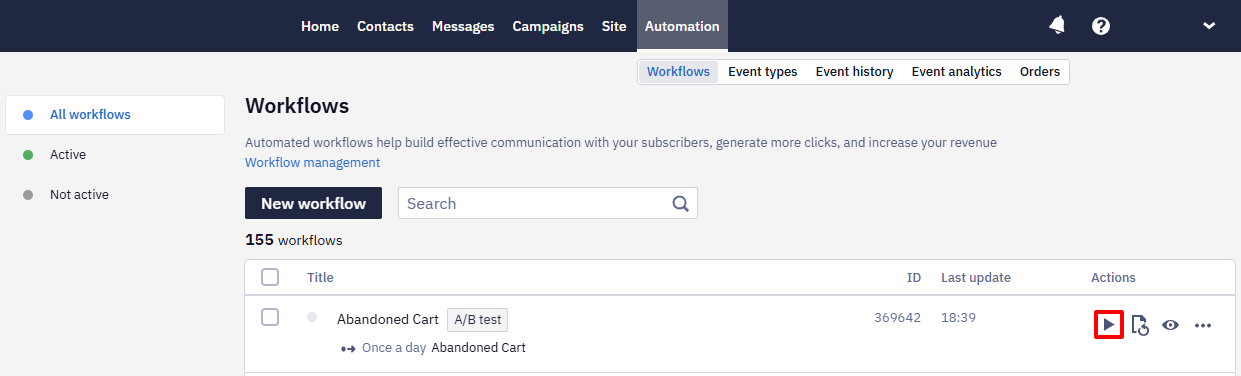
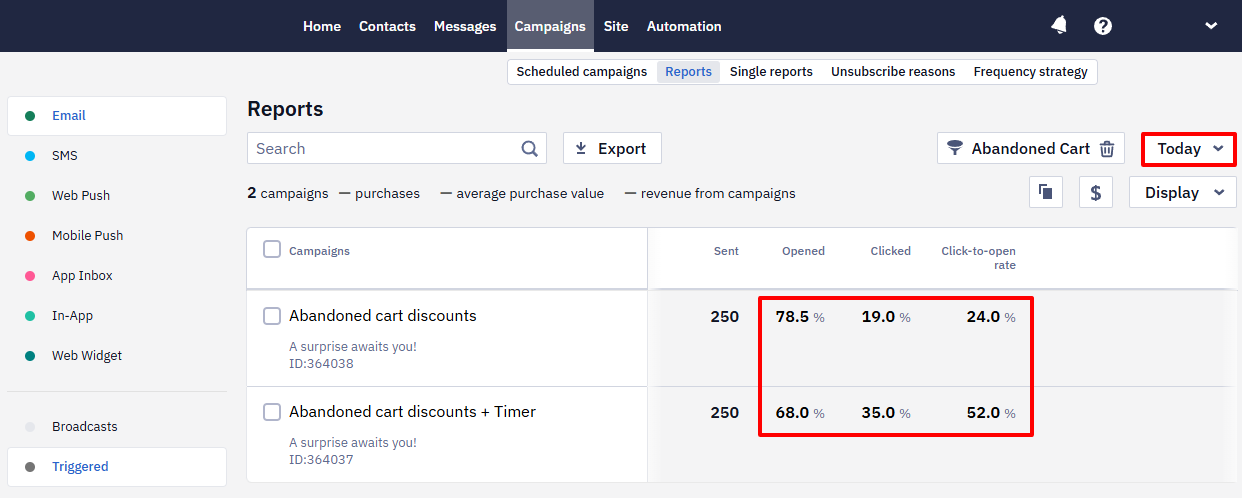
Later, you will be able to check and compare the test results.
To do this:
- Click three dots in the field of the created workflow and select View campaign report.
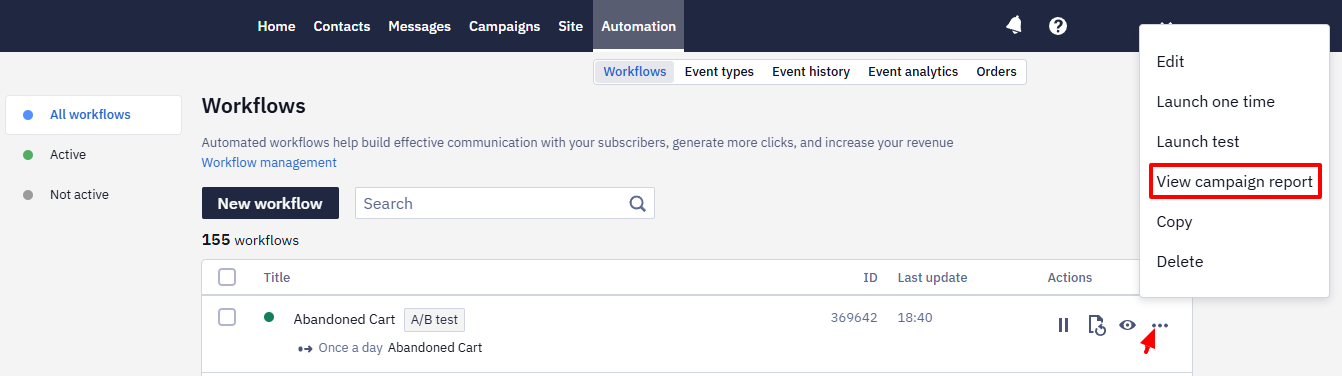
- Choose a period and compare the indicators for each message.
Updated about 1 month ago