
Integrating Amplitude with Reteno
Amplitude is a platform to collect app events, visualize data as graphs, and then analyze them in a user-friendly interface.
You can easily automate the simultaneous streaming of users and events from your app to Amplitude and Reteno.
Setting Up Integration
To integrate Amplitude with Reteno, you must create destinations, where Reteno will receive the data from Amplitude.
Create three destinations:
- For receiving anonymous users with Amplitude IDs (device IDs)
- For enriching user data with emails, languages, countries, etc.
- For receiving events that will be matched with users by Amplitude IDs
Creating Destination
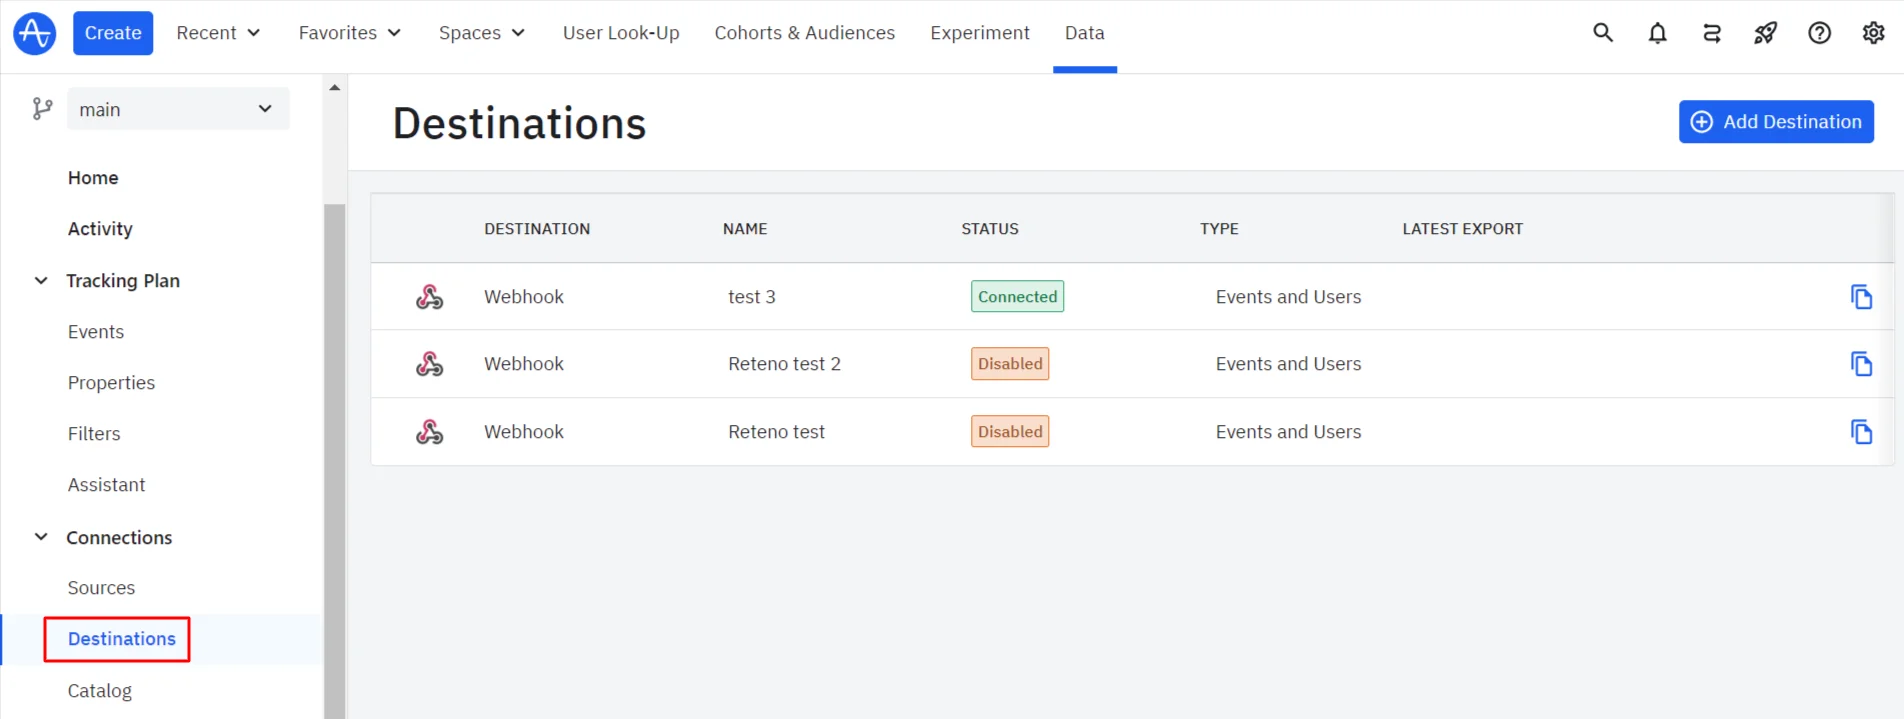
- In Amplitude Data, select the Destination tab from the Connections drop list and click Add Destination.
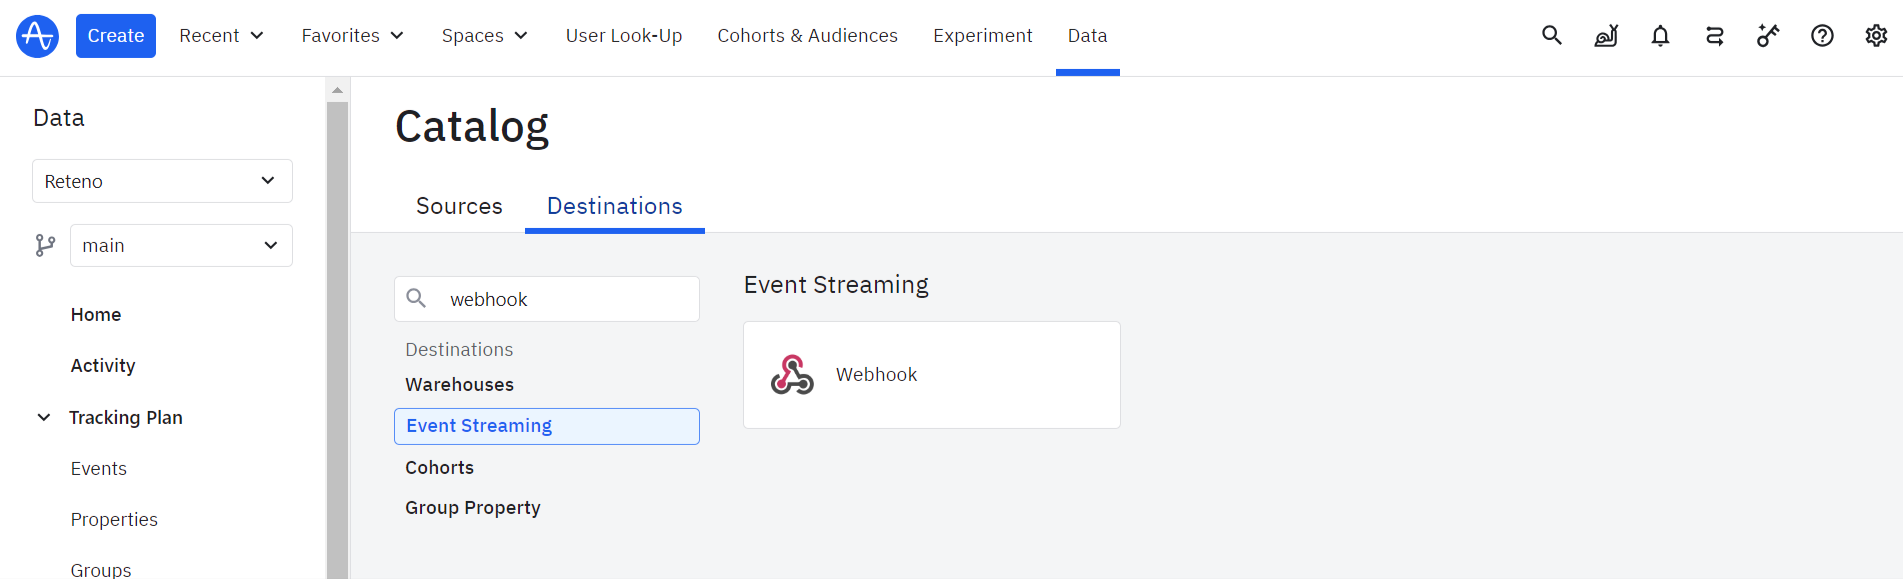
- Enter Webhook in the search field and click the Webhook tab.
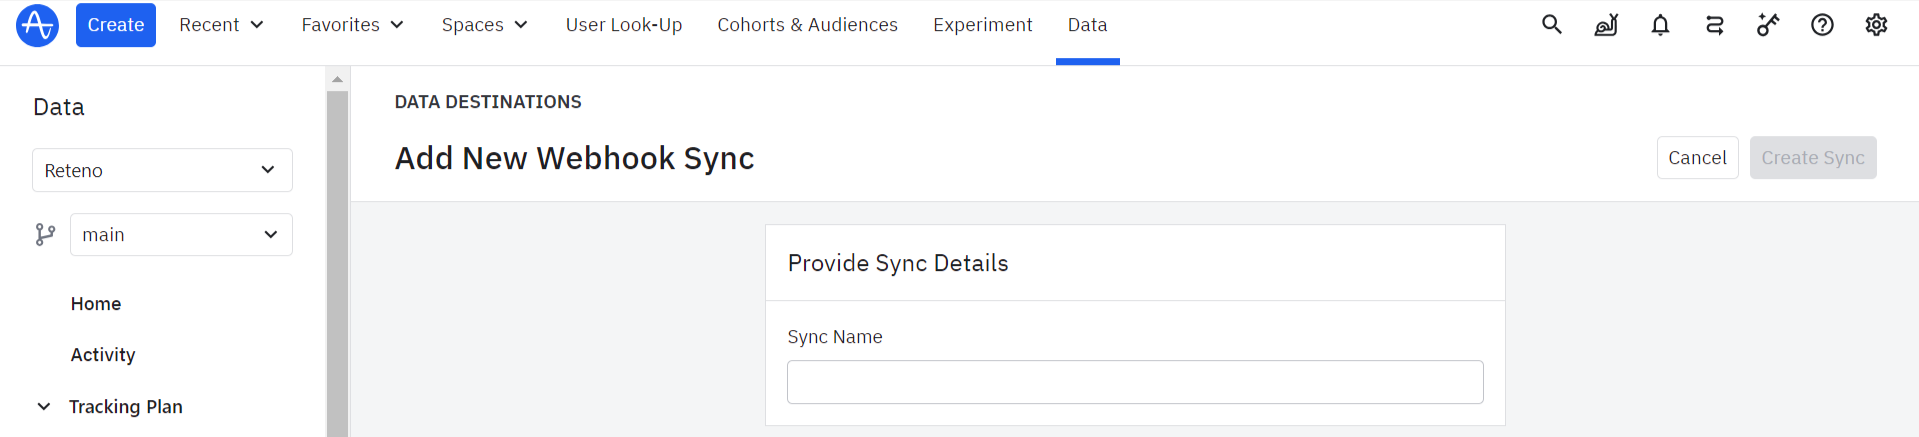
- Enter the Sync Name and click Create Sync.
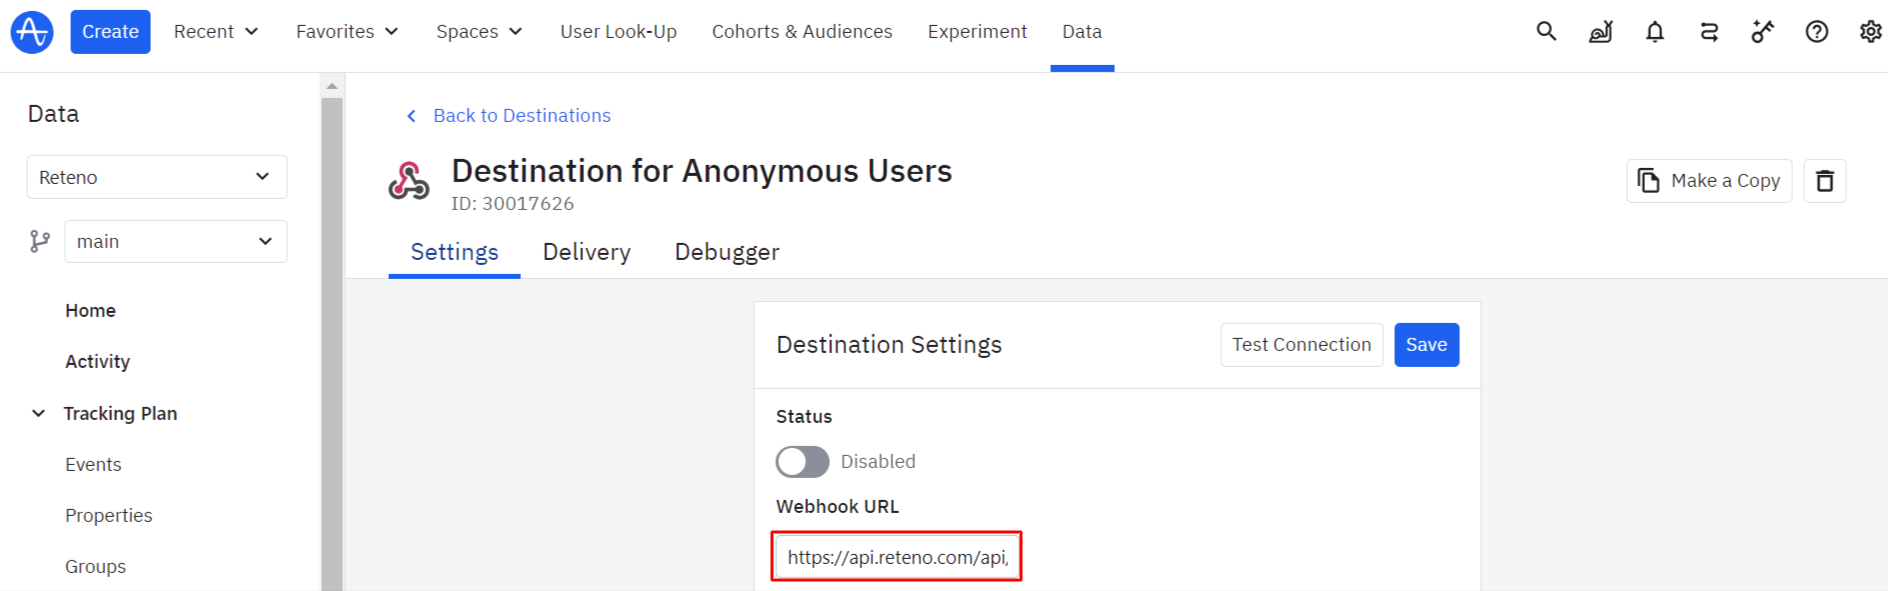
Setting Destination for Anonymous Users
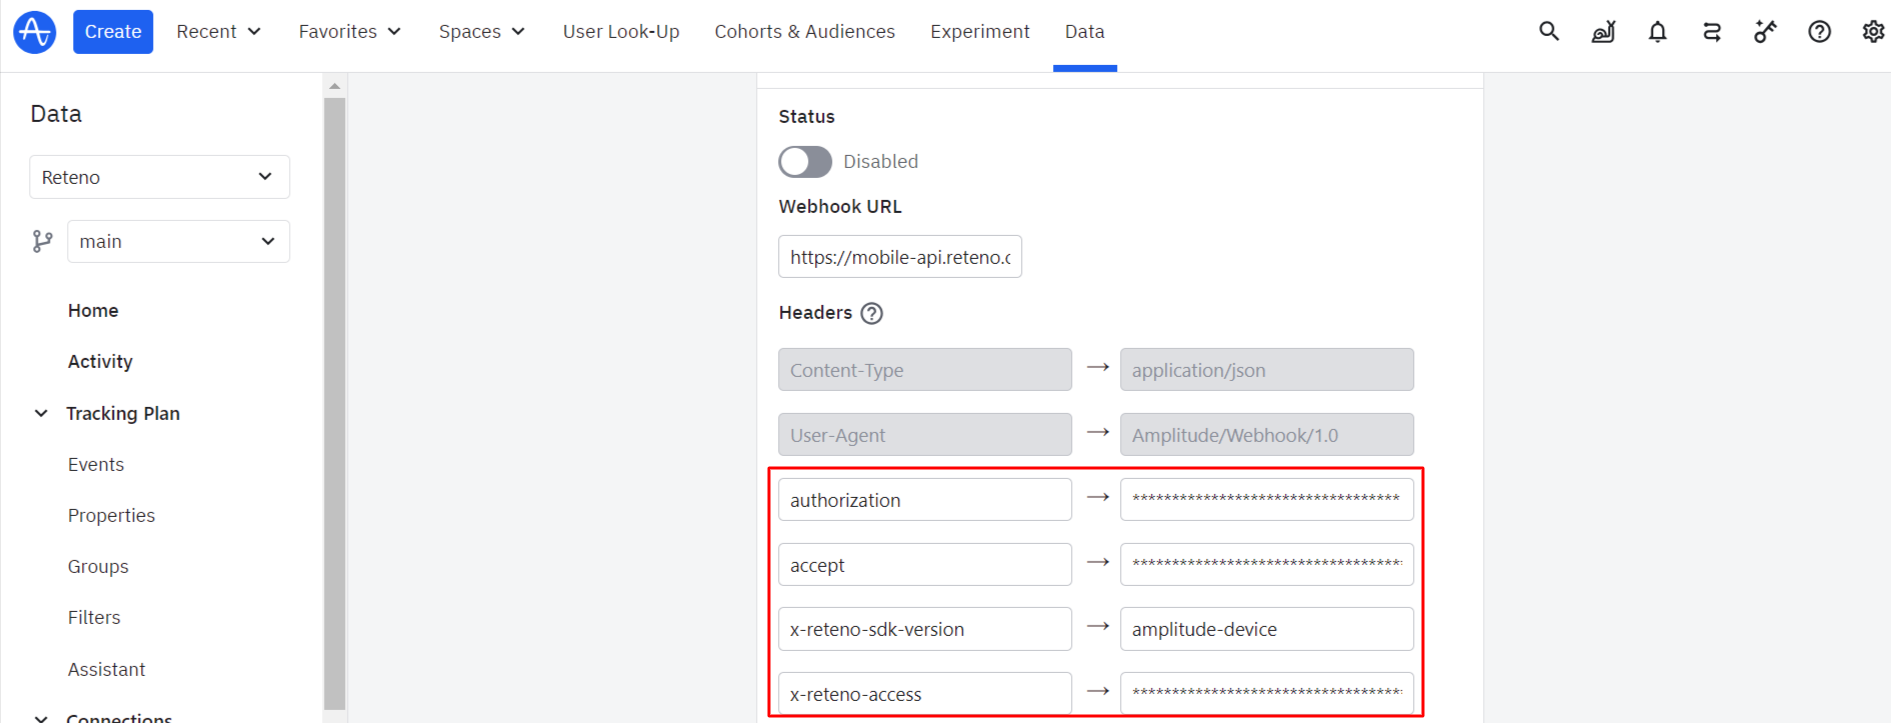
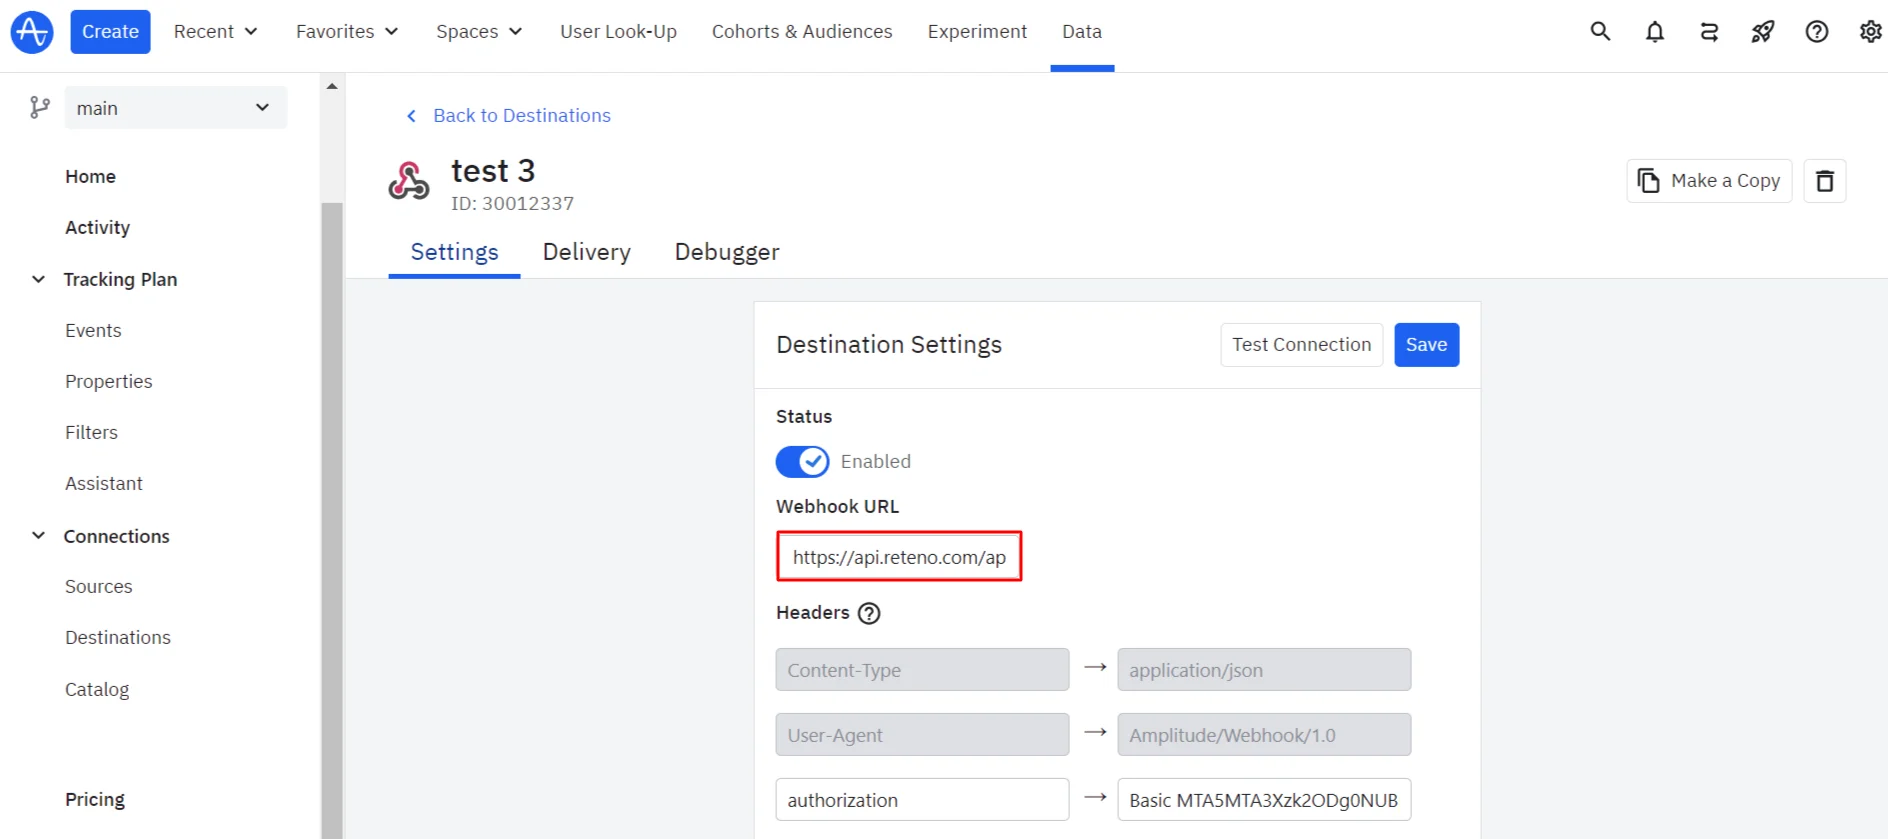
- Enter the https://mobile-api.reteno.com/api/v1/device endpoint in the Webhook URL field.

-
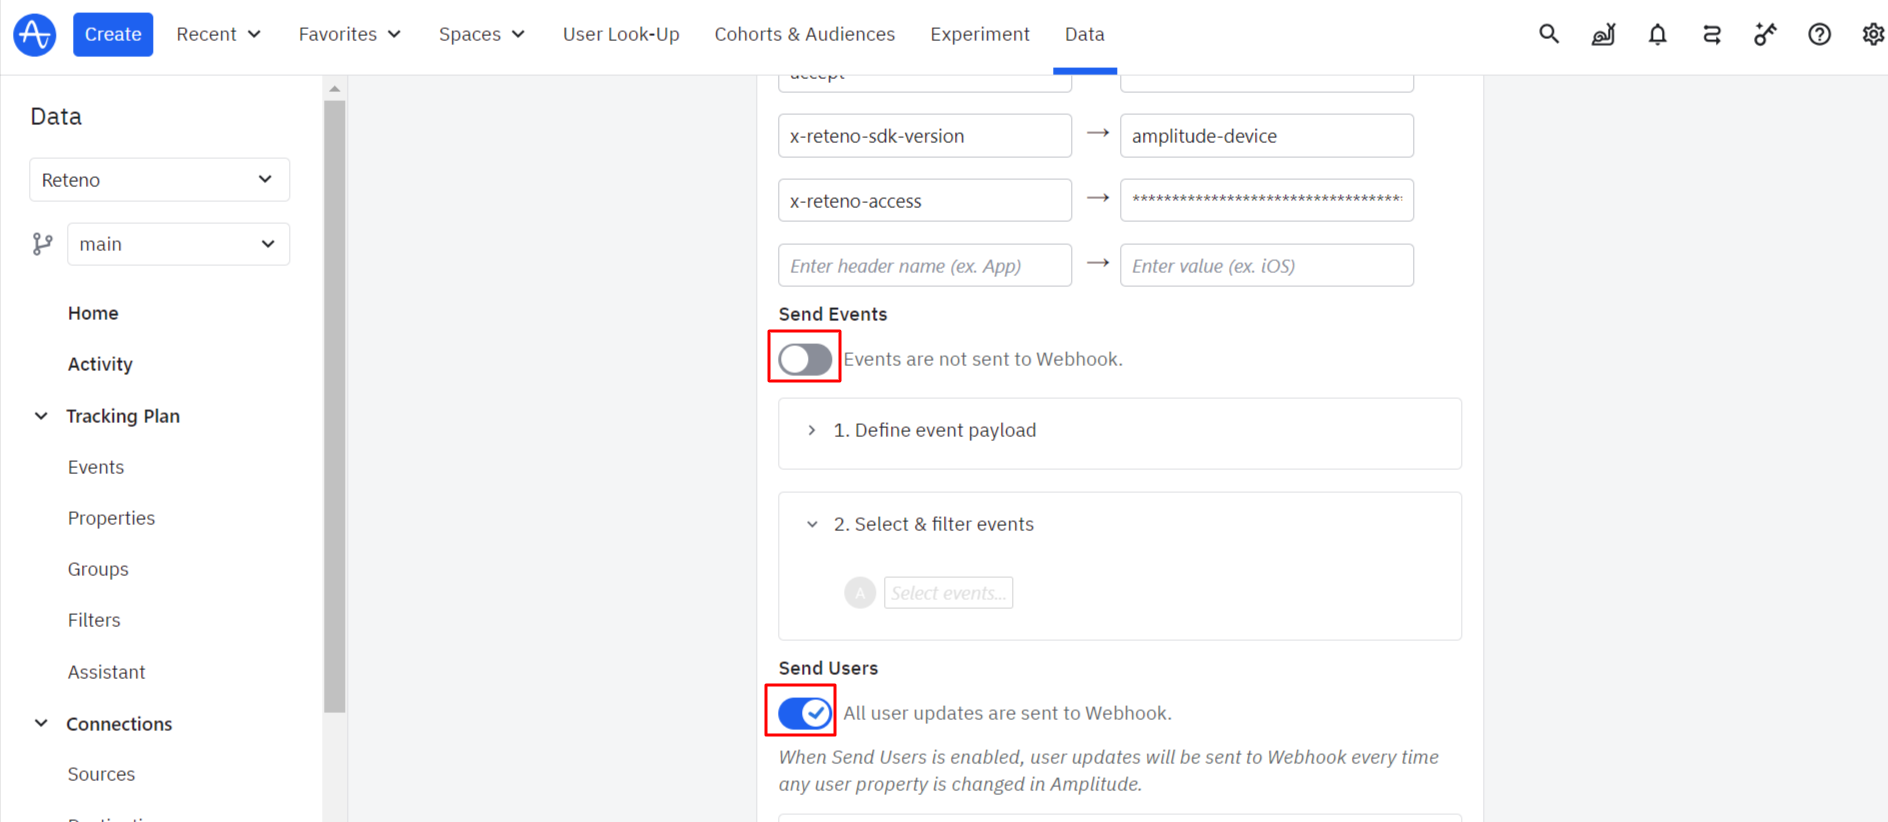
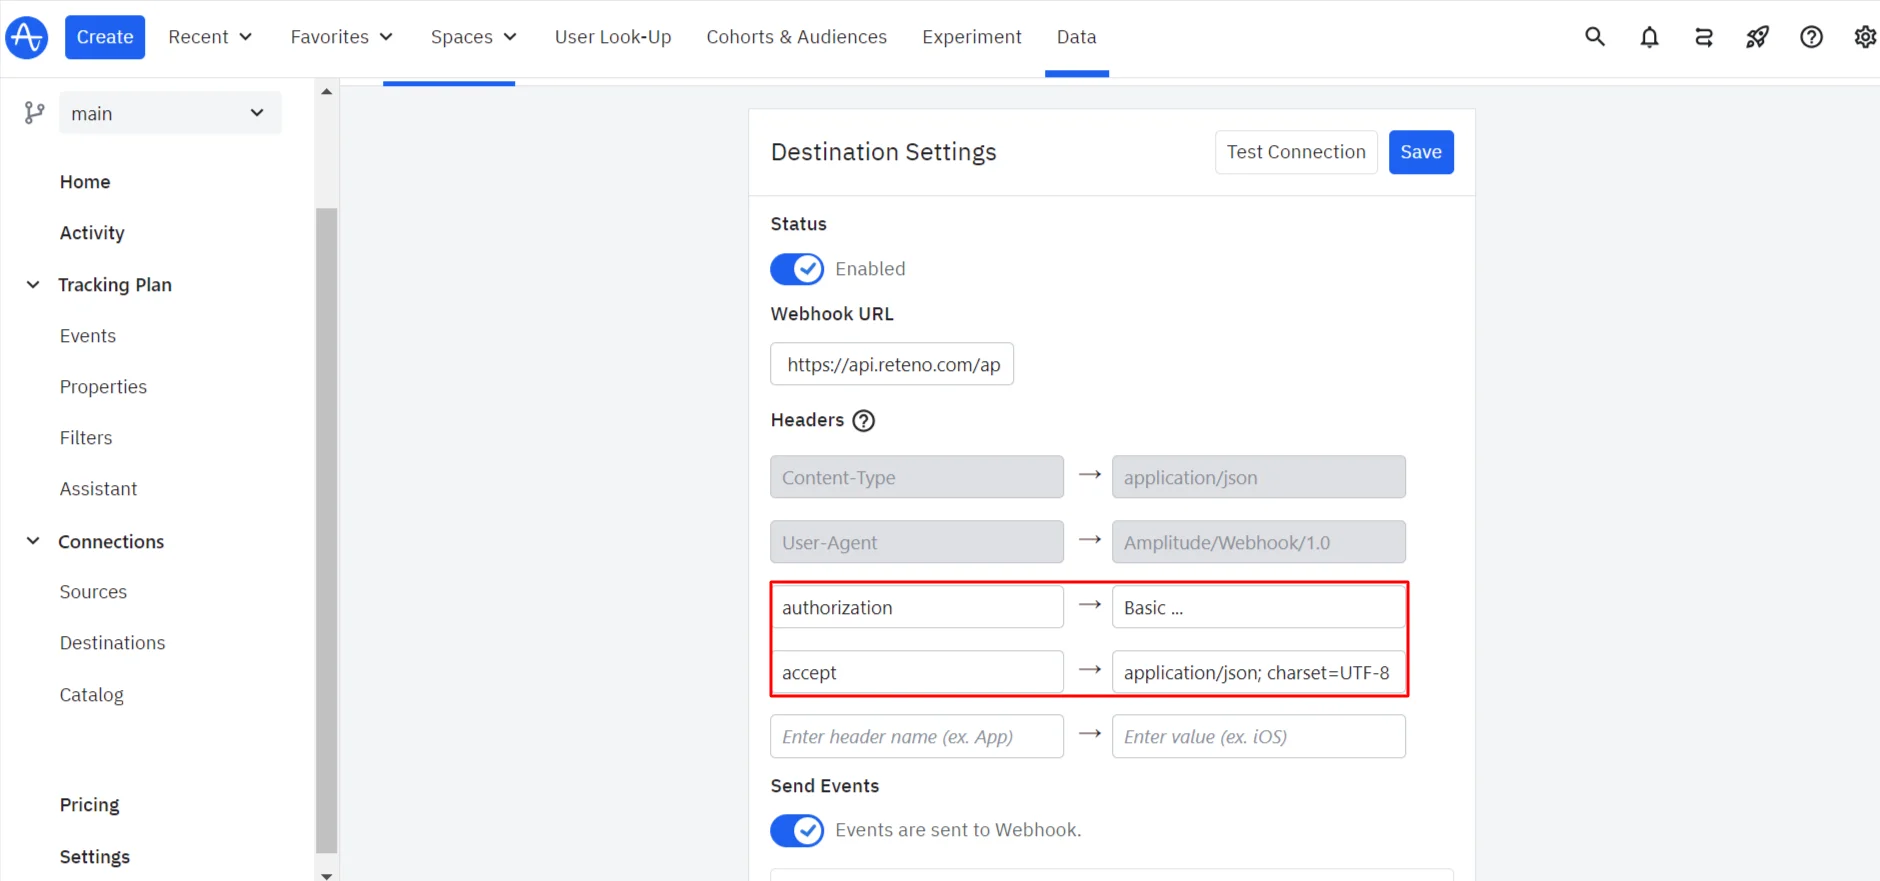
In Headers, create and fill in the following fields:
- authorization — your basic authorization token,
- accept — the value from the endpoint requirements,
- x-reteno-sdk-version — amplitude-device,
- x-reteno-access-key — your access key.
-
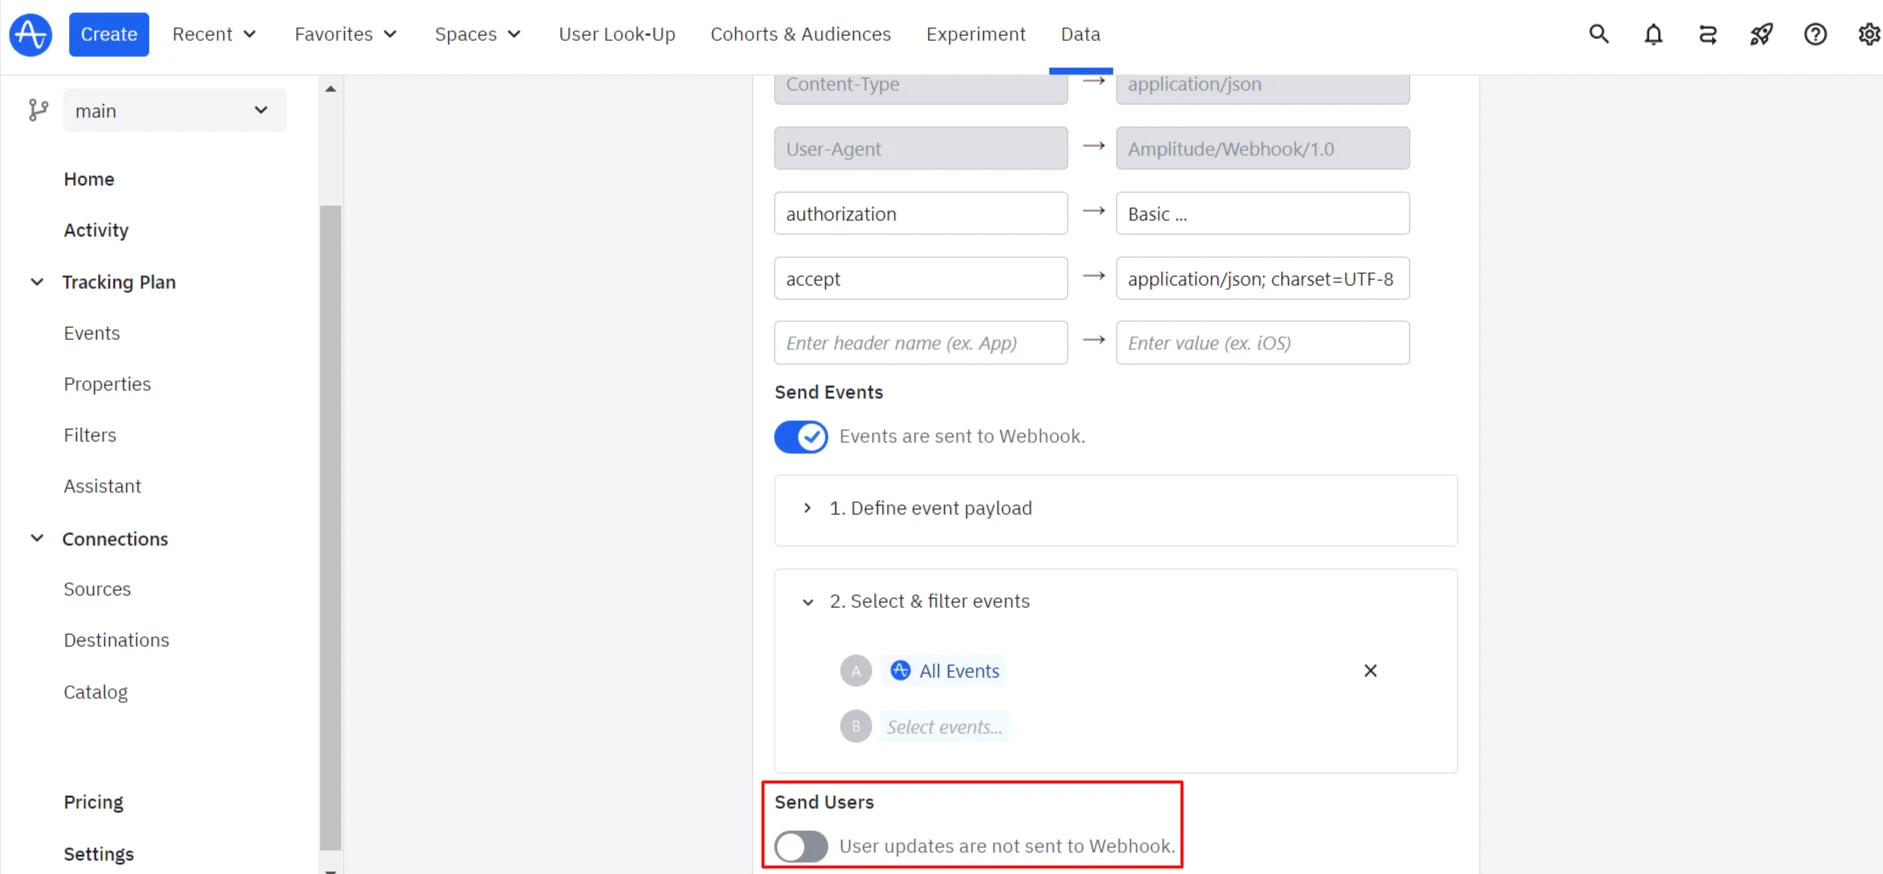
Deactivate the Send Events switcher and activate the Send Users switcher.
- Open the Define user payload dropdown list and choose the Customize payload radio button. Paste the code in the following format to it:
{
    \<#if input.device_id??>
      "deviceId": "${input.device_id}",
    \</#if>
    \<#if input.device_id??>
      "externalUserId": "${input.user_id}",
    \</#if>
    \<#if input.os_name??>
      "osType": "${input.os_name?upper_case}",
    \</#if>
    \<#if input.version_name??>
      "appVersion": "${input.version_name}",
    \</#if>
    \<#if input.os_version??>
      "osVersion": "${input.os_version}",
    \</#if>
    \<#if input.device_model??>
      "deviceModel": "${input.device_model}",
    \</#if>
  "category": "MOBILE"
}
Note
- The
"category": "MOBILE"is the hard-coded mandatory parameter.- Use
upper_casein theosTypeparameter code.- Use
amplitude_idas yourexternalUserIdin the SDK settings:
- Click Save.
As a result of the request, an anonymous user will be created in your Reteno account.
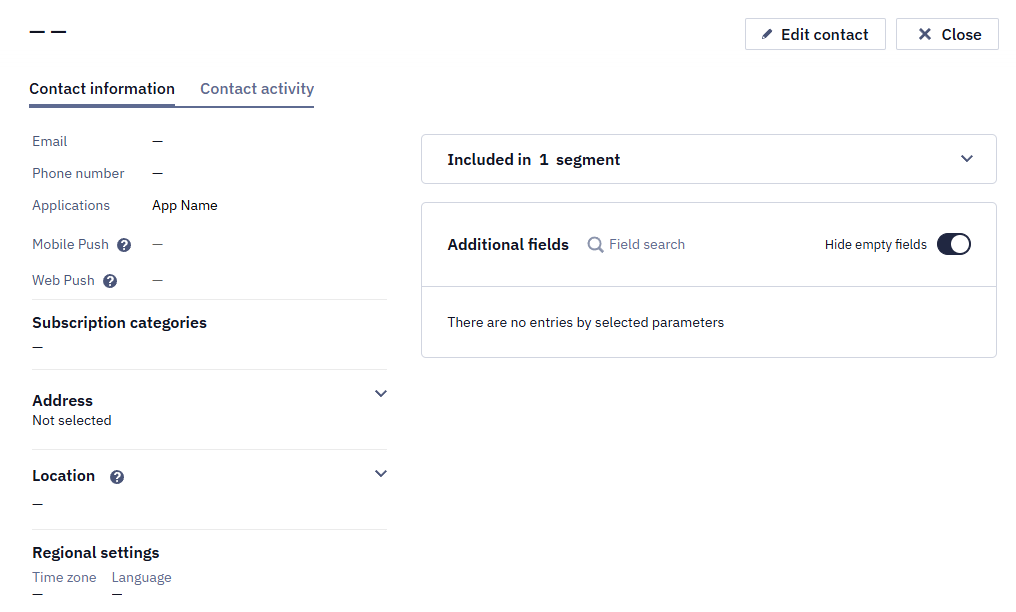
To enrich data about such a user, create the next destination.
Setting Destination for Enriching User Data
- Enter the
https://api.reteno.com/api/v1/contactendpoint in the Webhook URL field.
- Copy the authorization and the accept headers from the Add/update a contact page
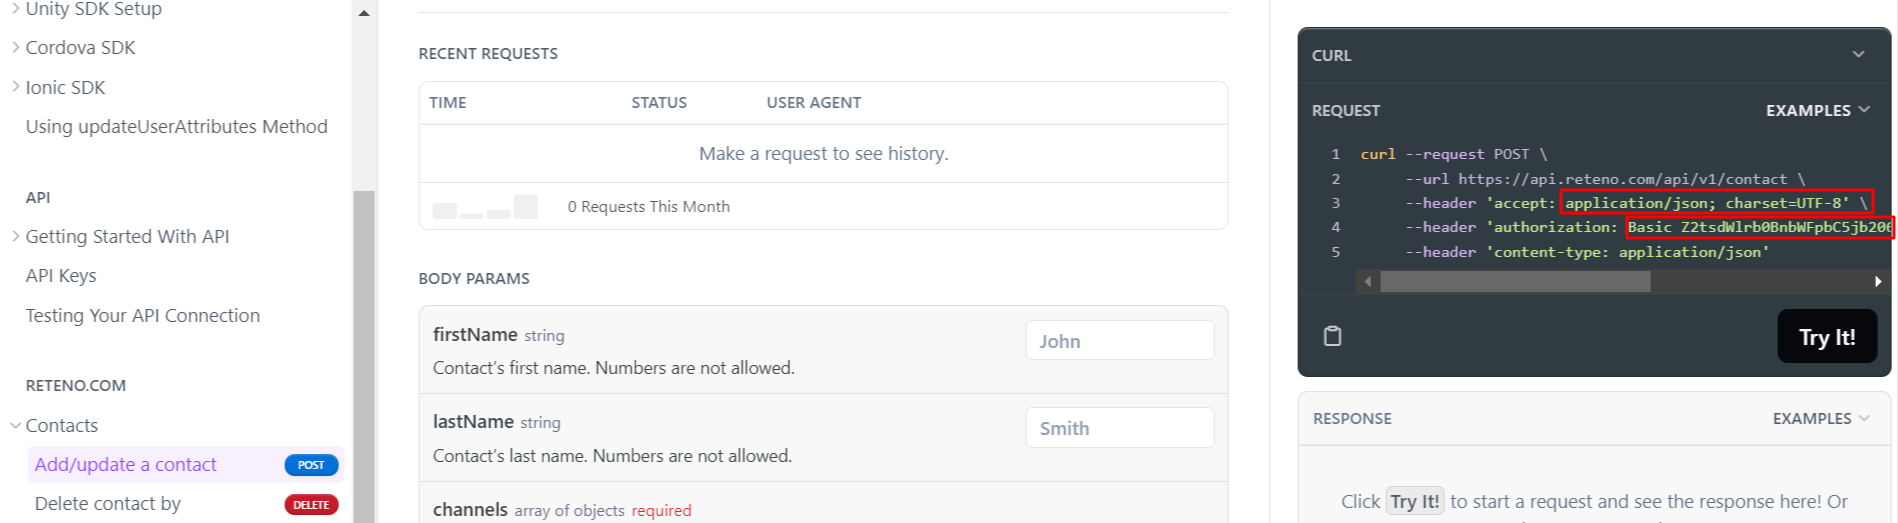
and paste them into the corresponding Destination fields.
-
Deactivate the Send Events switcher and activate the Send Users switcher.
-
Open the Define user payload dropdown list and choose the Customize payload radio button. Below, you can see the example of the request, where IDs are IDs of custom user fields from your Reteno account:
{
  "fields": [
    {
      "id": 513758,
      "value": "${input.user_id!}"
    },
    {
      "id": 513759,
      "value": "${input.language!}"
    },
    {
      "id": 513760,
      "value": "${input.country!}"
    },
    {
      "id": 513761,
      "value": "${input.region!}"
    },
    {
      "id": 513762,
      "value": "${input.city!}"
    },
    {
      "id": 513763,
      "value": "${input.device_type!}"
    },
    {
      "id": 513764,
      "value": "${input.os_version!}"
    },
    {
      "id": 513765,
      "value": "${input.version_name!}"
    },
    {
      "id": 513766,
      "value": "${input.platform!}"
    },
    {
      "id": 513767,
      "value": "${input.library!}"
    },
    {
      "id": 513769,
      "value": "${input.device_carrier!}"
    },
    {
      "id": 513770,
      "value": "${input.device_id!}"
    },
    {
      "id": 514043,
      "value": "${input.user_properties.subscription_product!}"
    },
    {
      "id": 514044,
      "value": "${input.user_properties.subscription_state!}"
    },
    {
      "id": 514045,
      "value": "${input.user_properties.has_subscription!}"
    }
  ],
  "channels": [
    {
      "device": {
        "appId": "vcfc4f0e-z891-355b-aea3-107f2f18e6ds"
      },
      "type": "email",
      "value": "${input.user_properties.email!}"
    }
  ],
    "externalCustomerId": "${input.user_id!}"
}- Click Save.
As a result of the request, the profile of an anonymous user will be enriched in your Reteno account.
To get event data, create the next destination.
Setting Destination for Events
- Enter the
https://api.reteno.com/api/v3/eventendpoint in the Webhook URL field.
- Copy the authorization and the accept headers from the Generate event v3 Reteno page
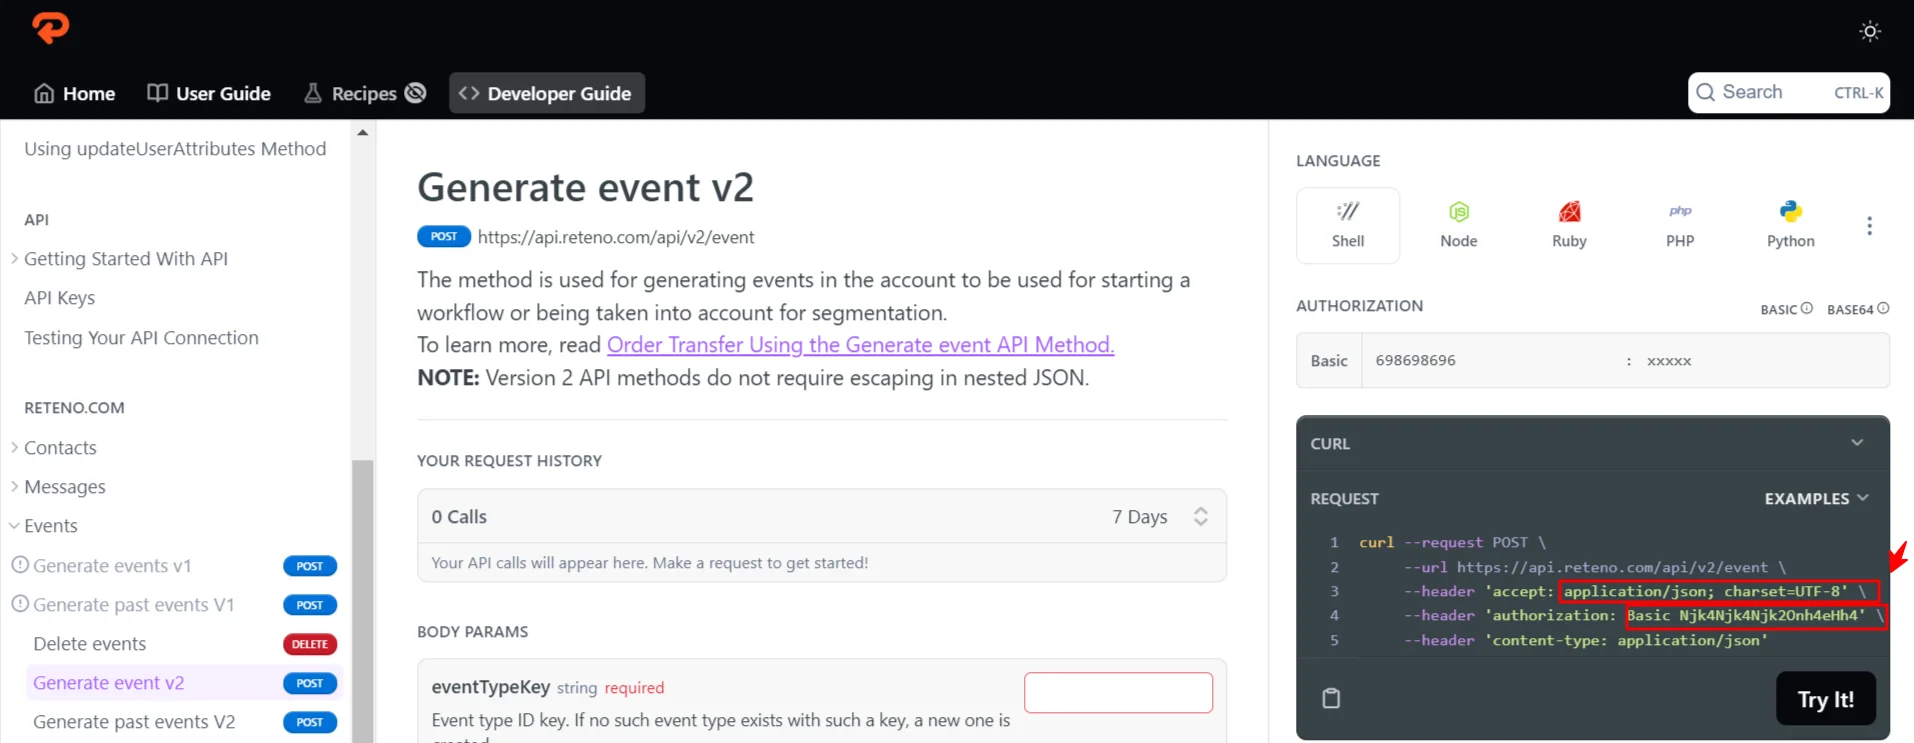
and paste them into the corresponding Destination fields.
- Set up event parameters’ compliance.
For example, we want to get user IDs from Amplitude. In Amplitude, the name of this parameter is input.amplitude_id, and in Reteno — externalCustomerId. The request example for sending events will be as follows:
{
  "eventTypeKey": "${input.event_type!}",
  "params": \[
    \<#if input.amplitude_id??>
      {"name": "externalCustomerId", "value": "${input.user_id}"}
    \</#if>
    \<#list [
        "parameter_1",
        "parameter_2",
        "parameter_3"...
      ] as param>
      \<#if input.event_properties[param]??>
        , {"name": "${param}", "value": "${input.event_properties[param]}"}
      \</#if>
    \</#list>
    \<#list [
        "$parameter1",
        "$parameter2,
        "$parameter3"...
      ] as param>
      \<#if input[param]??>
        , {"name": "${param}", "value": "${input[param]}"}
      \</#if>
    \</#list>
  ]
}
NotePass all unique event parameters in the request.
More on FreeMarker Templating Language >
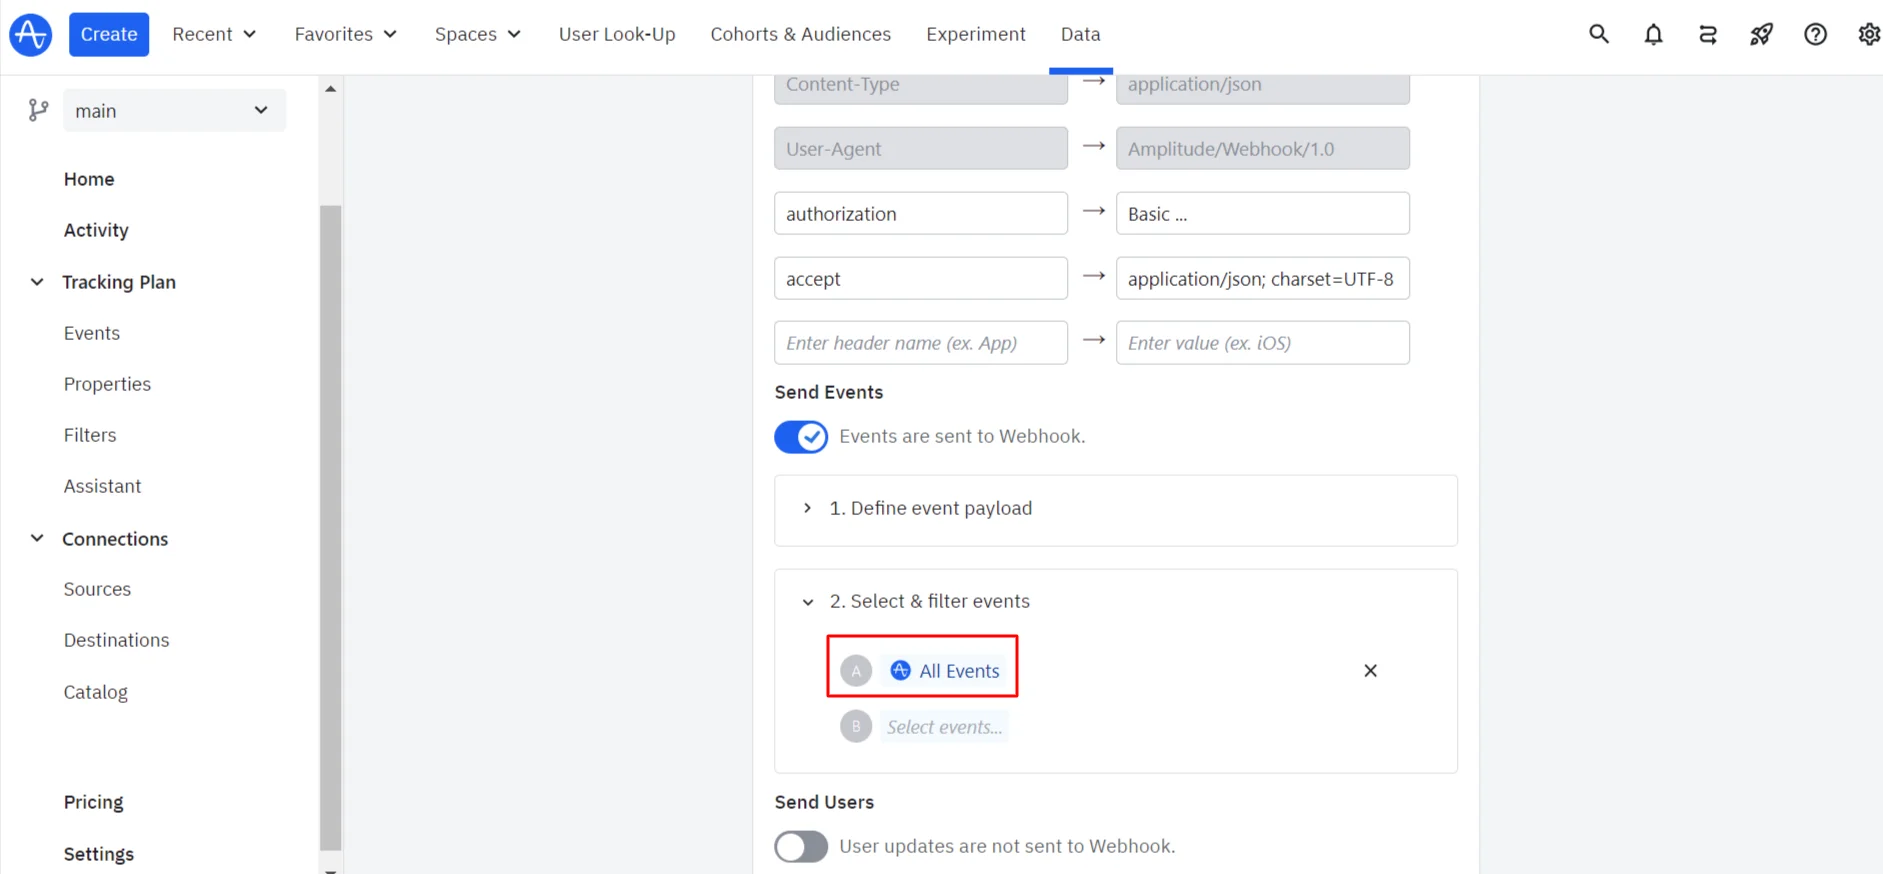
- Open the Select & filter events and choose All events or select events you want to transfer from the list.

- Disable the User updates are not sent to Webhook option.
- Click Save.
Send the test event and go to your Reteno account → Automation → Event history.
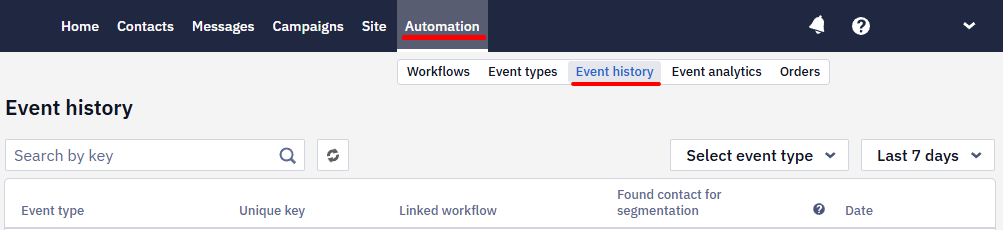
After clicking the test event, you should see the parameters’ values from the event.
{
  "params": [
    {
      "name": "externalCustomerId",
      "value": "765711983372"
    }
  ]
}
More on Amplitude’s Webhook Event Streaming >
Updated about 1 month ago