
Setting Up Permission Request Prompt
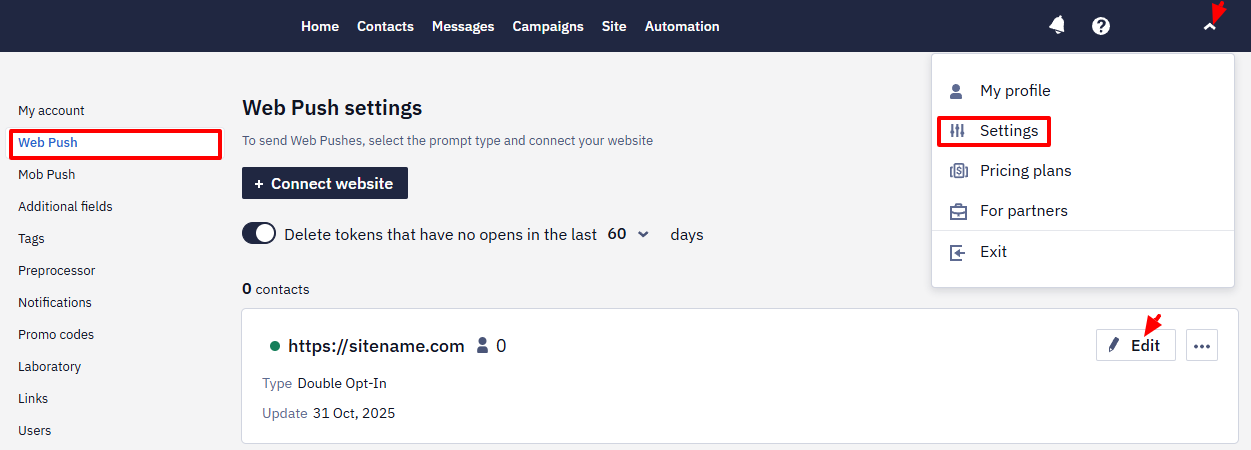
In your account, go to Settings → Web Push, select the site, and click Edit.
Permission Settings
In the Permission settings window, the active tab will correspond to the type of subscription you selected when adding the website to your Reteno account. If you select Double Opt-in, the Custom dialog window type will be active by default.
If necessary, select another type and proceed to the settings.
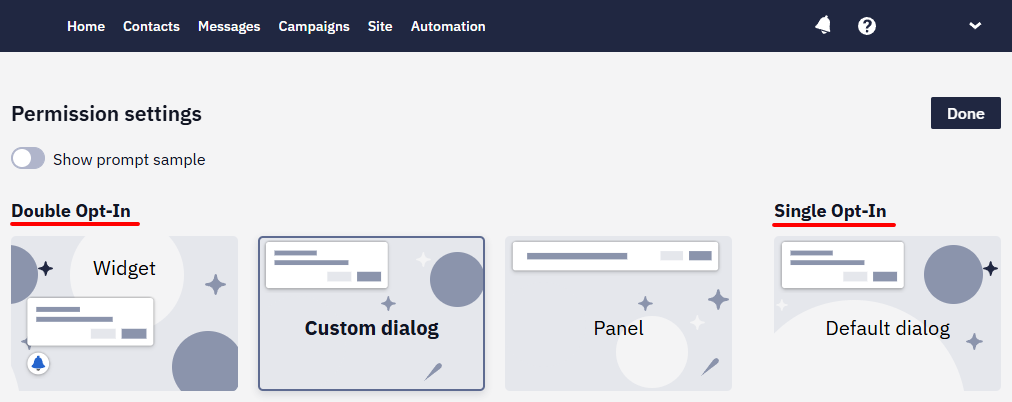
Activate the Show prompt sample to preview how the request will look.

Double Opt-in
The advantage of the double opt-in subscription is the ability to customize the appearance of the subscription and confirmation windows. In this case, a user will first see your customized window, and then the standard one.
There are three types of double opt-in subscription windows:
- Widget — a window with an icon that appears in the bottom right or bottom left of the browser.
- Custom dialog — appears in the top left corner of the page.
- Panel — a bar that appears across the full width of the page, at the top or bottom.

Let's consider the settings for each of them.
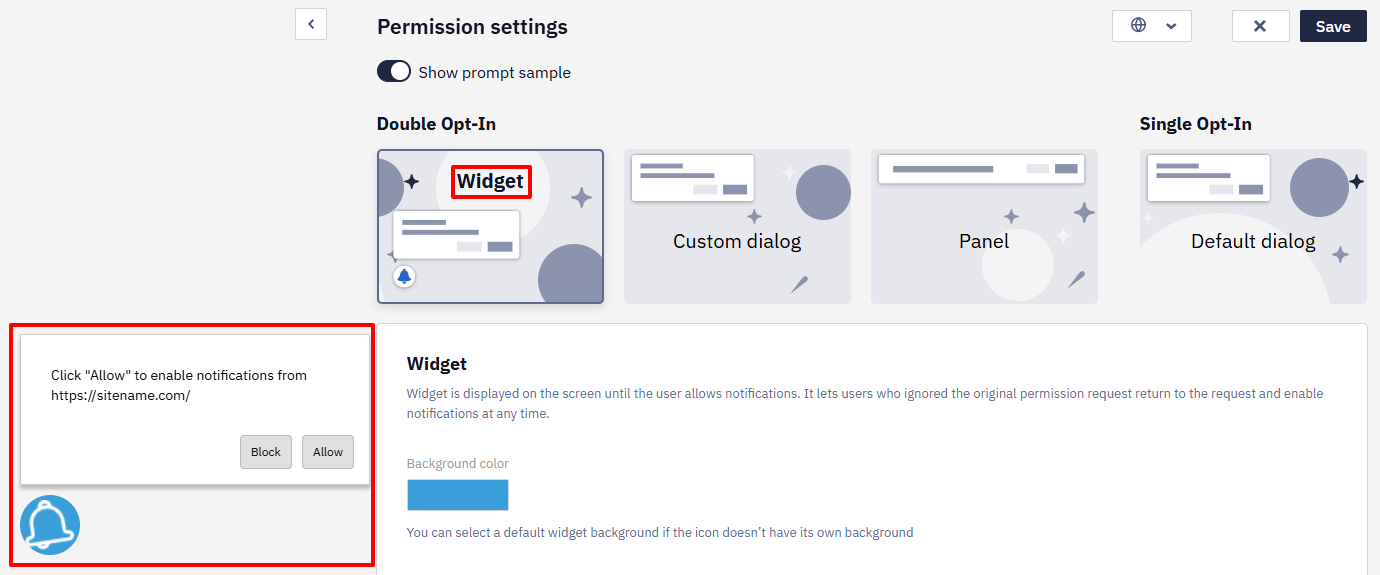
Widget
The widget will remain on the screen until the user allows or denies receiving push notifications. After the reminder, users who have unsubscribed will be able to turn on notifications again.
The following settings are available for the widget:

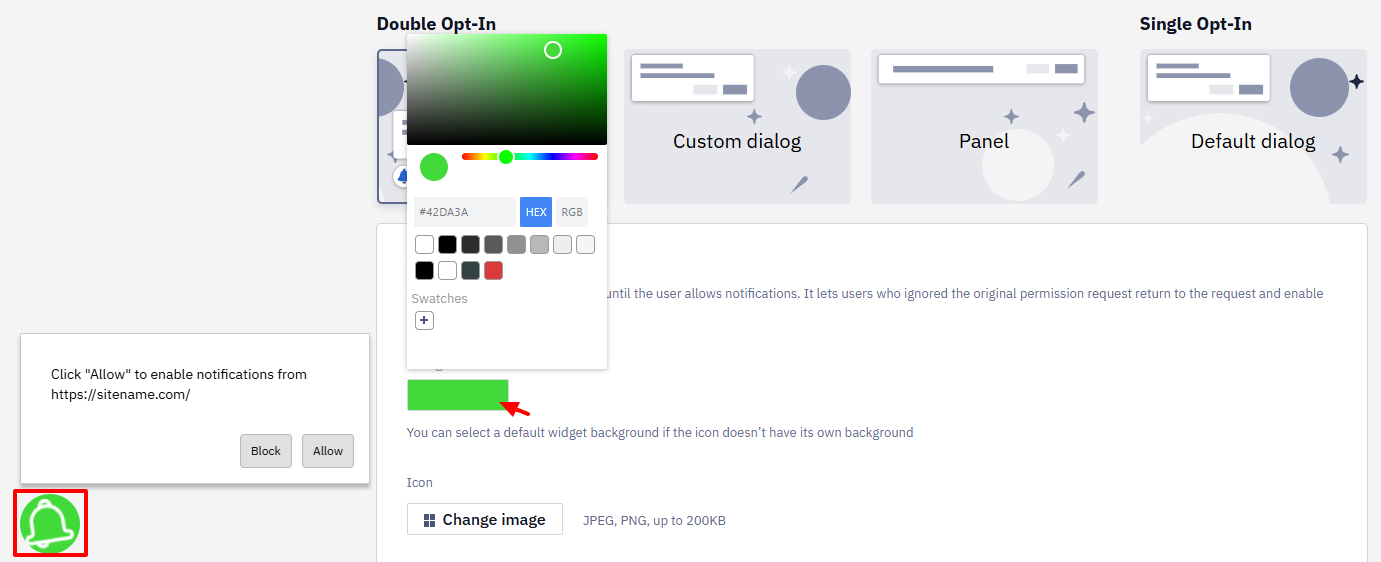
- Background color: Select the background color of the widget icon from the palette, or enter the code in HEX or RGB format.
- Icon: Click Change image and select an icon for the widget in
JPEGorPNGformat, up to 200 KB in size.
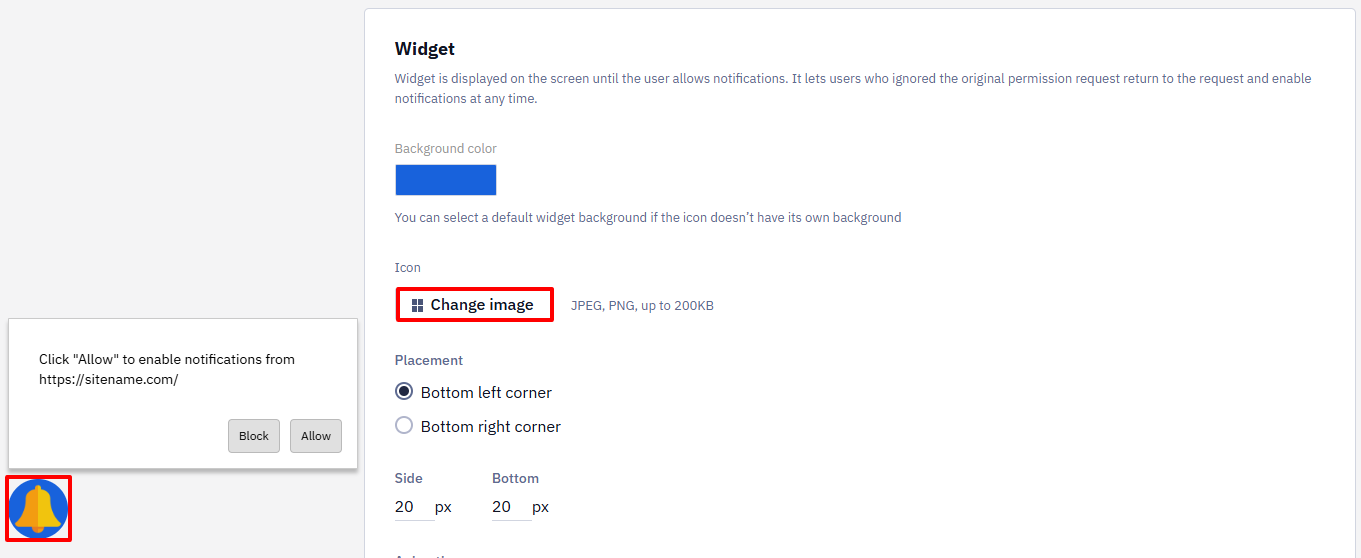
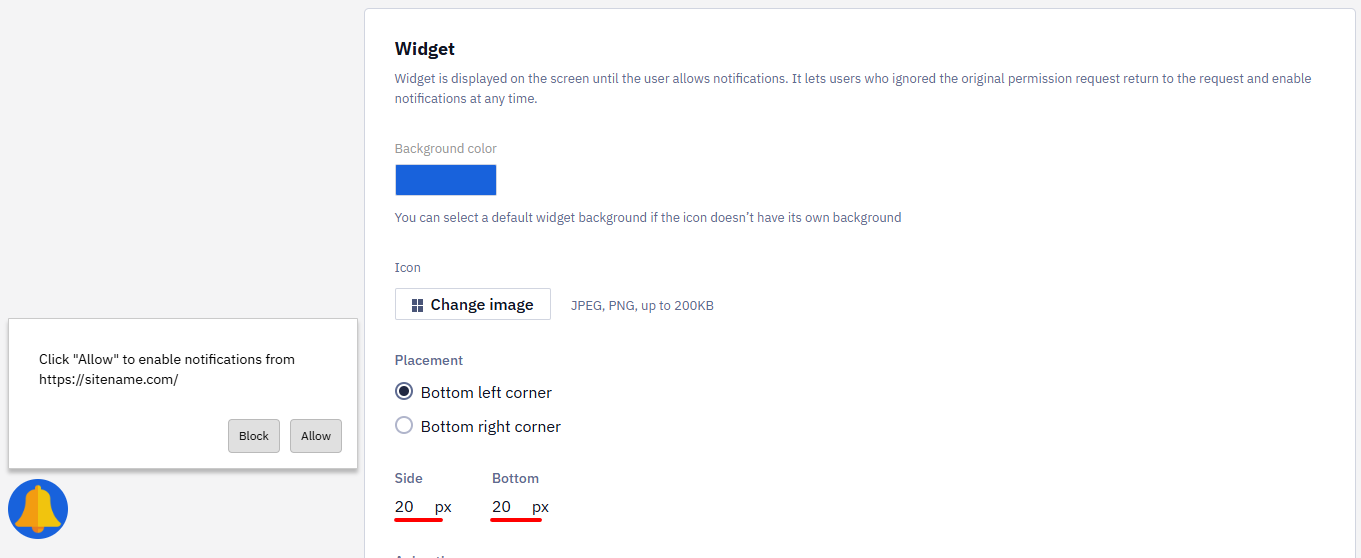
- Placement: Bottom left or bottom right corner.
Set the widget's paddings — from the side or bottom. The maximum value is 300 px.
- Animation: Select the type of animation to attract extra attention.
- Show unblock reminder
Activate the option so that users can see the actions they need to take if the subscription request is blocked.
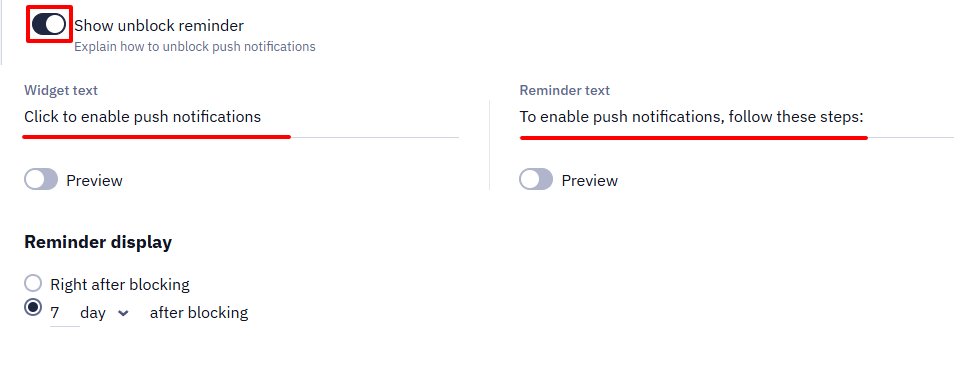
The following settings are available for this option:
- Widget text and reminder text
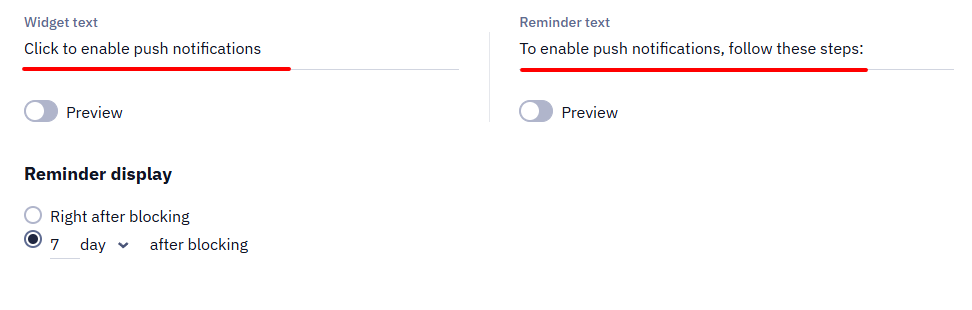
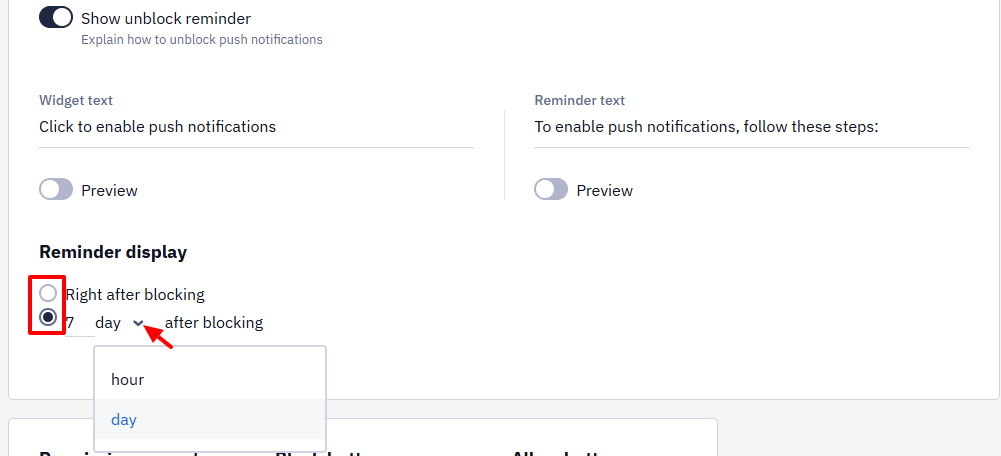
- Reminder display: right after or a certain period after blocking.
Activate the Preview switch to see how the reminder will look.
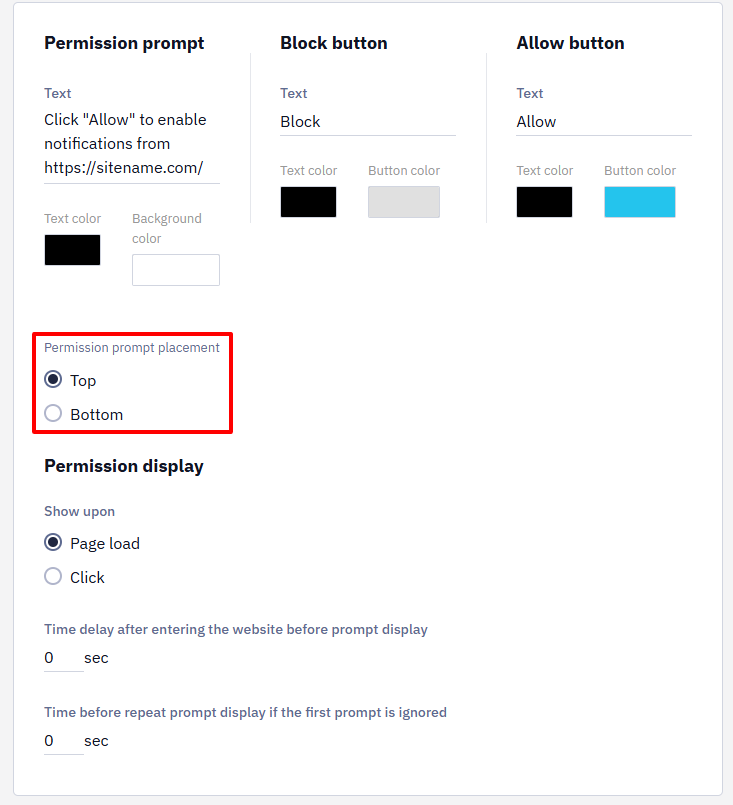
- Permission prompt and button text: Click the text field and enter the information that will be displayed on the buttons and in the prompt.
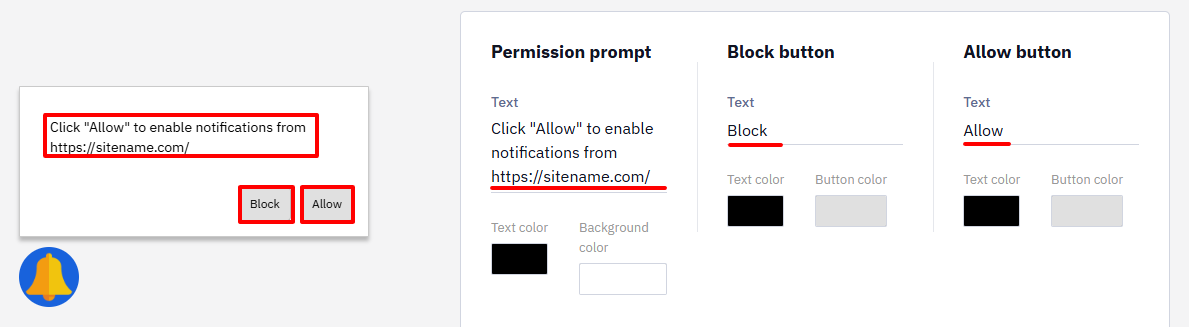
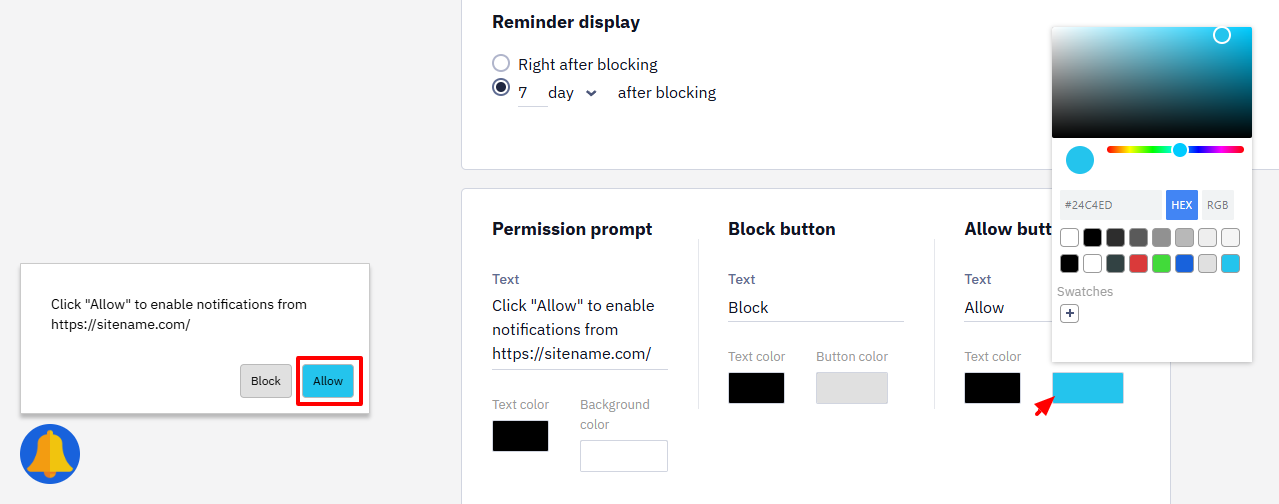
- Text color, background color, and button color: Click the corresponding field, select a color from the palette, or enter the code in HEX or RGB format.
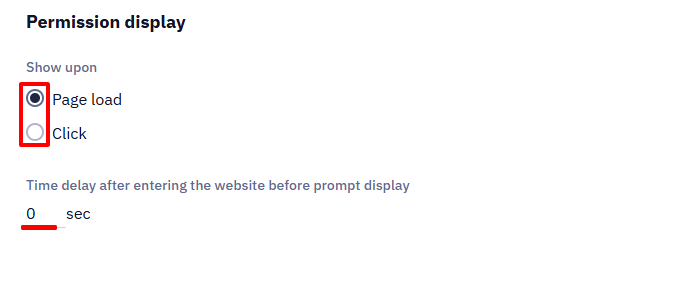
- Permission display
Set the parameters:
- Show upon: page load or click.
If you set Show upon click, the request window will appear after the user clicks on a specific element on the website (banner, button, etc.). Add class="es-push-prompt-init" to this element in the website’s code;
- Time delay after entering the website before prompt display. The maximum value is 1000 seconds.
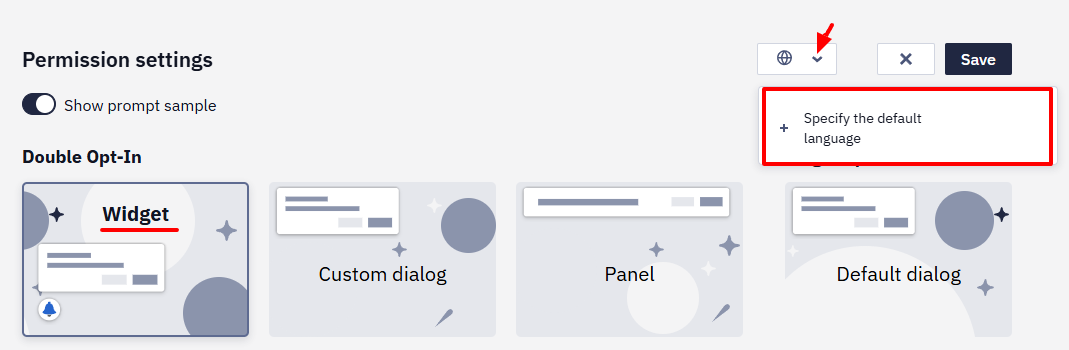
Multilanguage
Use the multilingual option in widgets to automatically address users in their languages. Learn more >
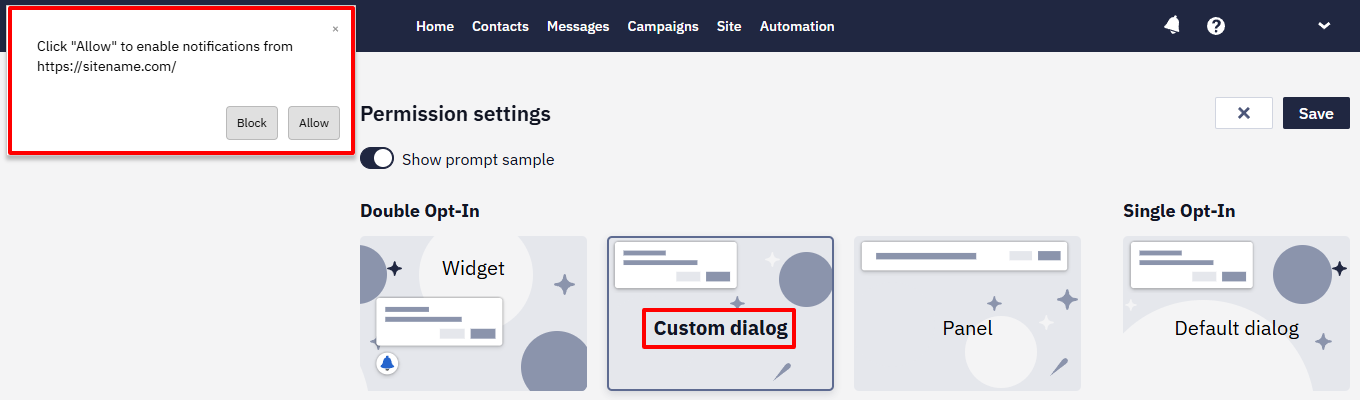
Custom dialog/Panel
They have similar settings, with one difference — for the Panel window type, you can select the placement of the permission prompt: top or bottom
The method of changing the settings is similar to that of the Widget*.
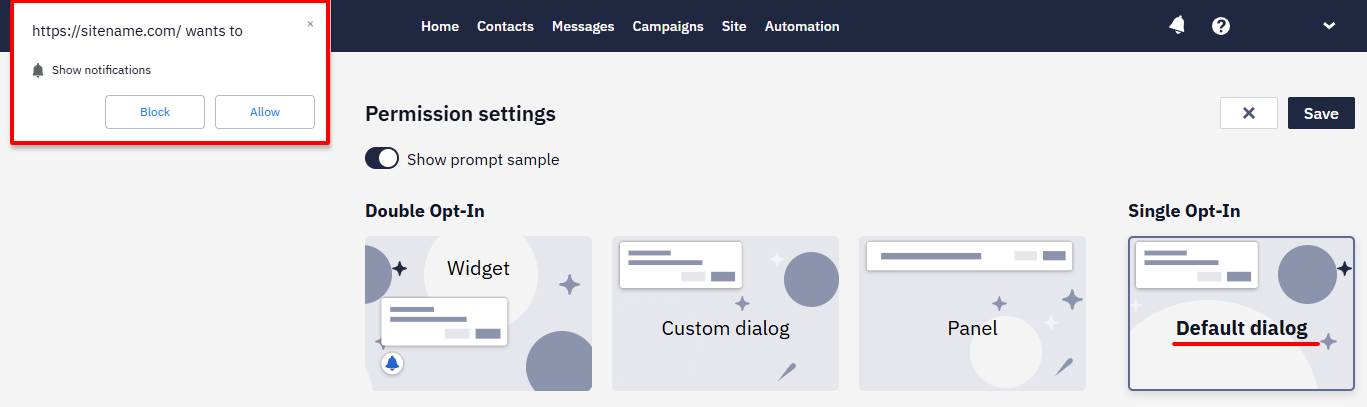
Single Opt-in
The default browser window, where you can only configure the Permission Display option.
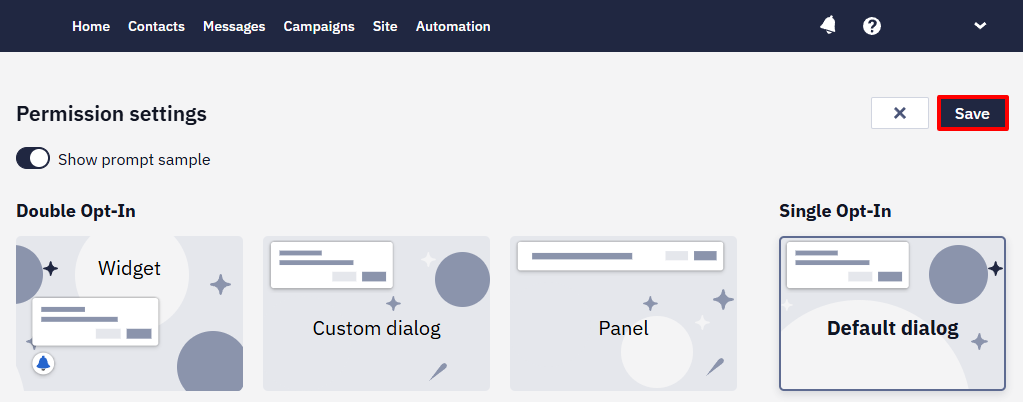
Click the Save button in the top menu to save the subscription request settings.
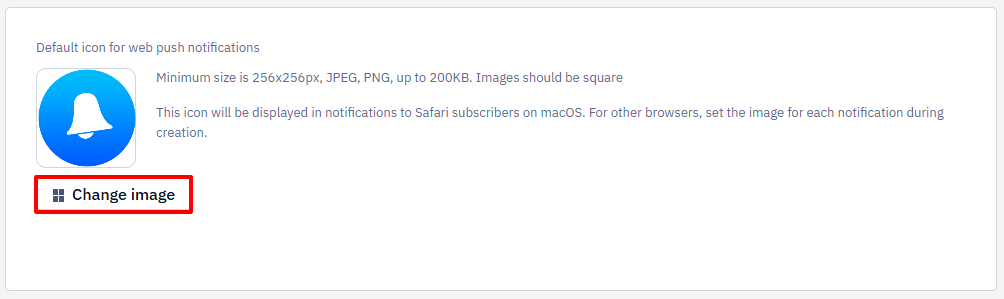
Features of Permission Settings for Safari
In the general subscription request settings window, you can also add your custom brand logo, which will be displayed for Safari users on macOS. For subscribers using other browsers, you can set any other image while creating the messages.
Click Change image and select a logo for Web Push in JPEG or PNG format, with a size of up to 200 KB. The image must be square-shaped with a minimum resolution of 256x256 px.
NoteWeb push permission is controlled by the browser, even when the site is installed as a PWA (Progressive Web App). There is no dedicated in-app unsubscribe screen provided by the platform itself — users can turn off web push notifications either via the browser's own notification/site-permission settings, or via the settings reachable from a received push notification.
Updated about 7 hours ago