
Adding a Table to an Email
In the email editor, you can add a table without using external tools.
You can use either of these methods:
- Structure — build a table from layout containers
- Text block — insert a table directly into a text element
Creating a Table Using a Structure
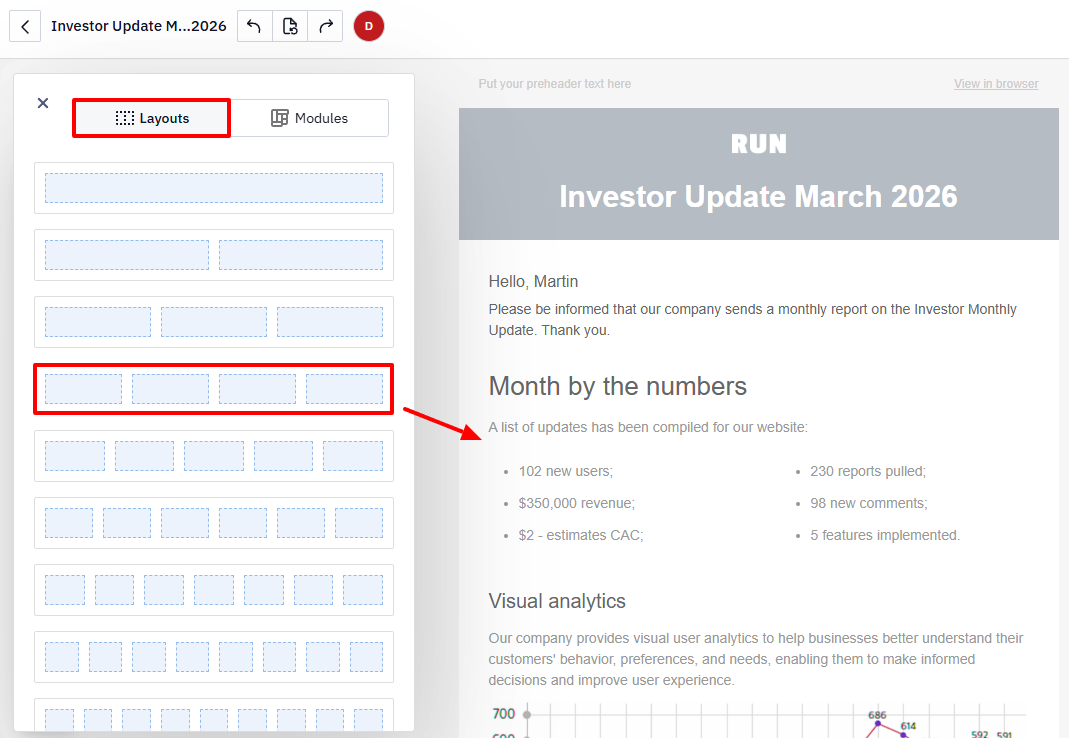
- Open the Structures & Modules panel.
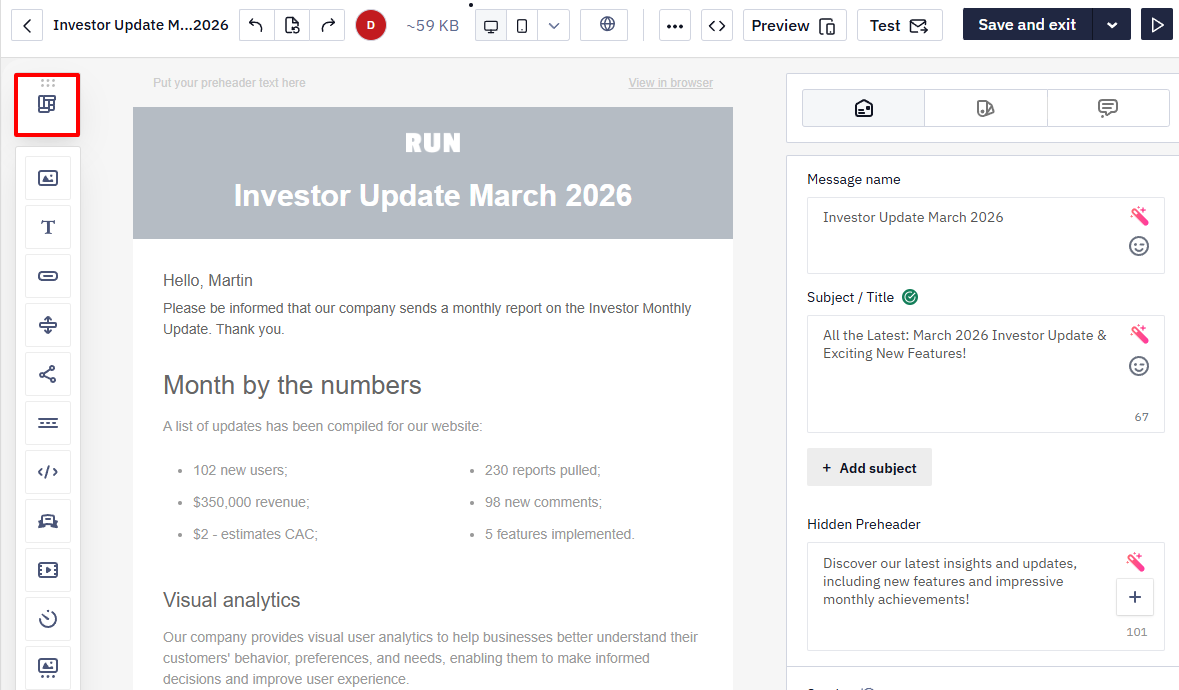
- Switch to the Layouts tab, and drag a structure with containers into the email.
The number of containers defines the number of table columns.
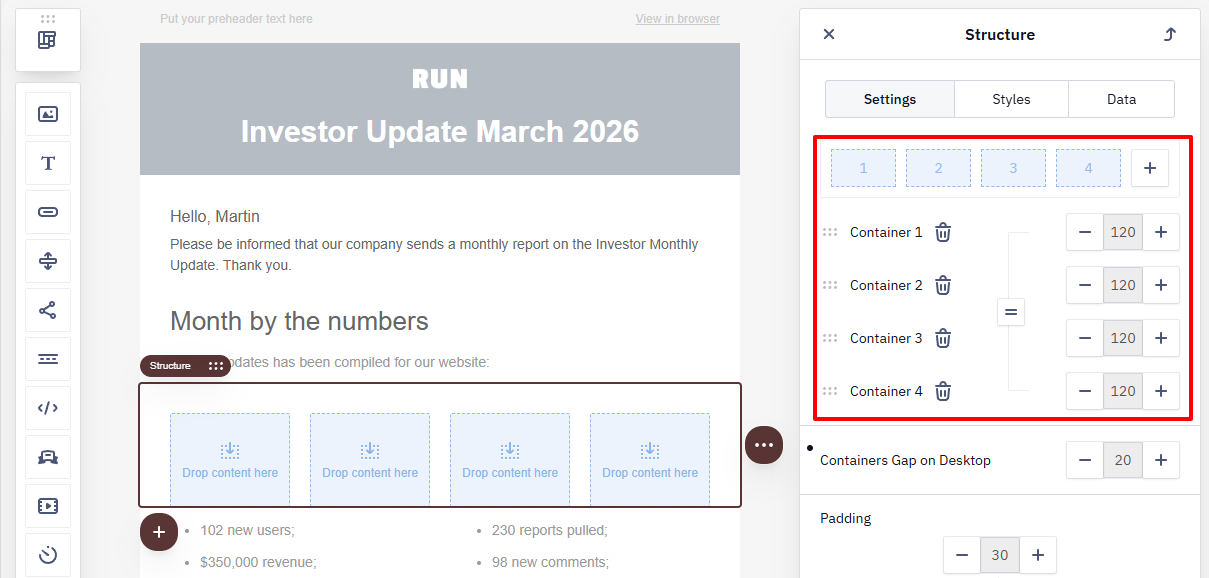
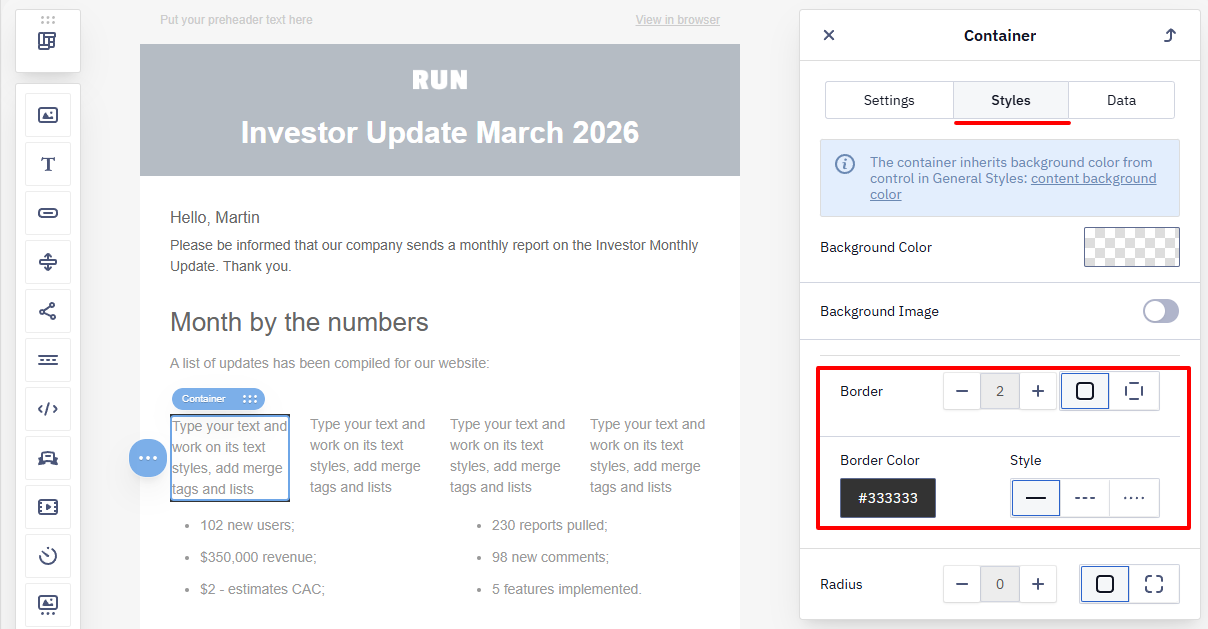
Configure the Structure
- Adjust the number of containers, their width, gaps, and padding in structure settings if needed.
- Convert each container into a text block by clicking the corresponding icon inside the container.
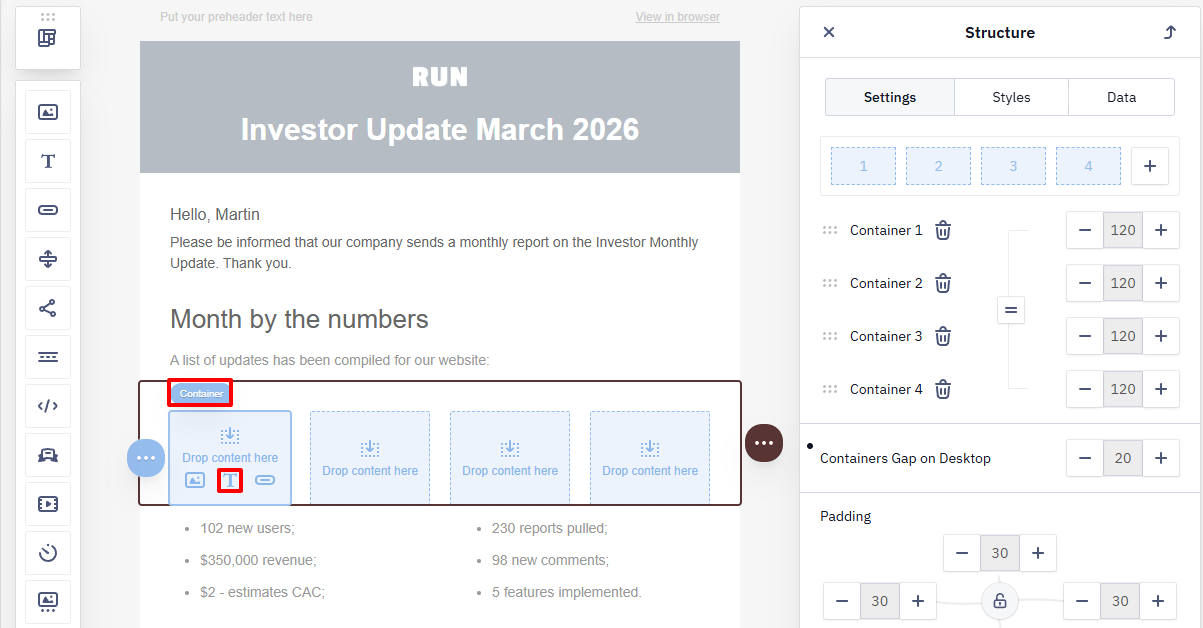
- Configure the text in each block according to the table style.
- Set the container border width, color, and style to visualize the table.
Add Rows and Spacing
- To add rows, hover over the structure and click Duplicate.
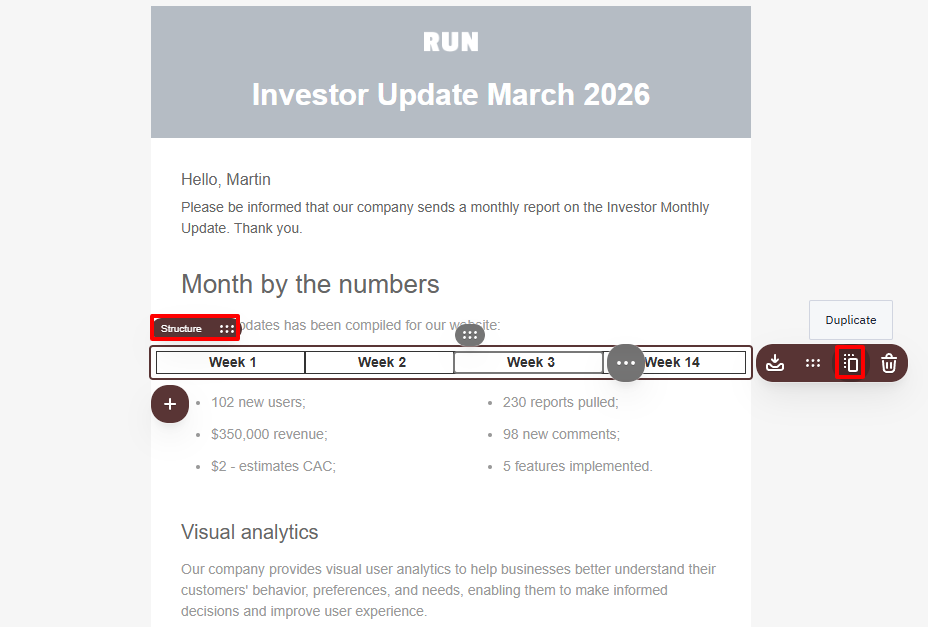
- Fill the table with data.
- To change spacing between rows or columns, update gaps and padding in the structure settings.
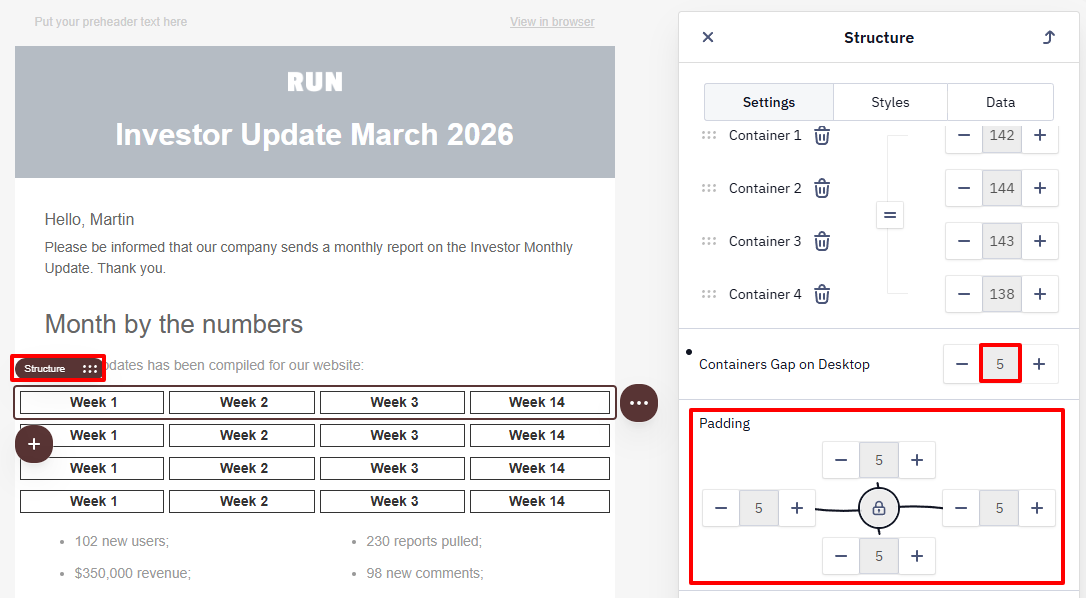
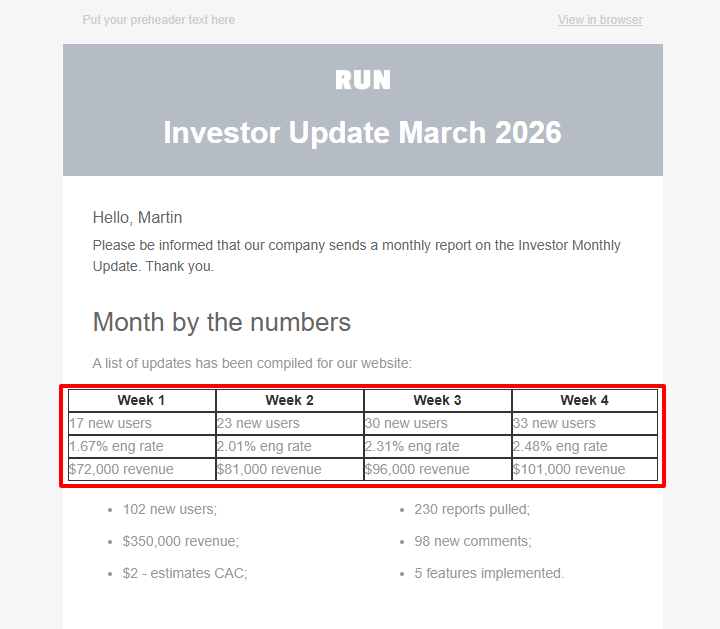
Table Display in the Email
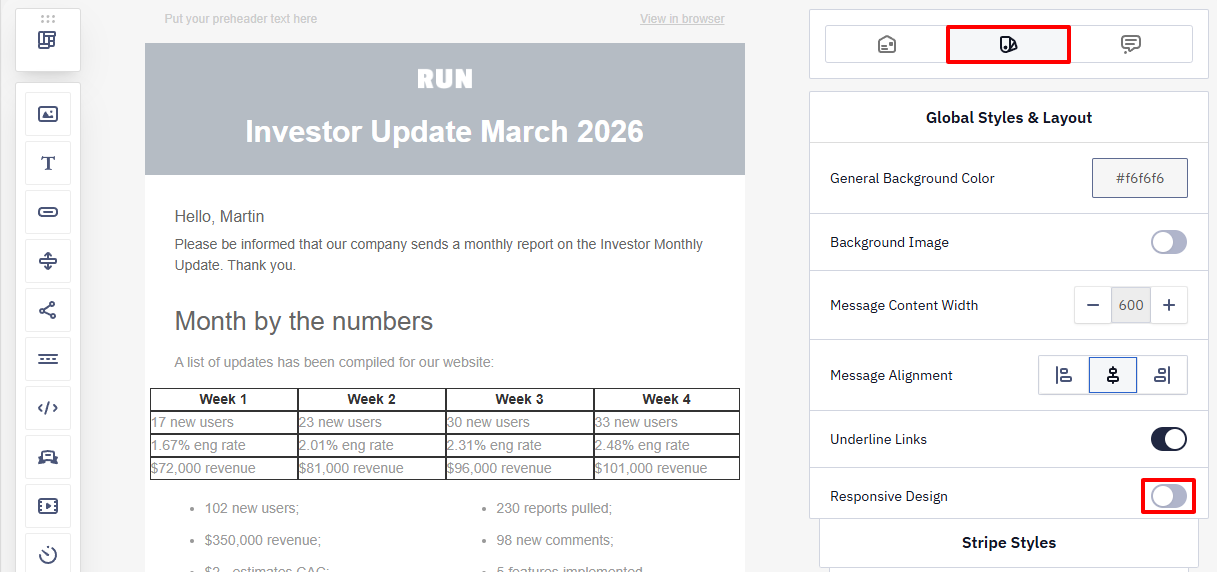
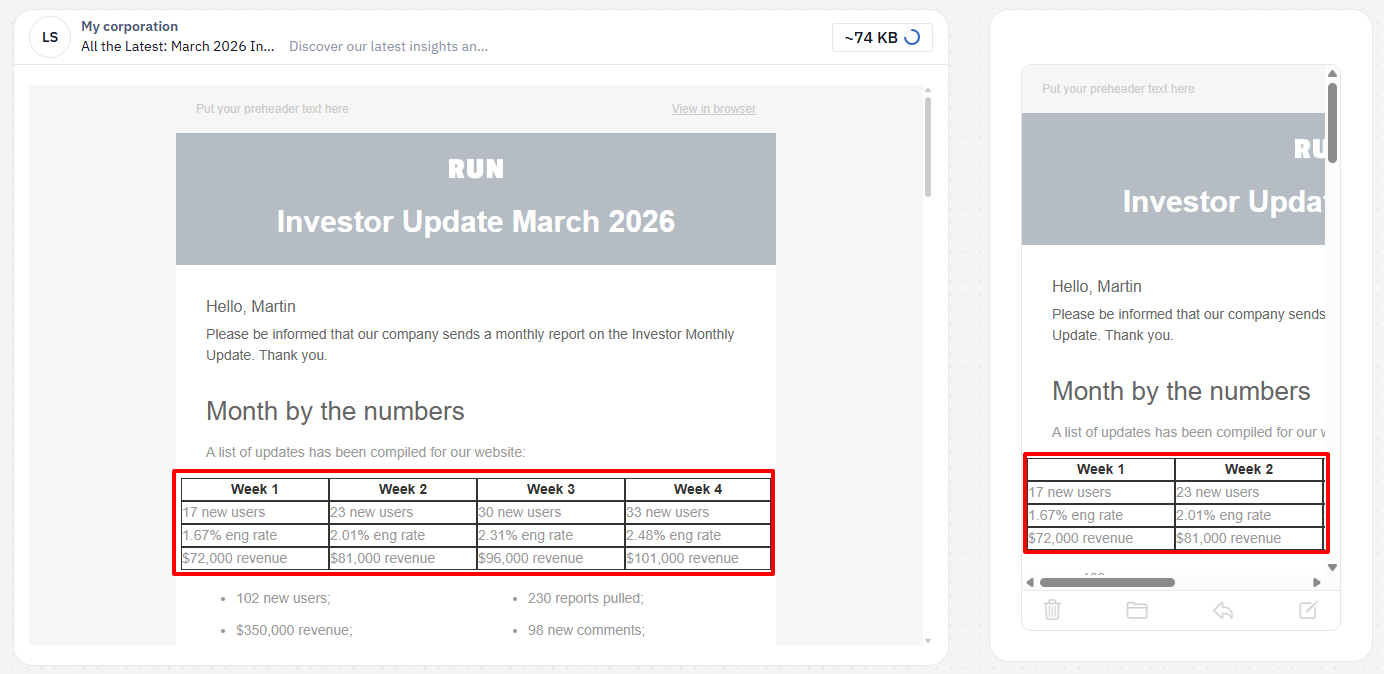
By default, Adaptive Design is enabled in the editor. Structure-based tables may display differently on mobile devices because the editor rearranges containers for smaller screens.
To make the table look the same on desktop and mobile:
-
Open the Global Styles & Layout panel (located in the left sidebar of the editor).
-
Find the Responsive Design toggle and disable it.
- Click Preview to verify the result.
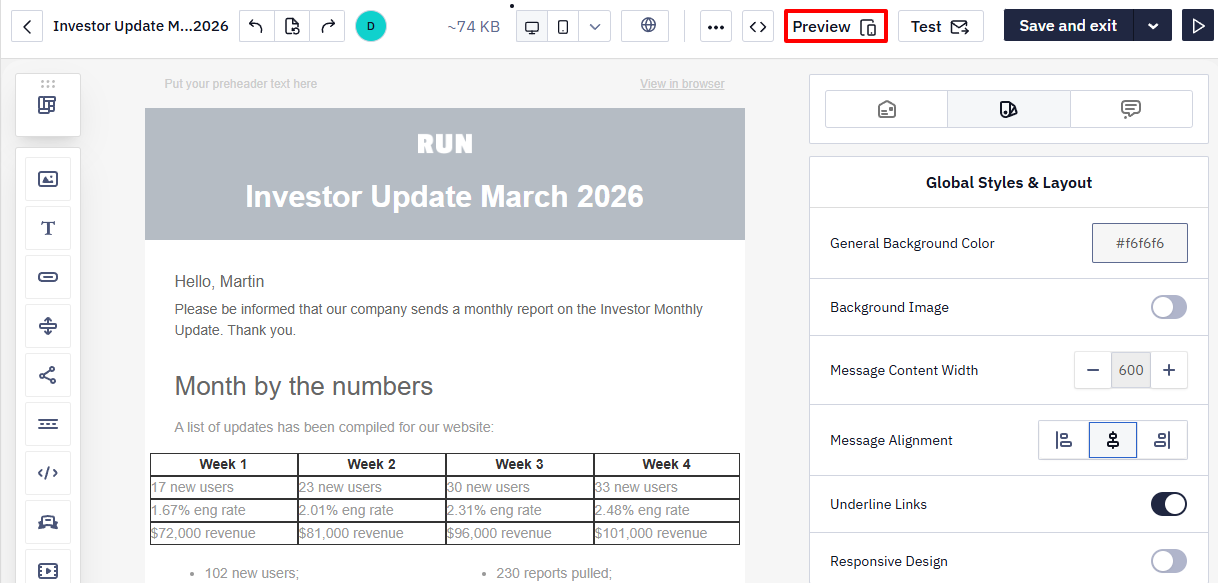
After that, the table displays the same on mobile and desktop.
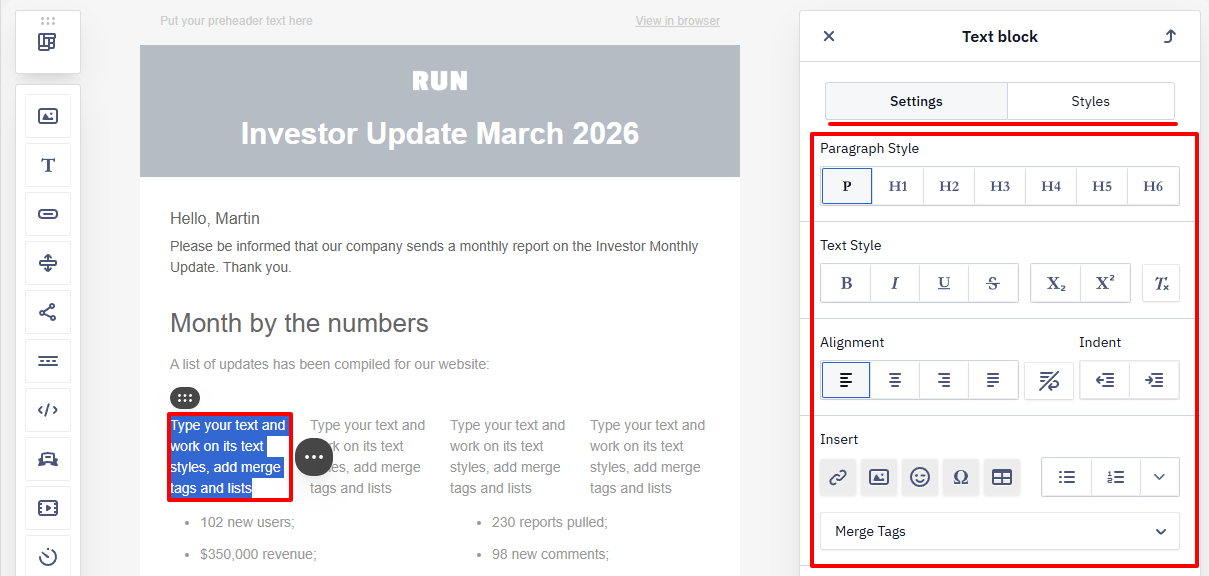
Creating a Table in a Text Block
- Drag a Text block to the required position in the email, or add a structure with text content.
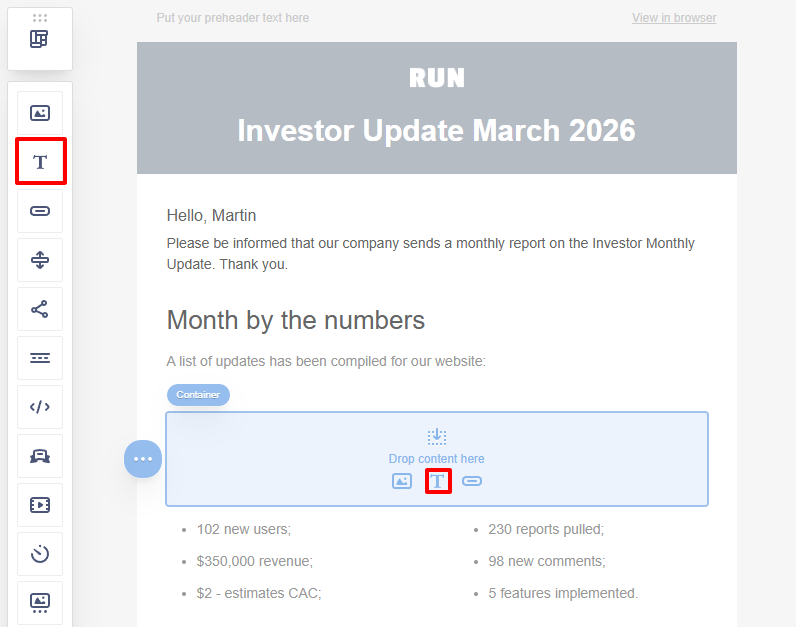
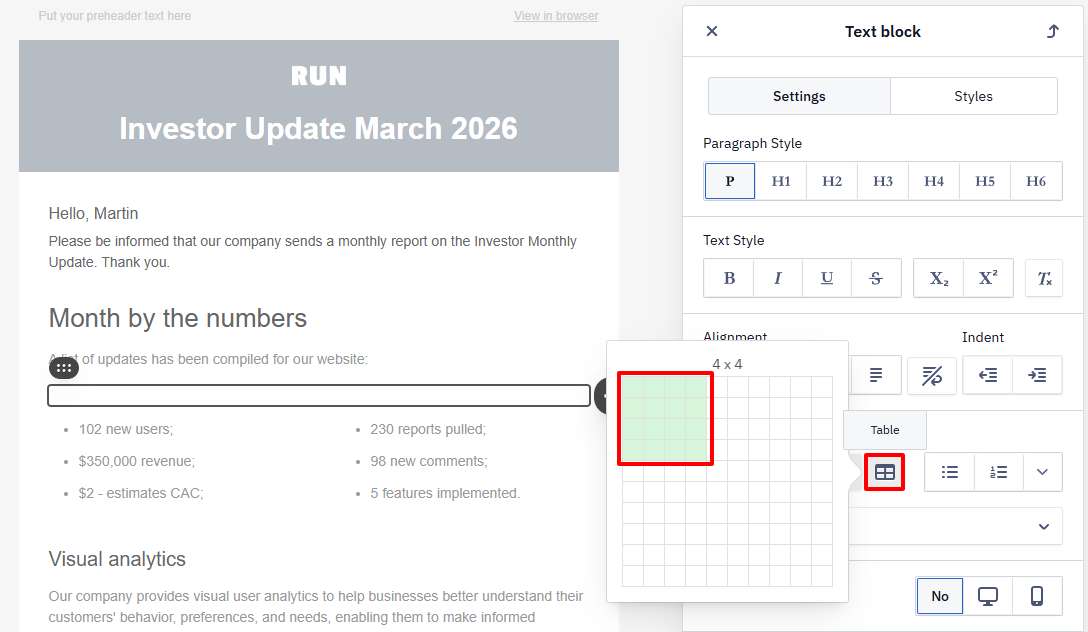
- In the Text block settings, open the Insert section and click the Table icon.
- Select the table size (rows and columns).
- Fill the table with content.
All text formatting options are available for table content. You can apply settings to individual cells or to the entire table.
ImportantDon't insert an image (for example, a QR code) as a base64-encoded
srcin a table cell — it doesn't render in Gmail, Yahoo, or ukr.net. Host the image externally and link to it instead.
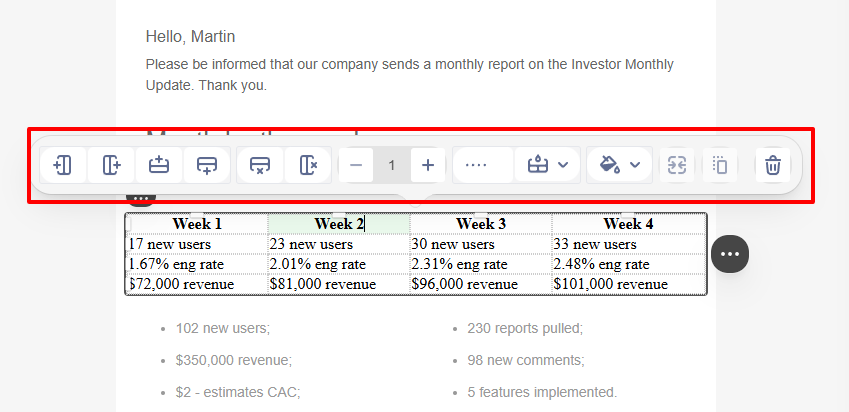
The table toolbar lets you:
- add or remove rows and columns;
- change border color, width, and style.
ImportantTables created in a Text block display the same on desktop and mobile devices and do not depend on the Responsive Design setting.
Updated about 15 hours ago