Setting Broadcast Frequency Strategy
An email frequency strategy determines which days of the month or week broadcasts with specific tags can be sent to specific segments of contacts. This allows you to reduce base churn and increase the interest of your target audience in your campaigns.
Setting Up a Strategy
For example, let's take a case with three types of messages:
- Promo – to attract leads on Mondays, Wednesdays, and Fridays, and for regular customers – on Mondays;
- Personal offers – only for VIP customers;
- Service – for all customers.
Let's move on to creating a strategy.
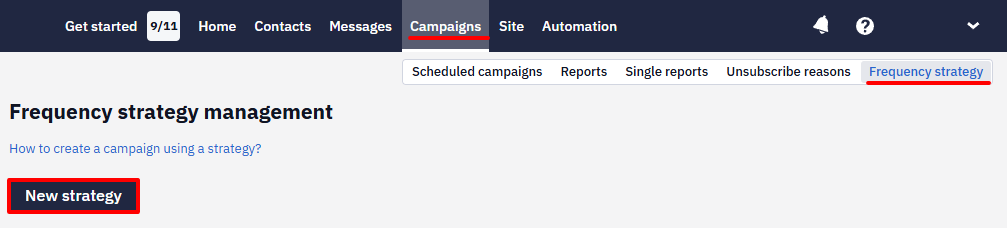
- Go to Campaigns → Frequency strategy and click New strategy.
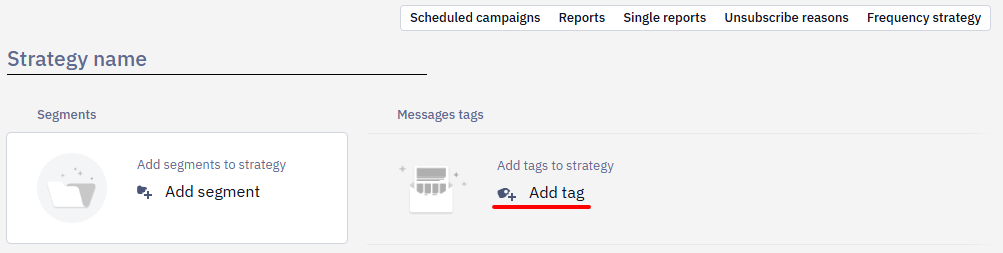
- Enter the name of the strategy.
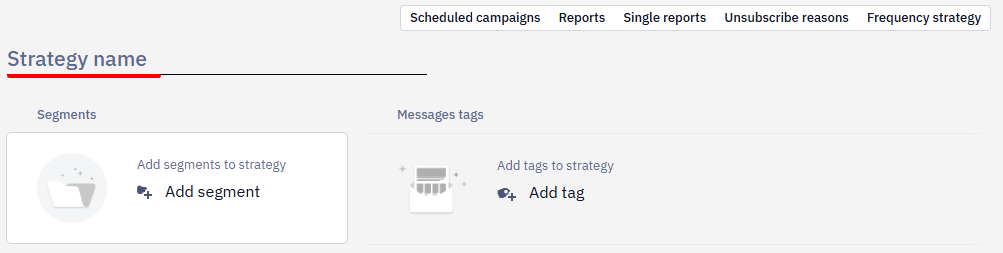
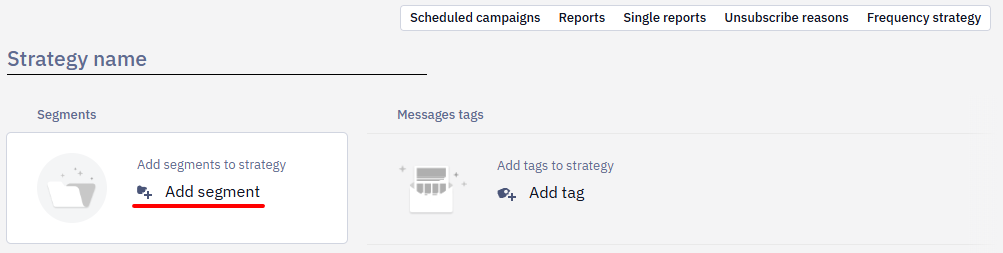
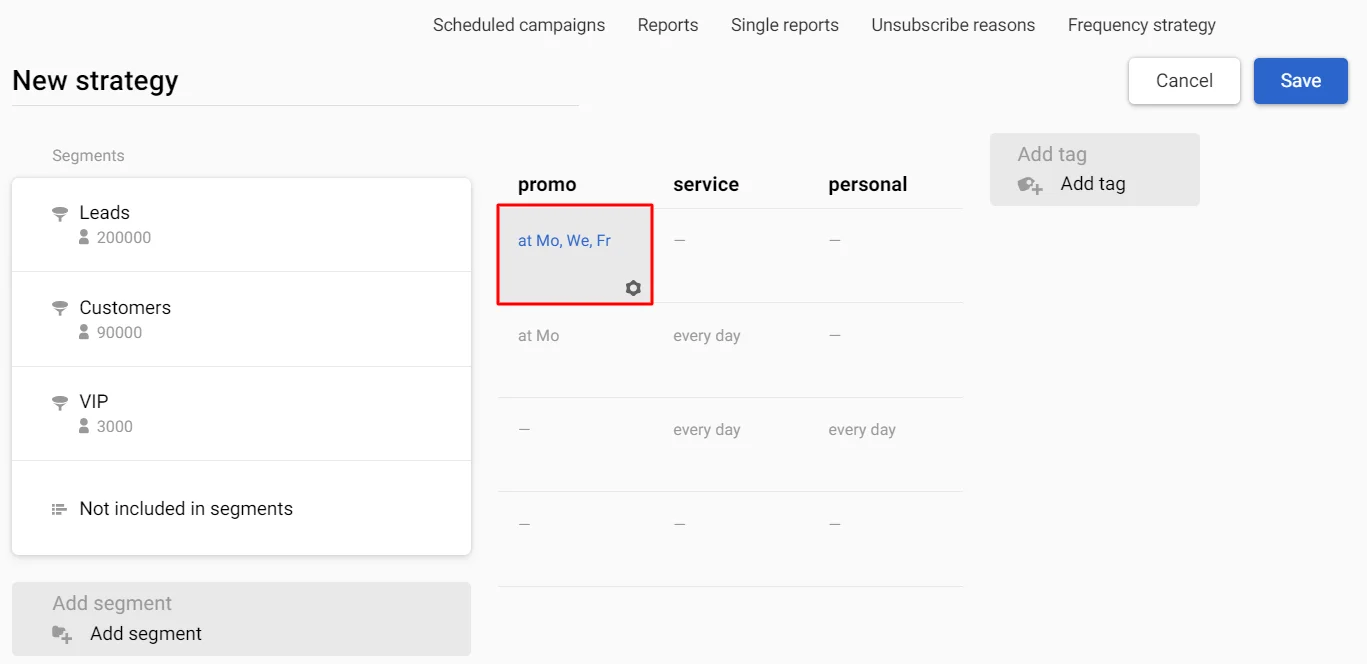
- Click Add segment and select the segments you want to set up a strategy for.
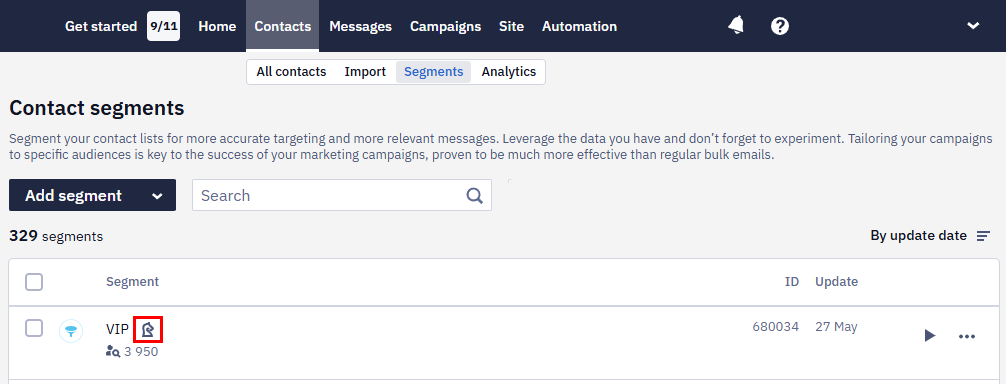
NoteA special icon in the general list of segments indicates segments participating in the strategy. Hover your cursor over it to see what strategies the segment participates in.
- Add tags for messages used in the strategy. When scheduling a campaign, the system will impose sending restrictions based on the message tag.
- Set the message frequency at the intersections of segments and tags. To do this, move the cursor over the cell and click the left mouse button.
- Select one of the suggested frequency options and click Done.
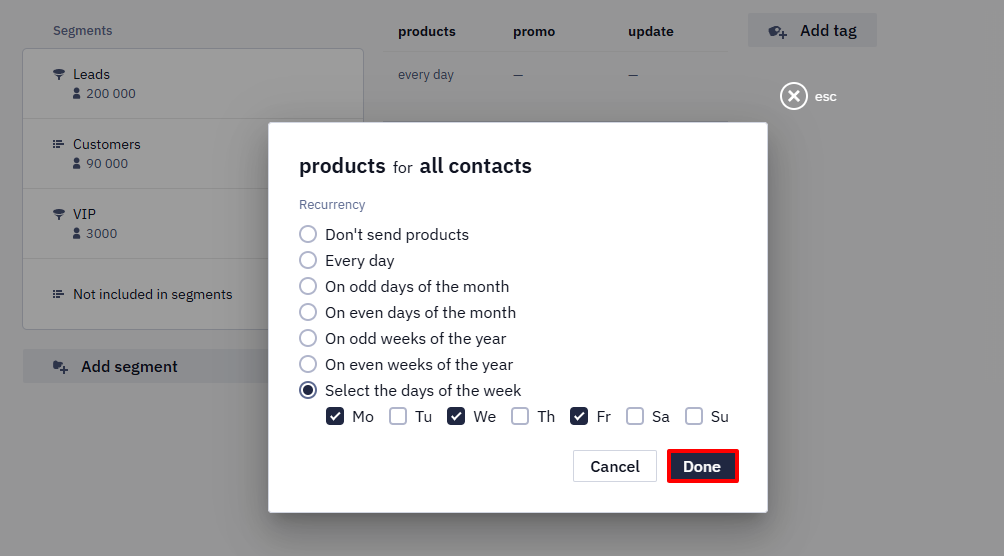
Similarly, set the frequency for the remaining cells. If you do not set the settings for a specific cell, it will default to a dash, equivalent to the Don't send option.
You can move rows with segments and columns with tags by dragging them to the desired location.

The Not included in segments row contains all contacts in the campaign that are not included in the segments you selected in the strategy. They also require setting the frequency of sending for selected tags. If you do not choose a frequency for contacts not included in the segments, they will not receive messages using the strategy.
- After completing the strategy settings, click the Save button.
Before sending a message, Reteno checks segments from top to bottom and tags from left to right. If the system finds a contact in the first segment, it applies the rules of that row to that contact. That is, for example, if there is a contact in both the first and second segments, and the strategy for the first segment does not imply sending today, but for the second, it does, today the system will not allow sending a message to this contact using this strategy.
Planning Broadcast Campaign Based on the Strategy
- Select or create a message with one of the tags used in the strategy (the Messages → Messages section) and click Create campaign.
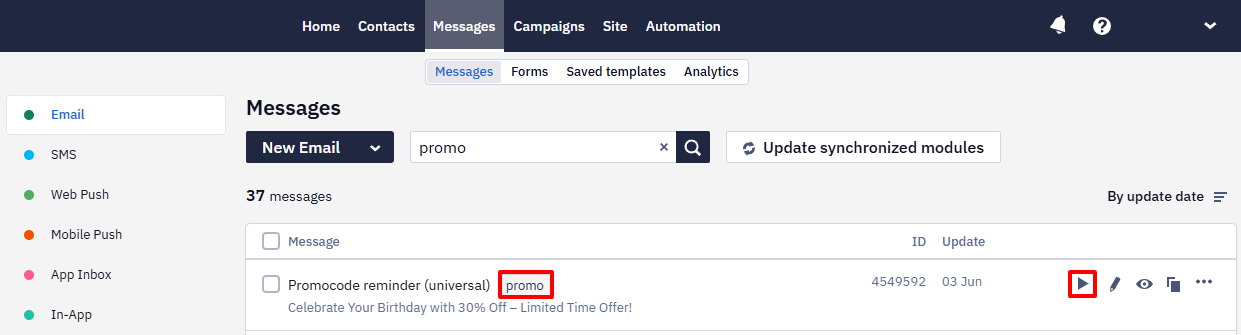
- Choose segments or contacts and click the Go to campaign button (at this step the strategy is not yet applied).

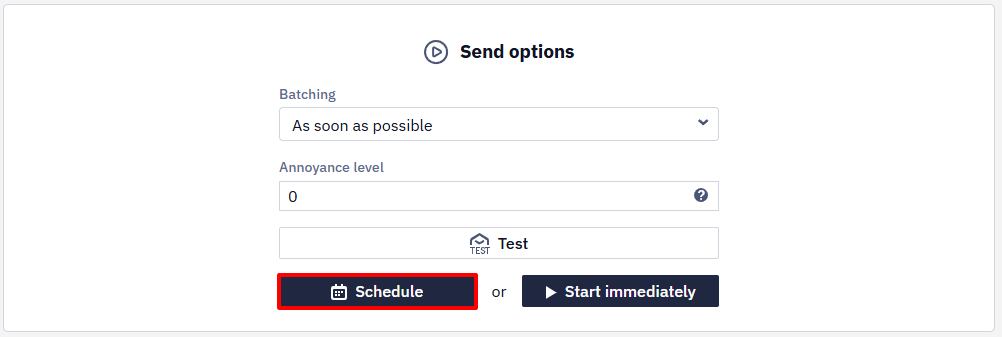
- Click the Schedule button at the bottom of the scheduling page.
- Set the campaign's frequency, date, and time and click the Next button.
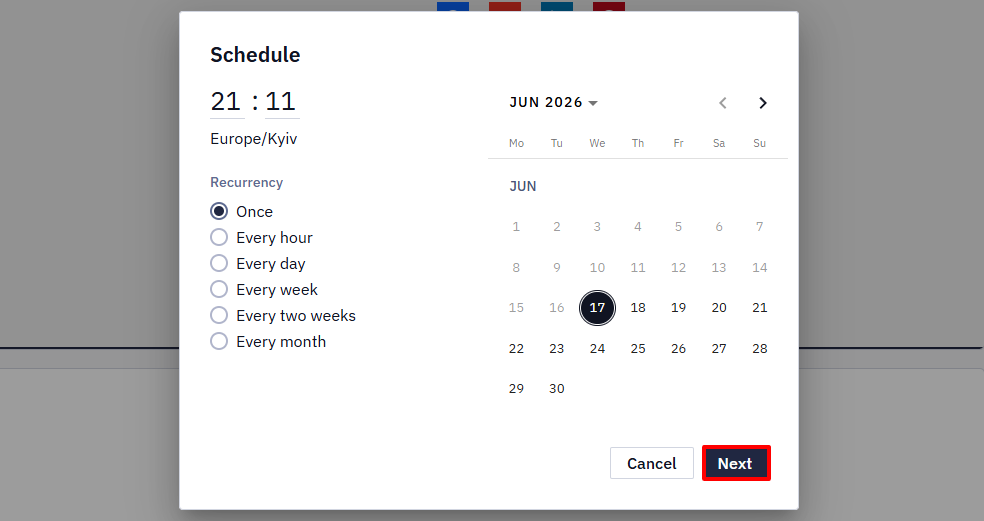
ImportantThe strategy does not automate the launch of campaigns or control the timing of message sending — this remains the responsibility of marketers. The strategy only determines which contacts to deliver broadcasts with specific tags on specific days of the month or week.
- Choose a strategy.

- Contacts will be recalculated, excluding those that do not meet the conditions of the selected strategy. Click the Schedule button.
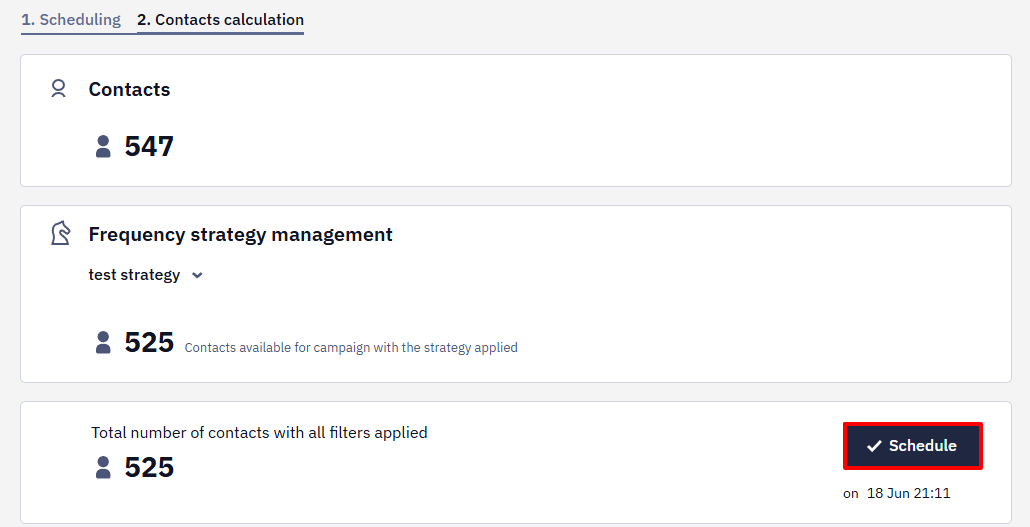
NoteChanging the launch date of the campaign can change the list of contacts receiving it under the strategy settings
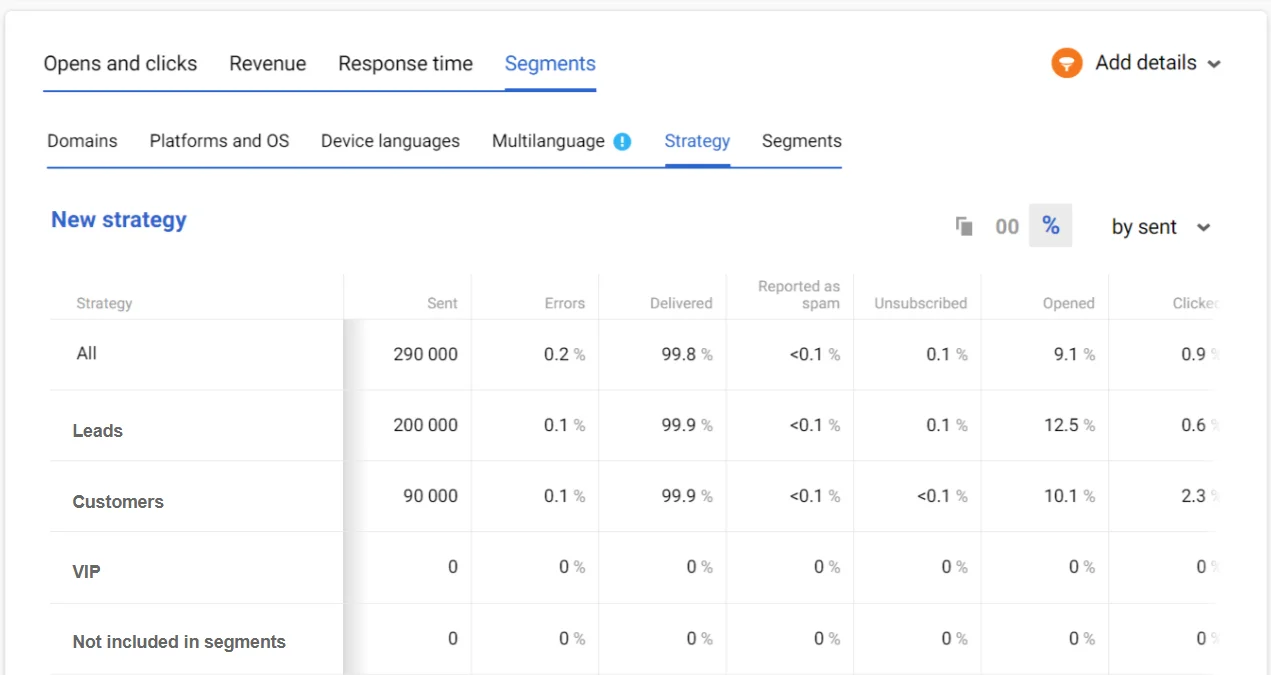
Reports on Campaigns Using the Strategy
In the report on campaigns using a strategy, you can see statistics for all segments under the applied strategy and separately for each segment to which you send the email under the strategy.