
In-App Publishing and Triggering Rules
After saving the message’s appearance, its additional settings page will open, where you can:
- Publish the In-App and schedule it’s displaying
- Return to appearance edits
- Set triggering rules
NoteInstall SDK to send In-Apps through Reteno.
Before publishing In-App messages, subscribe to a pricing plan.
Note
- The number of contacts in a subscription is calculated based on deviceId.
- If the number of contacts in an In-App channel exceeds the plan’s limit, messages will not be displayed to contacts above the limit.
Publishing and Scheduling
Select the Published option from the list and save the changes to display the message to app users according to the rules below.
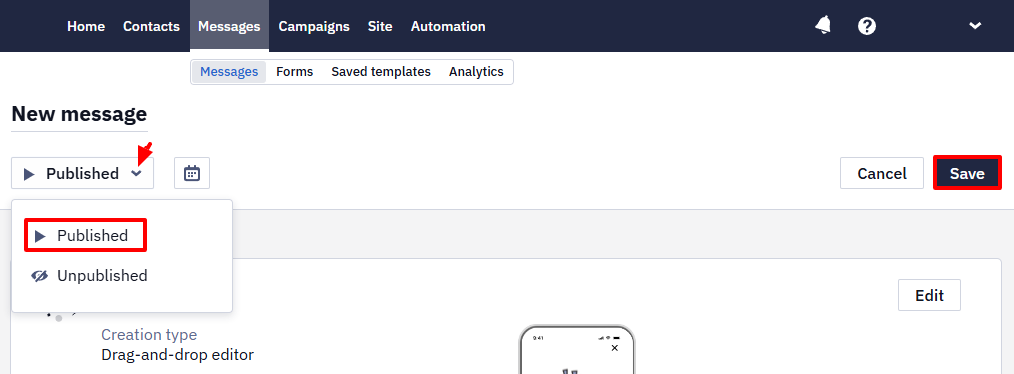
Select Unpublished to stop the message from displaying, then save your changes.
You can also specify the In-App display schedule by clicking the calendar icon.
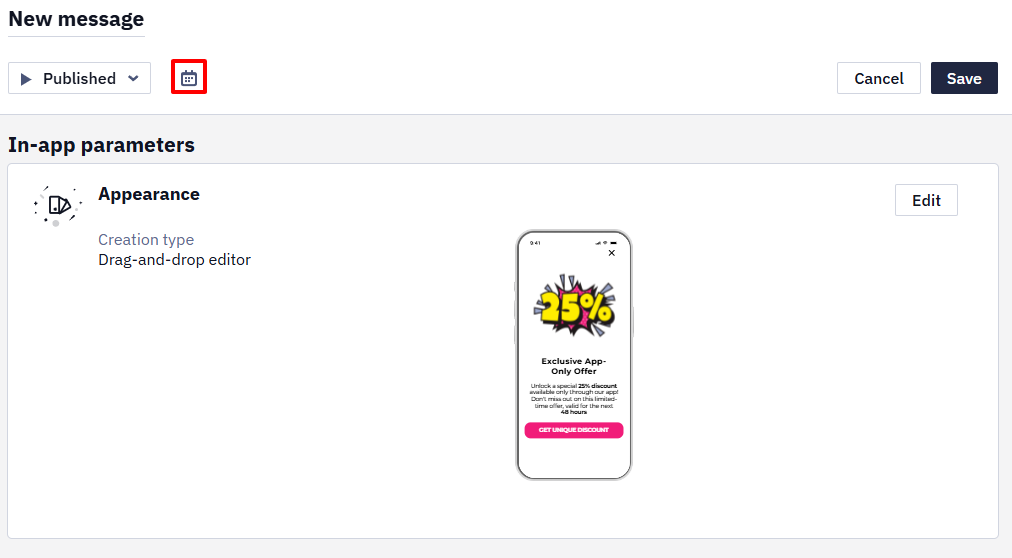
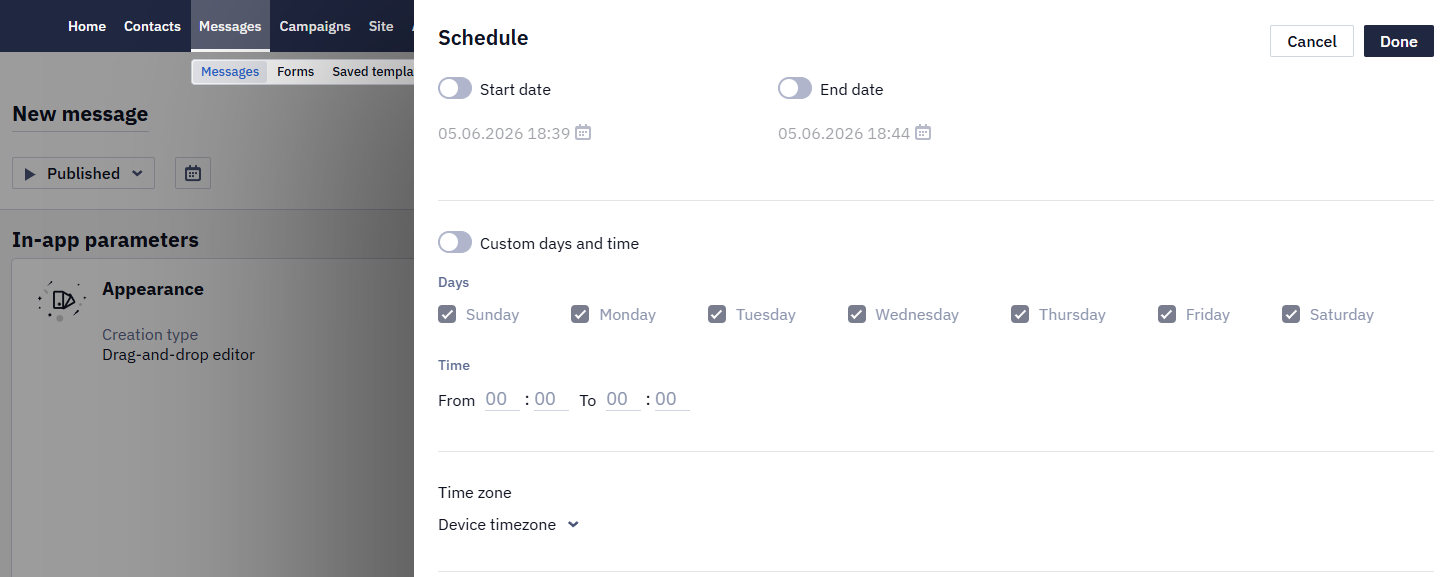
The schedule includes the following options:
- Display start and end dates
- Custom dates and time
- Device timezone — if this option is selected, the display schedule will be applied according to the time zone set on the recipient's device; or you can select one of the timezones from the list
Message statuses are displayed in the general In-App list:
- Published — for published widgets with a current or no scheduled period
- Unpublished
- Scheduled — the publication period is planned for the future
- Expired — the publication period has expired
Editing
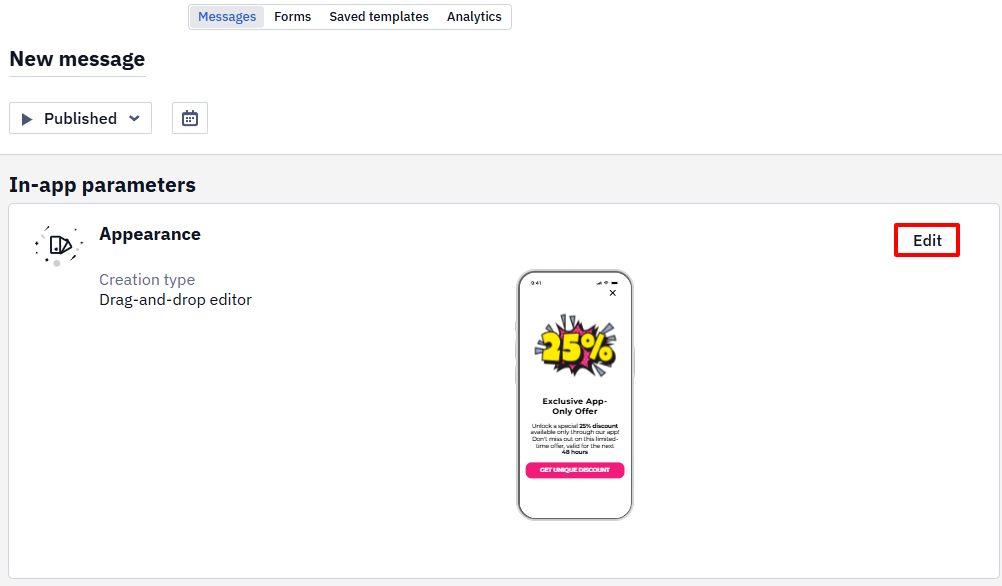
Click Edit on the Appearance tab to return to editing the message.
NoteRe-editing and republishing an existing In-App message doesn't reset its view counters (for example, the Only once / Once per session display frequency). The display history is kept even after the message is unpublished, its conditions are changed, and it is published again — previous views still count, so users who have already seen the message may not see it again. To show the message again to contacts who already saw it under new conditions, create and publish a copy of the In-App message instead of editing the original.
In-App Triggering Settings
The Show Only once rule is activated by default. Click Edit to change the display rules.
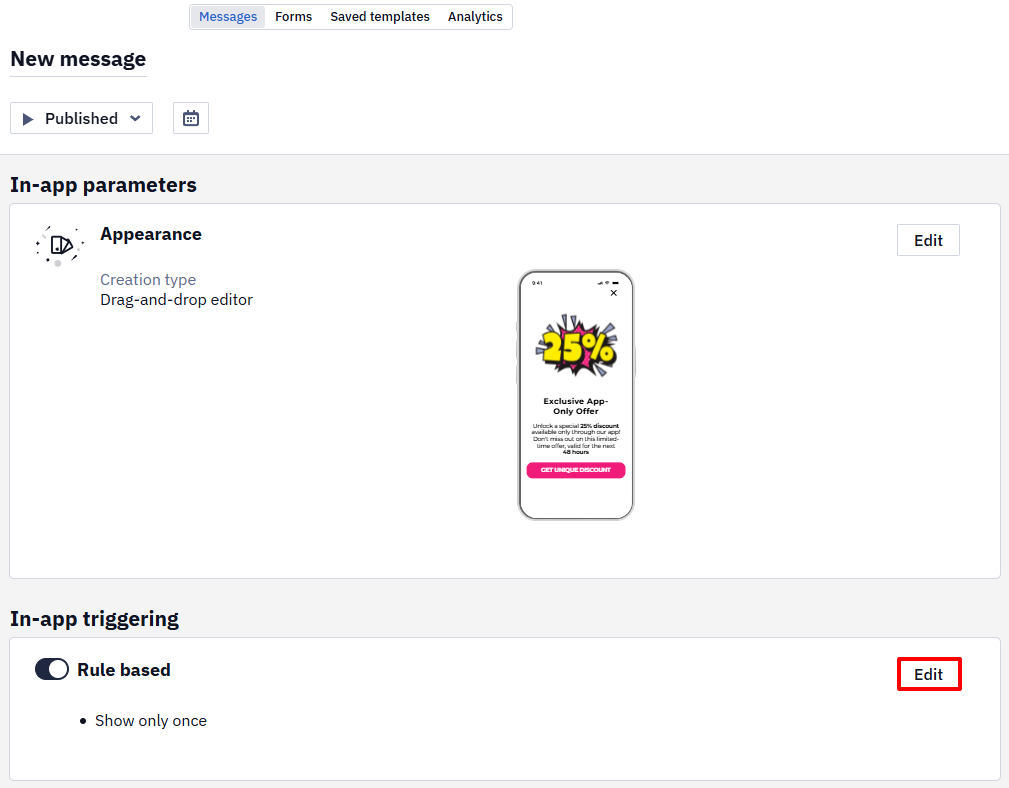
NoteIn-App can be sent only through a tap on a mobile push message without setting triggering rules. Configure triggering rules to display In-App messages as separate entities.
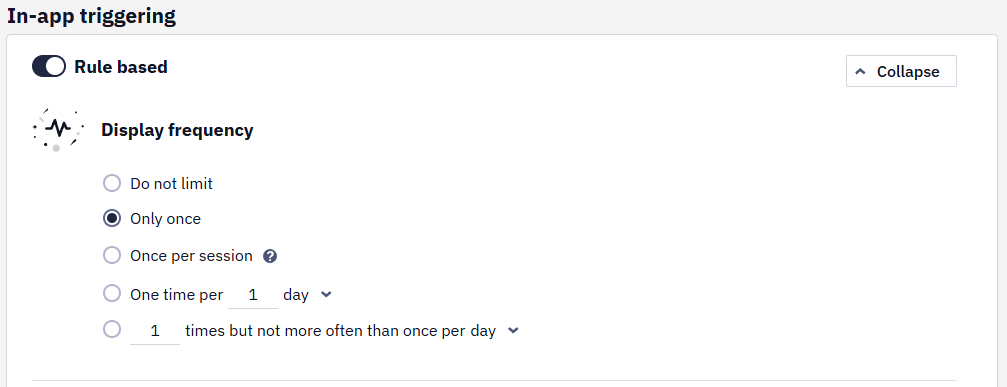
- You can choose the following options in the Display frequency section:
- Do not limit (the message will be shown once after the session starts unless additional conditions are set)
- Only once (the message will be shown once during the app’s life on the device)
- Once per session (a session lasts 3 hours; the app developer can change this duration in the SDK settings — see
sessionDurationfor Android andsessionConfigurationfor iOS. Closing and reopening the app doesn't start a new session) - One time per X minutes/hours/days/weeks (message will be shown every time after the specified period)
- X time, but no more than once per minute/hour/day/week (the message will be displayed the specified number of times after the specified time has expired)
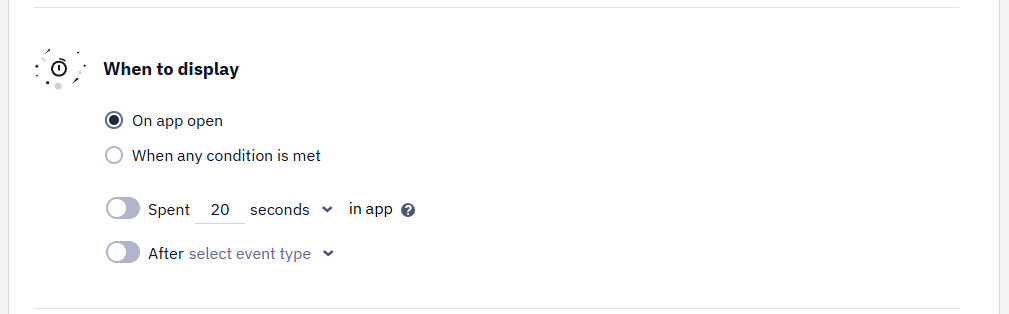
- You can choose the following options in the When to display section:
- On app open
- When any condition is met:
a. Spent X seconds/minutes in app
b. After the event (select one from the list)
When you enable Show after event, you can add one or more event parameters and values to check against (the parameter can contain the value, equal it, not equal it, or start with it). You can specify several values for a parameter.
This lets you target an In-App message at specific products: for example, trigger it on the ProductViewed event and check the productId parameter against one or several product IDs.
NoteThe Does not equal operator is supported starting from SDK Android 2.9.6 and iOS 2.7.2.
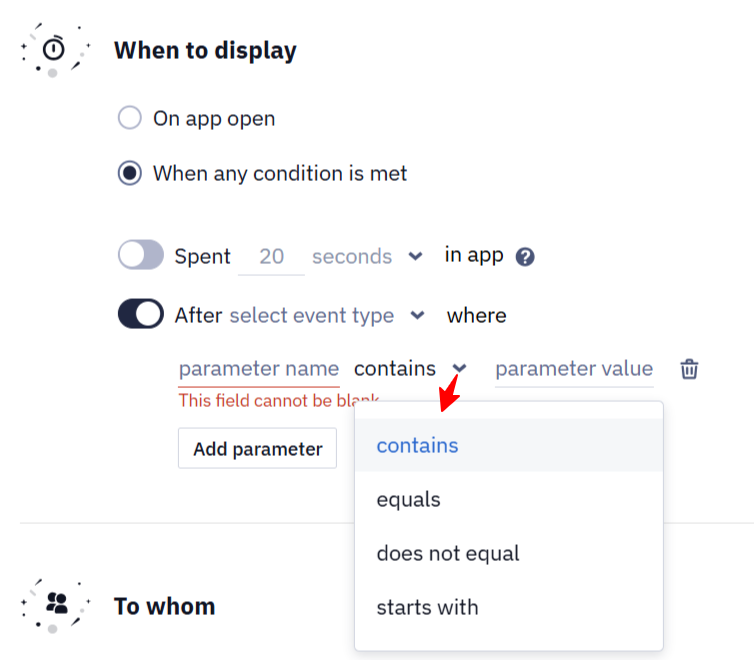
The logical AND operator connects the parameters.
- You can choose static and dynamic segments from which contacts should be shown messages in the To whom section (deviceId identifies contacts).
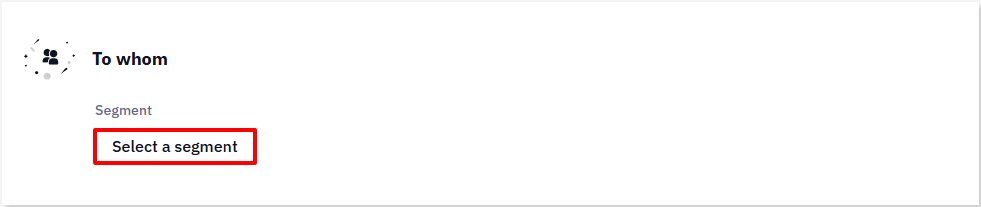
Unlike a mobile push, an In-App message isn't tied to a specific app: it has no Application parameter, so a published message can be shown in any app connected to the account. To show it in one app only, select a segment in the To whom section that contains that app's users only. The other option is to switch In-App messages off in the remaining apps through the SDK (iOS, Android); this needs a new app build, so it applies only to users who update.
NoteYou can test messages with set triggering rules only in the test version of your app
Stopping a Campaign After a Number of Completed Surveys
There is no native way to stop a workflow automatically once a group reaches a global number of completed In-App surveys.
The working pattern is an external counter: count the submissions of a completed form on your side and pass them back via webhook (the webhook can carry a hidden user or contact identifier). Once the target number is reached, your own automation — or you, manually — switches the message off. The completion date can also be written to a contact field.
Multiple In-App Messages with the Same Trigger Conditions
If two or more In-App messages have identical triggering rules and audience, only one of them fires — the message with the higher ID takes priority; the others don't display in sequence. To show several In-App messages one after another for the same user action, don't rely on identical trigger conditions — instead, use a custom event: have the first In-App message's action fire an event (for example, via a deep link) that the second In-App message uses as its own trigger condition, chaining them explicitly.
Troubleshooting: An In-App with a Segment Condition Isn't Shown
Before you launch an in-app campaign with a segment condition, wait until the segment finishes building. The condition is checked against the segment state the system has at that moment: if the contact's membership isn't determined yet, or the segment was last recalculated before the contact qualified for it, the message isn't shown in the current session. Once the segment is up to date, the message can be shown, provided the other display conditions are met.
The reverse case works the same way: segment membership is cached for about 5 minutes, so excluding a contact from the segment after a display does not take effect immediately — the message can be shown once more.
Troubleshooting: An In-App Isn't Shown to a Specific Contact
Check the SDK version in this contact's app. All In-App message types are supported starting from Android SDK 2.5.0 and iOS SDK 2.5.0. On an older version, the message may not be shown even if the contact meets the display conditions.
Troubleshooting: In-App Doesn't React to a Tap
If a native app dialog (for example, a system permission request) is on screen when the In-App opens, tapping the In-App's button may not trigger the expected action. To avoid this, don't display the In-App at the same moment a native dialog can appear — delay it with Spent X seconds/minutes in app or trigger it after the event that closes the native dialog, instead of showing it immediately on app open.
Revenue Calculation
If you turn on revenue calculation, purchases will be associated with the message accordingly to the settings.

Changes apply to future purchases.
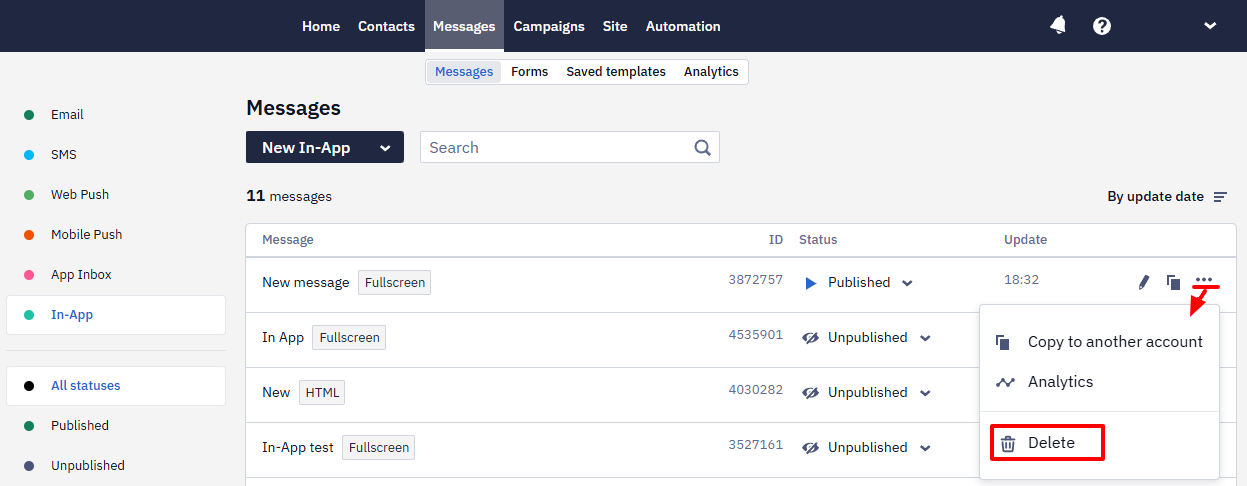
After saving, the In-App will appear in the general list, where you can change its publication status or delete the message.
Updated 3 days ago