
Preparation for Campaign Launch
Complete the following steps before you launch an email campaign.
Step 1. Selecting and Creating Template
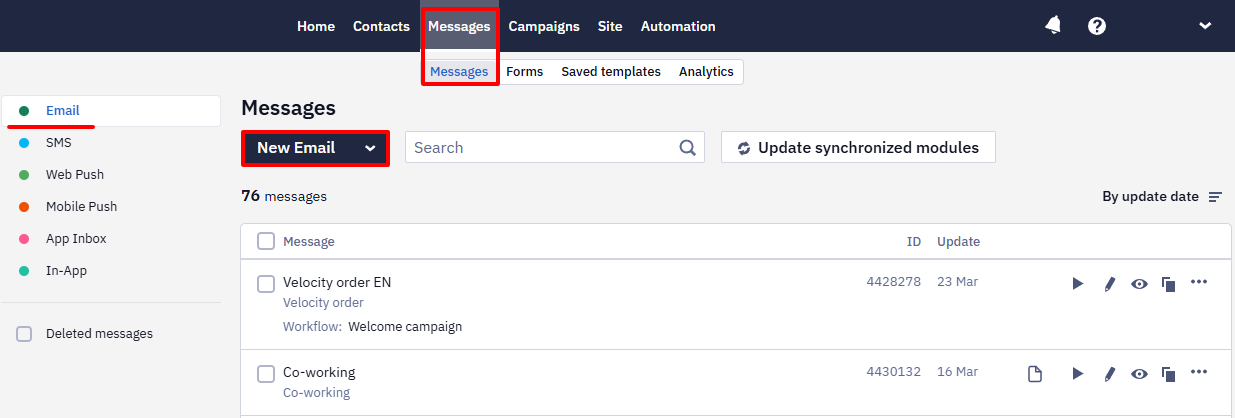
- Go to the Messages → Messages → Email.
- Click New Email.
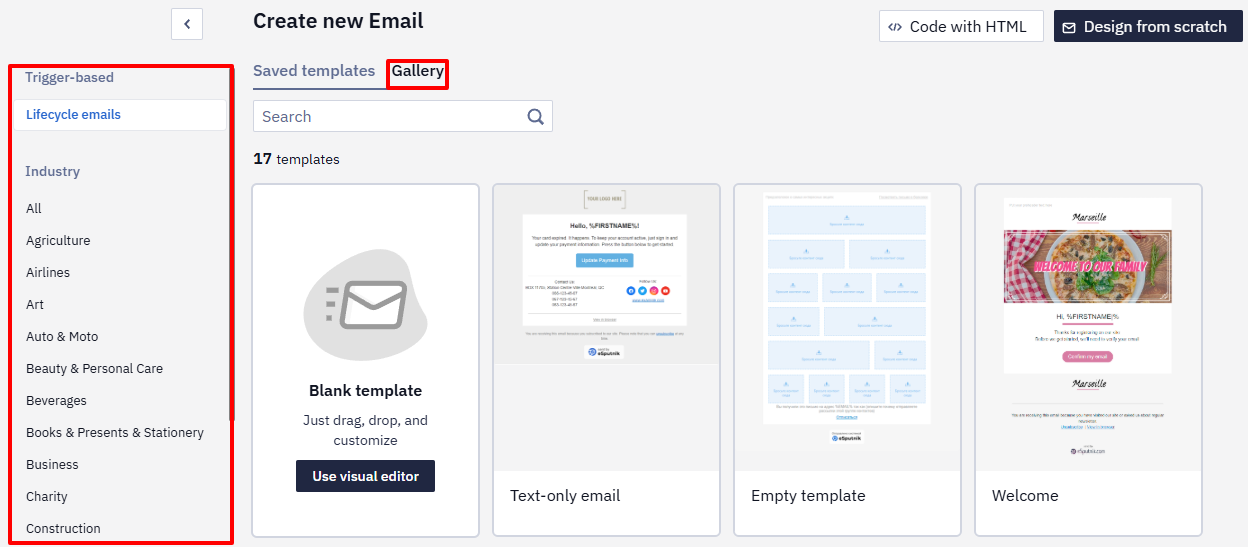
- Open the Gallery tab.
- In the left panel, select the template that best fits your campaign from the available categories.
Step 2. Set General Message Information
At this stage, specify the main email parameters in the Message Settings panel.
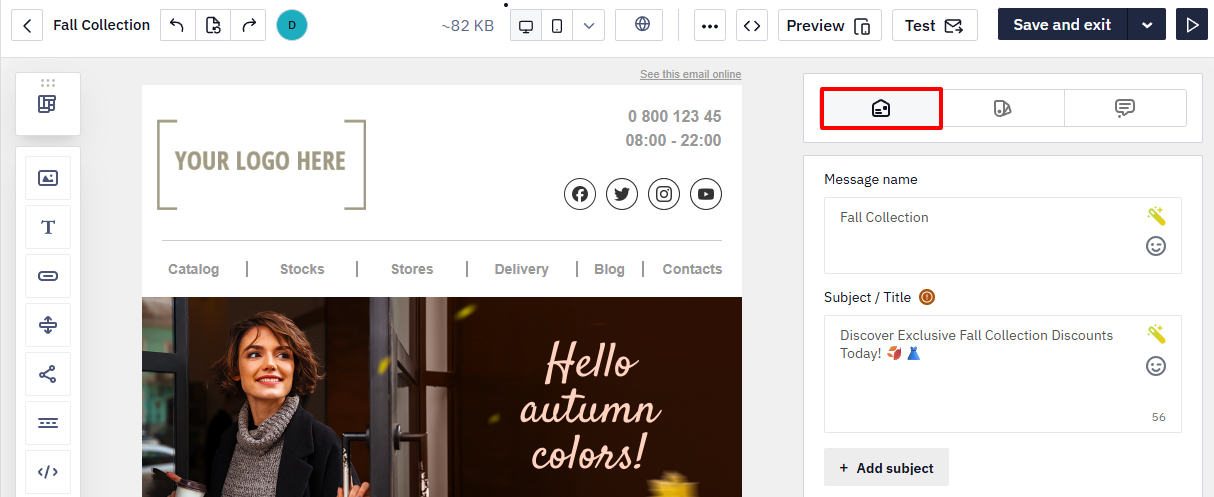
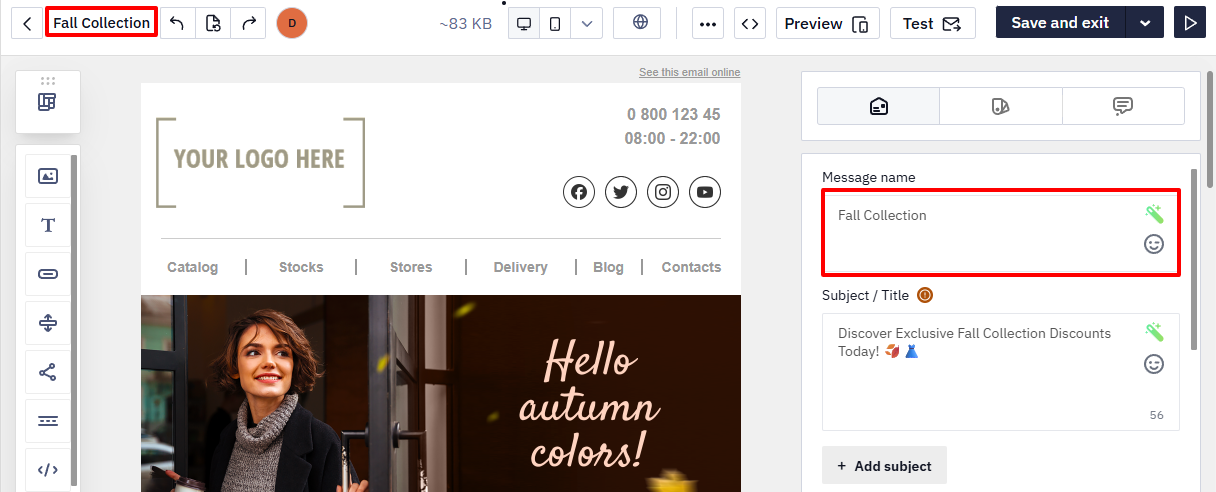
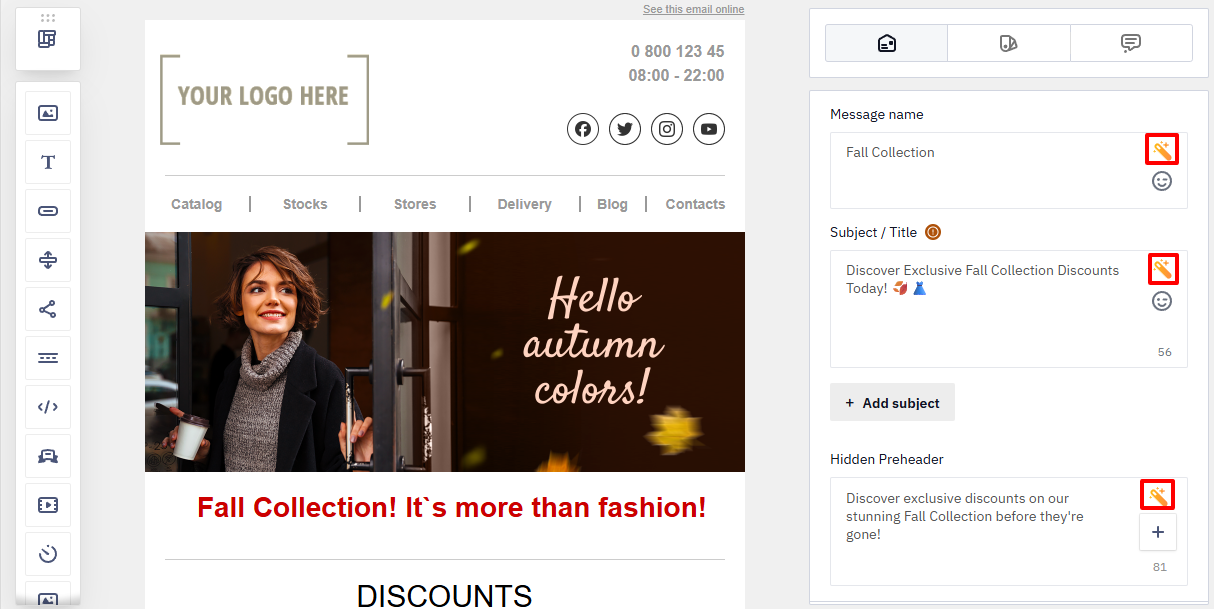
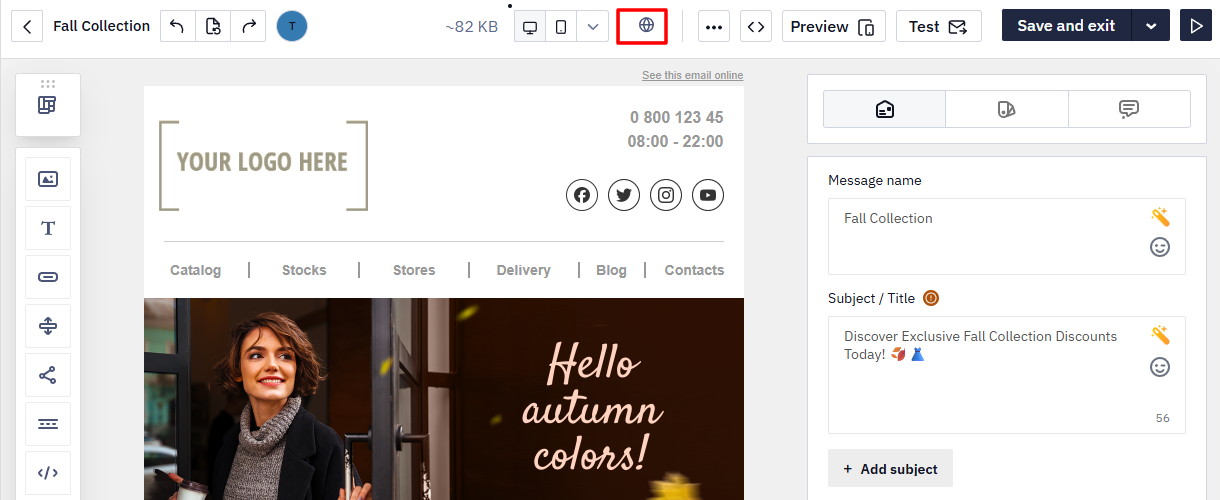
Message Name
The message name is used for internal identification in messages and reports. You can change it in the Message Settings or Email Management panel.
Recipients can see this value only in UTM tags if default settings are used (utm_campaign=message name). To configure UTM tags manually, follow the linked instructions.
If you do not enter a message name, Reteno uses the email subject by default.
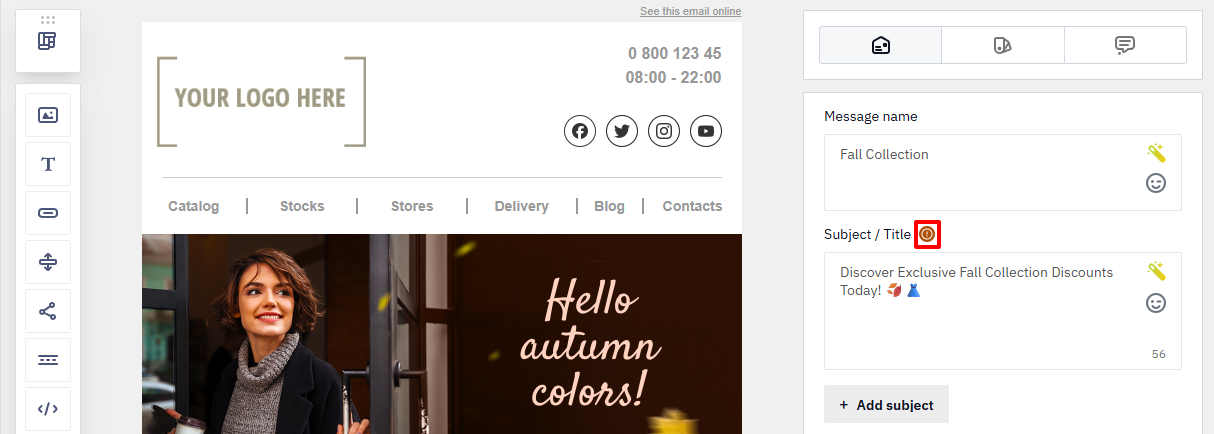
Subject / Title
The Subject appears in the recipient’s inbox and describes the purpose of the email. The subject affects whether recipients open the email. Keep it clear and relevant.
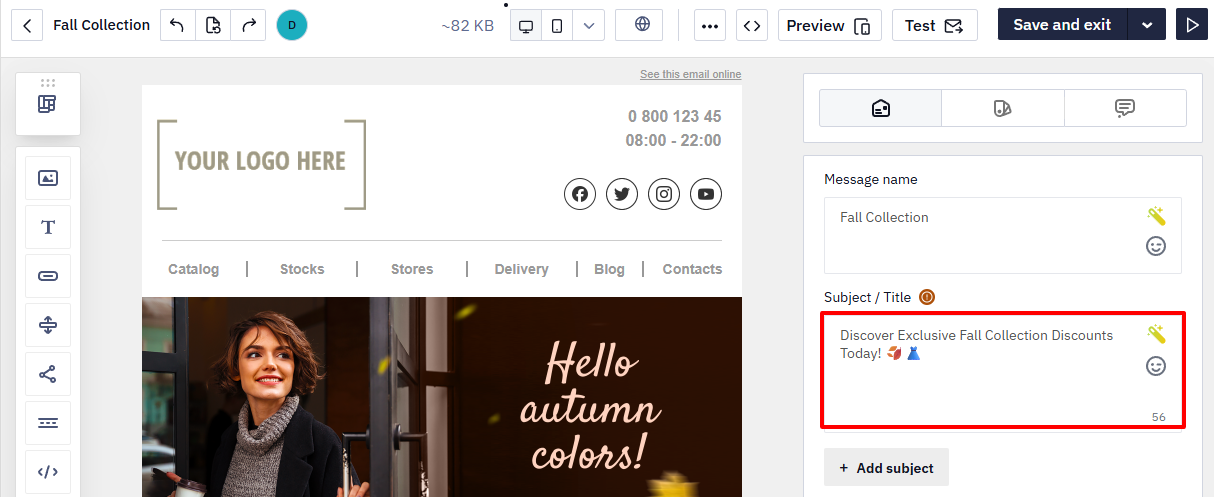
Click the icon next to the subject field to view improvement recommendations.
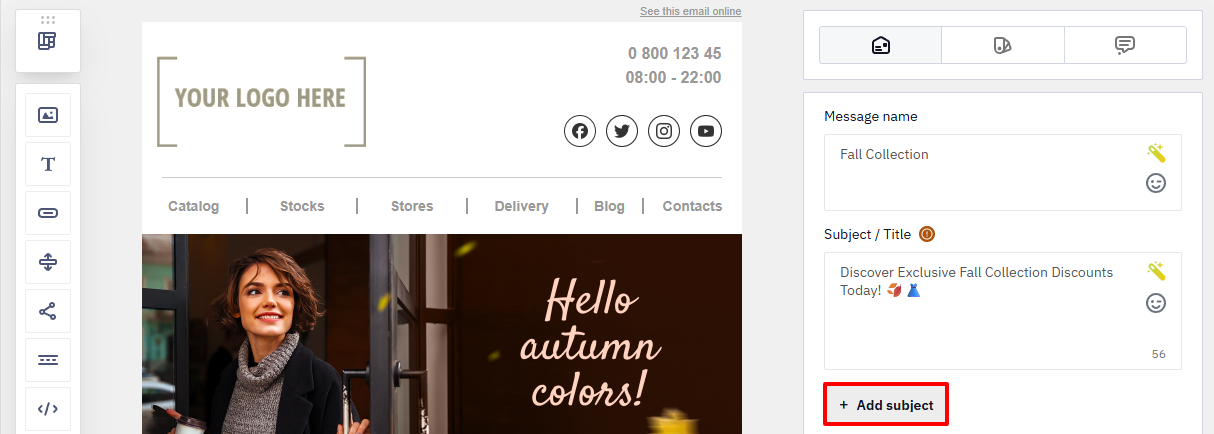
Add subject
To test multiple subjects, click Add subject and create additional variants.
Hidden Preheader
The Hidden preheader appears in the inbox after the subject line.

NoteYou can use Improve with AI to optimize the message name, subject, and preheader.
Sender
The sender name is created by default from the account user data.
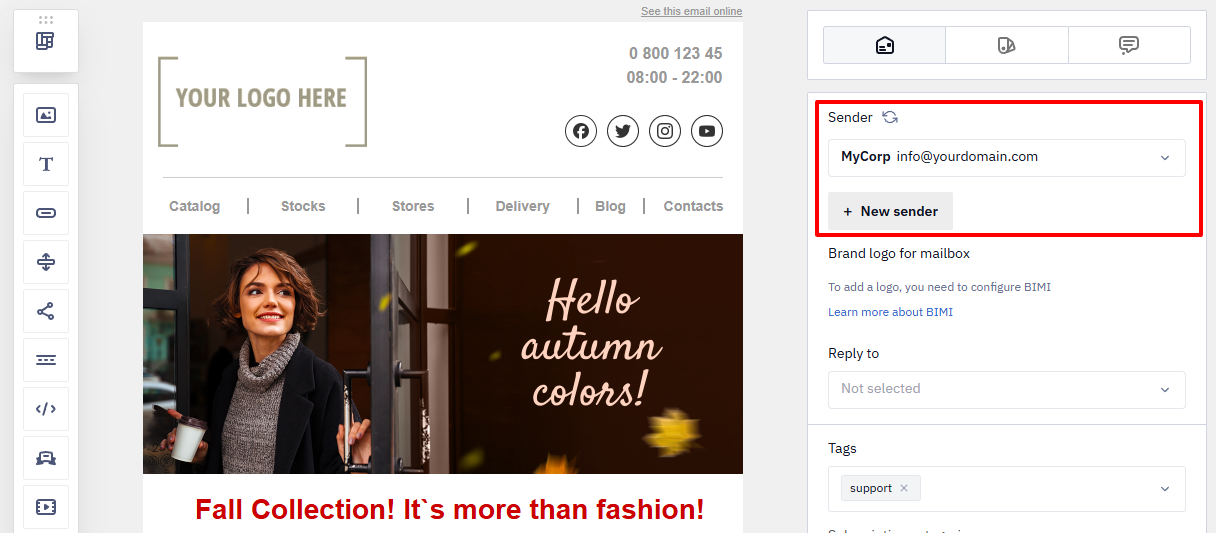
To use a branded sender name, you need to add it according to the instructions.
NoteYou cannot send emails from public email addresses. You must add a sender before launching a campaign.
Brand Logo for Mailbox
The BIMI (Brand Indicators for Message Identification) standard allows you to display a brand logo next to emails in supported inboxes.

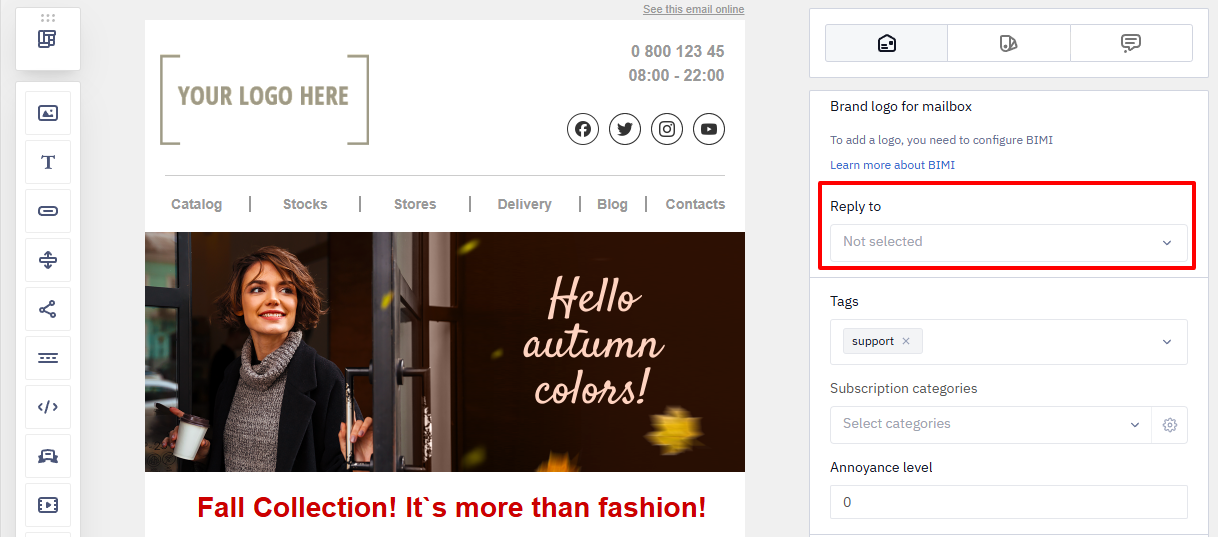
Reply to
By default, replies are sent to the sender's address.
If you use addresses like noreply@, email clients such as Gmail may treat messages as less reliable. To avoid this, add an alternative reply-to address and select it in this field.
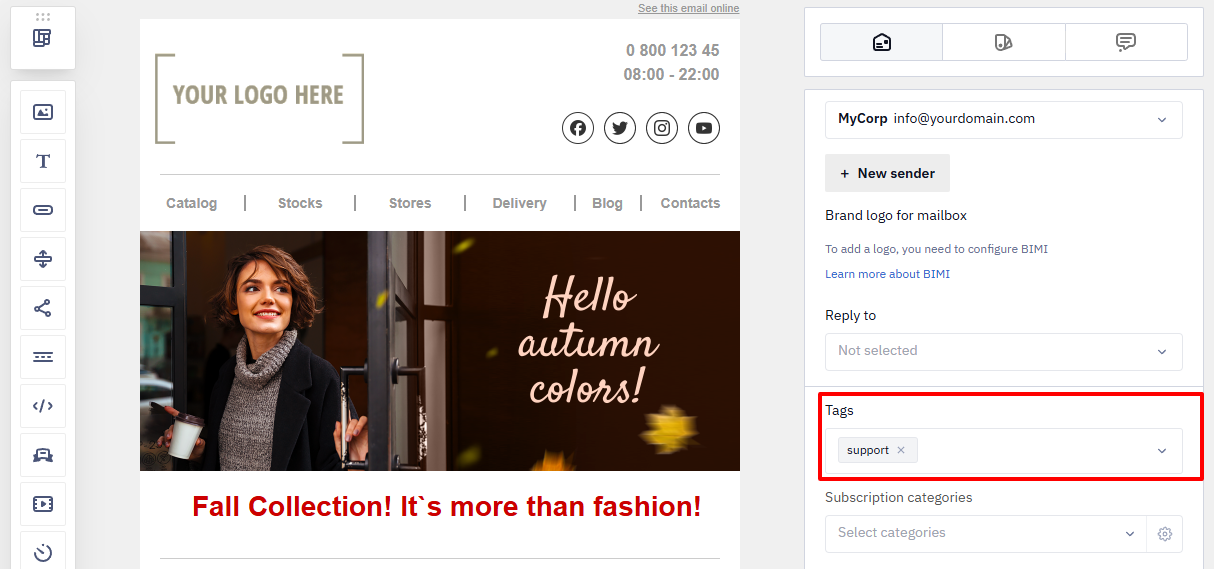
Tags
Tags help you group messages, segments, reports, and workflows:
- When building a campaign frequency strategy,
- In the One from many workflow block for automated A/B testing and message selection.
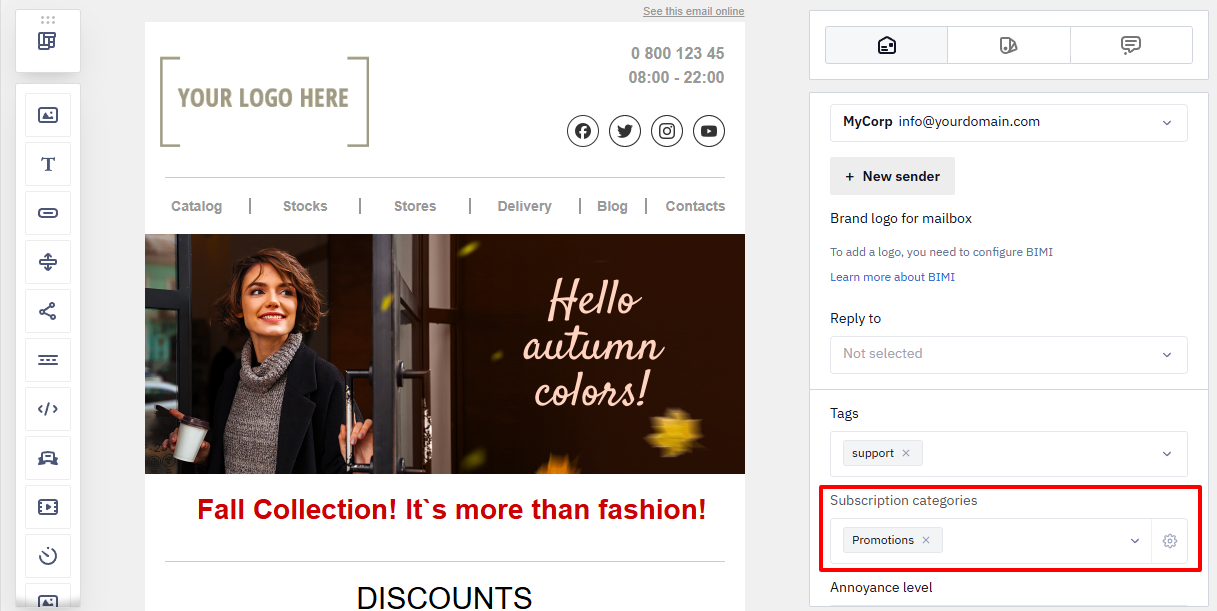
Subscription Categories
Use Subscription categories to segment promotional campaigns based on audience interests.
Annoyance Level
The Annoyance level helps limit message frequency and reduce subscriber fatigue.
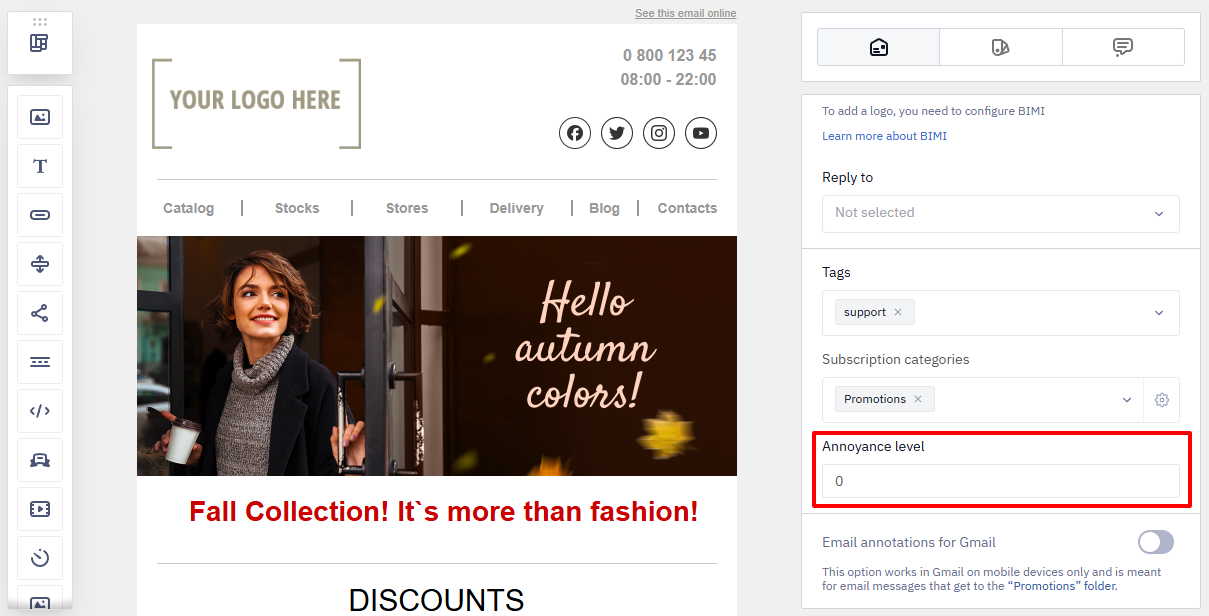
More on setting annoyance level >
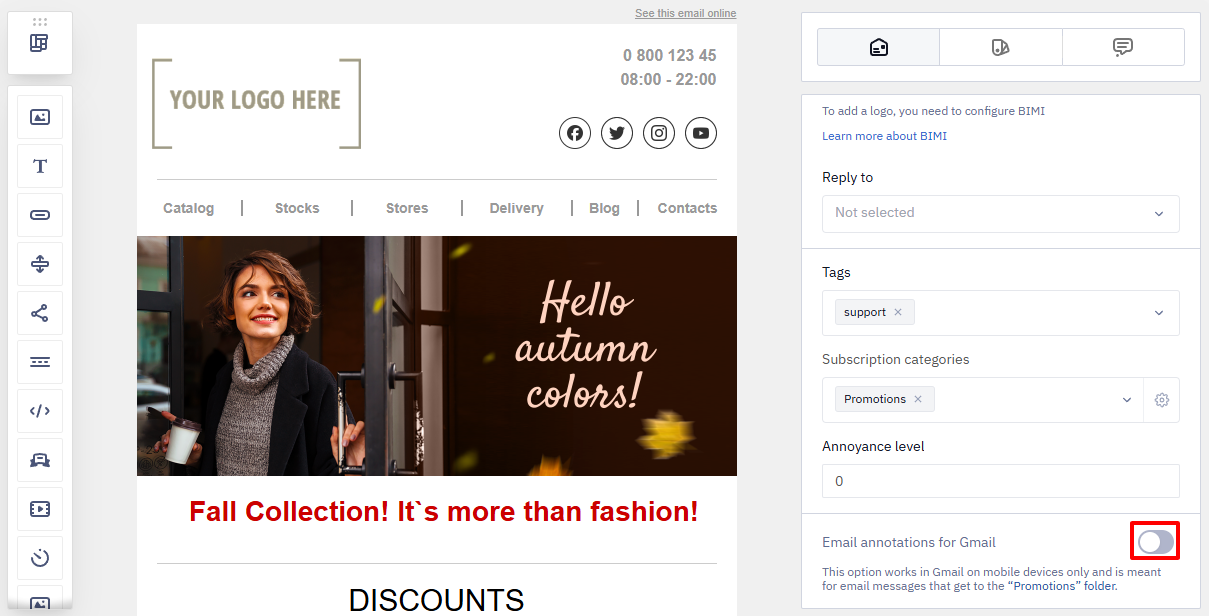
Gmail Promotions Annotations
Configure annotations for emails shown in the Promotions folder of the Gmail mobile app.
Step 3. Configure Additional Settings
These options are optional but recommended for advanced setups.
Multilanguage
Use Multilanguage to create multiple language versions within a single message.
This approach:
- removes the need for duplicate messages;
- reduces the number of language-specific segments;
- simplifies workflows.
Personalization and Dynamic Variables
You can personalize message content using:
- built-in merge tags;
- dynamic variables configured in code.
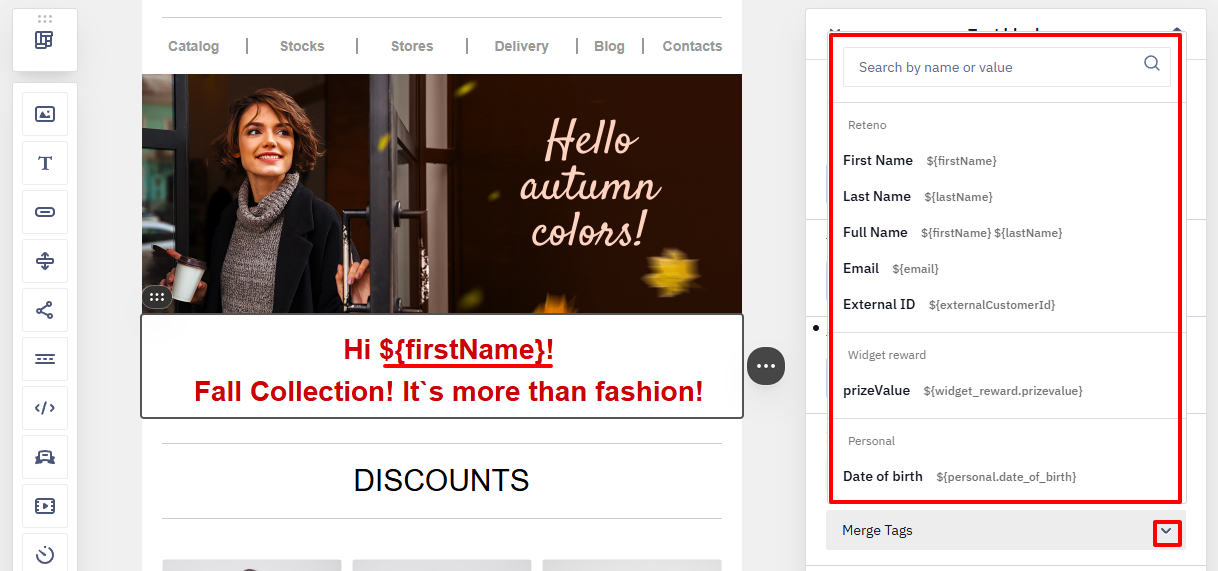
You can also include personalized promocodes.
Unsubscribe
Every email must include an unsubscribe link. This is required by email providers and legislation in most countries.
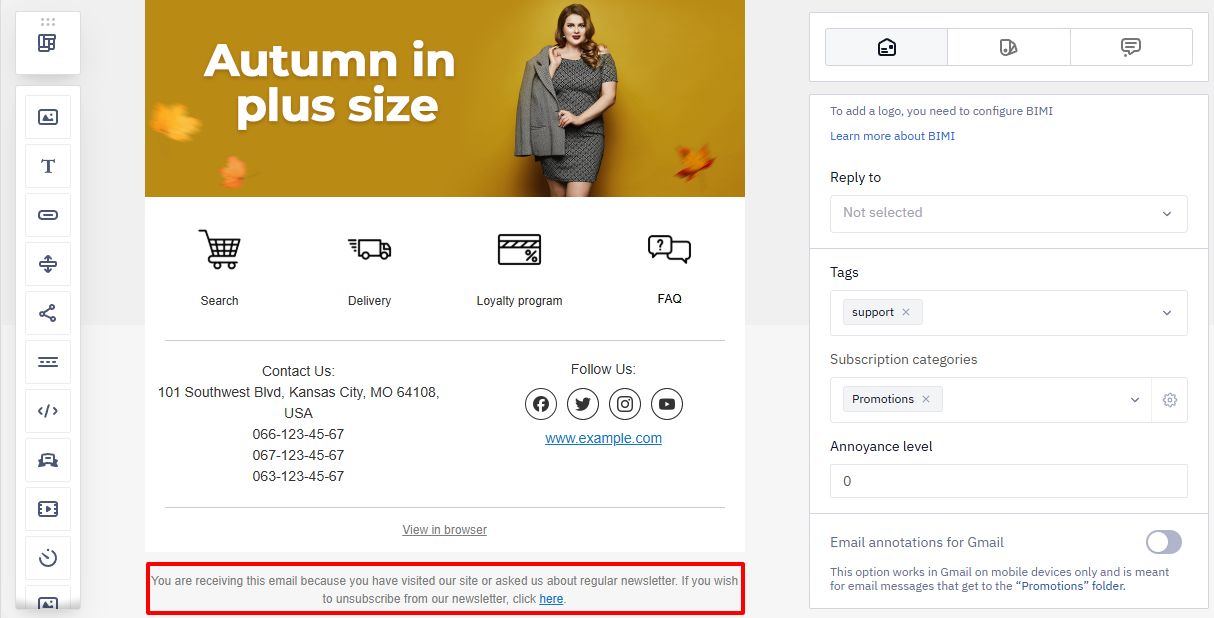
You must also explain why the recipient received the email. You can change the text, design, and placement of the unsubscribe block. Do not modify the default unsubscribe link.
Contacts who unsubscribe are automatically excluded from future email campaigns.
Step 4. Edit Content
Use the drag-and-drop editor to build the email content.
You can:
- add blocks;
- edit text and media;
- adjust layout without using code.
Additional features include:
- AMP blocks for interactive content;
- Product blocks for personalized recommendations.
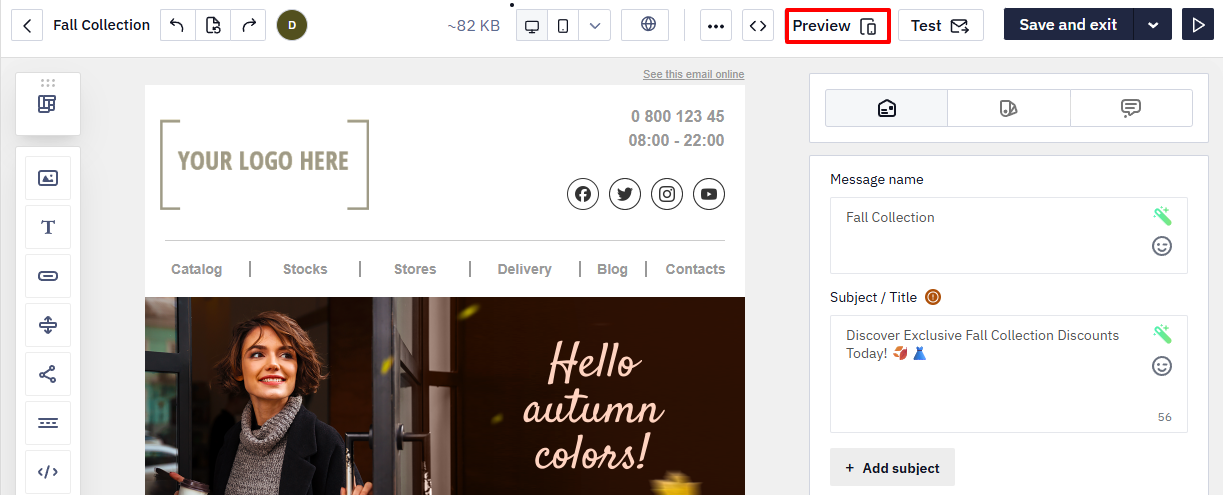
Step 5. Preview and Test
While creating a message, you can easily preview how it will look on desktop and mobile devices.
Click Preview in the top editor panel.
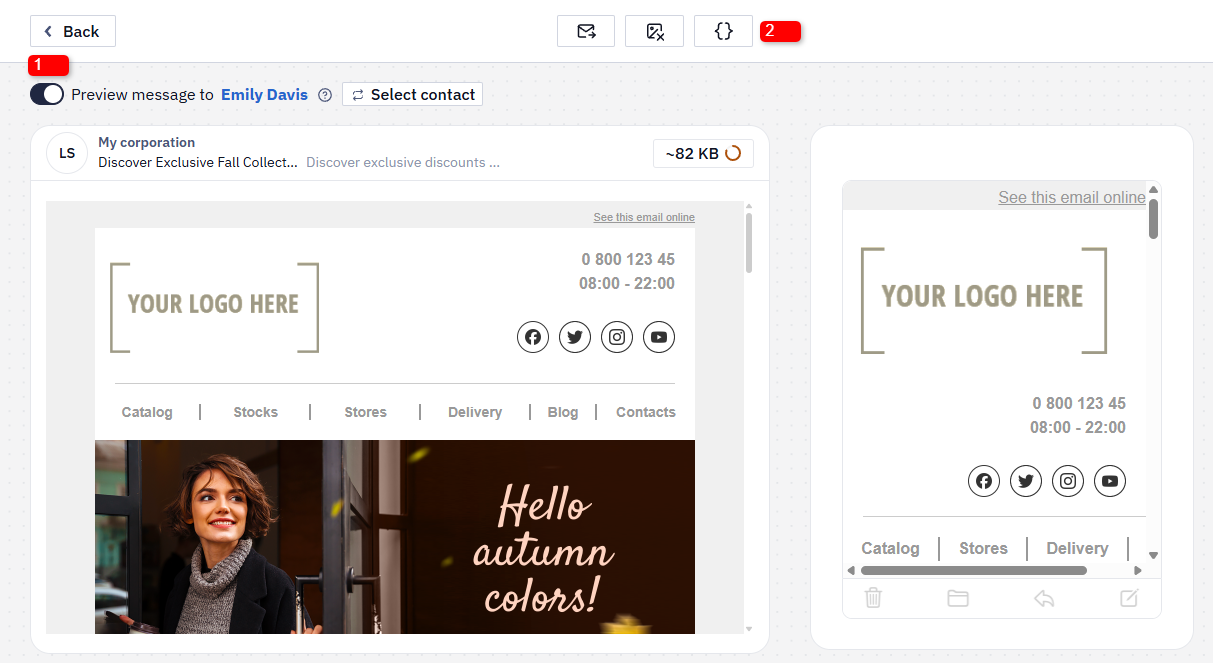
If the message includes personalization, you can preview:
- how a specific contact sees the email (1);
- how data from a JSON request is rendered (2).
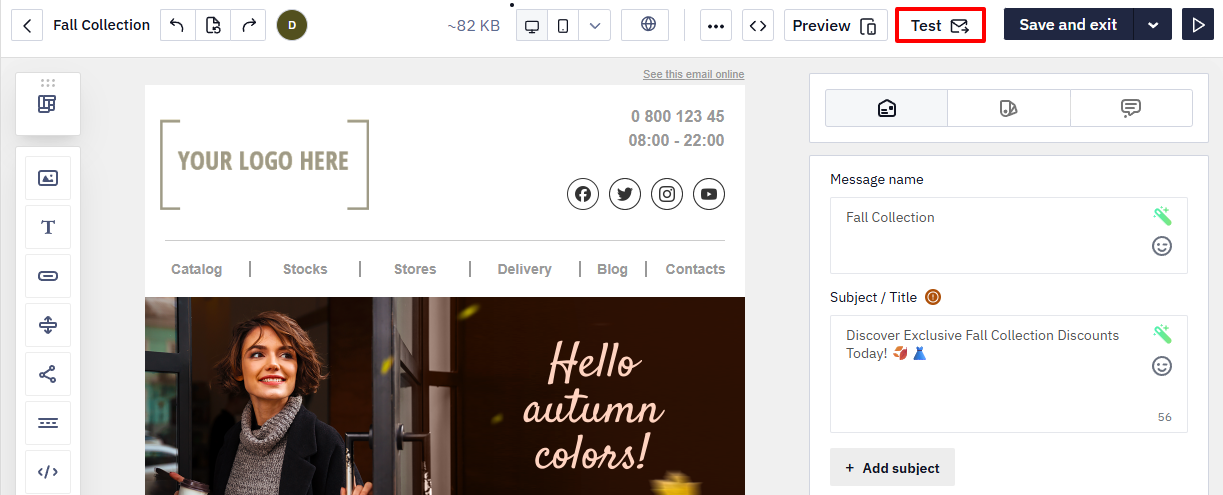
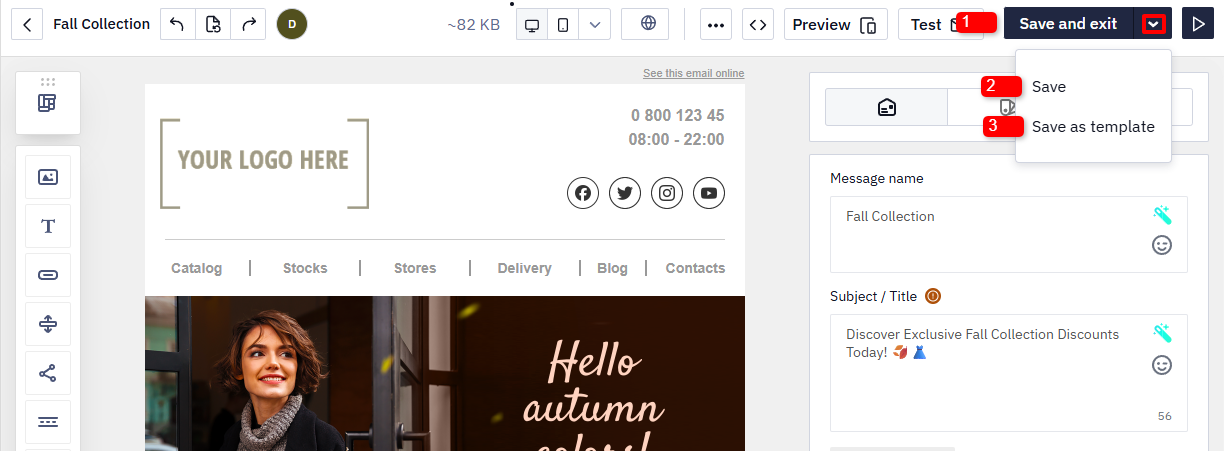
You can send a test email in two ways:
- In the editor, click the Test in the top panel.
- From the message list, open the three-dot menu and select Send test message.

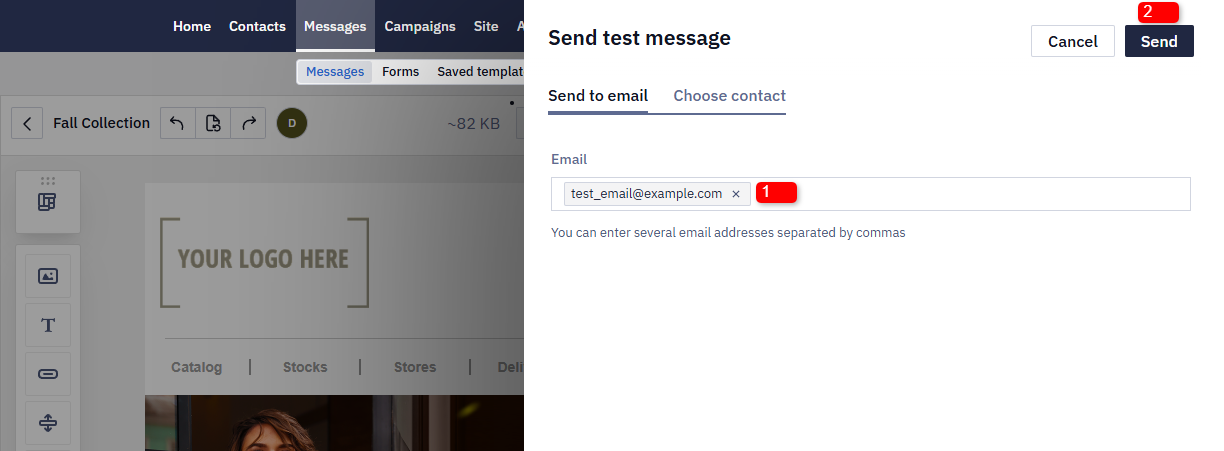
Then follow these steps:
- Enter one or more email addresses (1).
- Click Send (2).
You can separate multiple addresses with commas.
RecommendationTest emails in services such as Litmus or Email on Acid, especially if you use custom layouts or imported HTML.
Step 6. Save the Message
- Click the arrow next to Save and exit.
- Select Save to create or update the email without leaving the editor.
- Select Save as template to reuse the message in future campaigns.
After saving, proceed to the campaign launch.
Updated 8 days ago