
Creating App Inbox Messages
To send App Inbox messages to your customers, you first need to get an authentication token and configure App Inbox for a website or mobile app.
After completing all settings, you can proceed to create App Inbox campaigns.
Creating a New Message
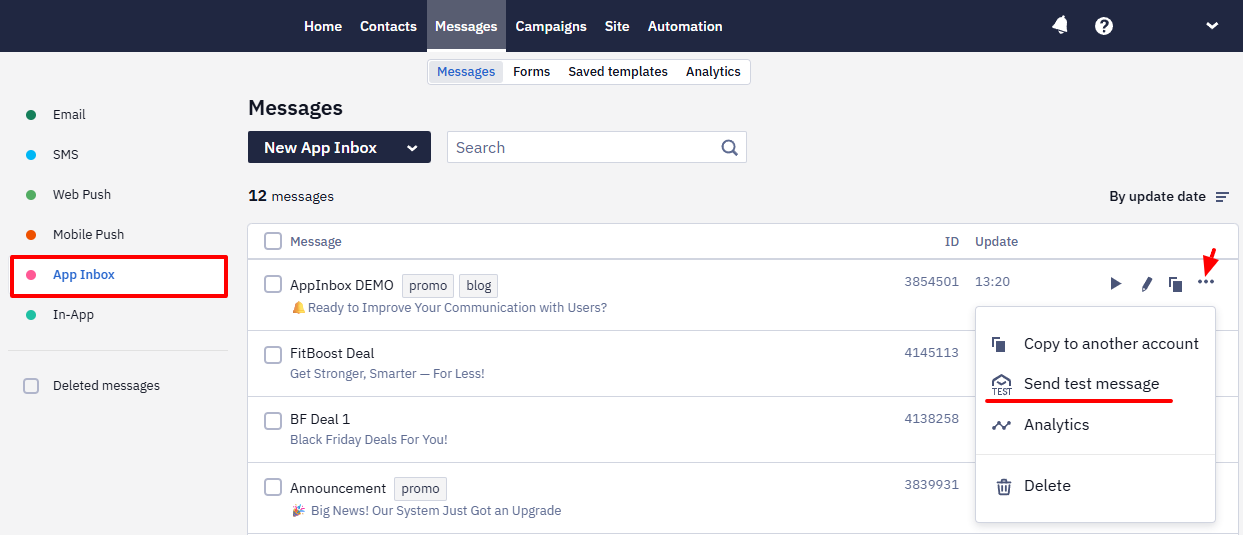
Go to Messages → Messages → App Inbox. Click the New App Inbox button.

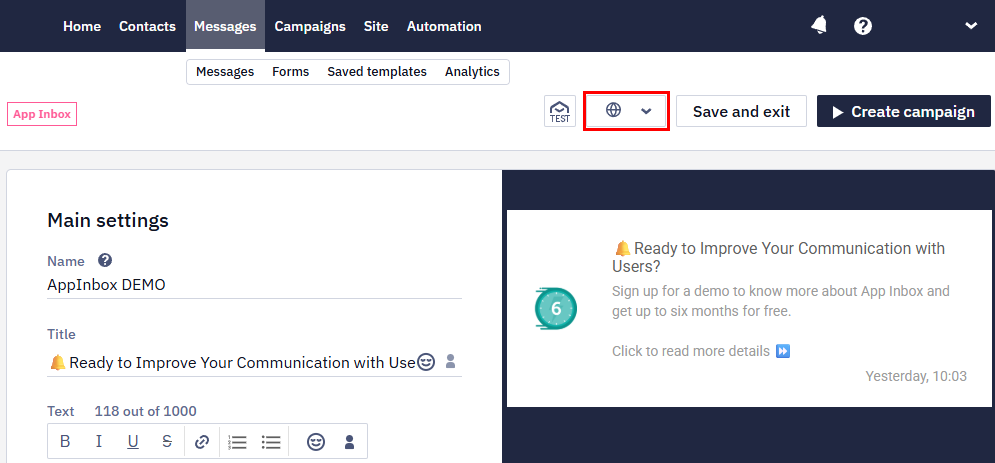
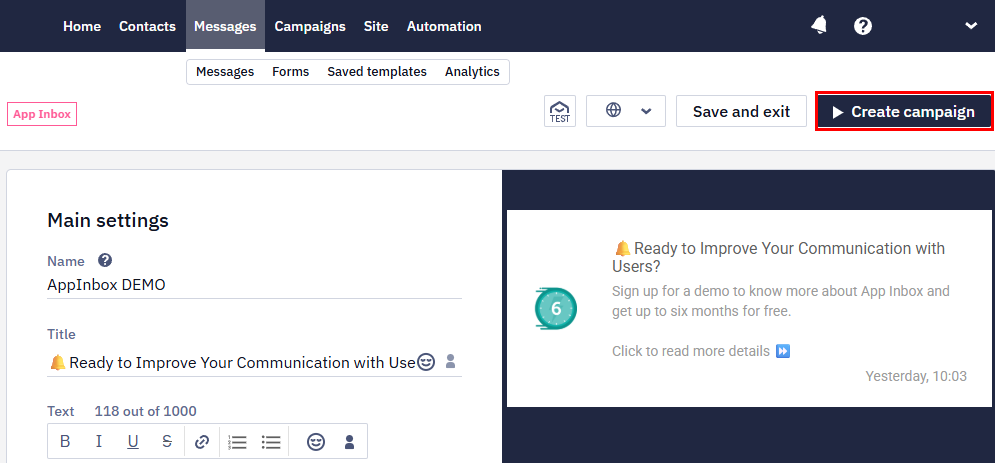
Main settings
Fill in the following fields:
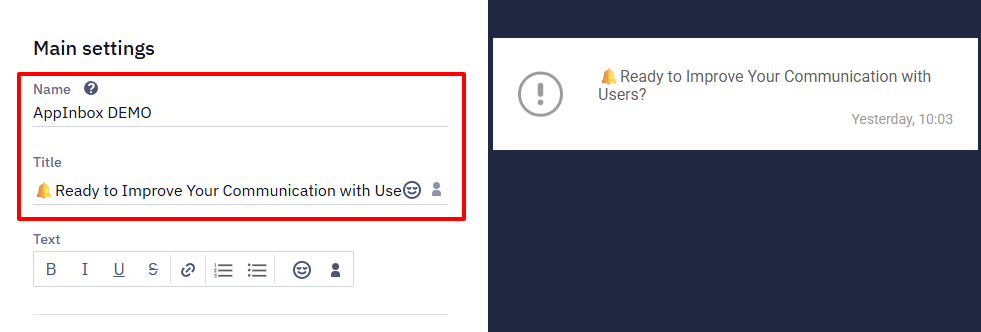
- Name. The system name that the recipient will not see.
- Title. Brief information about main content message.
- Text. The main content of the App Inbox. In the text formatting menu, you can work on the text styles, lists, links and check the number of symbols in your message.
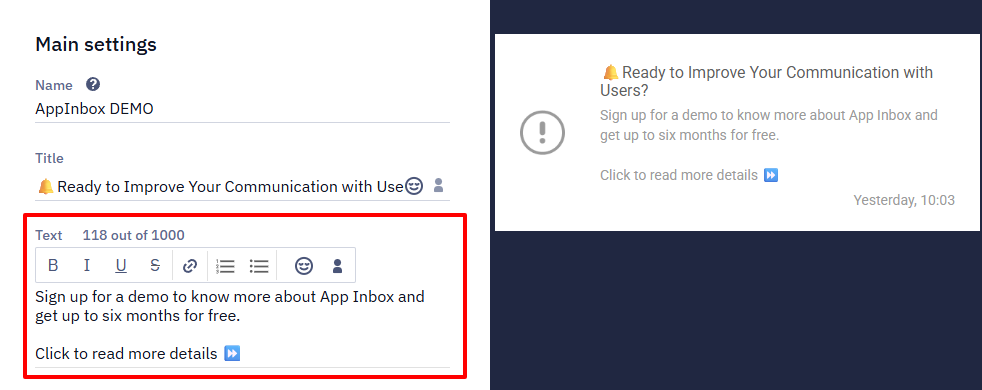
ImportantIf you apply text styles for an app inbox message, you will receive the message in the HTML format. You will need to parse the HTML message to display it correctly in the mobile app.
Use emojis in the title and text fields to improve interaction and capture users' attention.

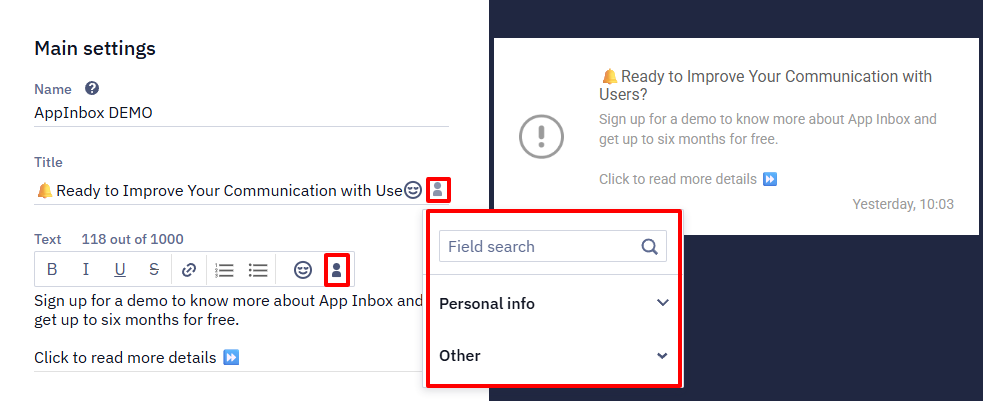
- Personalization. Use the dynamic variables to add a name, city, bonuses or any personal data available in the user profile. Click on the Personalization icon in the Text or Title field to select data.
- Link. The URL of the page to which the recipient should go when clicking on the body of the message (place without text links). Activate the switcher if the link should be opened in a new tab.
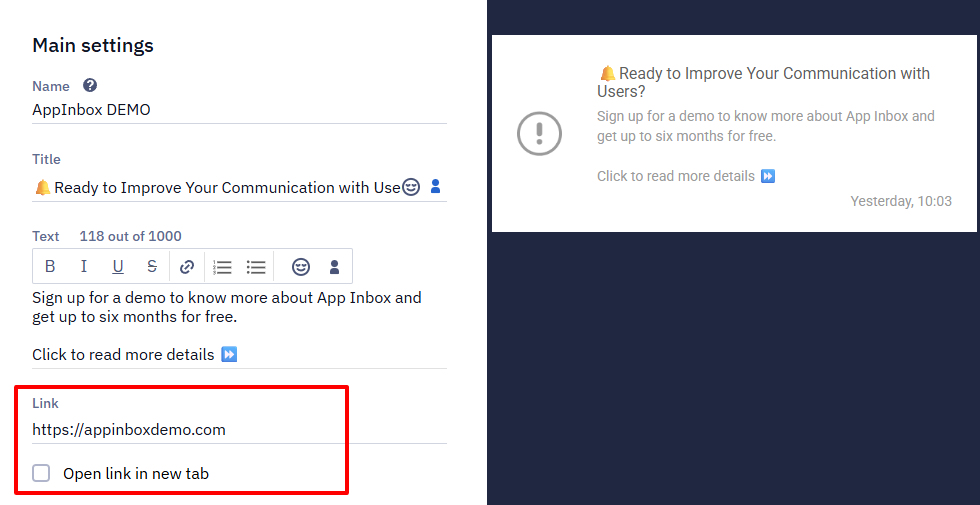
Link settings in App Inbox messages are similar to those in email. You can enable or disable URL tracking, UTM tags, and add custom tags.
- Image. Add a logo for more brand awareness. Upload
JPEG,PNGorGIFfile up to 2 MB. You can also use a variable or a link to the image. Use only thehttpsprotocol for direct references in expressions.
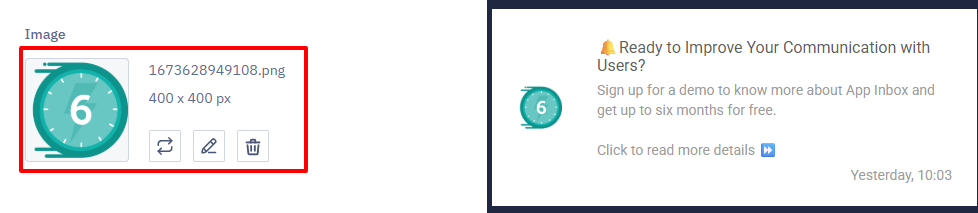
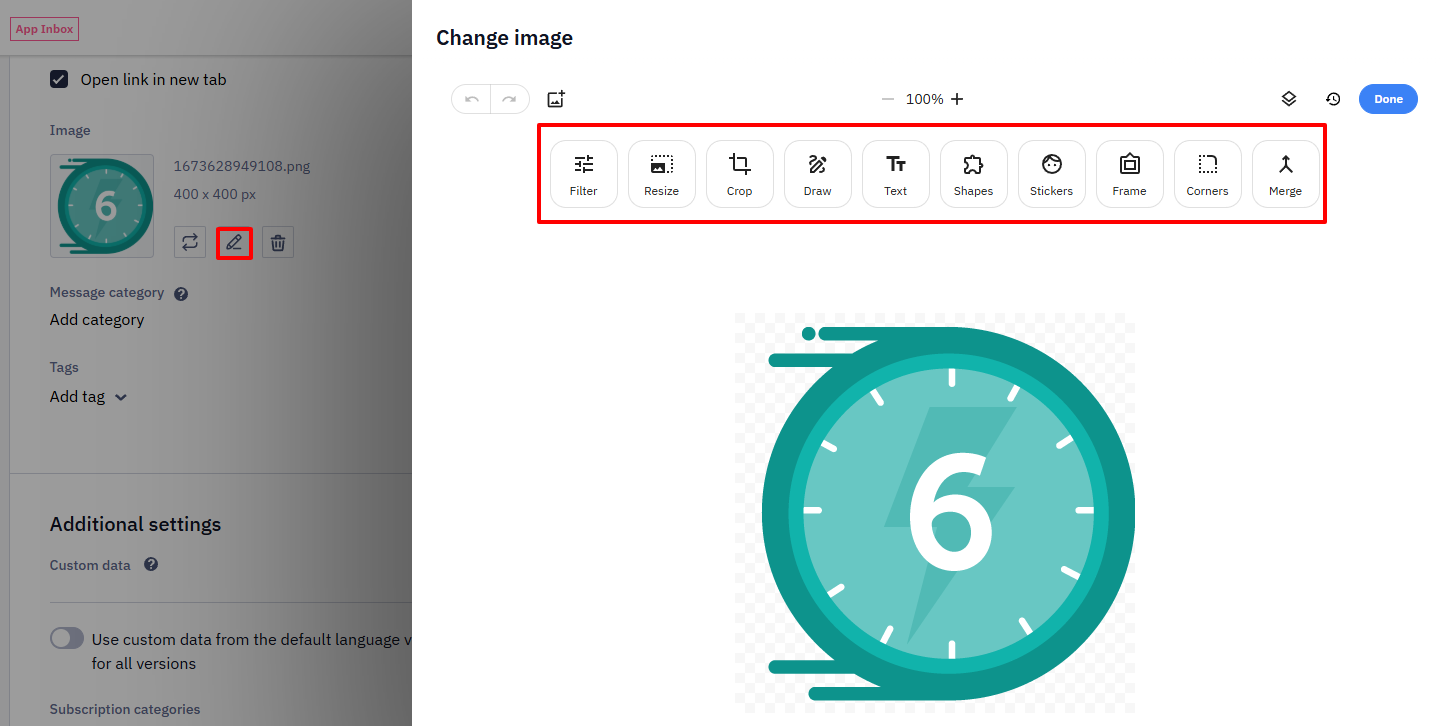
NoteYou can edit the image directly in the editor when uploading (if it does not meet the requirements) or after uploading (the Edit button). After editing, the image is saved in
PNGformat.
- Tags. Select tags from the list or enter a new one and click Enter. Use tags to filter search results and set campaign frequency strategy.

Additional settings
Fill in the following fields:
- Custom data. You can create App Inbox messages using custom data in
JSONformat. Custom data can be applied to all language versions if used in a multilingual message. To do this, activate the Use custom data from the default language version for all versions switcher.
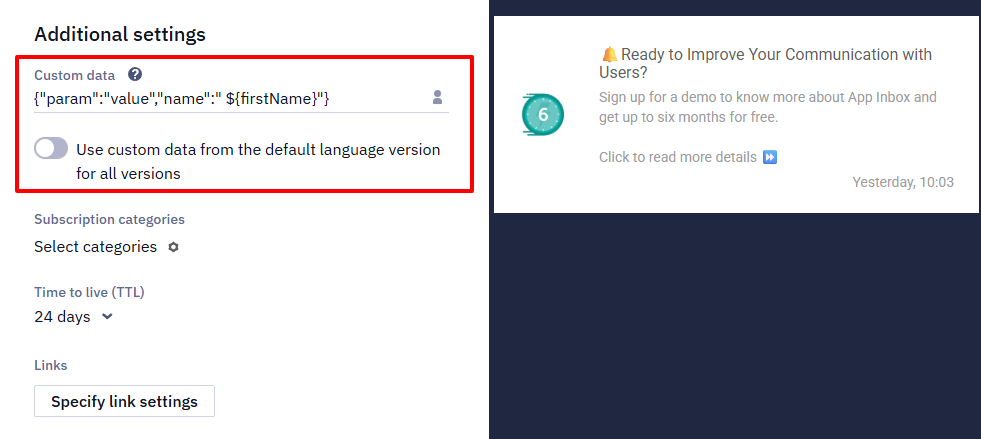
If the switcher is disabled, different custom data can be used in each language version.
Also, you can use dynamic variables to add data into the Custom data parameter: message name, first name, city, and so on. Click on the personalization icon and select the required.
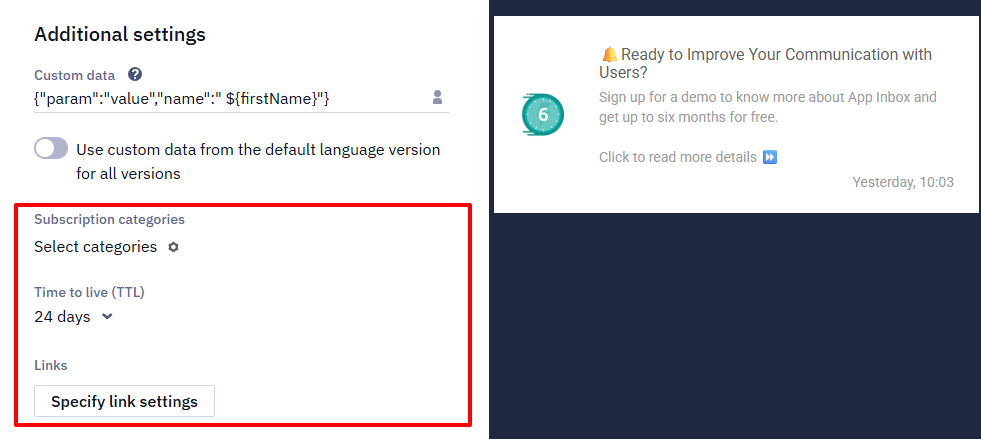
- Subscription categories. Manage subscription categories to send messages to your contacts based on their preferences.
- Time to Live (TTL). TTL — the period after which the message will not be displayed, even if it's delivered and read. By default, it’s 1 day, but you can select other options.
- Links. Configure link settings for UTM tags. Learn more >
Multilingual version (optional)
In our platform, you can create a multilingual version of any message. Click the Globe icon in the top panel, specify the default language and add language versions. Fill each version with the content in the corresponding language. You can switch between versions within one template in one click.
Learn more about multilanguage >
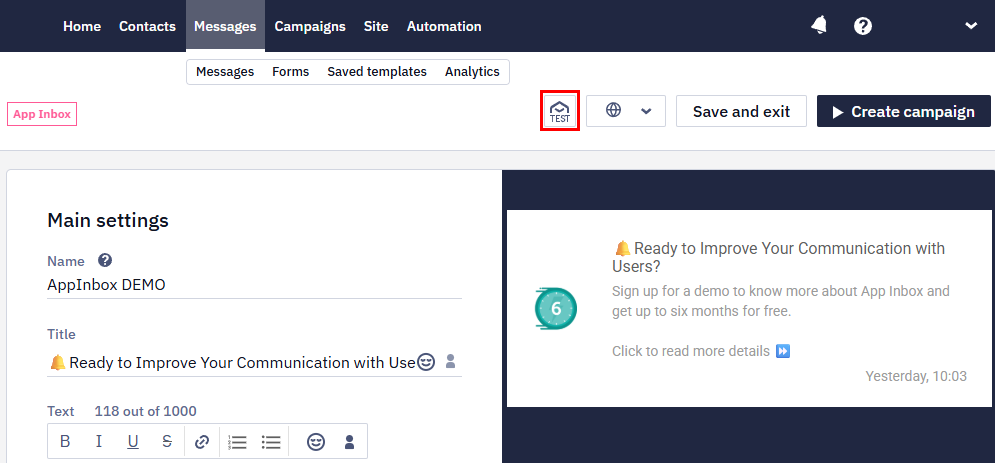
Testing Message
You can test a message in two ways:
- In the message editor, click the TEST button on the top panel.
- From the message list — open the menu with three dots to the right of the message name and select Send test message.
Then, in a pop-up window, enter any customer identifier associated with your account.
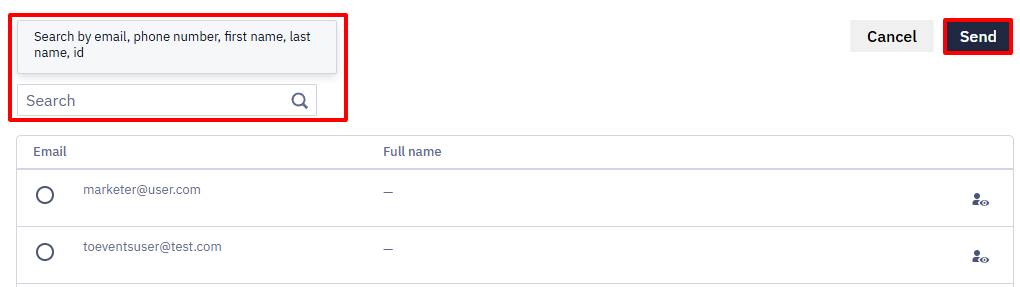
If done correctly, App Inbox will be displayed in your Reteno account.
After all settings are done, click Save and exit to save the notification or Create campaign to go to campaign launching.
Creating Campaign
- When everything is ready, click on the Create campaign button.
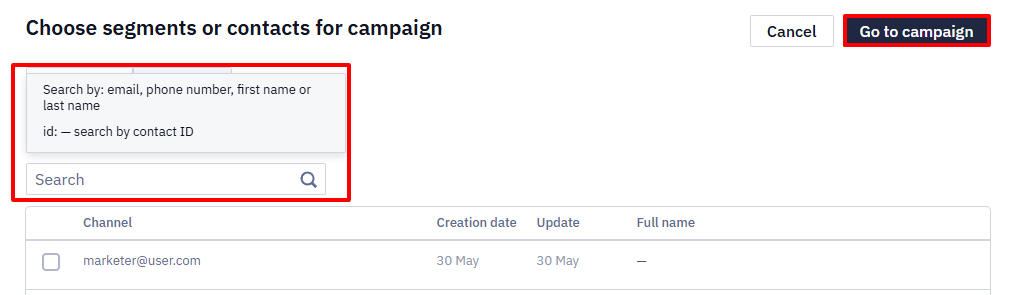
- In a popup window, choose segments or contacts for the campaign. Click Go to campaign.
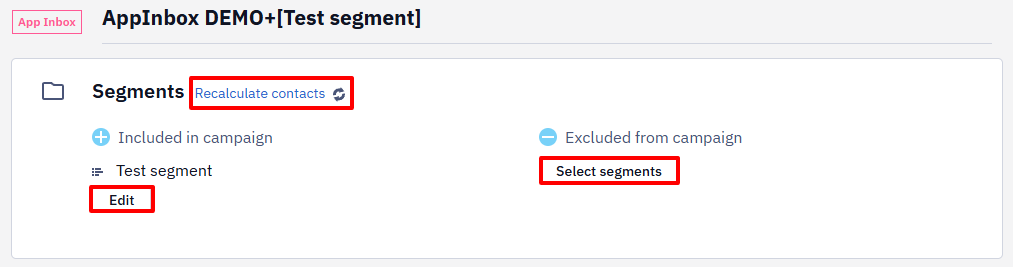
- On the general checkout page:
- In the Segments section, click Recalculate contacts to see the total number of contacts that will receive the notification. You can also edit segments or select new ones.
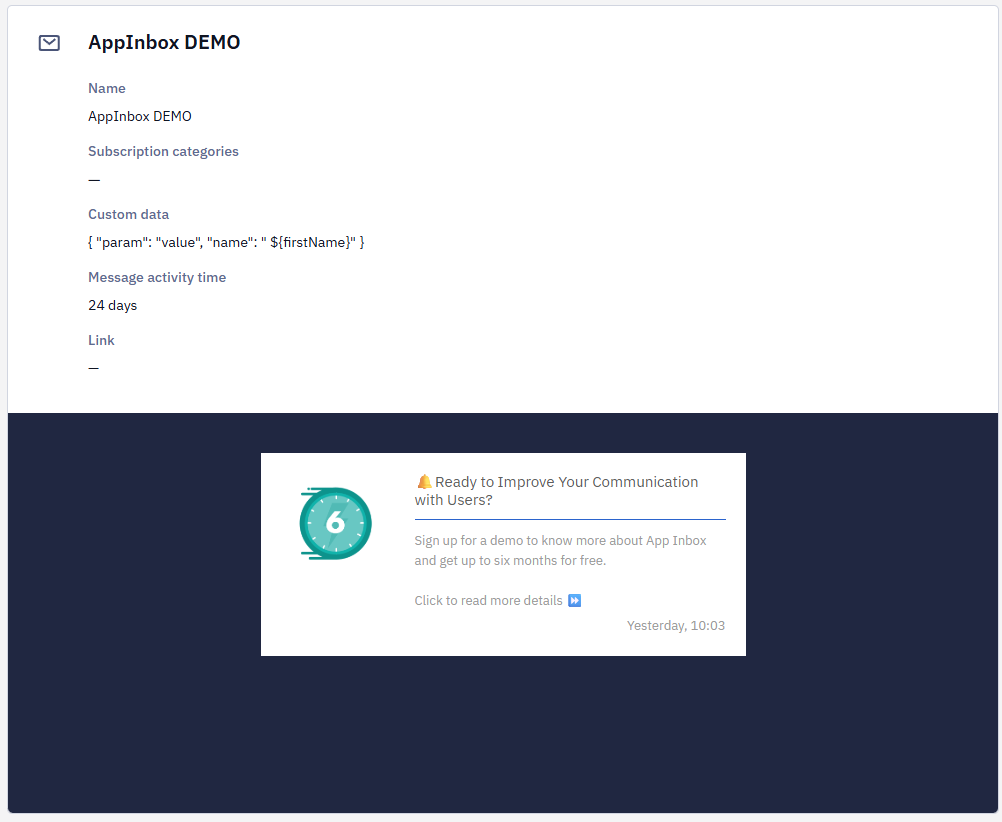
- See all the necessary information for verification: Name, Subscription categories, Message activity time, Link. You can see how the App Inbox will look.
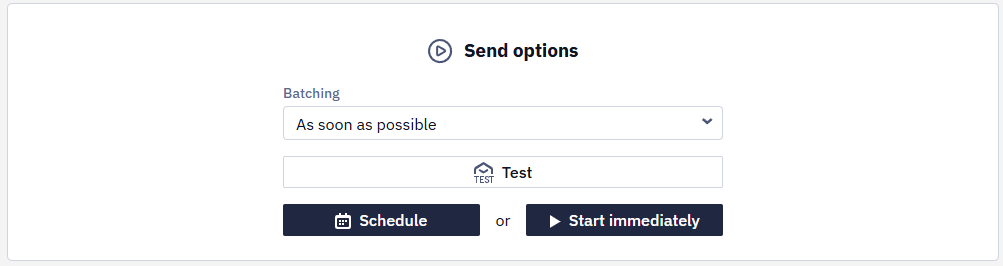
- In the Send options, you can set the batching. Click the Start immediately button to launch the campaign. For a delayed start, select the Schedule button and set the date and time of sending
Updated about 10 hours ago