
Creating and Uploading a Firebase Key
To send mobile push notifications via Firebase Cloud Messaging (FCM), register the project in Google Firebase, create a key, and upload it to Reteno.
Creating a Project
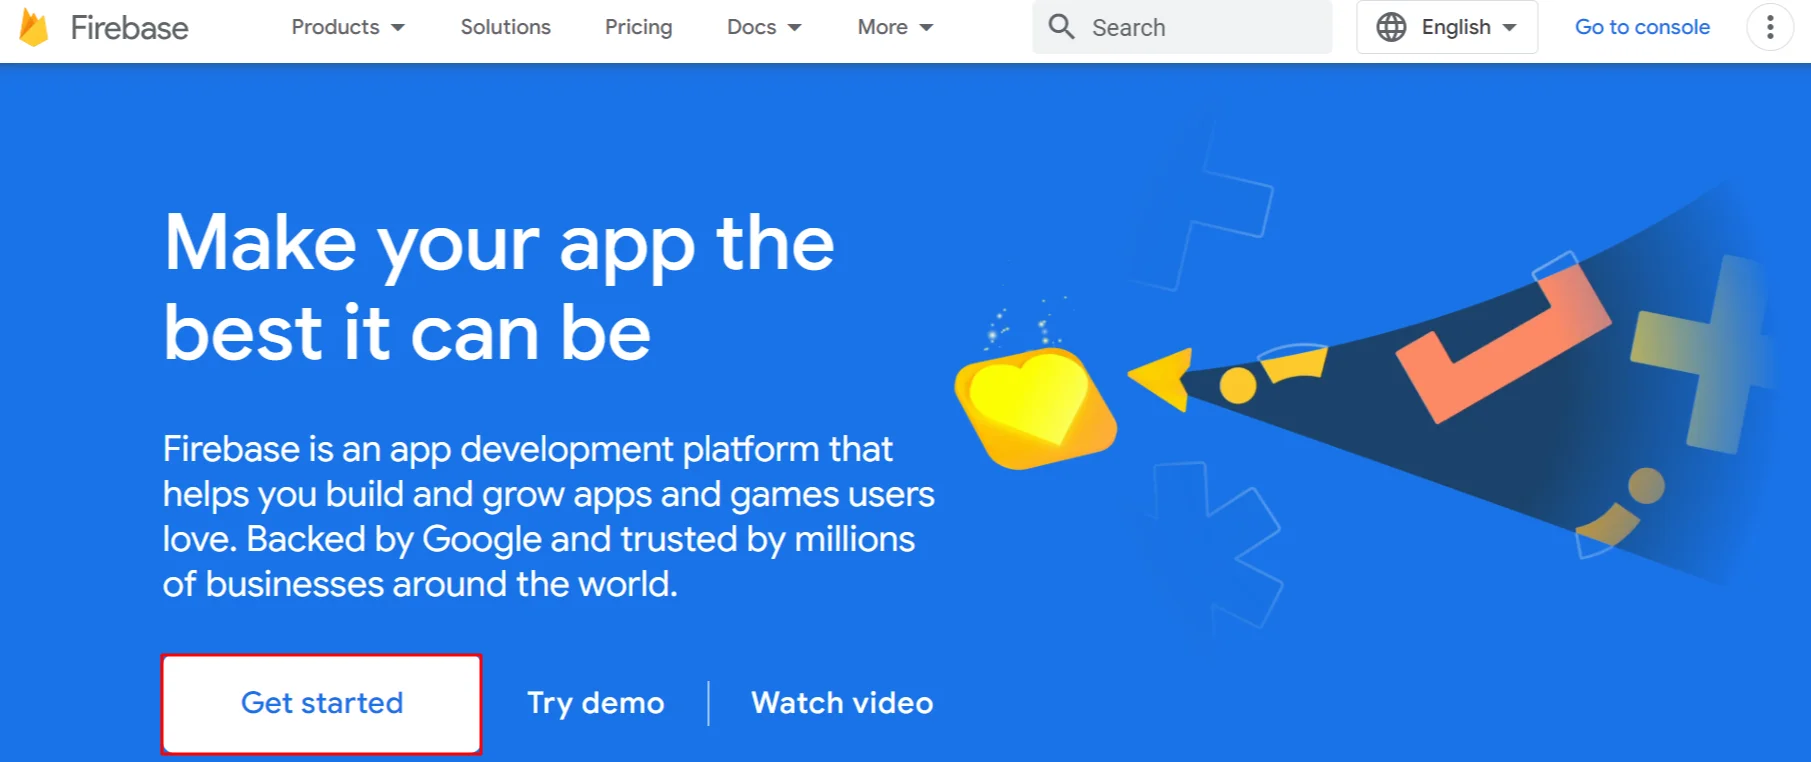
- Go to the Google Firebase service page and click Get started.
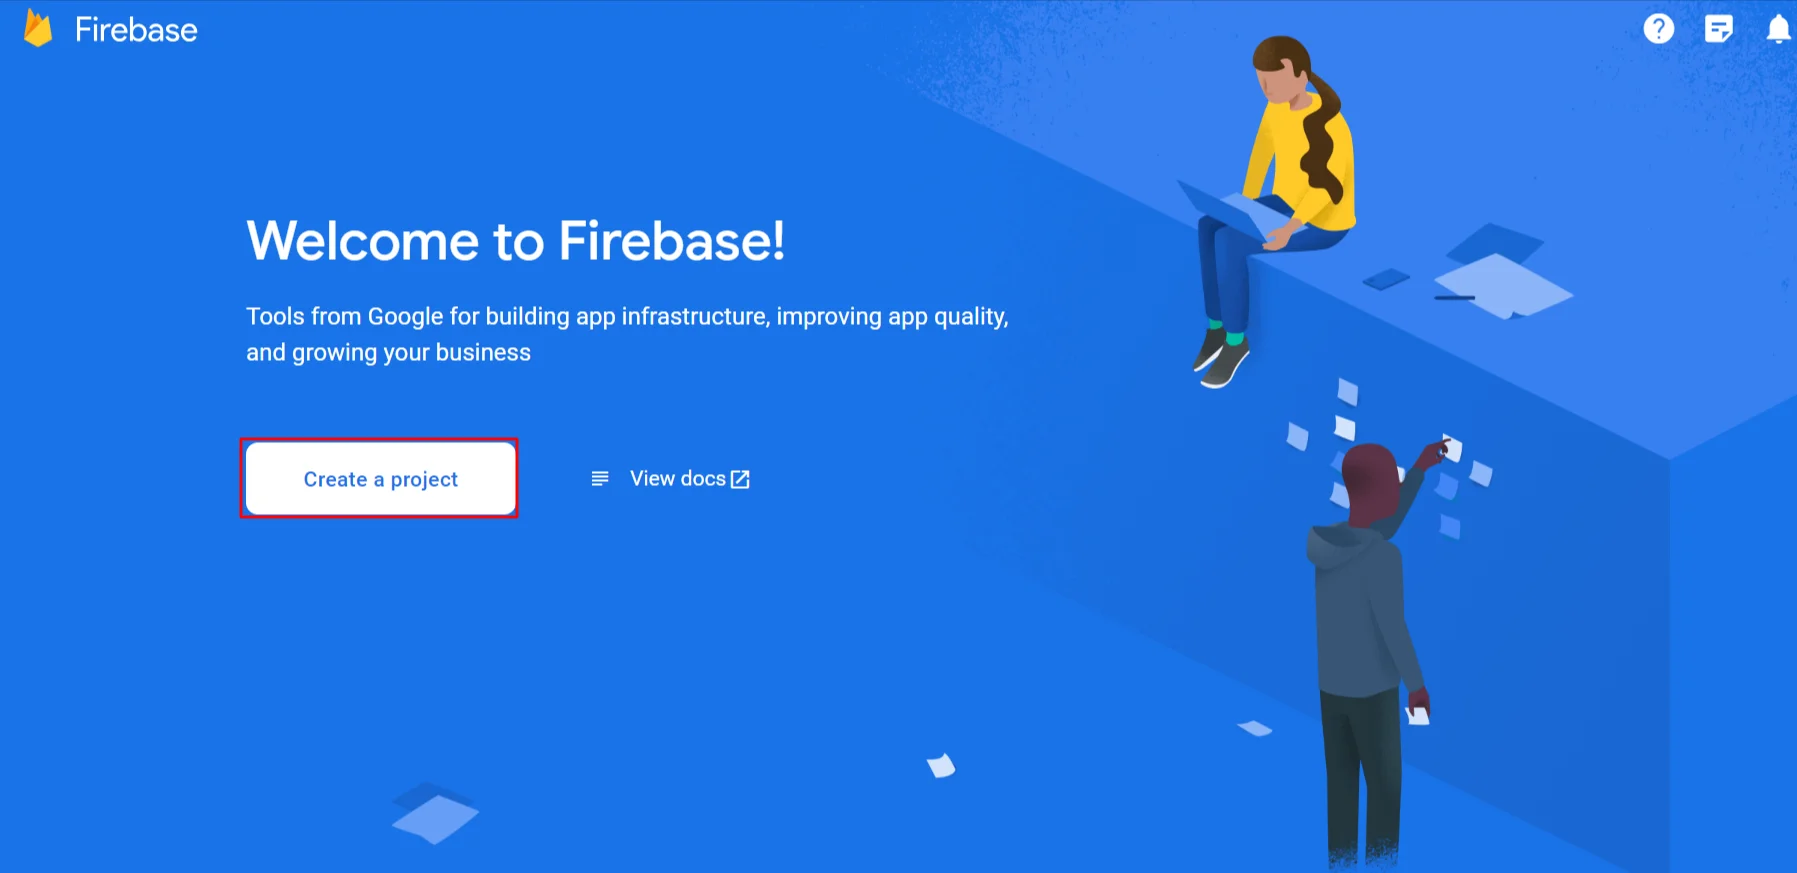
- Click the Create a project button.
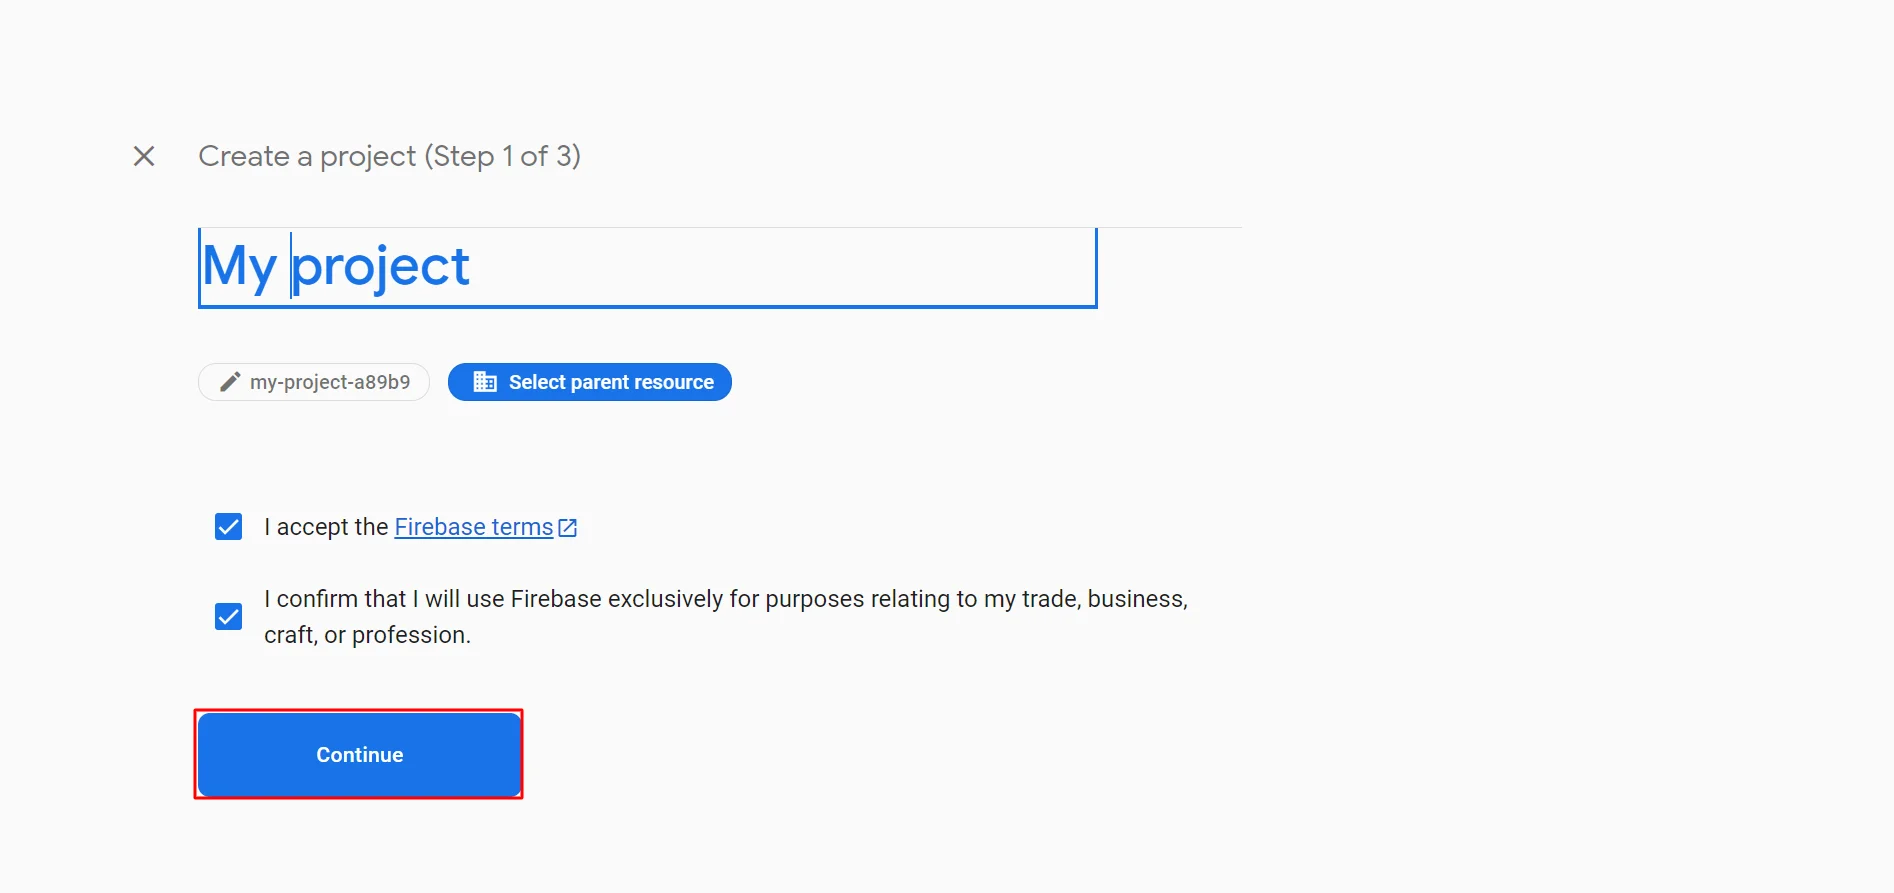
- Name the project and accept the terms of use; click Continue.
- Activate or deactivate the use of Google Analytics for the project; click Continue.

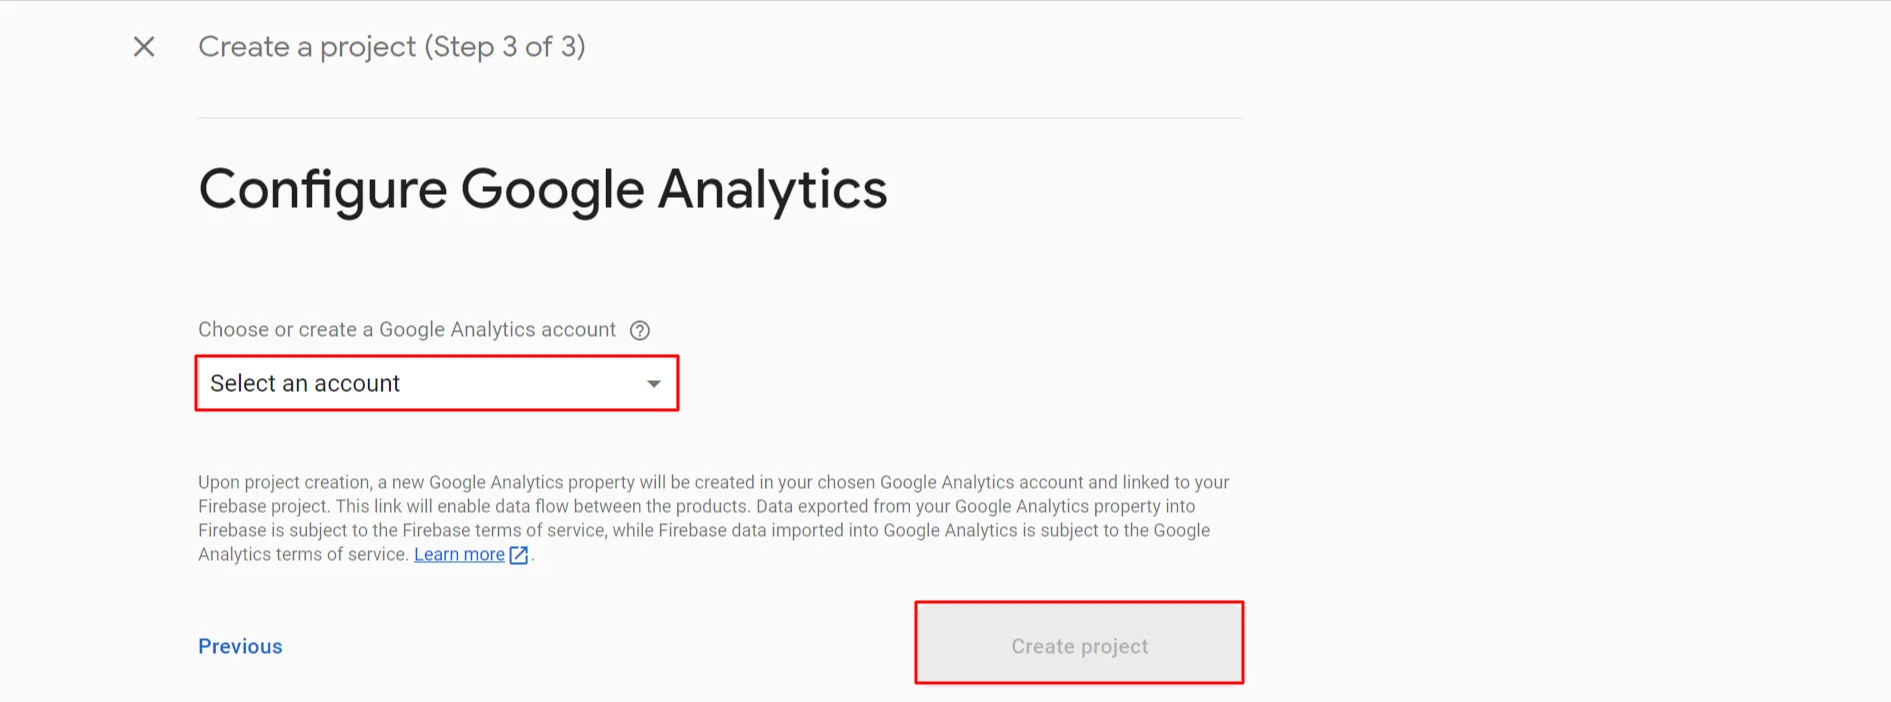
If you have agreed to use Google Analytics, select or create a Google Analytics account; click Create project.
- Your new project is ready; click Continue.

Generating a Key
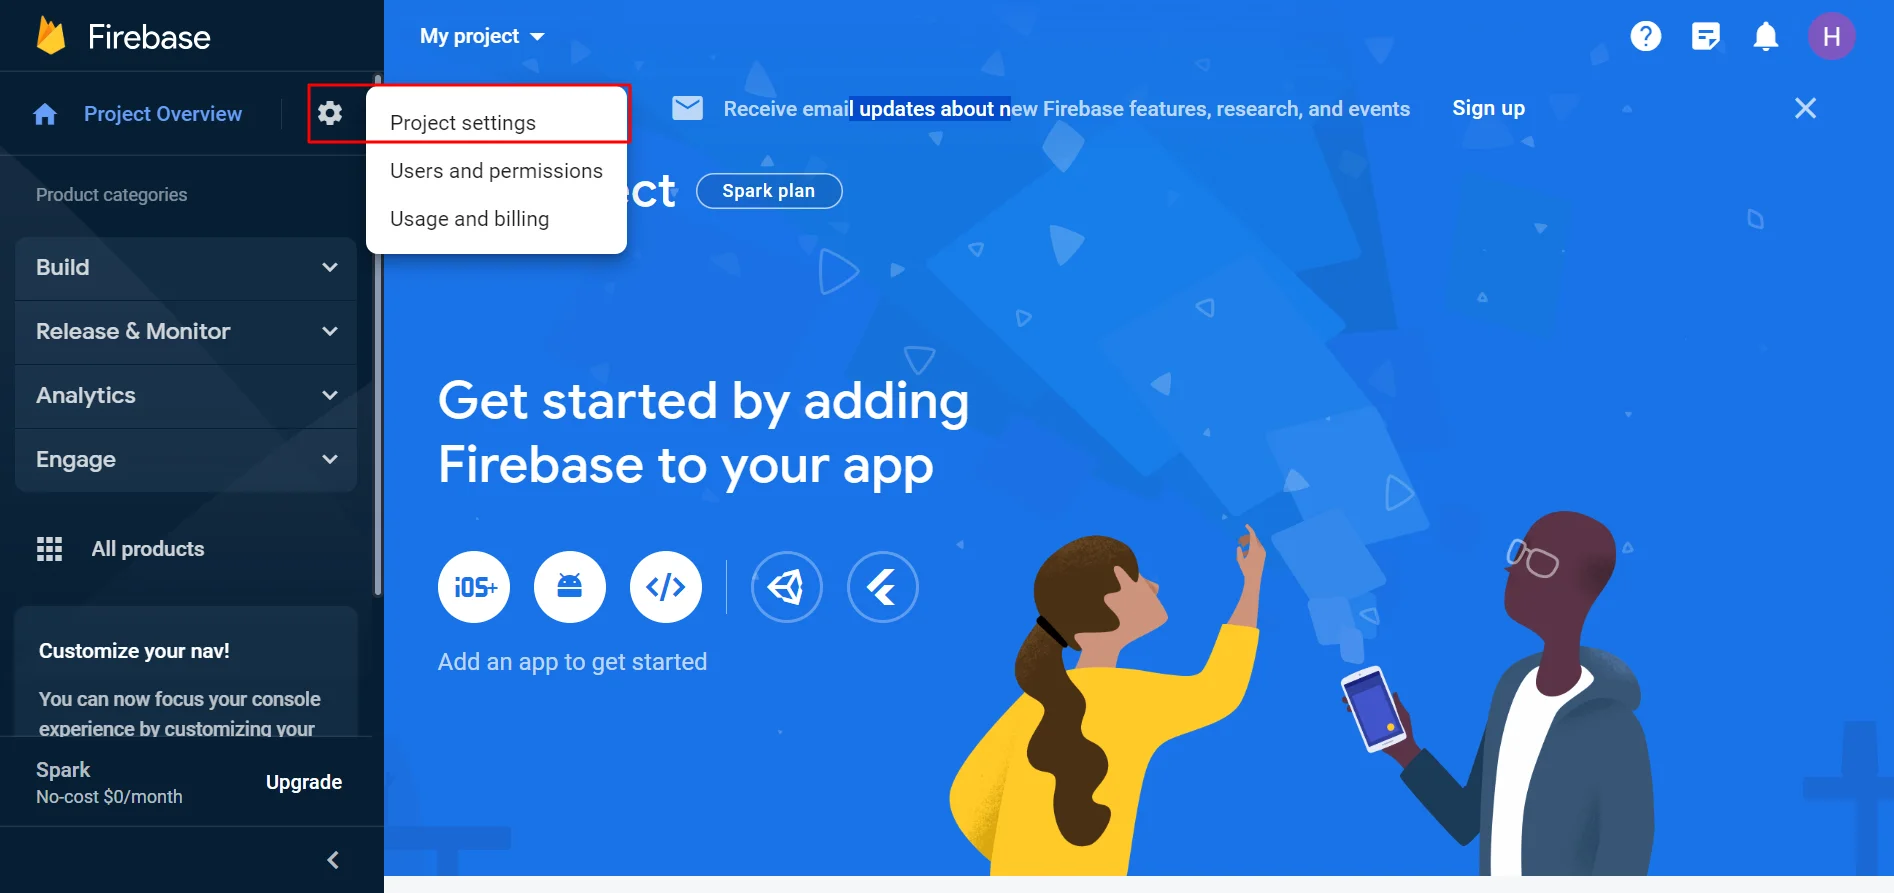
- In the left panel, click the settings wheel next to Project Overview and go to the Project settings menu.
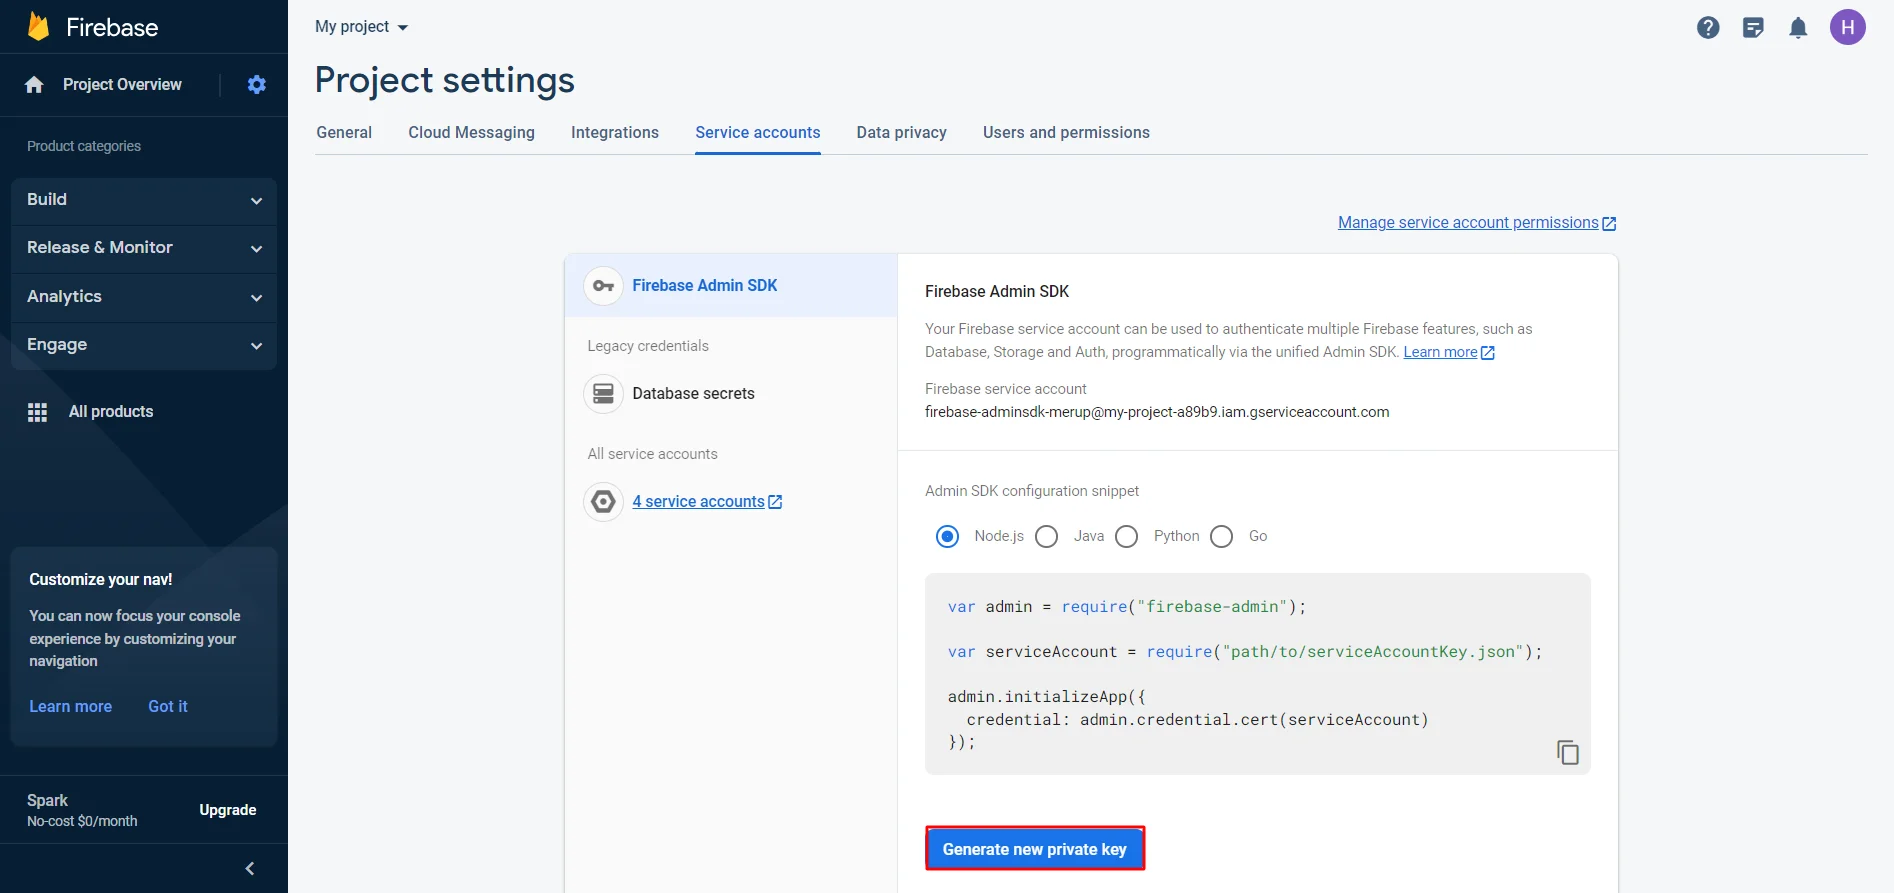
- Go to the Service accounts tab and click the Generate new private keybutton.
- Click Generate key In the dialog box.
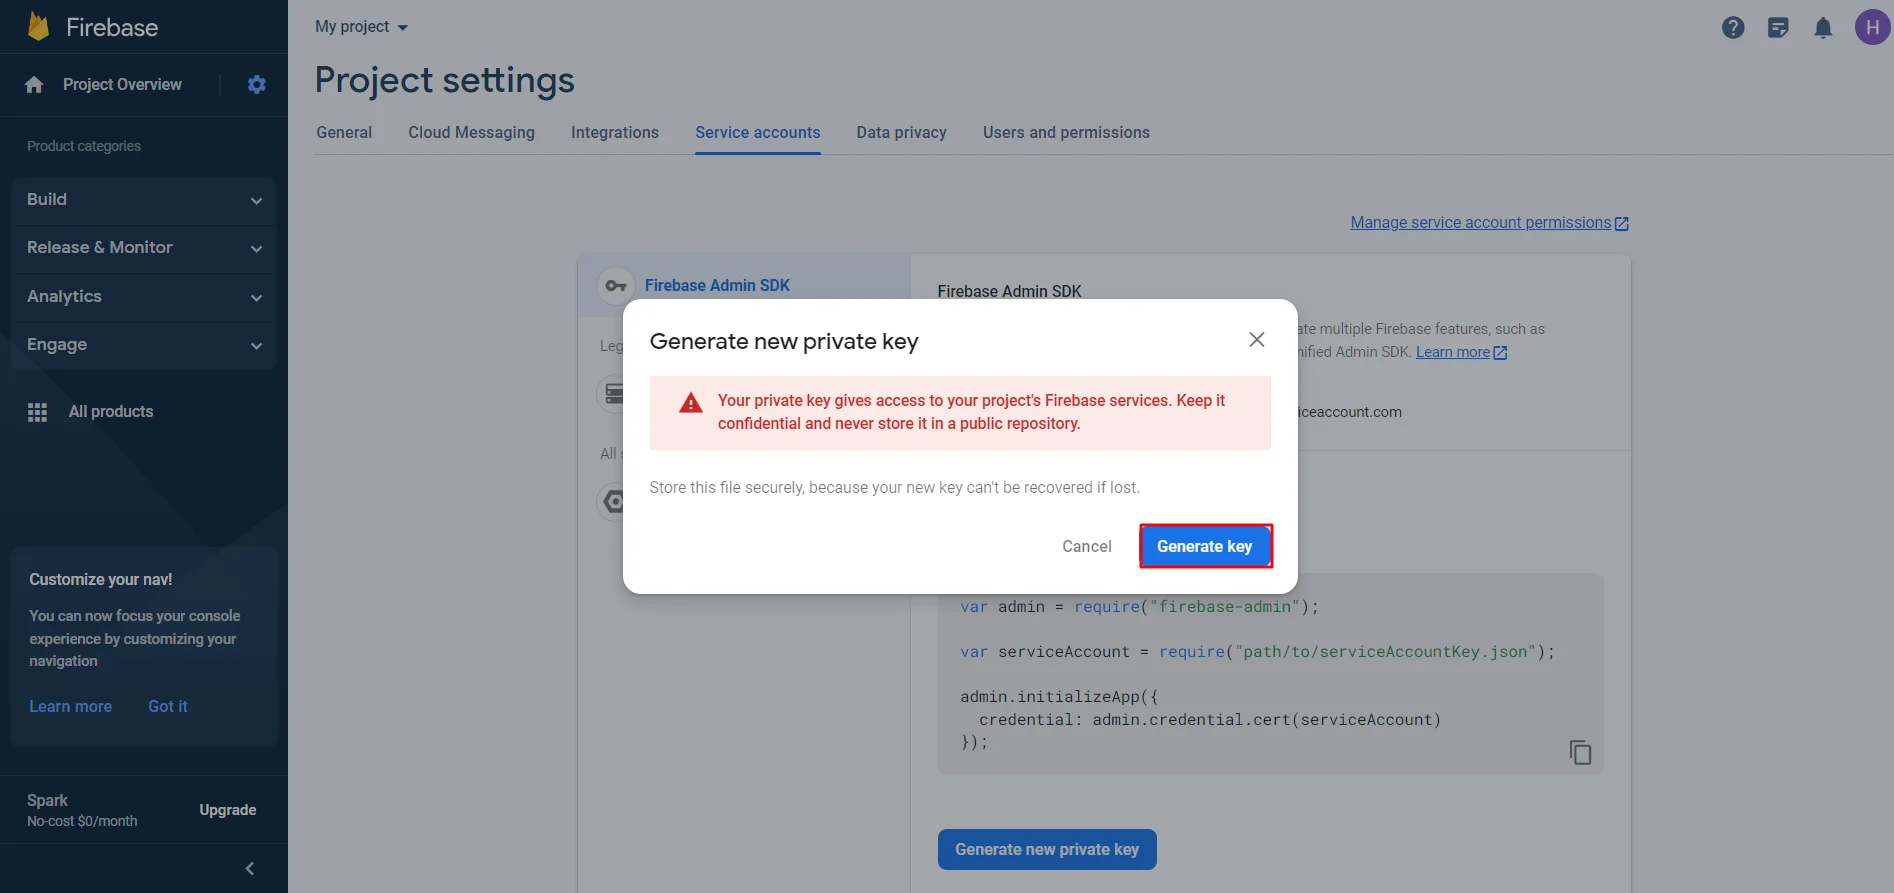
- Download the key to your device.
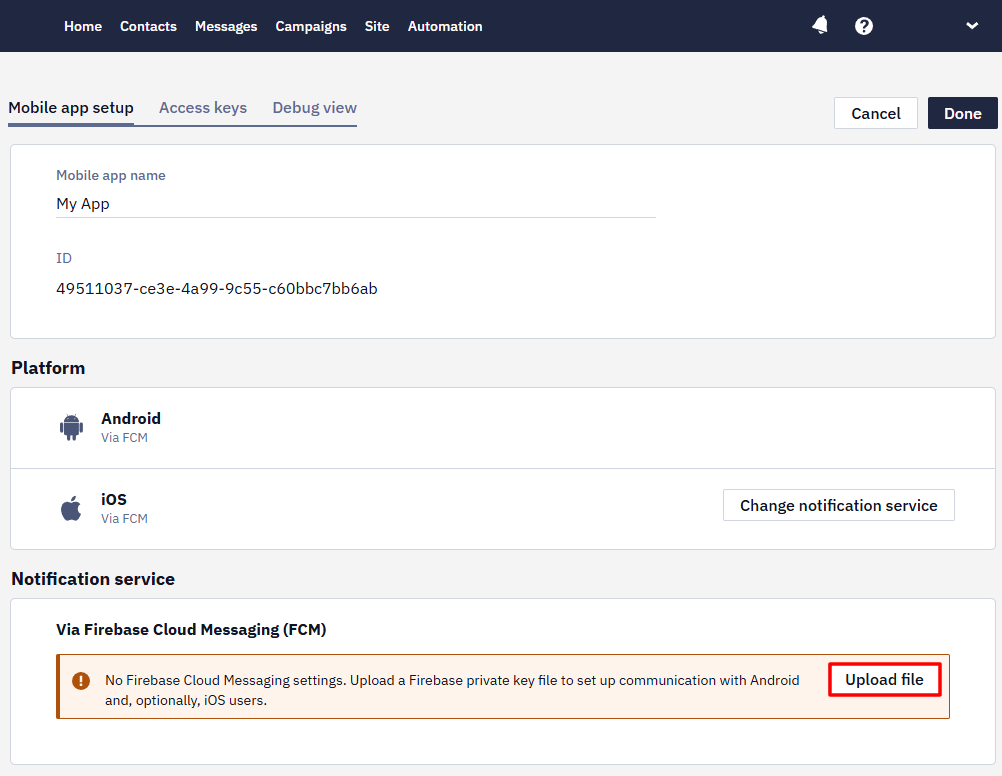
Uploading a Key to Reteno
Go to your Reteno account settings to the Mob Push tab, open one of the previously created applications or create a new one and upload a key file.
More on connecting mobile app >
Troubleshooting: Push Sent But Not Delivered to Device
If a push doesn't arrive on the device during testing, but the send didn't produce any error in the Reteno UI, this means FCM accepted the request — the issue is not on Reteno's side. In this case, check the contact's device list: a contact with a large number of accumulated devices (for example, from repeated reinstalls or multiple test devices over time) can have unreliable delivery to any single one of them. See Error Codes for Mobile Push Notifications for other push delivery error scenarios.
Updated 10 days ago