
Creating Events
You can create events in two ways:
- Automatically (via API, after setting up the launch conditions for regular workflow and workflow based on changes in the contact's field)
- Manually.
The event sent via API / SDK is automatically registered in Other category with the name with which you stream it to us. After the first request, it will appear in your account, and you can see it in the Automation → Event types section.
But if you want to use one of our system events, firstly, you need to create it and specify its category.
Let's look at how to create an event manually.
Creating an Event Type
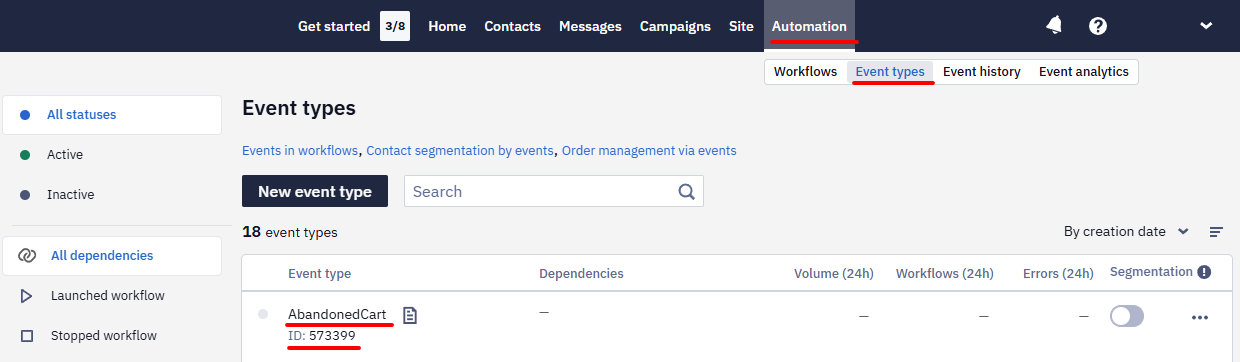
- Go to Automation → Event types and click New event type.

Follow the steps below:
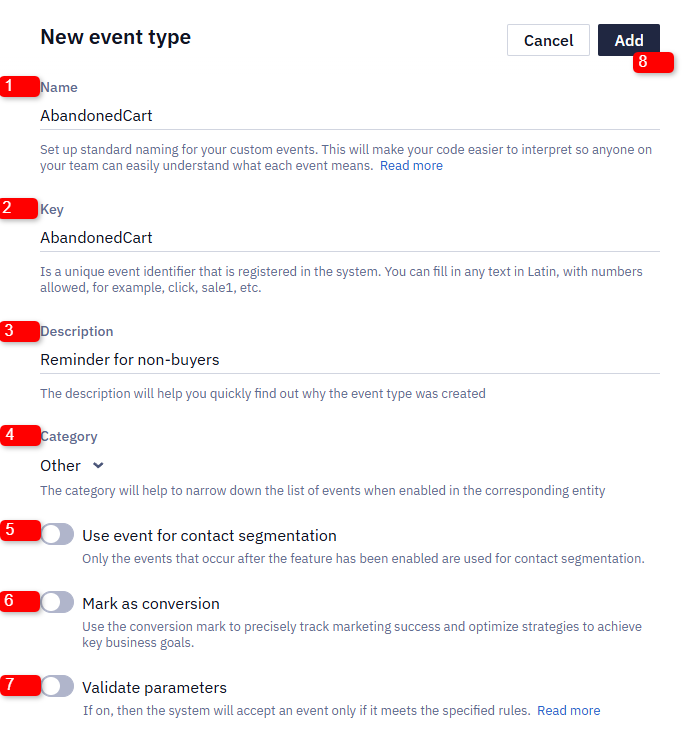
- Fill in Name (required).
- Fill in Key (required). A key is a unique event identifier that is registered in the system. You can fill in any text in Latin, with numbers allowed, for example, click, sale1, etc. The main requirement is that the key should be unique for every event.
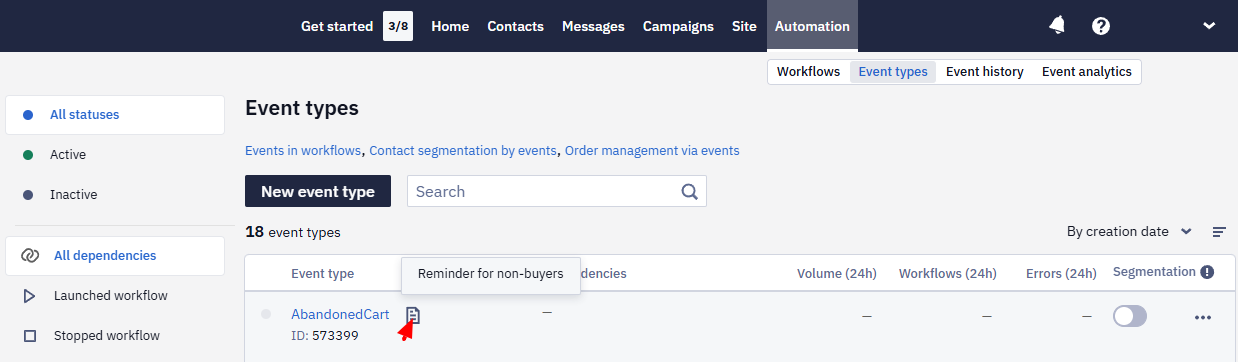
- Add a description that will help you quickly identify what the event is used for. Next to the event type name in the general list, you will see a document icon; when you hover over it, a description will appear.
-
In Category, select the necessary event category.
-
If you enable the Segmentation by events option, switch Use event for contact segmentation. The availability of this option depends on your tariff plan. To enable it, please contact [email protected].
The option turns on only when the last event of this type carries a contact identifier in its parameters. If the system doesn't find one, it offers to set a matching rule: the event parameter that holds the identifier and the contact field it corresponds to.
-
Mark the event as a conversion if you need to track marketing success precisely and optimize strategies to achieve key business goals
-
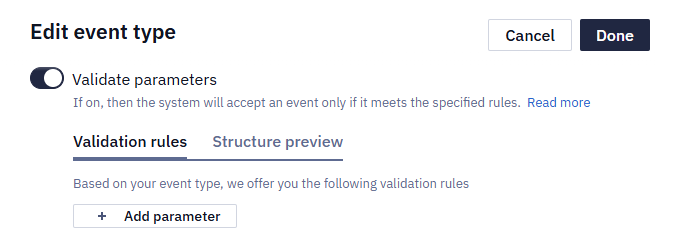
Enable Validate parameters.
If the option is enabled, the system only accepts an event whose structure complies with the validation rules.
More about validating event parameters >
- Click Add.
After this, a new event type appears in the Event types and the system will automatically assign it a unique ID.
You can also create an event without leaving the workflow editor. In the Start block settings and in the Branch, Check event and Launch event blocks, the event list opens with New event at the top, which opens the same panel. When an event is already selected, the pencil button next to the field opens it for editing.
NoteEvent types created by the system are marked with the System badge in the Event types list and in the edit panel. The category of a system event type cannot be changed — the Category field is displayed as text, and an attempt to change the category via the API returns the
400error. The Validate parameters and Mark as conversion options are not available for system event types.
Now you can link the created event to the workflow so it will run the automated campaign.
NoteBy default, a workflow launched by an event re-triggers on every repeat occurrence of that event, even if the event carries the same data (for example, the same order). To prevent duplicate runs for the same event data, add a uniqueness condition to the workflow's launch conditions.
Viewing, sorting, and validating event parameters
Go to Automation → Event types to view available event types.
Activity Statuses
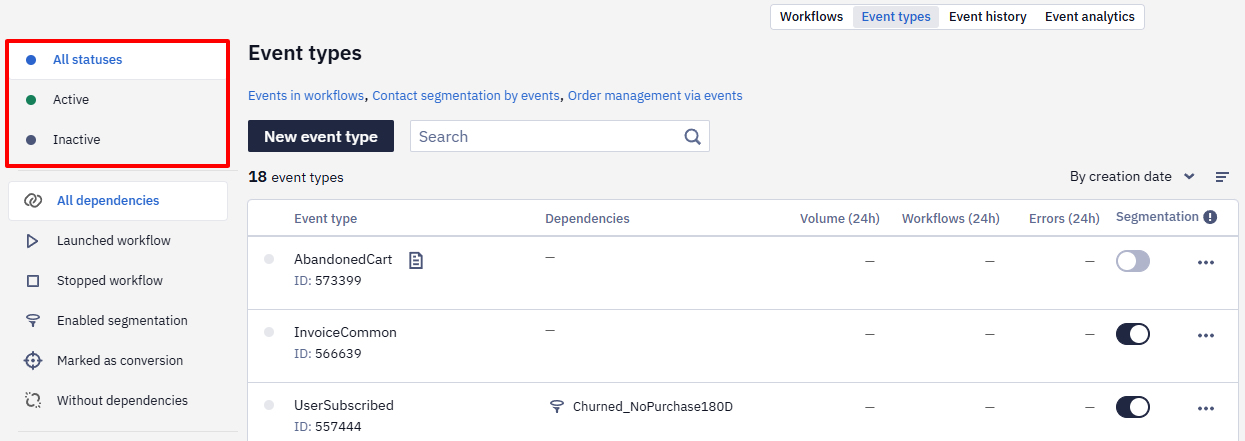
To sort events by activity, select the appropriate filter:
- All statuses
- Active
- Inactive
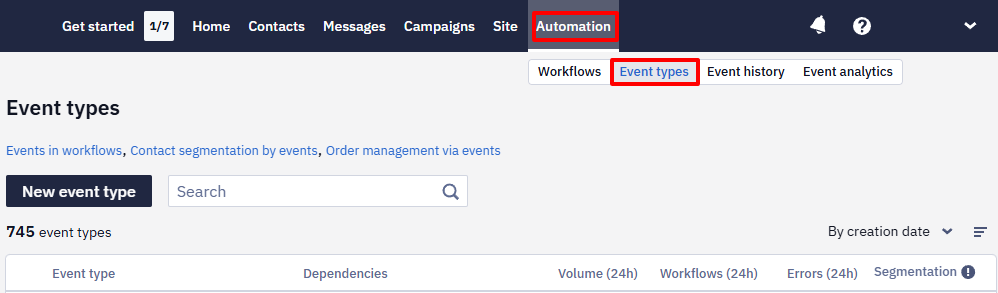
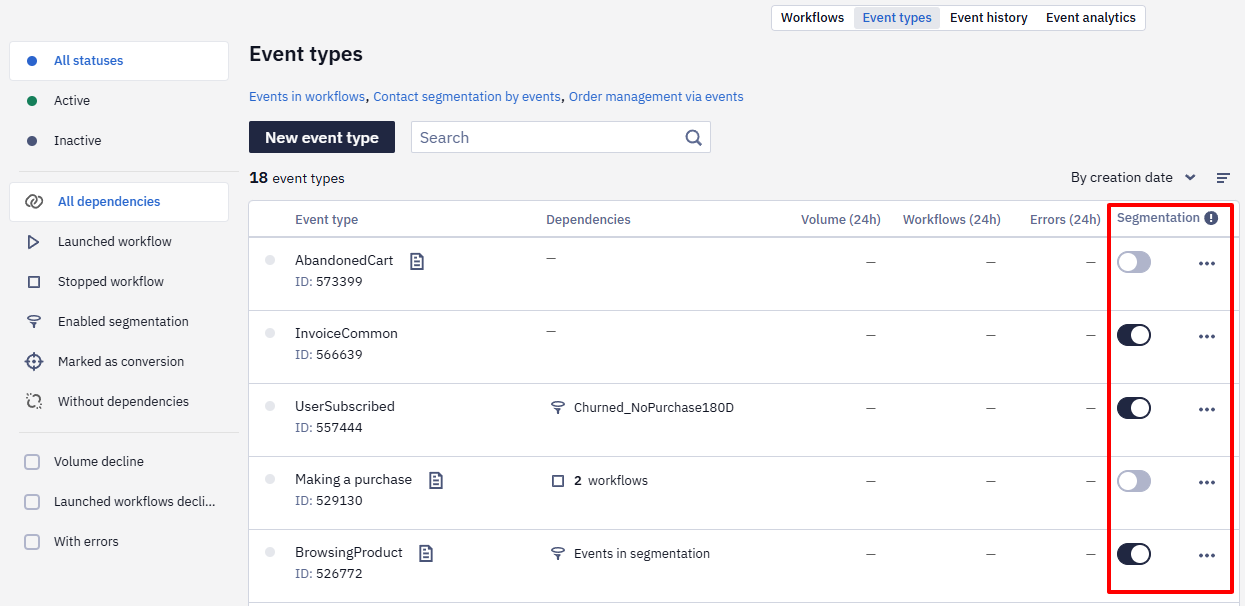
At the top of the list, is a set of additional filters to sort events by specific metrics.
You can sort from highest to lowest value and vice versa.
Event Type Dependencies
Event type dependencies represent the relation between the event type and a workflow or dynamic segment.
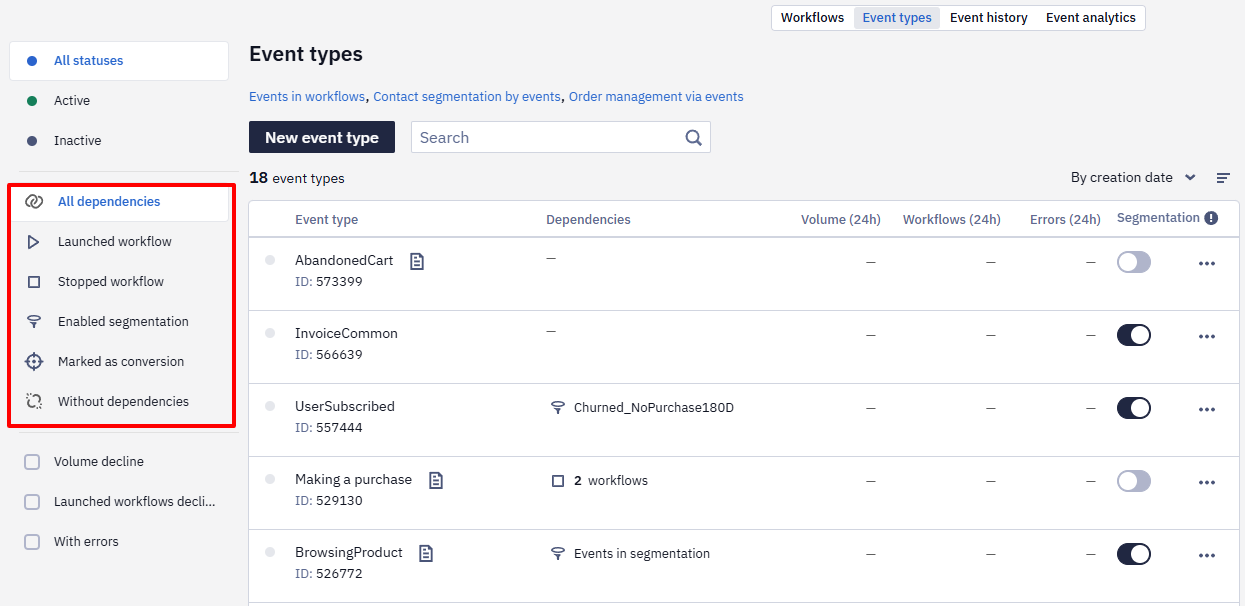
To filter event types by dependencies, select the tab:
- All dependencies
- Launch workflow (specified in the workflow start configuration),
- Stop workflow (specified in the workflow stop configuration),
- Enabled segmentation (events are used to build a dynamic segment),
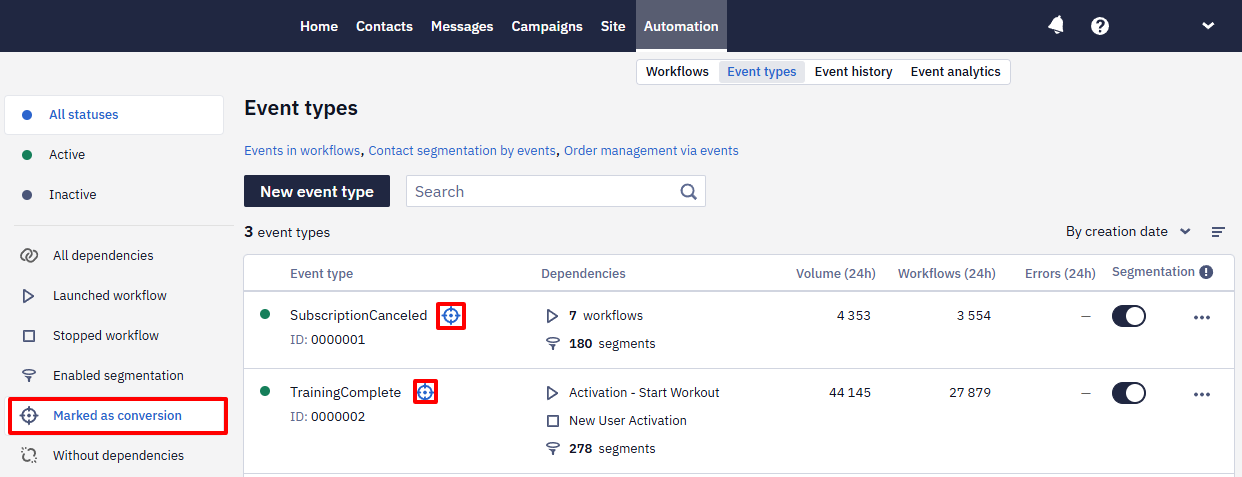
- Marked as conversion (custom events, such as subscriptions, premium feature activations, etc.)
- Without dependencies.
NoteOne event type can have multiple related workflows and dynamic segments. In this case, dependencies are grouped, and their quantity is displayed.
Event types created for regular workflows and workflows based on contact field changes contain:
- Segment name, segment ID.
- Contact field name, contact field ID.
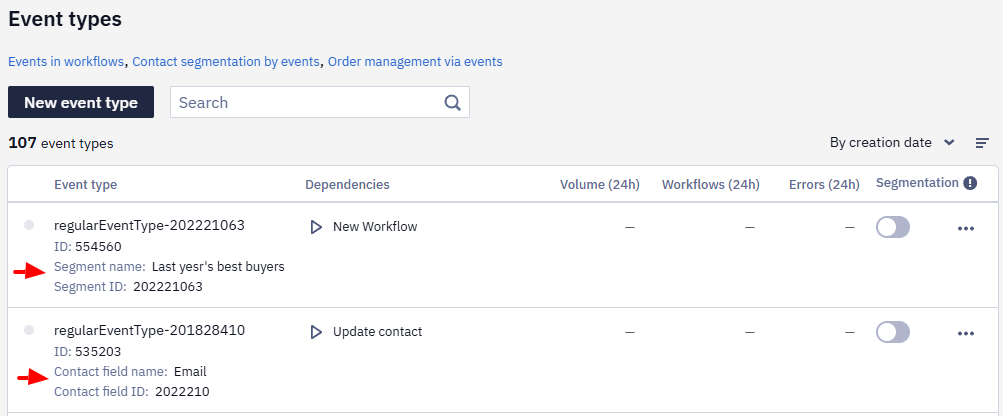
Click on the dependency to open the Dependencies of event type window, which provides detailed information about the associated workflows and dynamic segments.
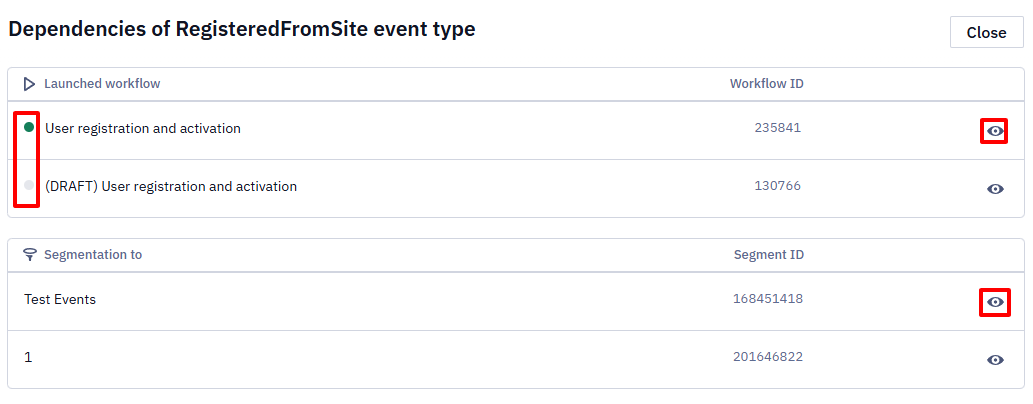
The green marker next to the workflow indicates that this workflow is active.
To view and edit related objects, click on the preview icon.
Daily Statistics
Activate the checkbox on the tab in the left menu to filter event types and workflows with declining metrics, as well as events with errors
- Volume decline
- Launched workflows decline
- With errors
Declining metrics are displayed in orange so that you can promptly notice events that require attention.
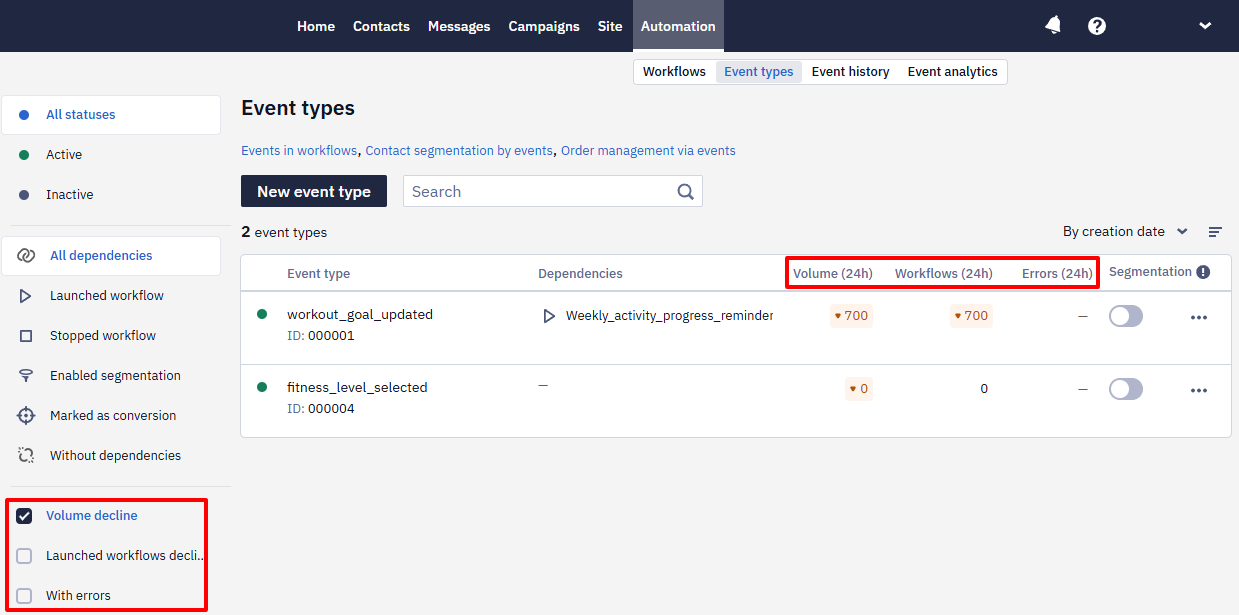
Additional Actions with Event Types
Clicking on the three dots in the event type field reveals a menu with the following options.
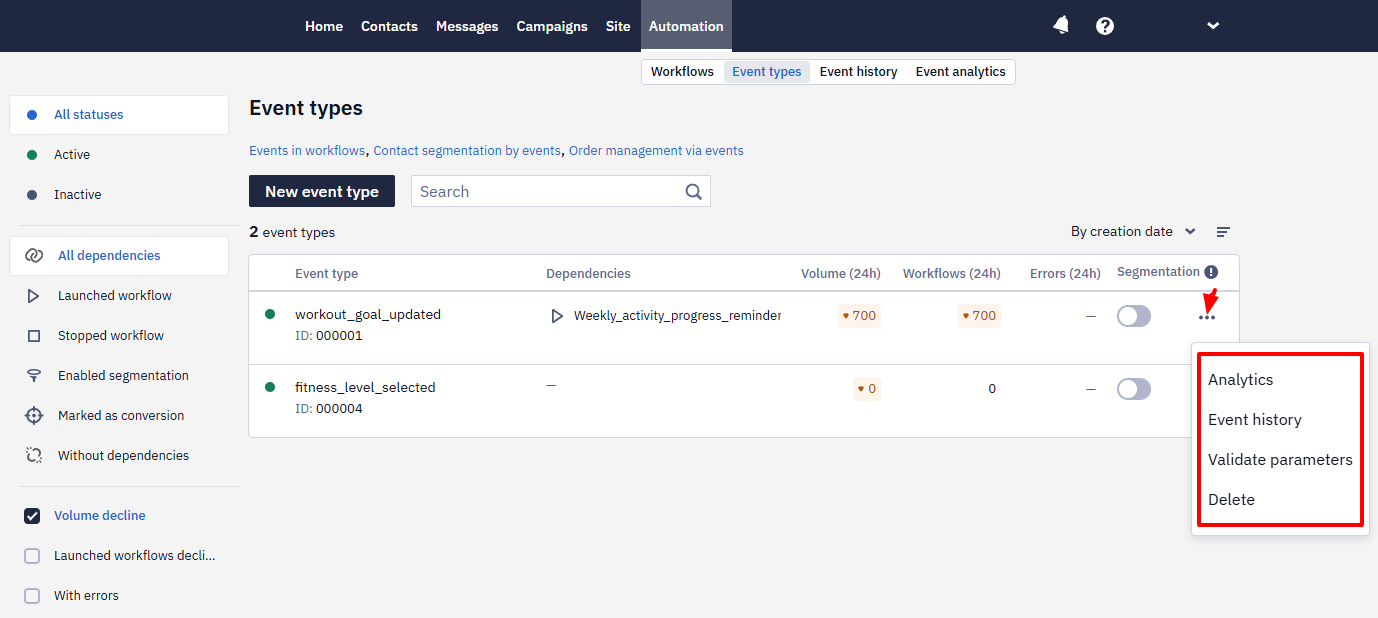
Analytics
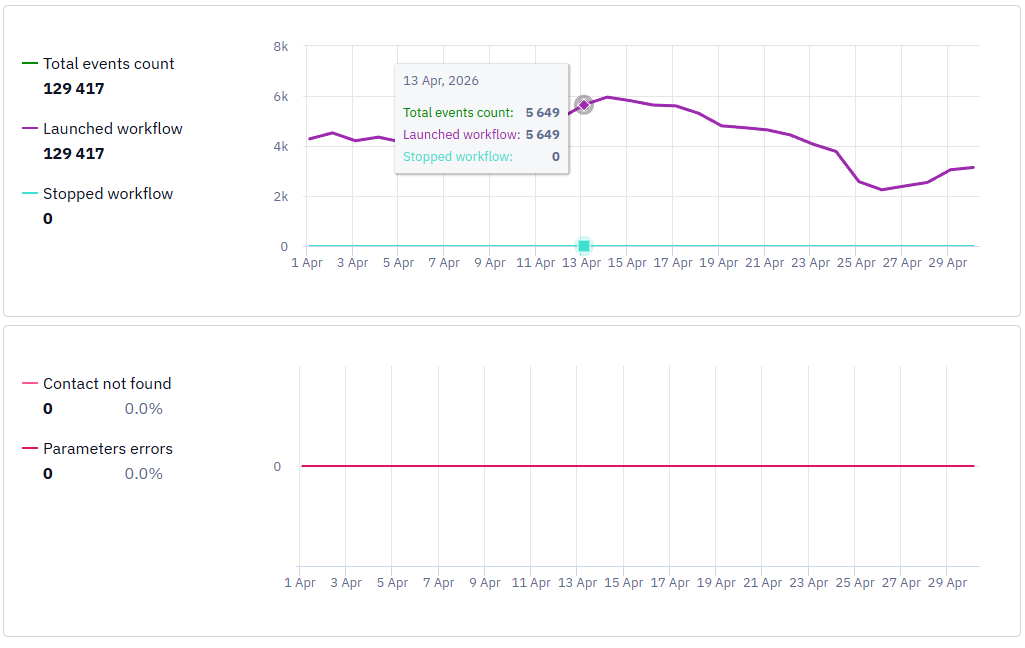
Charts display metrics of event and workflow activity, and error metrics, and include the following categories:
- Total events count
- Launch workflow
- Stop workflow
- Contact not found
- Parameters errors
Event history
This option shows the launch history of the selected event. Events received via the mobile SDK are labeled SDK in the list, and the event window shows the Source field: SDK for events received via the mobile SDK, or API for events sent through the API — even if the API event carries SDK-specific parameters, such as appVersion or deviceCategory.
On the With errors tab, you can see events that were processed with an error — for example, when a required parameter is missing.

Parameters validation / Structure preview
Add validation parameters so that the system accepts only events that correspond to them.
If an event is used for contact segmentation and has already been transmitted to the system, you can view its structure on the Structure preview tab and compare event parameters with the validation rules you've set. You can also copy the structure parameters.
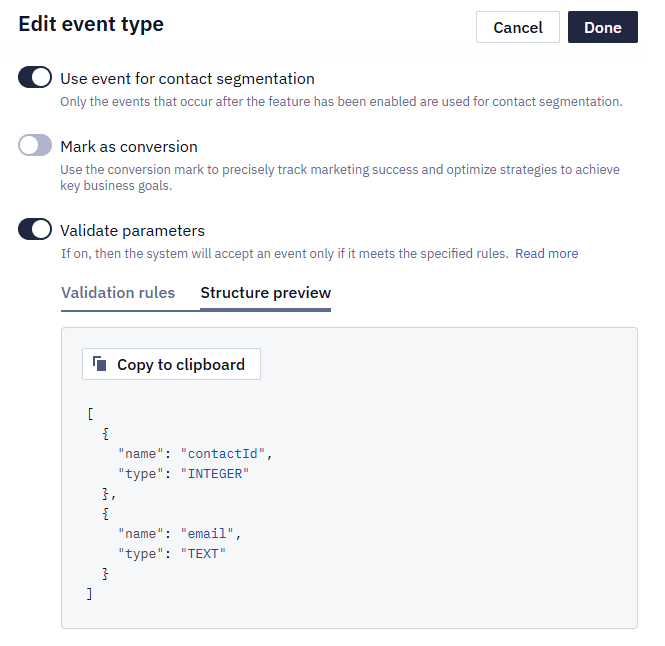
NoteWhen transmitting new parameters, they will add to the event parameter structure, while the existing ones will remain unchanged.
Delete
The event is deleted along with its history, and recovery is not possible
Event Search
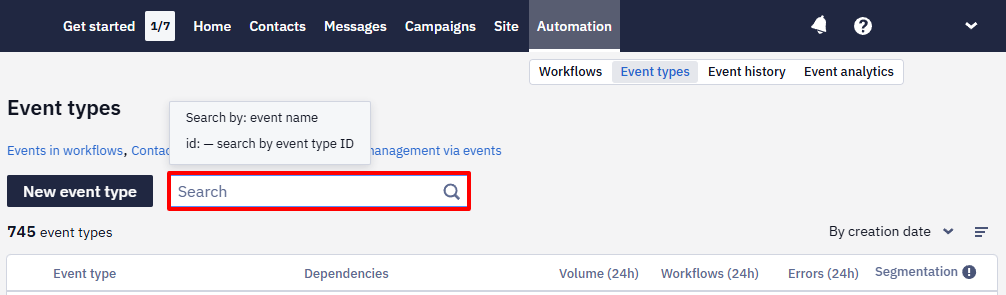
To find a specific event, enter its name or ID in the search bar.
Missed Events
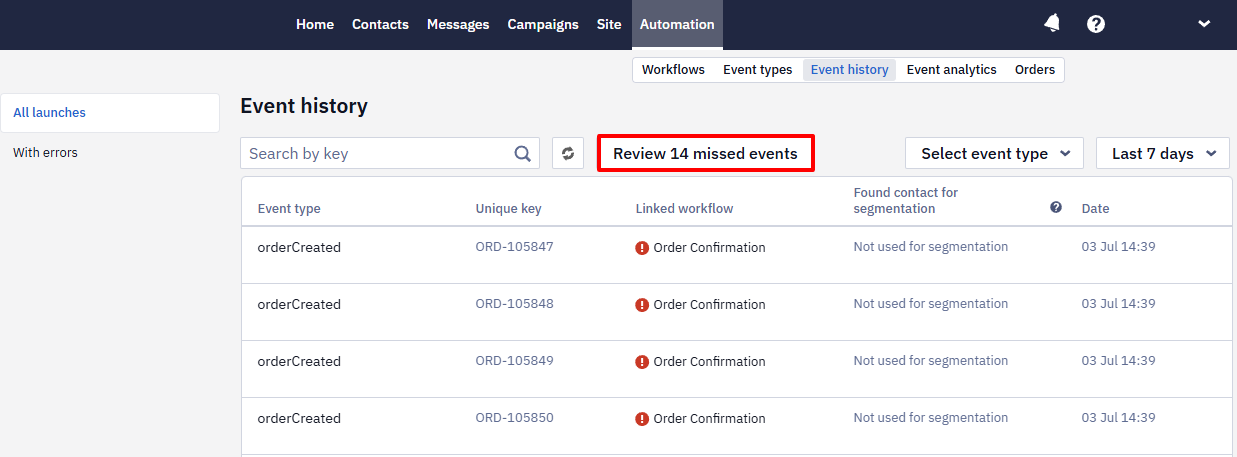
An event linked to a workflow may fail to start it when the contact limit, workflow-launch limit, or active-workflow limit is exceeded. Reteno keeps these events for later processing instead of discarding them.
Open Automation → Event history. When missed events exist, a banner shows their number; click Review missed events to open the list.
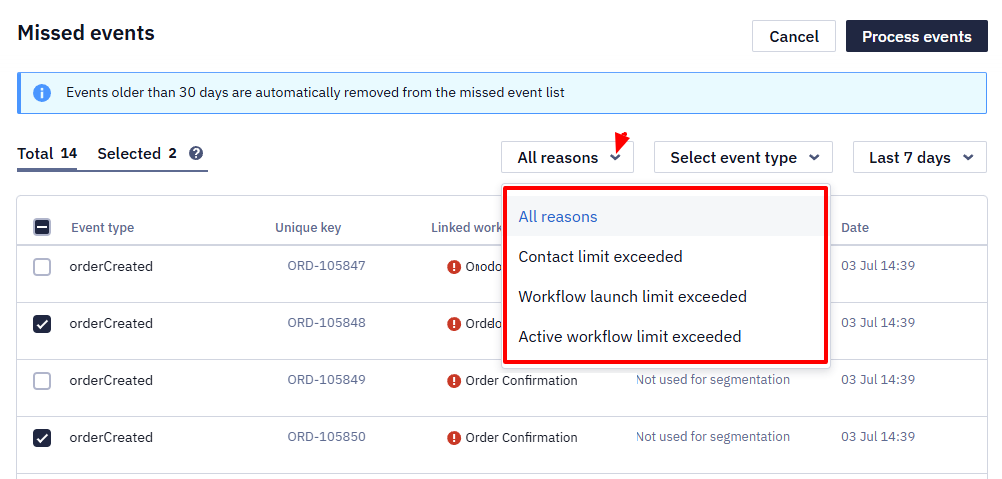
In the Missed Events window, use All reasons to filter by the exceeded limit. You can also filter by event type and time period, then select several events for reprocessing.
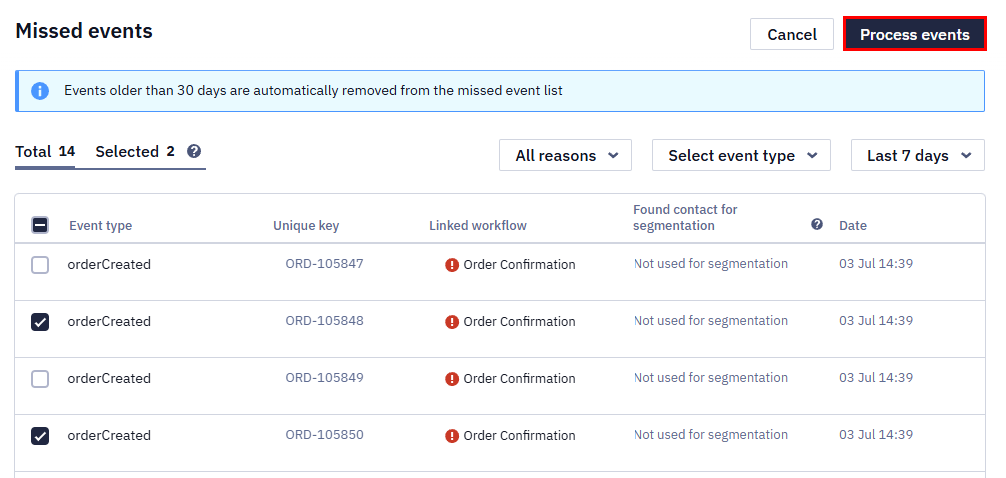
After resolving the limit, select the required events and click Process events. Events older than 30 days are removed from the missed-events list automatically.
Updated 3 days ago