
Creating Synchronized Modules
Learn how to create and manage synchronized modules in email templates.
A synchronized module is an email element that can update automatically across all templates where you use it. This helps you avoid editing each email manually and works especially well for triggered campaigns.
Synchronized modules work best for shared elements that repeat across different templates, such as logos, headers, footers, and similar content.
Creating a Module
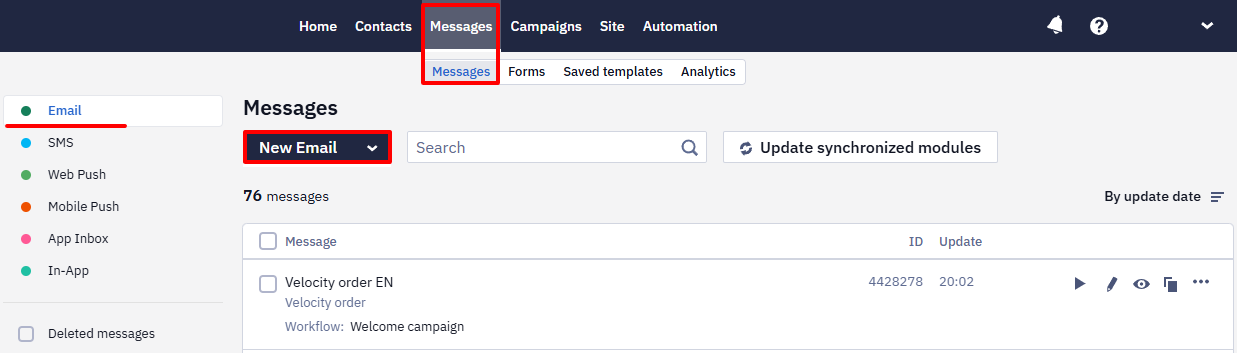
- Open an existing email or create a new one (Messages → Messages → Email).
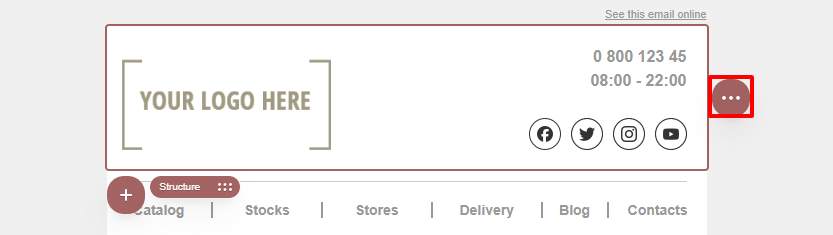
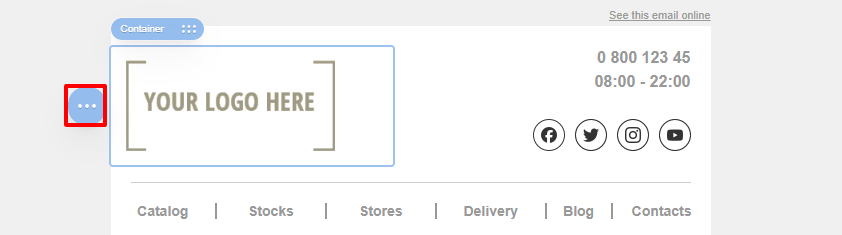
- Hover over an element — a container, structure, or stripe:
- For a structure or stripe, click the three dots on the right.
- For a container, click the three dots on the left.
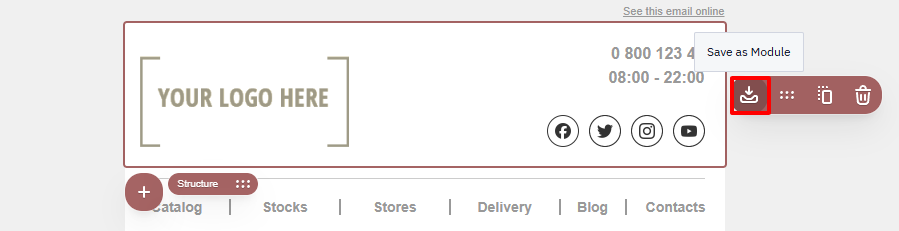
- Click Save as module and go to the module settings.
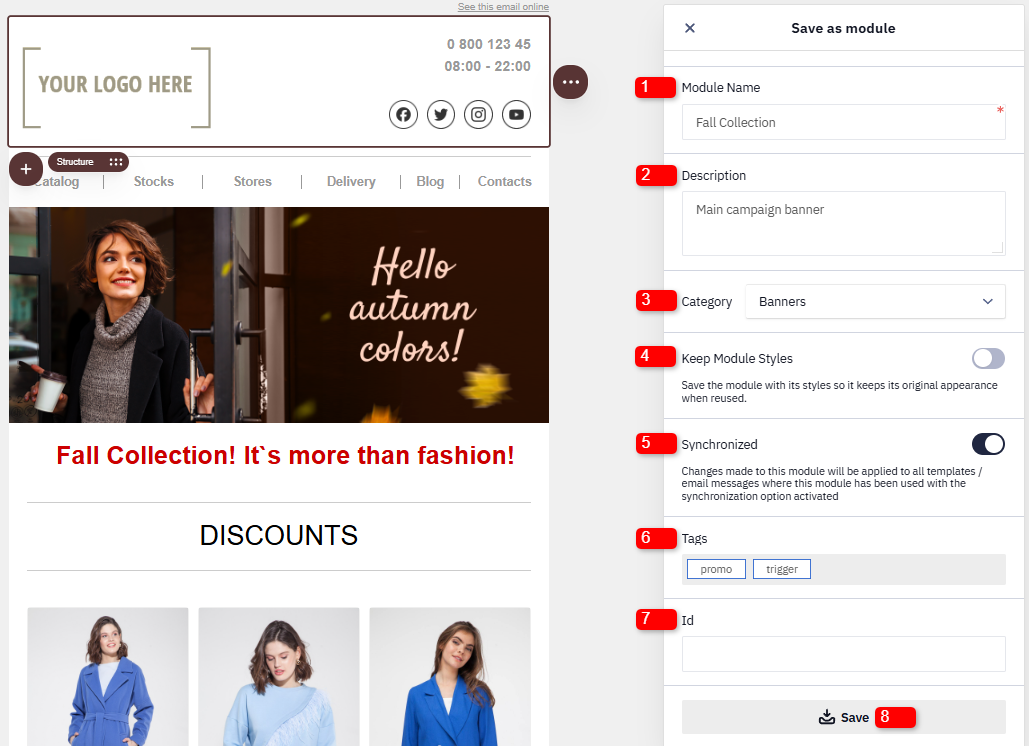
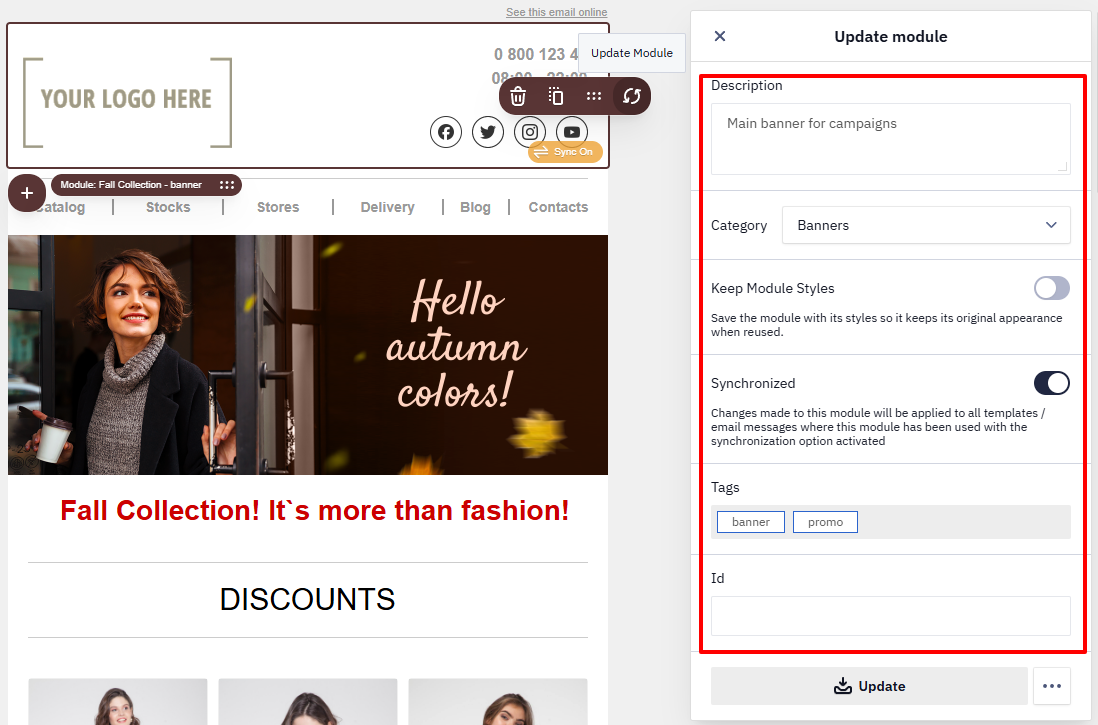
Module Settings
Do the following:
- Enter a module name — it helps you find the module in the library faster.
- Add a description that explains what the module is for (optional).
- Select a category so the Global styles and Layout tab settings apply based on the element type.
- Turn on the Keep Module Styles toggle to save the module with its current styles and preserve its appearance when reused.
- Turn on the Synchronized toggle.
- Add tags for easier search (optional).
- Enter a unique module ID if needed for identification.
- Click Save.
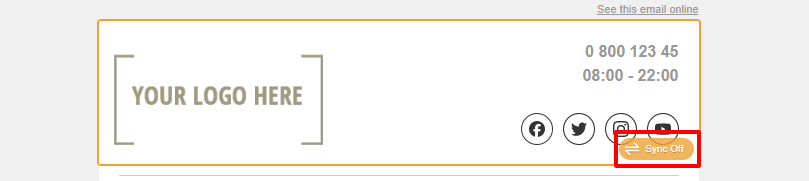
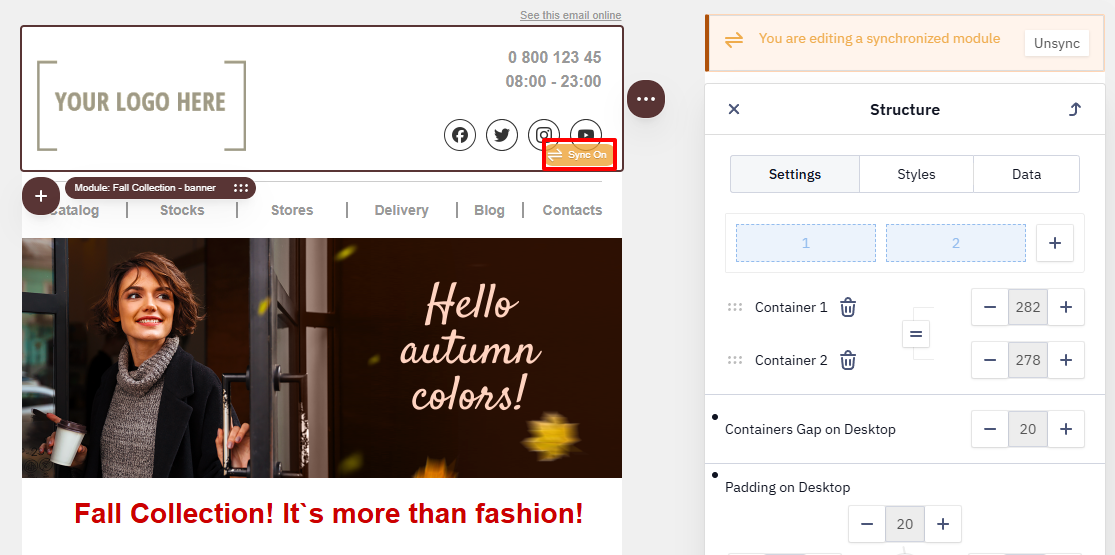
After you save, the Sync Off label appears in the bottom-right corner of the module. It means the module is synchronized, but the system hasn’t applied the changes to emails yet.
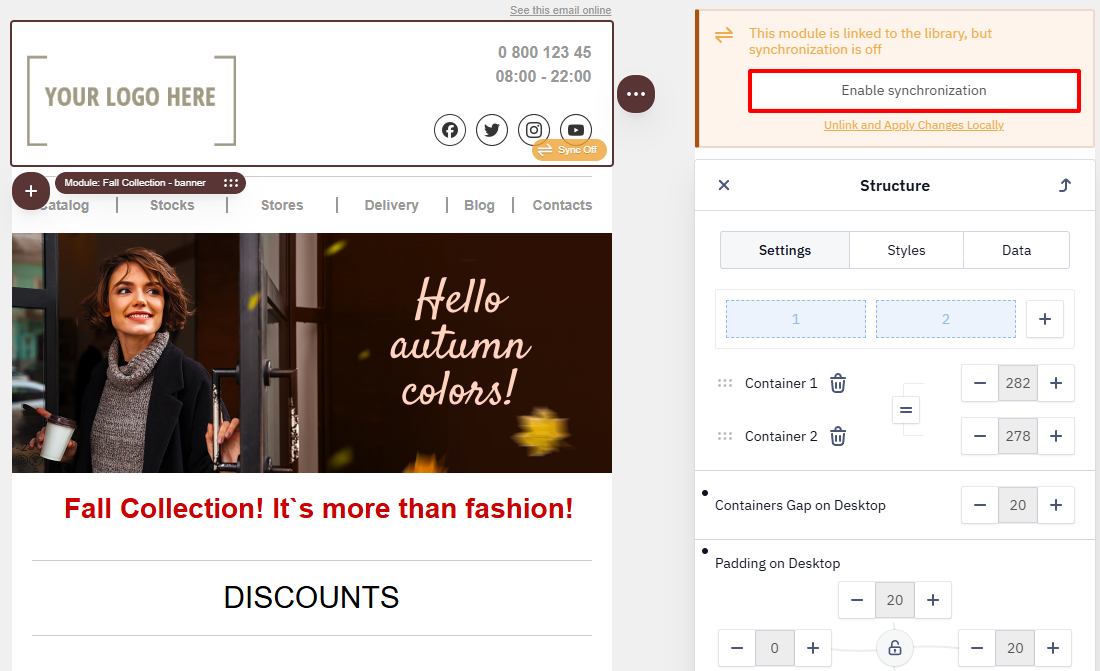
Synchronize Module with the Email
- Click the synchronized element in the email.
- On the Settings tab, turn on the Synchronized module toggle.
NoteFollow the same steps when you add a synchronized module from the module library to a template.
After you enable it, Sync Off changes to Sync On.
ImportantYou can’t drag a synchronized module into another synchronized module or insert it inside one. If you do, the system disables synchronization.
Updating a Synchronized Module
You update a module to apply the latest changes across all emails that use it.
- Open any email that uses the module.
- Make the required changes to the module.
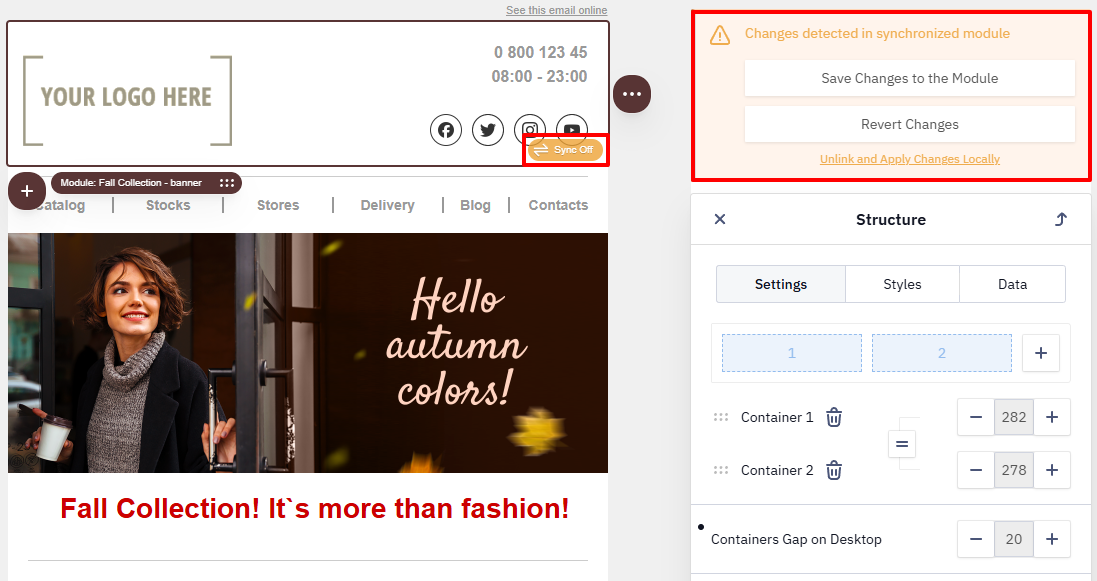
- The Sync Off label appears again in the bottom-right corner. Click the module.
- In the Structure/Stripe/Container settings, under the warning Changes detected in the synchronized module, choose one option:
- Update module — save the current changes to the library and apply them to all email templates.
- Restore — revert the changes to the library version.
- Make unsynchronized — keep the changes only in this template and break the link to the library.
After you choose an option, Sync Off changes to Sync On.
Bulk Updating Synchronized Modules
- Go to Messages → Messages → Email.
- Click Update synchronized modules.
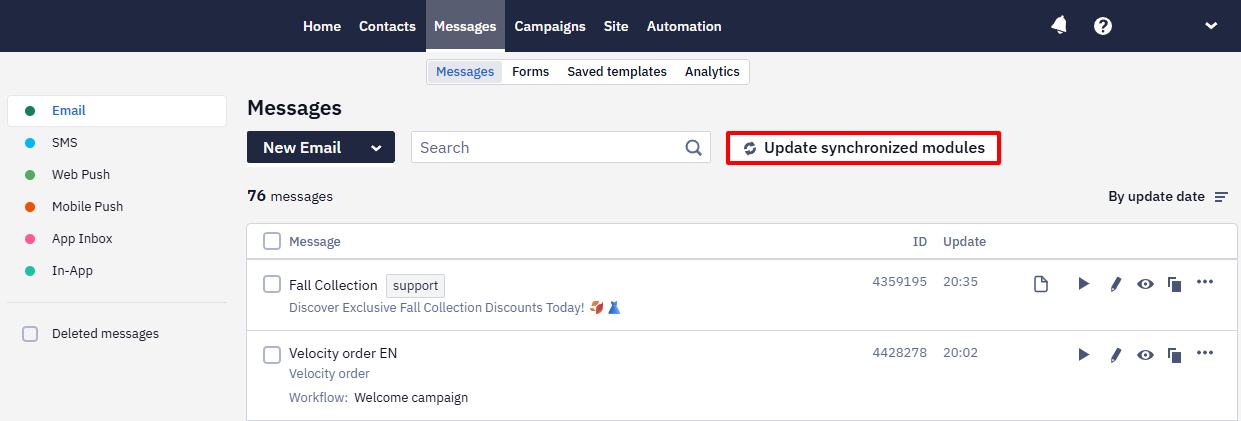
- Select the emails in one of these ways:
- enter a tag or ID in the search field;
- select specific emails using checkboxes;
- select all emails using the checkbox in the list header.
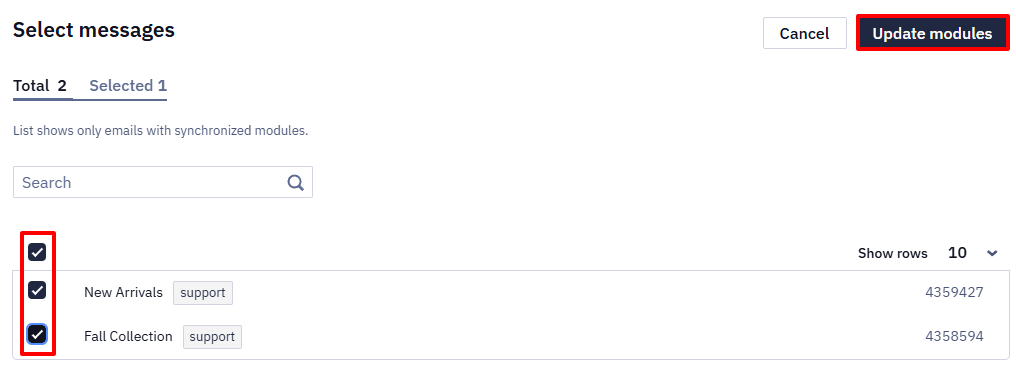
- Click Update modules.
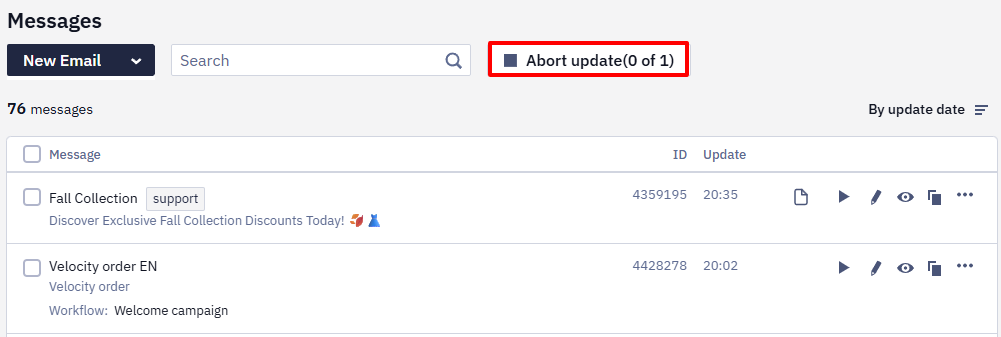
After the process starts, the button turns into a status indicator. You can wait for it to finish or stop the update manually.
If you don’t run a bulk update, the system still applies the changes when you open each email in the editor. In other words, after you edit a synchronized module, the new version automatically loads into emails that use that module.
If a bulk update isn't run, the system still applies the changes when each email is opened in the editor. In other words, after editing a synchronized module, the new version automatically loads into emails that use that module.
Viewing Module Information
To see which synchronized module an email uses:
- Click Update module.
- A side panel opens and shows the module name and settings.
Updated 10 days ago