
Launching a Triggered Campaign on Event
Creation will differ depending on the event category, but the main steps are as follows:
Step 1. Create an Event Type
You can create events automatically (via API) or manually.
The event sent via API is automatically registered in the Other category. Read more on API integration.
To create an event manually:
- Go to Automation → Event types and click New event type.

Step 2. Create a Workflow
Create a workflow that will be launched by the created event. For example:
- click in the message (Click);
- subscription (Subscribe/Unsubscribe);
- import of new contacts (Import);
- migration of subscribers from active to passive (RFM);
- website and app activity (Other, Subscription, View).
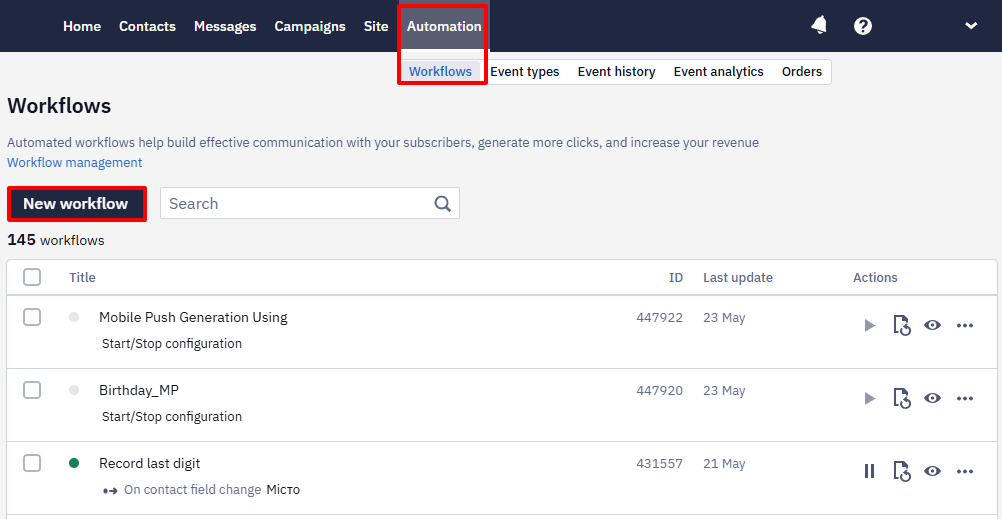
- Go to Automation → Workflows and click New workflow..
-
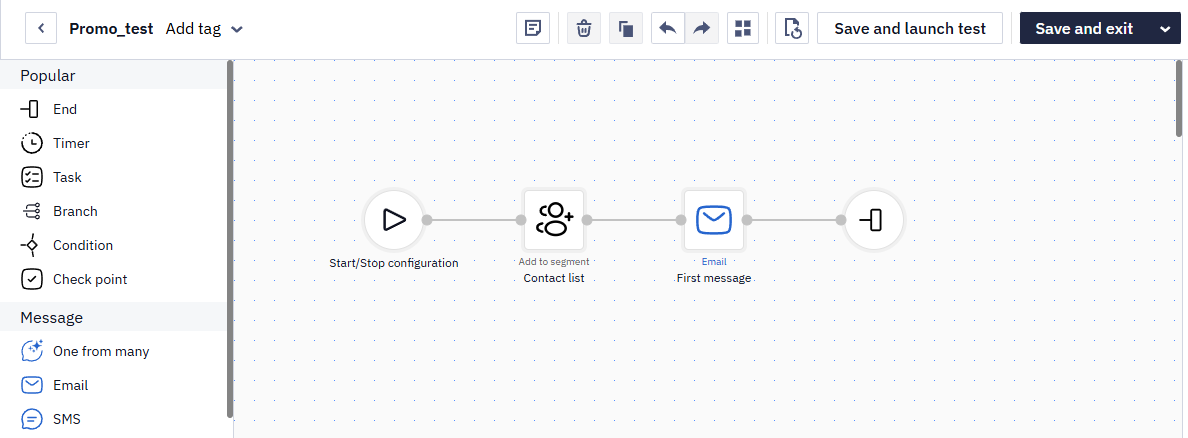
Enter the workflow name and add tag (optionally).
-
Build the workflow by dragging the necessary blocks and connecting them. This is an example of the workflow that will be triggered by a click on the Learn more button in the message. All contacts that have clicked this button will be added to a separate segment Opened, and will receive an additional message with details of the previous offer.
Step 3. Link the Event to the Workflow
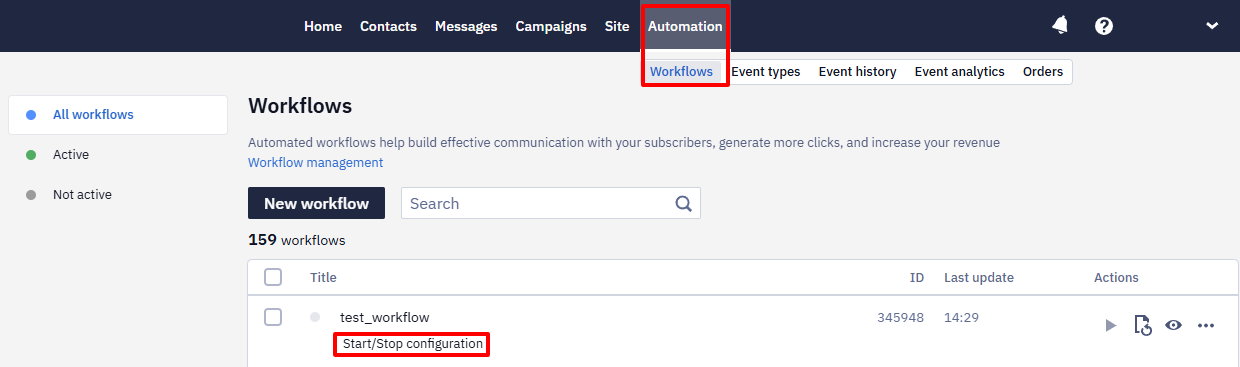
- Go to Automation → Workflows and click Start/Stop configuration.
- In pop-up window activate Start configuration switcher and select the event.
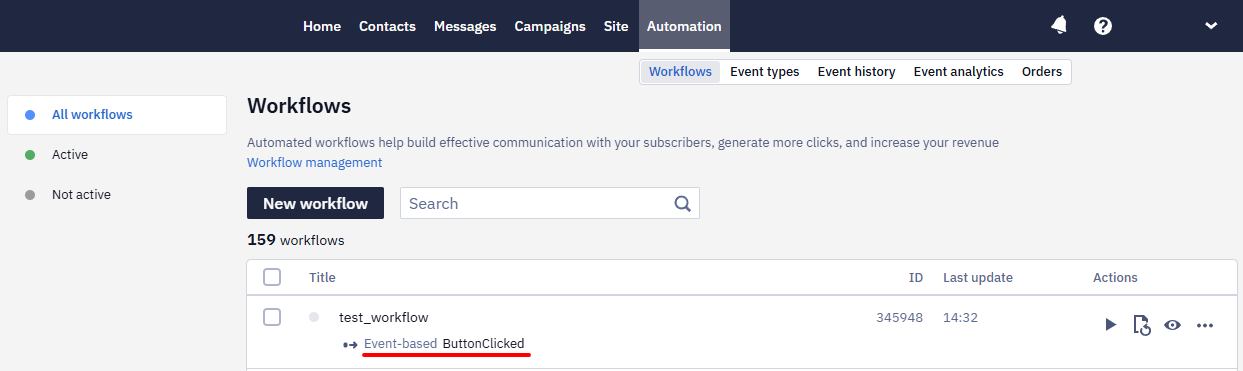
- Click the Event-based tab and select one of the process unique events option:
- Each time: to launch the workflow each time when receiving the event. For example, choose this option for the triggered workflow Purchase. Each time your user makes a purchase, they will receive a corresponding message (for example, confirmation). If they make 3 separate purchases per day, they will receive 3 messages.
- Once: to launch the workflow only once regardless of the number of events sent by the same contact. For example, choose this option for a welcome series after the first subscription: no matter how many times user subscribes, they will receive only one welcome series.
- Once in every____ hours/days/weeks/months: to launch the workflow once within a given period of time. For example, choose once in 1 hour for abandoned carts. If the same customer abandons cart 3 times in an hour, the workflow will process only one event and send only one message.
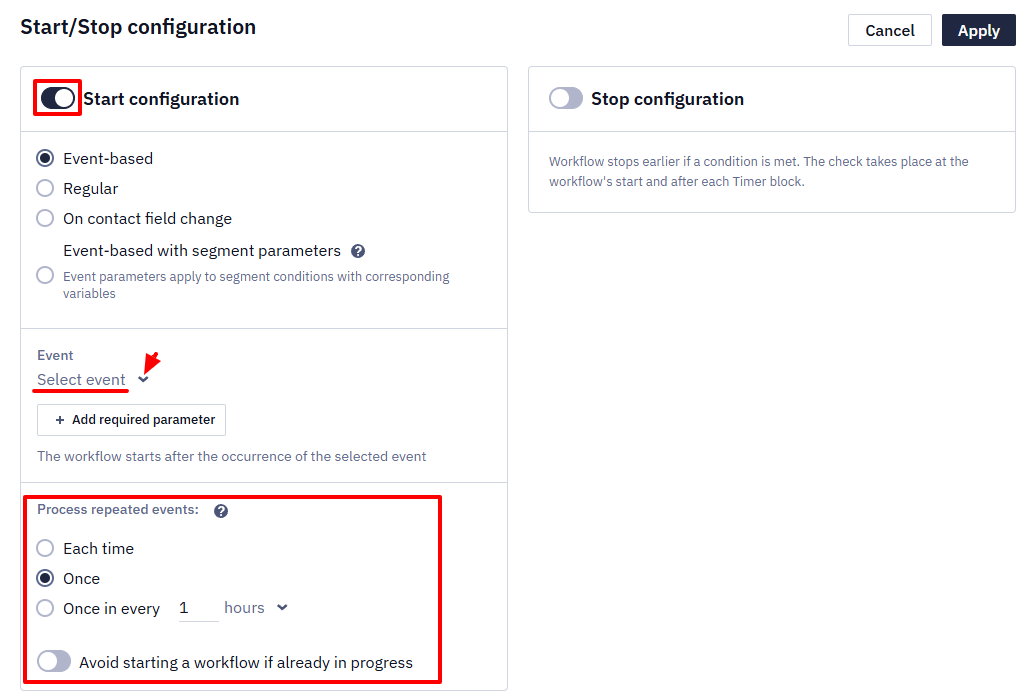
- Click Apply.
The event will appear in Launch configuration of the configured workflow. The workflow will appear in Linked workflow of the assigned event.
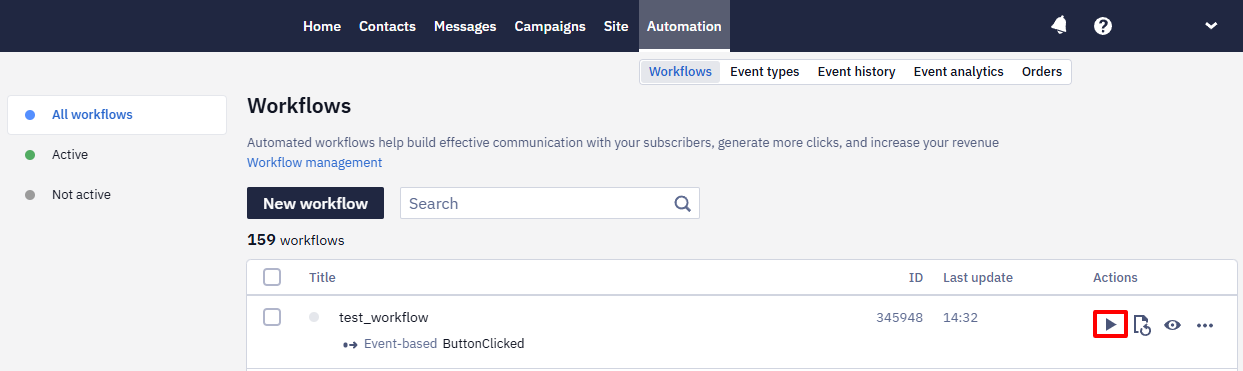
Step 4. Launch the Workflow
Click the Activate icon and confirm your action.
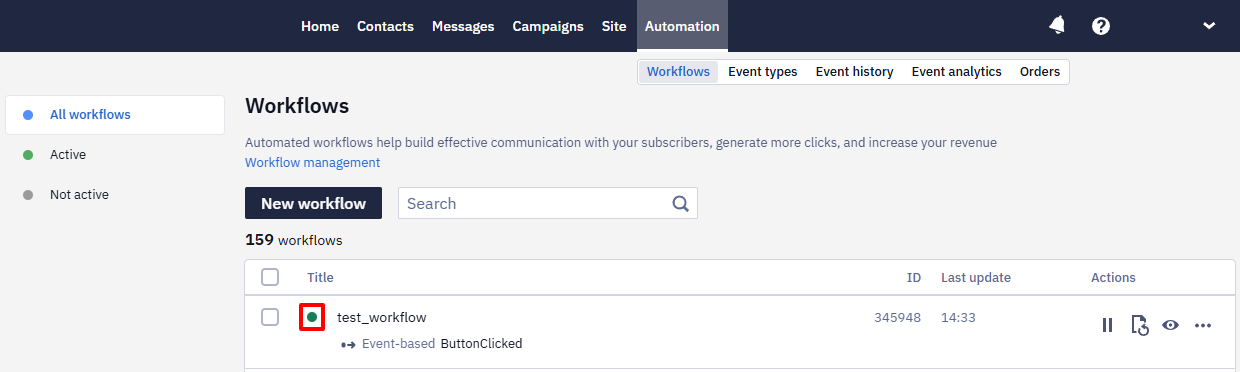
The status of the workflow will change to active.
After you link the event to the workflow, this event will trigger the workflow launch for the contact whose information (email address, phone number, token) is sent in the event. Contact information is sent in an integral part of the event.
{
  "params": [
    {
      "ContactId": "22222",
      "EmailAddress": "[email protected]"
    }
  ]
}
Dependencies of Event Type
An event type dependency is the linking of the event type with the workflow
To view the dependencies, go to the Triggers → Event Types.
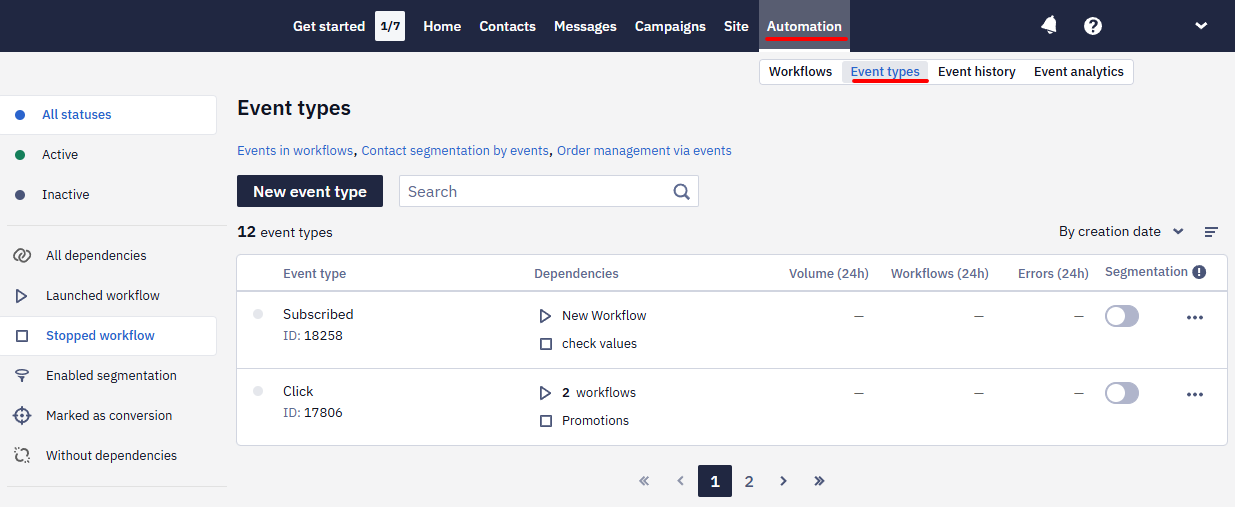
In the Dependencies column, opposite the event type, the associated workflow is displayed. A single event type can have multiple linked workflows.
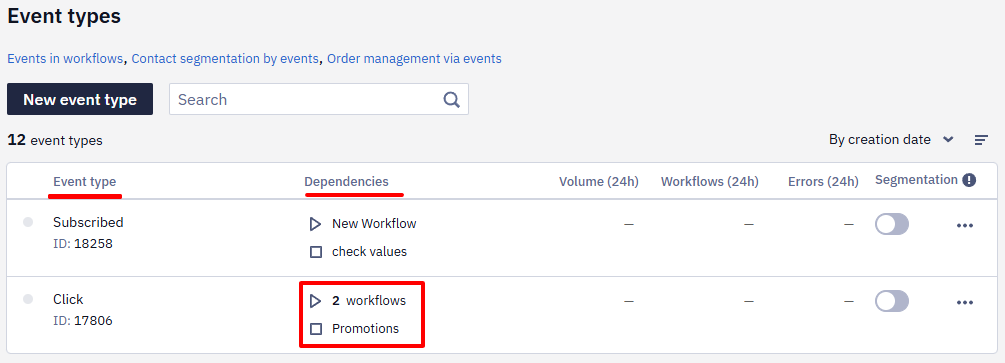
Start/Stop icons indicate that an event starts and/or stops a workflow.
Click in the workflow field to open the Dependencies of event type window with linked workflows.
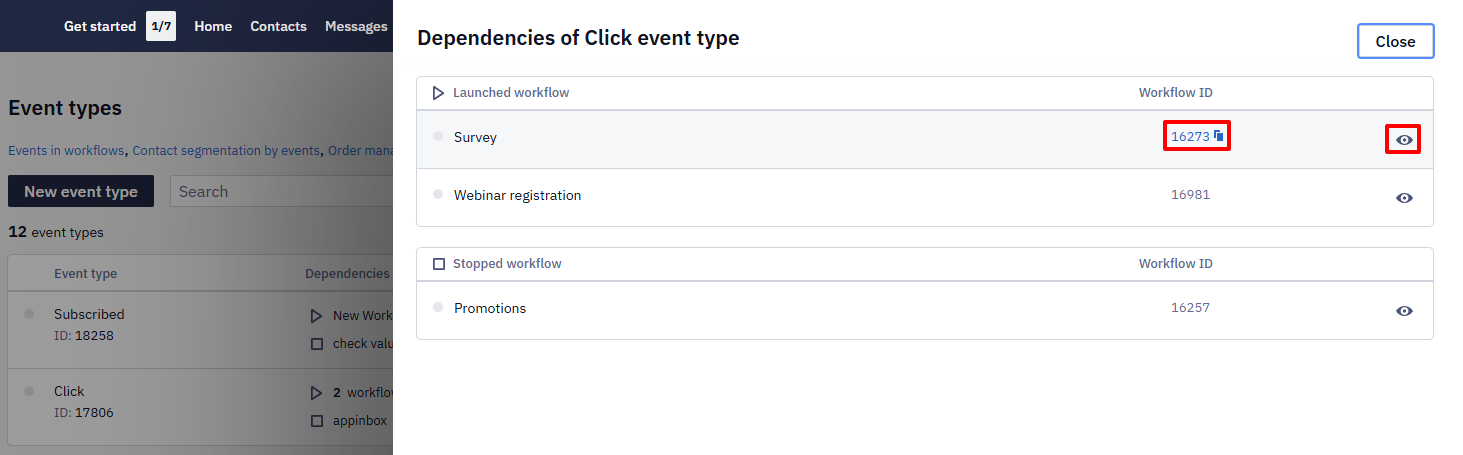
You can review all dependent workflows by clicking the workflow view icon and copying their IDs.
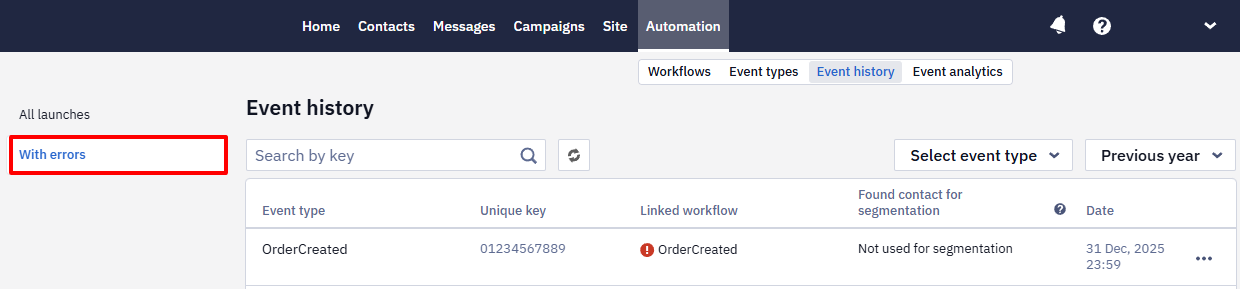
Event History
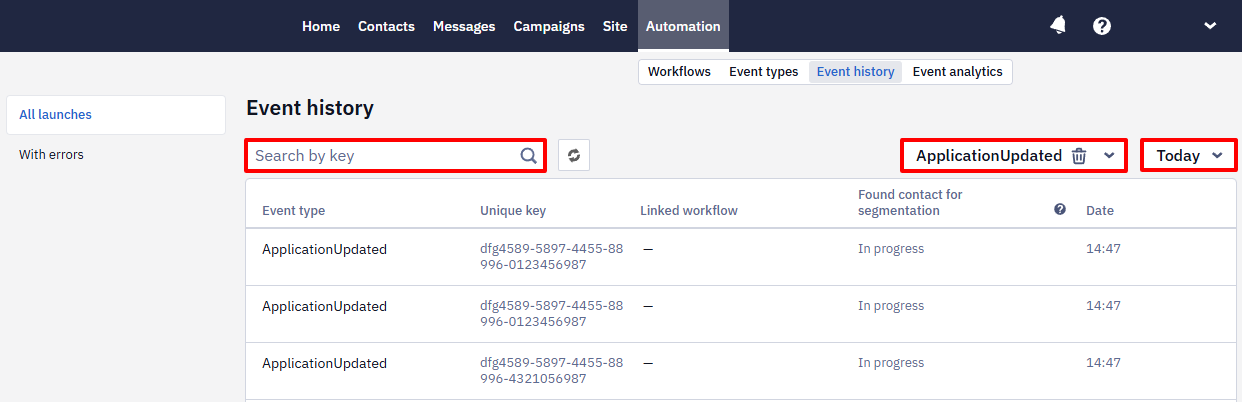
You can view the events sent to the system in Automation → Event history.

If no events have been sent, the tab will be empty.
You can track events sent to Reteno, filter them by name and time, and search by key.
Event type, its key, linked workflow, the contact found (if event segmentation is used), and time when the event is registered, are displayed in the general list of events.
Click the Event Type line to see the time of its occurrence and the parameters that are transmitted to the system.
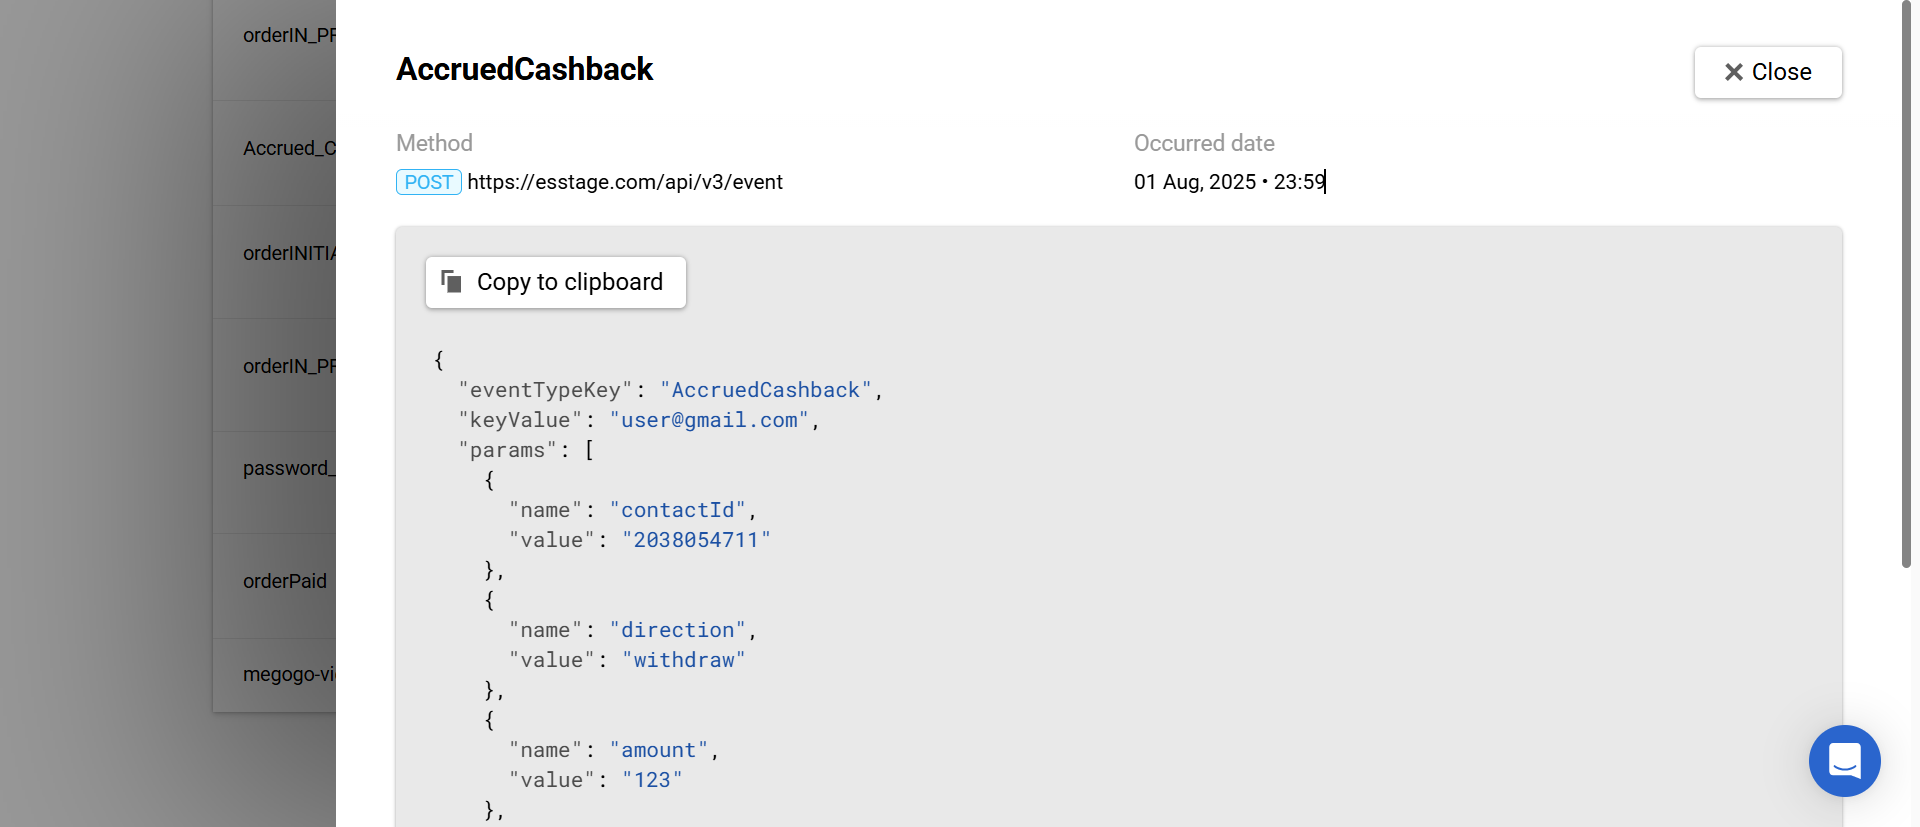
This information will allow you to monitor the workflow in progress.
Note
- The request body is displayed exactly as it was passed to the system.
- Custom events display the endpoint of the Generate event method by which they were passed.
On the With errors tab, you can see relevant events, such as missing required parameters. Error examples will help you easily debug the sending of the necessary data.
If you have any questions, please contact to [email protected].
Updated 4 days ago