
Responsive Email Editor Overview
The responsive Reteno editor saves you time and helps you focus on segmentation, analytics, and personalization. You don't need to know HTML — drag and drop blocks to build your layout.
Let’s review the drag-and-drop editor’s capabilities.
Creating an Email Template
Before you begin, make sure you have access to a Reteno account with permissions to create email messages.
-
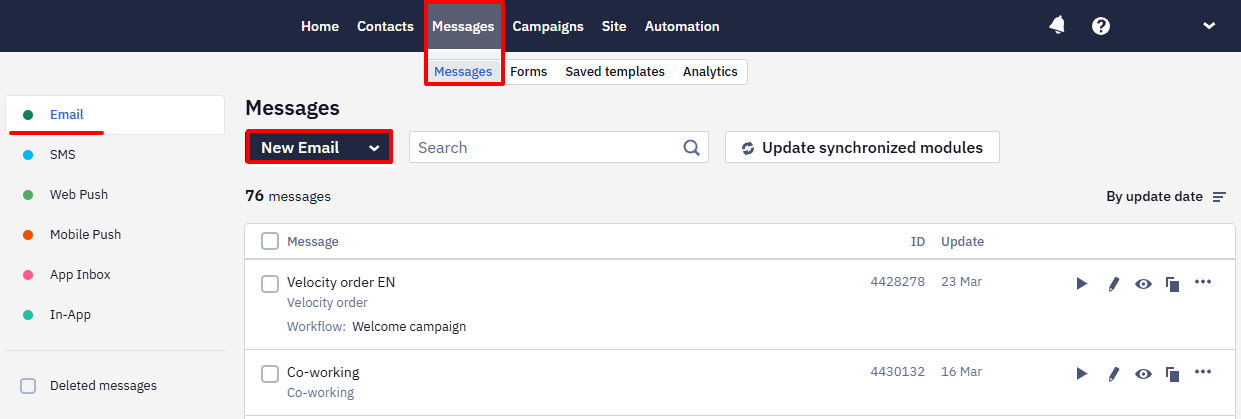
Go to Messages → Messages → Email.
-
Click New Email.
- Open the Gallery tab and select the template that best fits your campaign from the available categories.
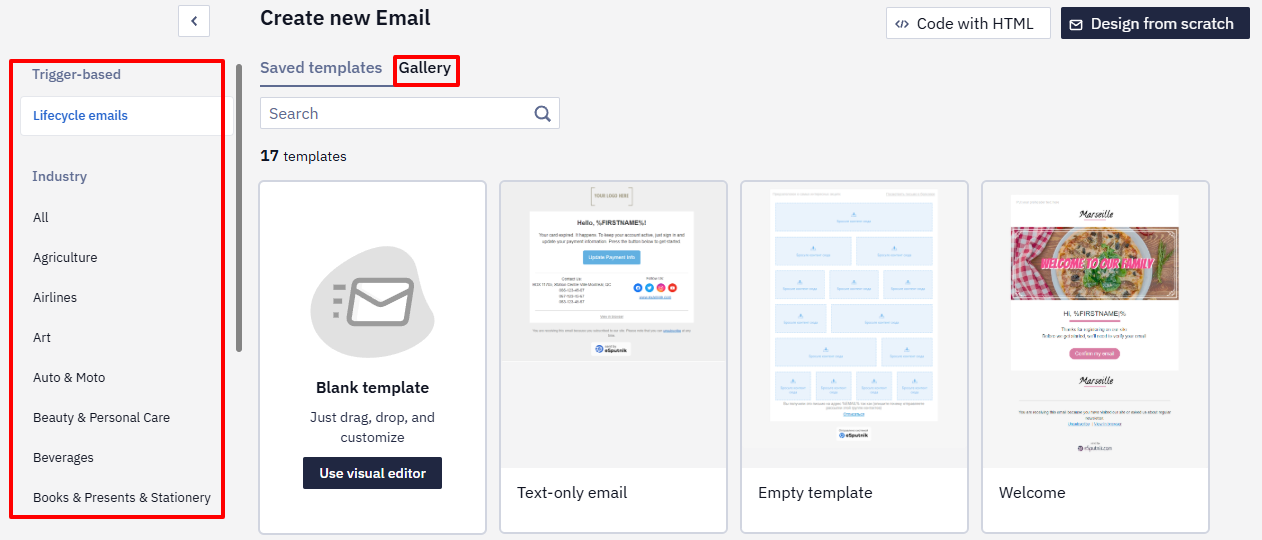
You can now edit the selected template directly in the editor.
Editor Panels
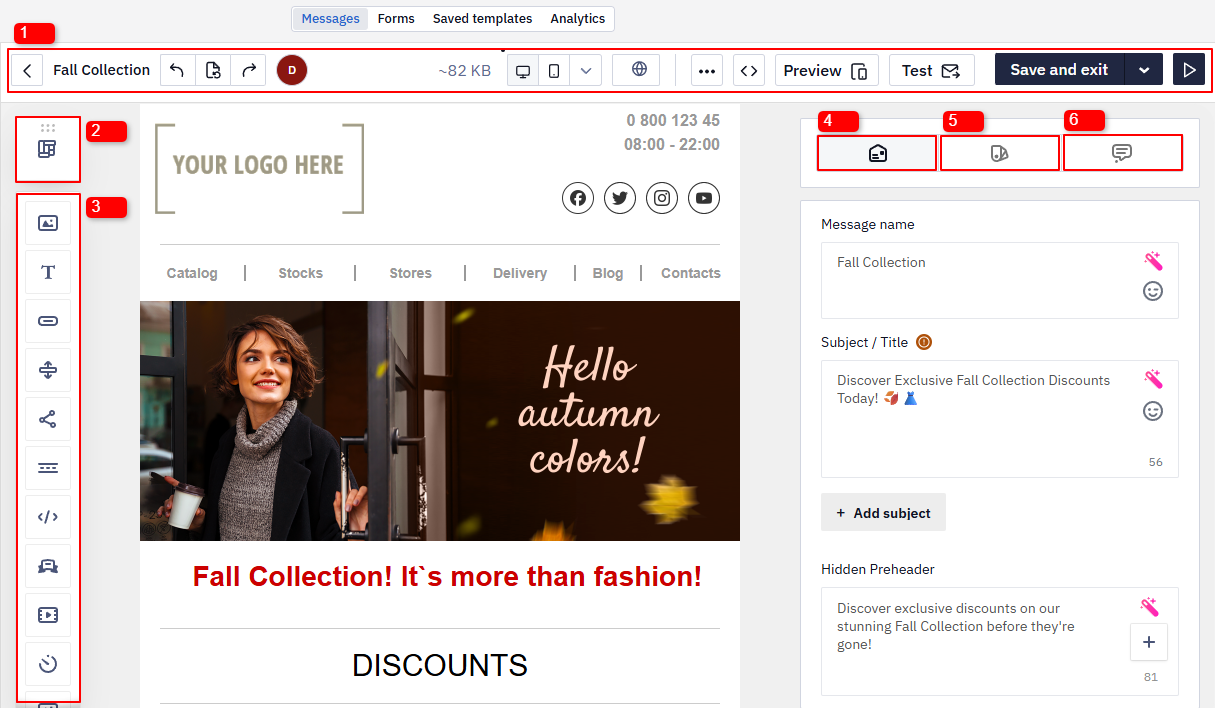
The editor workspace consists of several panels:
- Email Management — manage the email lifecycle: save, undo actions, preview, test, etc.
- Structure and Modules — build the layout using predefined structures and modules.
- Content Blocks — add content such as text, images, buttons, etc.
- Message Settings — set core parameters, including subject, hidden preheader, and sender name.
- General Styles — configure global styles for stripes, headers, buttons, and other elements.
- Comments — collaborate with team members directly in the template.
The General Styles panel also includes the Right-to-left text direction option — a display mode for languages written from right to left, such as Arabic, Farsi (Persian), or Hebrew. It doesn't have to apply to the whole email: you can enable it for a single text block from that block's own Settings panel.
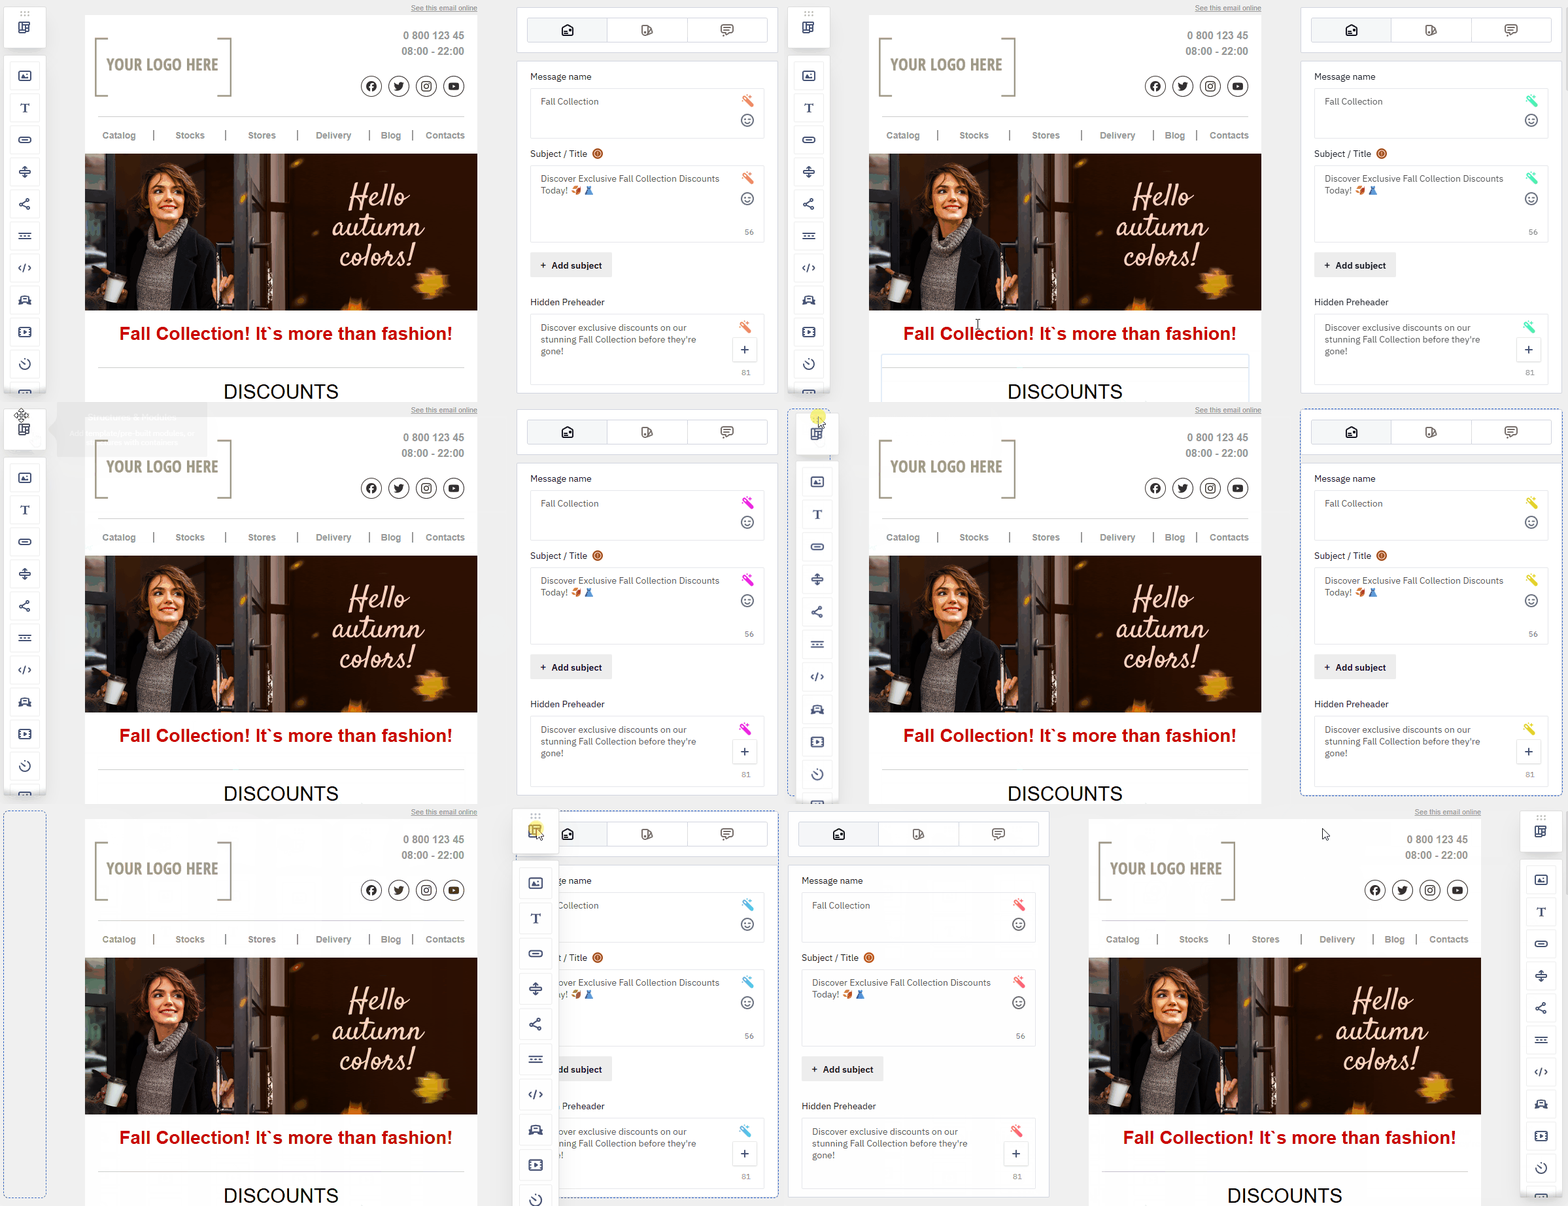
You can drag and rearrange panels to customize the editor layout.
Template Structure
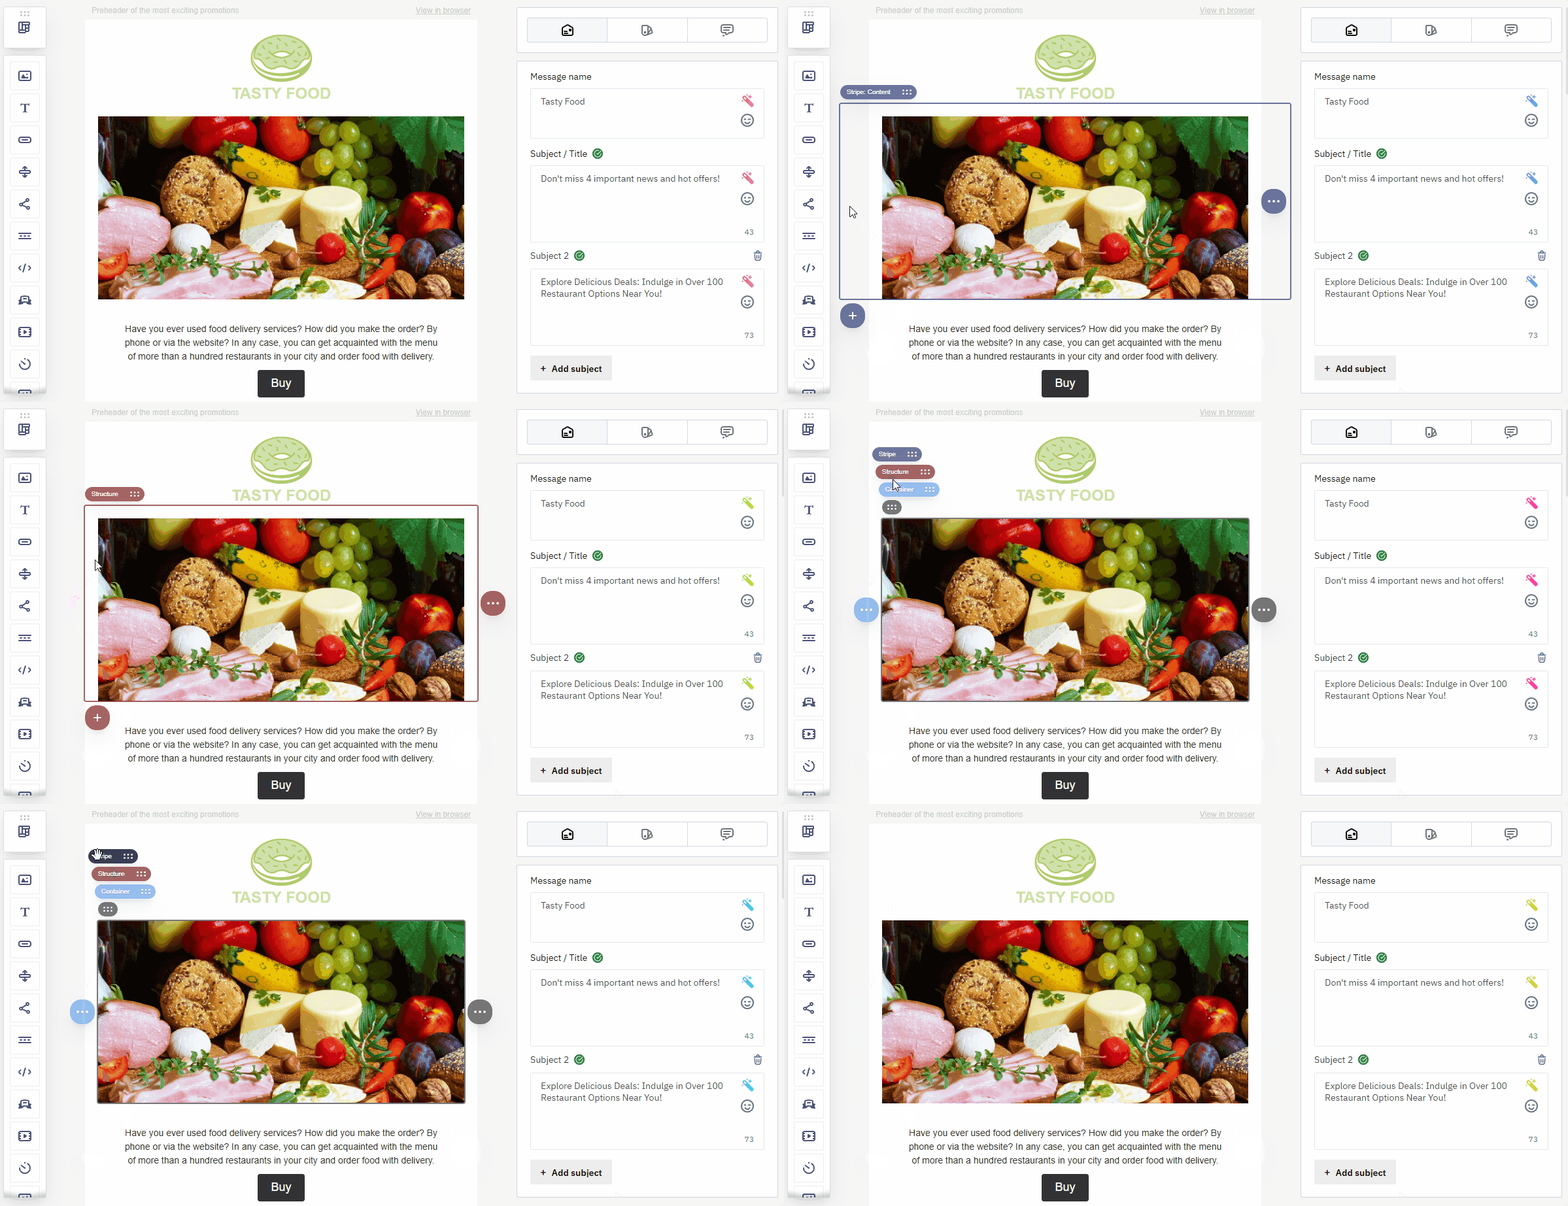
To create flexible emails that display correctly across all email clients (Gmail, Outlook, Apple Mail) and on various devices, each email uses the following hierarchy: Stripe → Structure → Container → Block.
Stripe
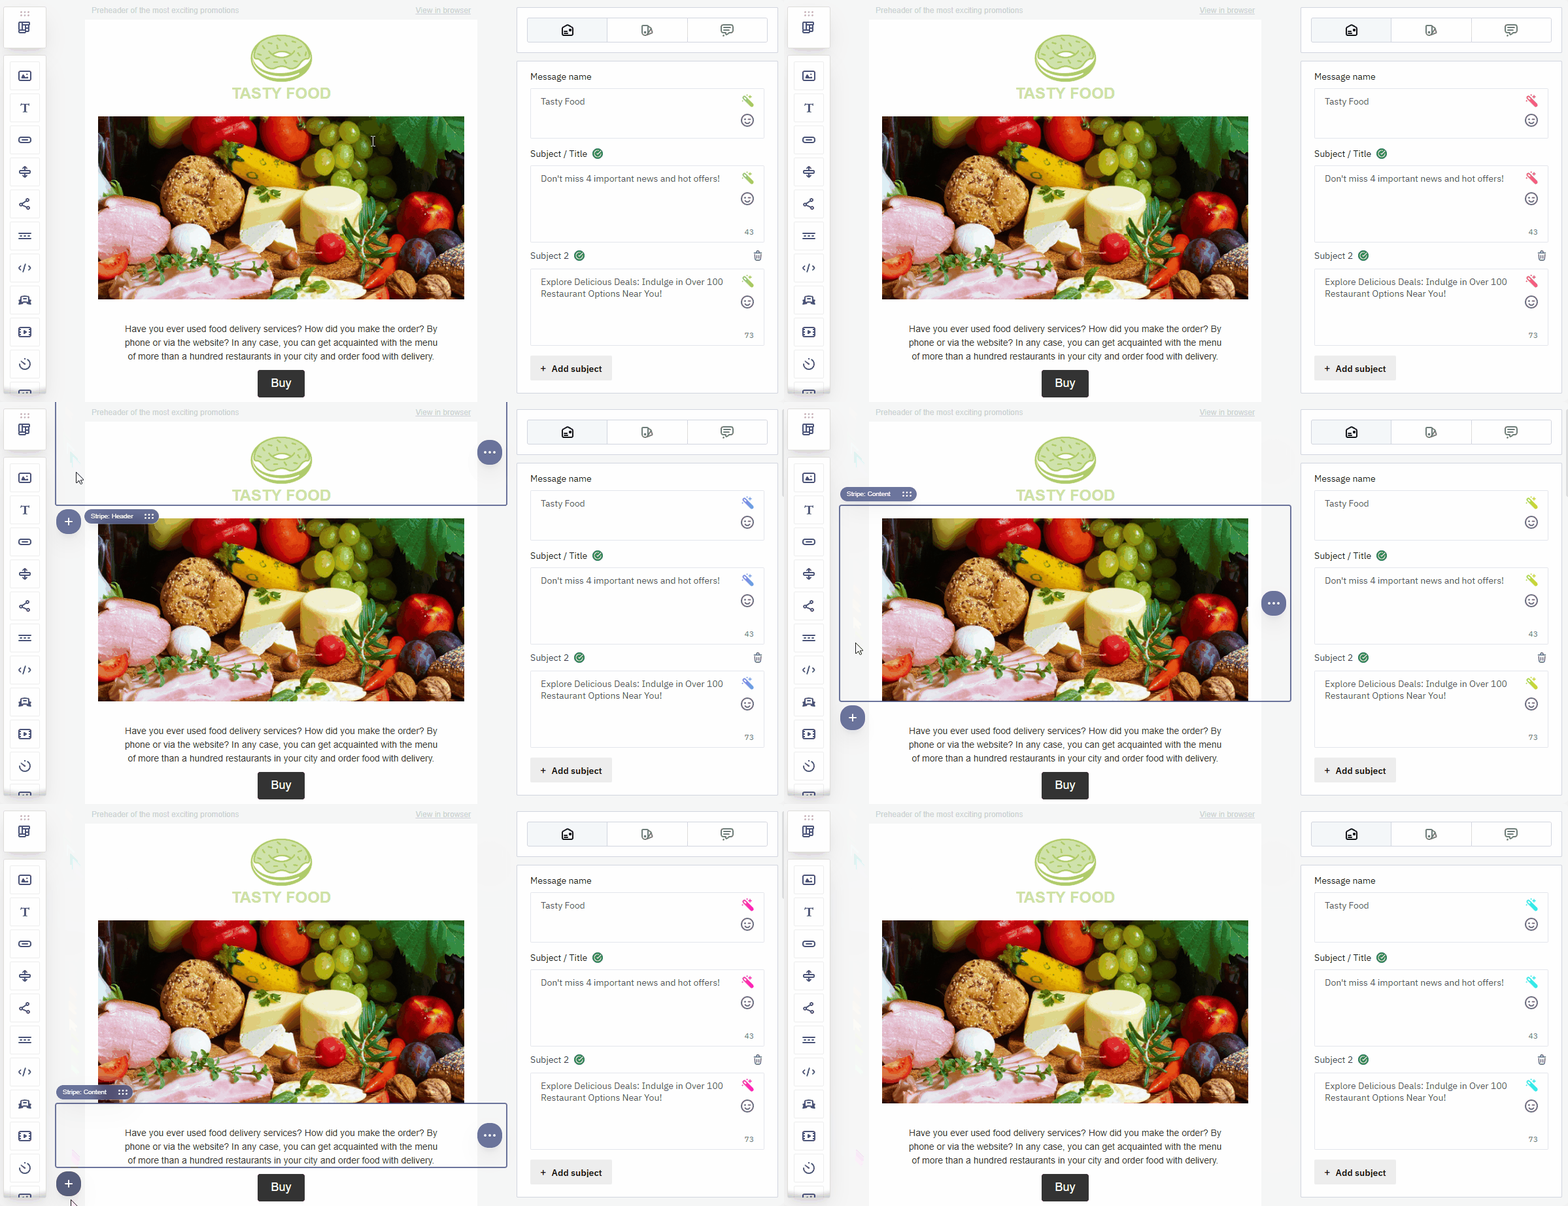
A Stripe is a top-level element that divides an email into horizontal sections and helps organize the main areas of the message:
- Header — the top part of the email with a logo or navigation.
- Content — the main area containing text, images, buttons, and other blocks.
- Footer — the bottom part with contact details, social links, and legal information.
- Info area — placed above the header or below the footer and contains service links (for example, a View in browser link or an Unsubscribe link).
When a contact opens the view-in-browser link, the web version shows a service panel above the email. Its language follows the reader's browser language when a translation for that language exists, and English otherwise.
Structures
A Structure is the largest element inside a Stripe and is added by default. To update or add another structure, click the Add Structure (+) button and select the required layout.
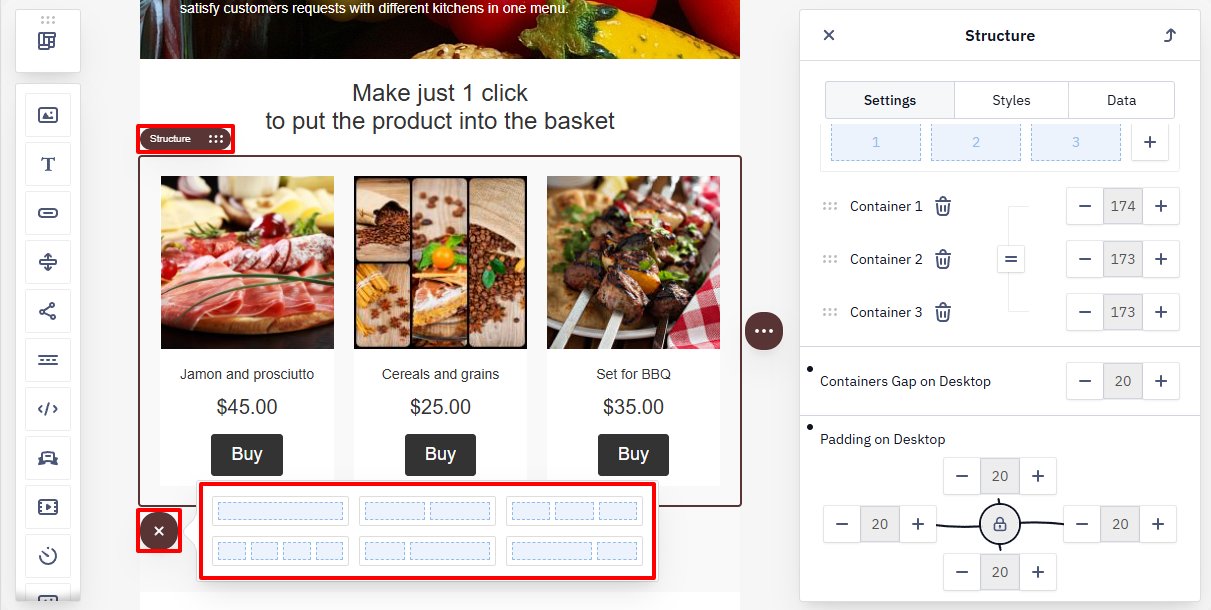
A single Structure can contain up to eleven containers in a row.
Avoid using a separate Stripe for every Structure unless necessary. The number of stripes increases the email’s HTML size and may cause Gmail to display the message only partially
Mobile Version of a Structure
By default, the containers of a Structure are rearranged for smaller screens, so a row of two items becomes two rows in the mobile version. To keep two items in one row on mobile, disable responsiveness for that structure. After that, adjust the image and text sizes manually and check the result with a test send.
Display settings for the mobile version are configured separately from the desktop ones. Text size and other mobile parameters are set in the mobile version settings of the email — switch to the mobile view and change the values there, not in the general settings of the element.
Container
A Container groups content Blocks inside a Structure, for example, to create a product card. When a container is empty, it displays icons for adding basic blocks:
- Image
- Text
- Button
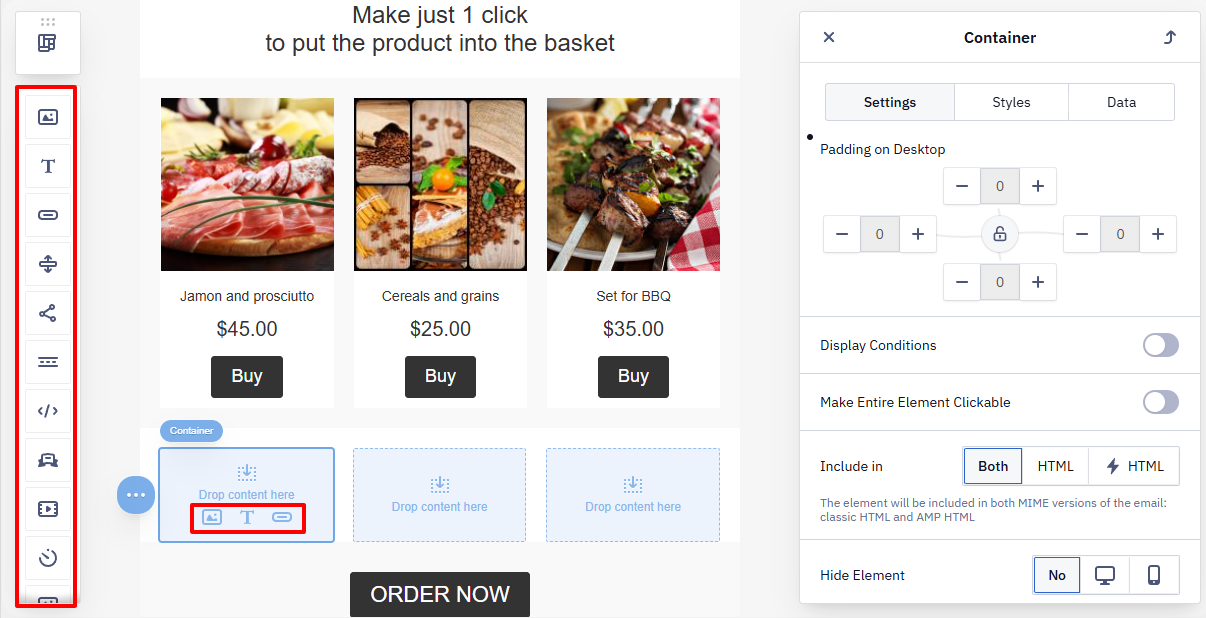
To add other blocks, drag the required block from the Content blocks panel into the container.
Blocks
Blocks are the smallest elements of an email. You use them to build and format the actual content.
Image
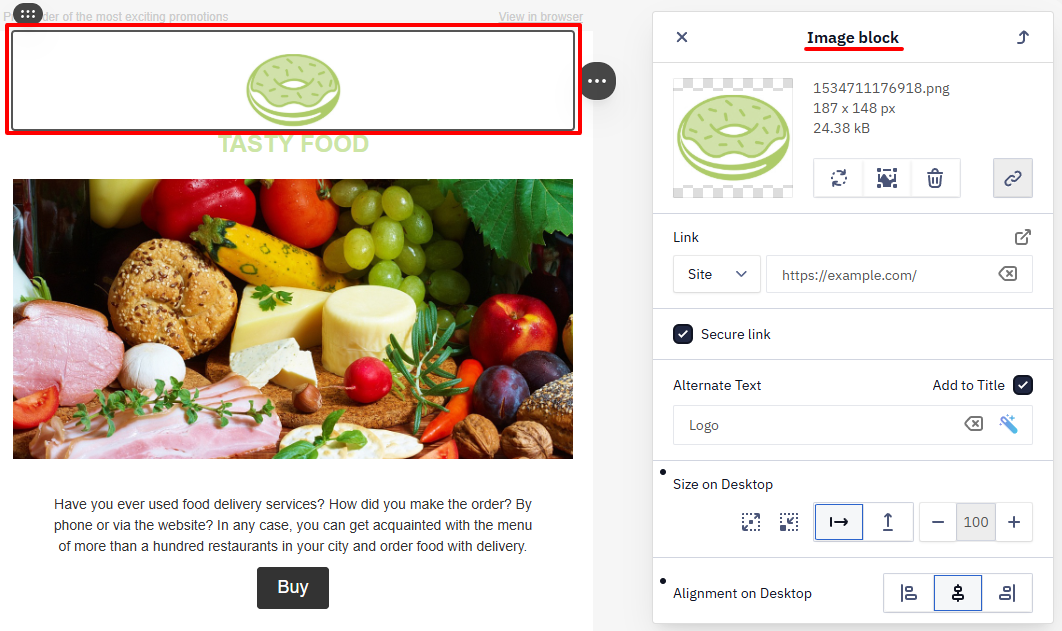
Use the Image block to quickly capture attention, visually highlight the key idea of the email, and simplify information perception.
Text
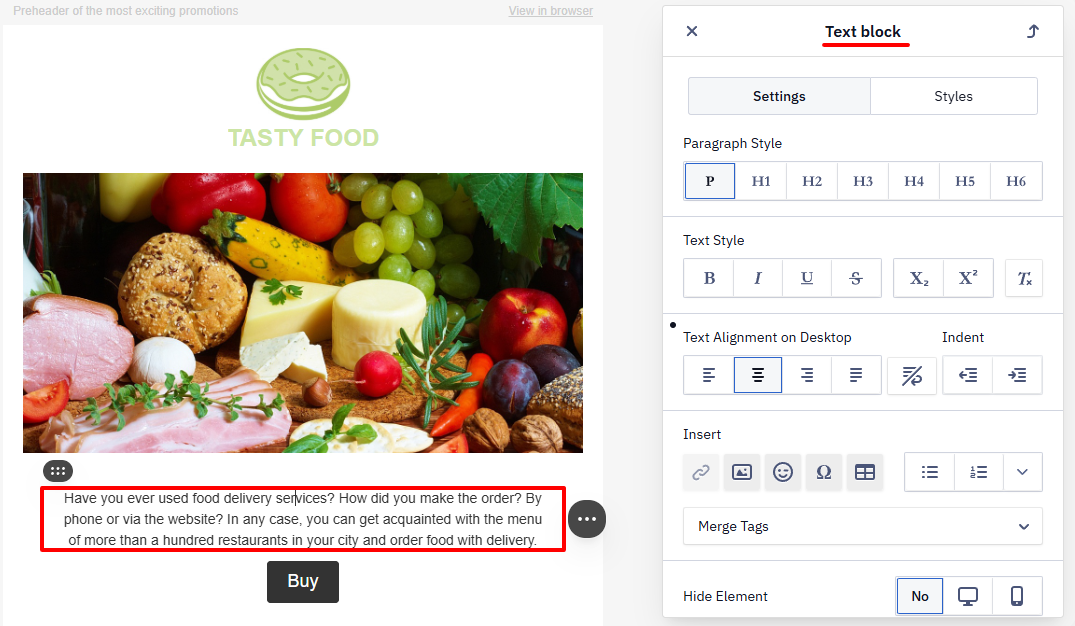
The Text block includes a built-in editor that lets you configure fonts, colors, spacing, and background styles. The block also supports AI-powered text generation.
Button
The call-to-action (CTA) button is a mandatory element of an email campaign that motivates subscribers to go to a website, social network, etc. The main button in the email is usually made in the same style as the buttons on the website.
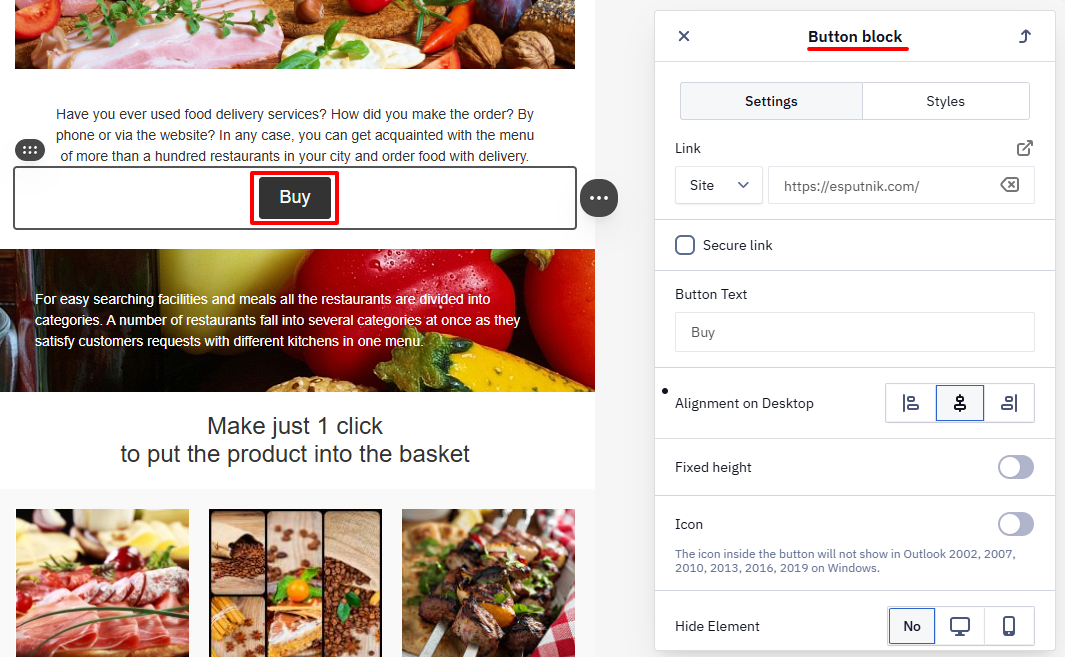
You can place a button in a separate Structure with a single container, or in a Structure where the container includes the button and other content blocks.
A Structure with a single container that contains only a Button block does not reflow relative to other containers in the email.
Spacer
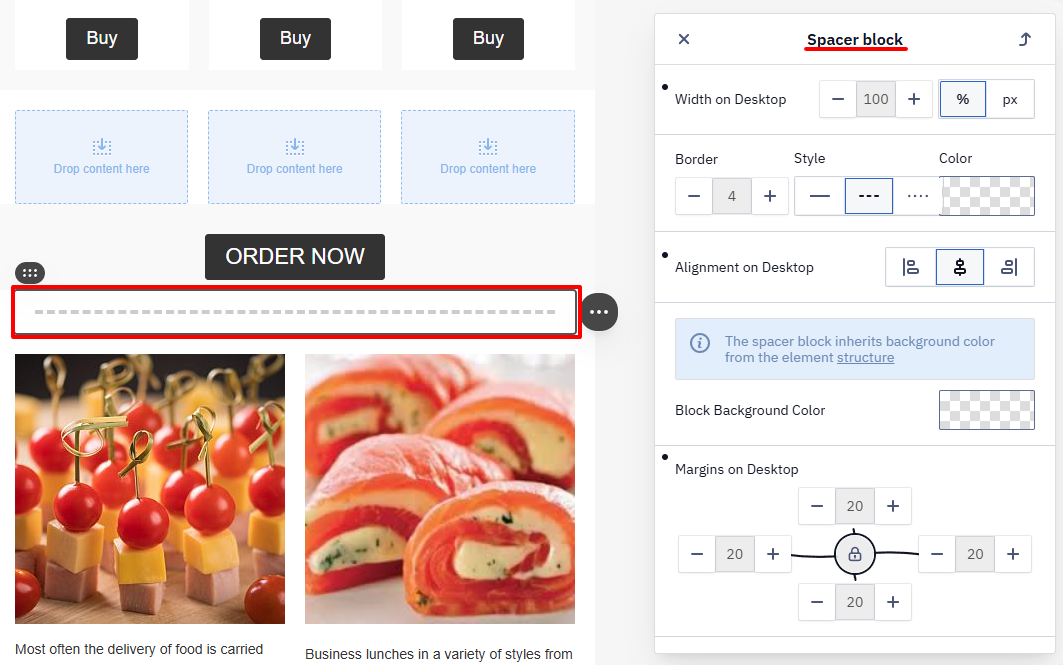
The Spacer block helps visually separate content blocks. In the block settings, you can configure the line type, color, height, and responsiveness.
Video
Some email clients don’t support HTML5 video playback. In those clients, the email displays a preview image, and the video opens in a browser when the contact clicks it.
In the block settings, add the video URL (YouTube or Vimeo) to the Video Link field.
For a video hosted on your own server rather than YouTube, Vimeo, etc., you can embed a native HTML5 player (MP4/WEBM) using an HTML block instead of the Video block. Only a handful of clients (for example, Apple Mail and Outlook for Mac) render inline video, so pair the embedded player with a fallback preview image linking to the hosted video for clients that don't support it.
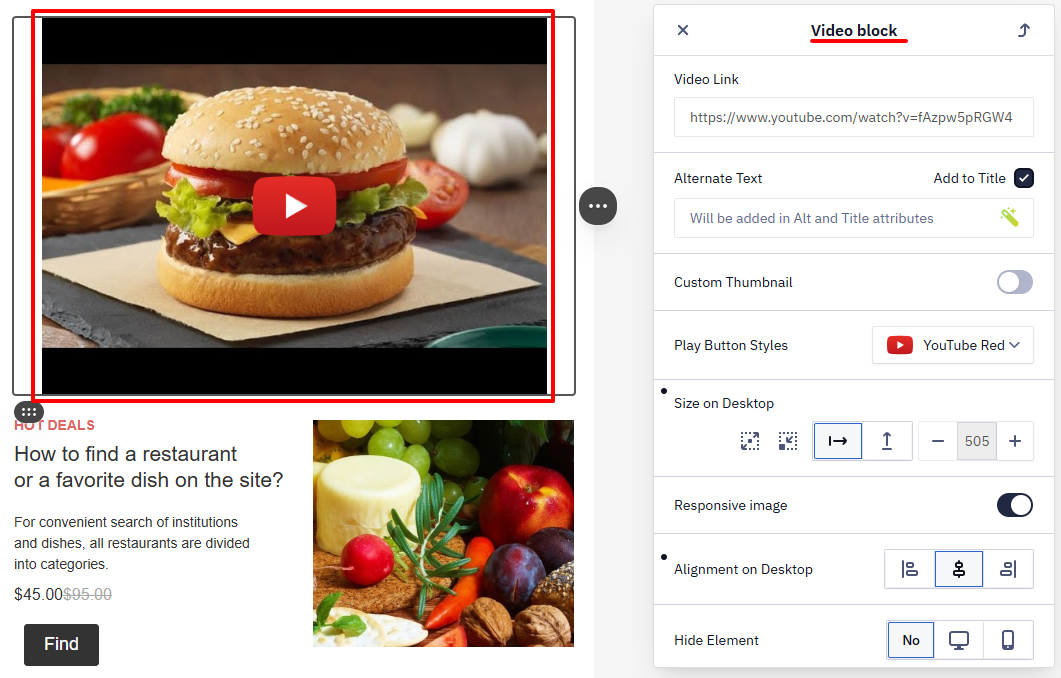
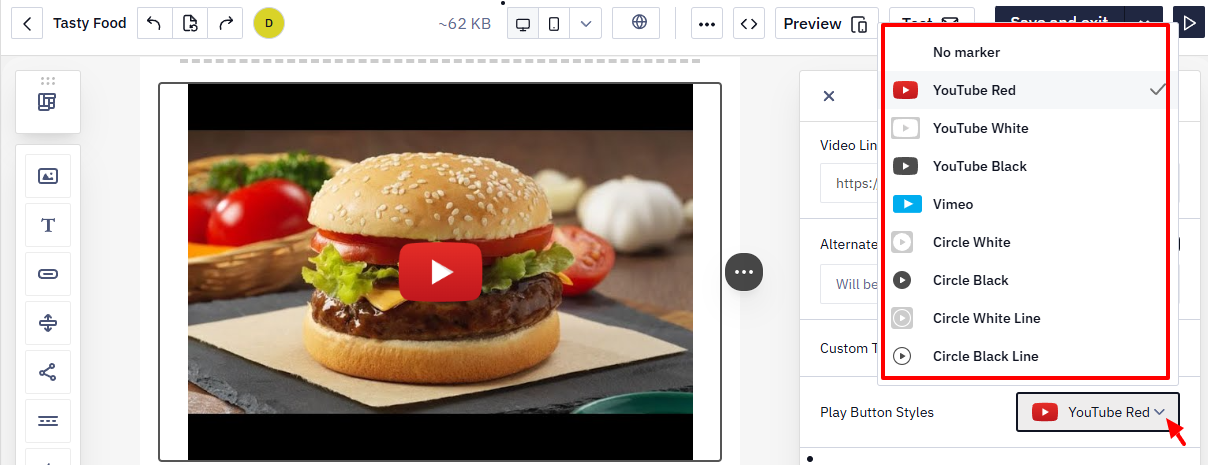
The editor automatically pulls the video cover image. You can also set alt text and customize the play button.
Social Networks
Use the Social block to add links to your social media channels. Configure the link, alt text, size, alignment, and padding.
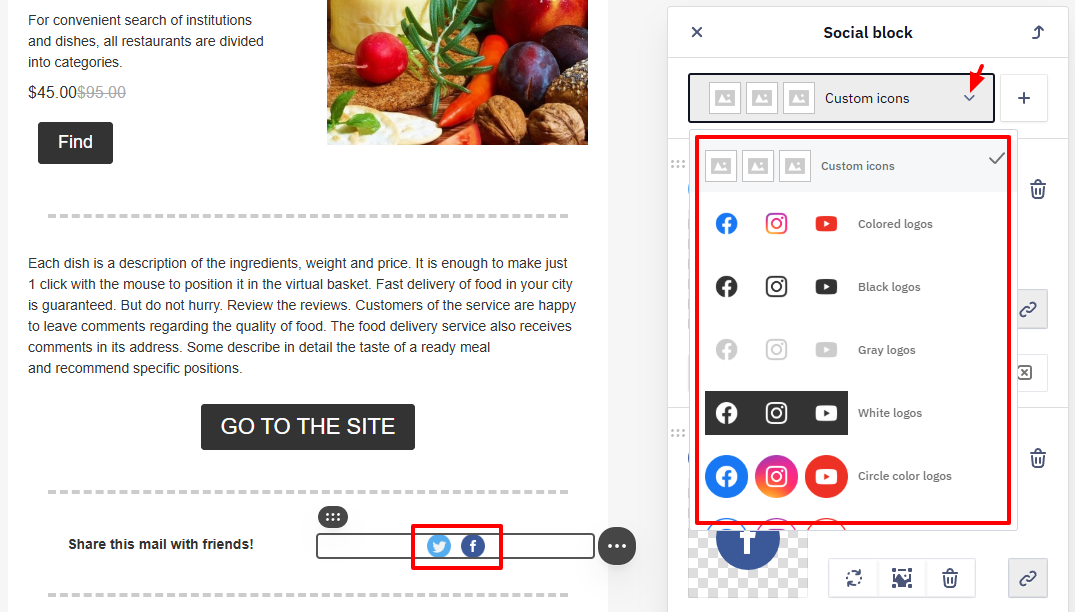
You can also use custom icons from the image bank or upload your own images.
Banner
A Banner combines an image with text and helps draw attention to key information. Use prebuilt banners available in the system or create your own.
You can design a banner in two ways:
- Add an image with text to the block.
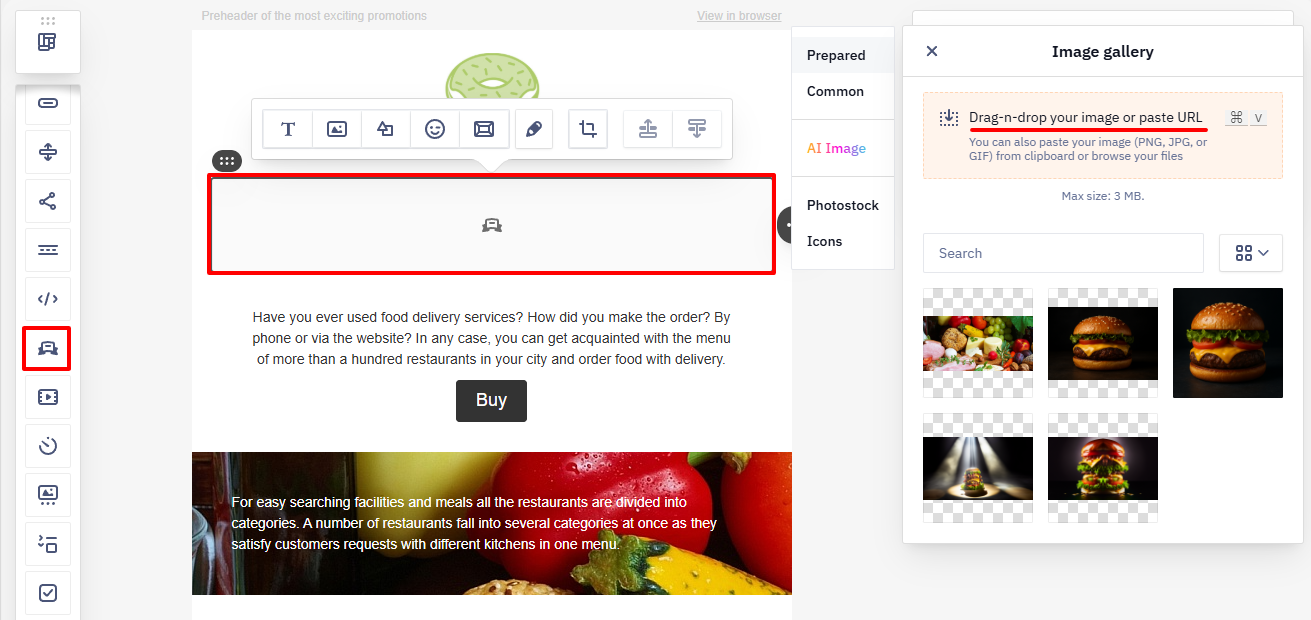
- Use a ready-made banner from the module library.
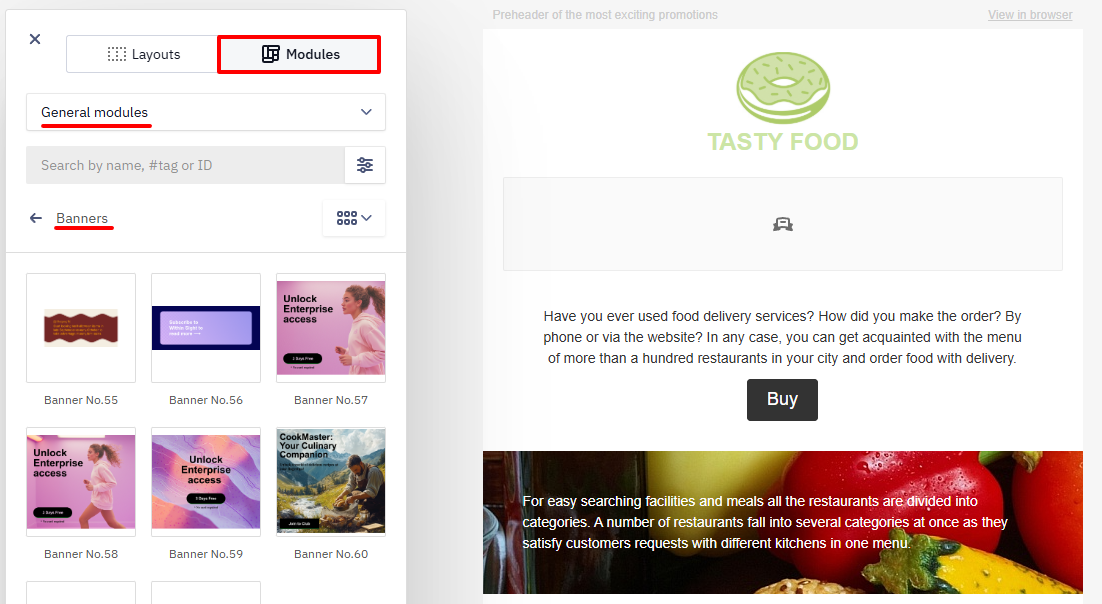
Add text to a banner
You can add text in two ways:
- Use the editing panel (it opens when you click the image).
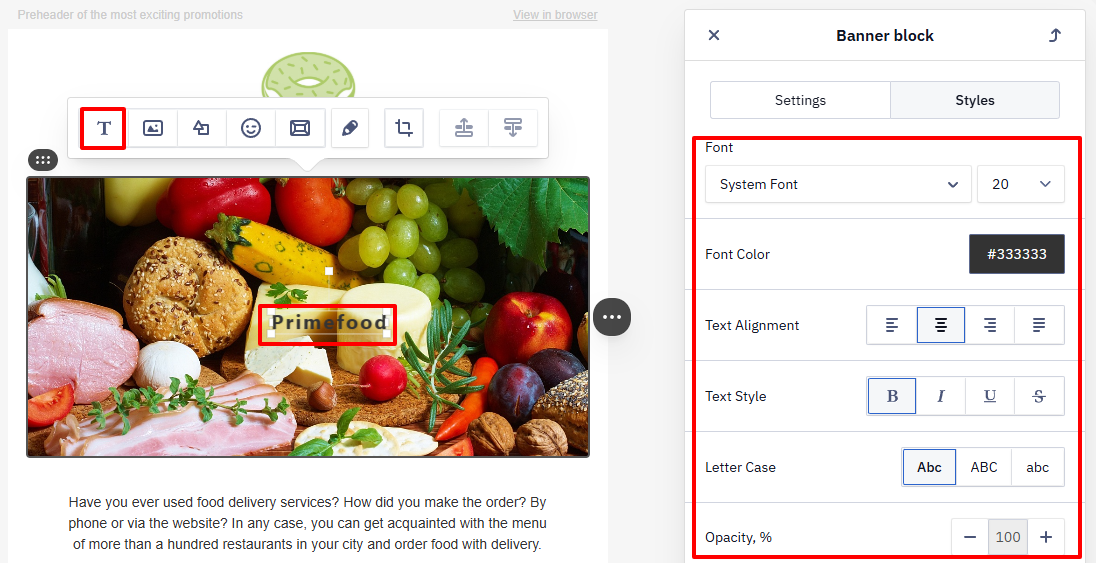
- Use an image editor.
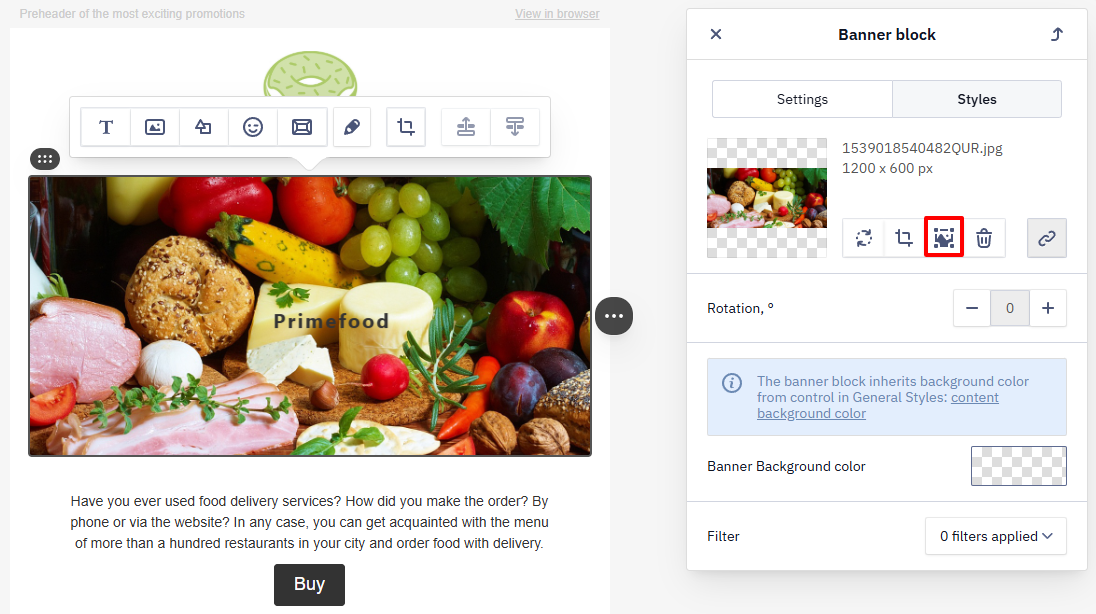
To add text in the image editor:
- Select Text.
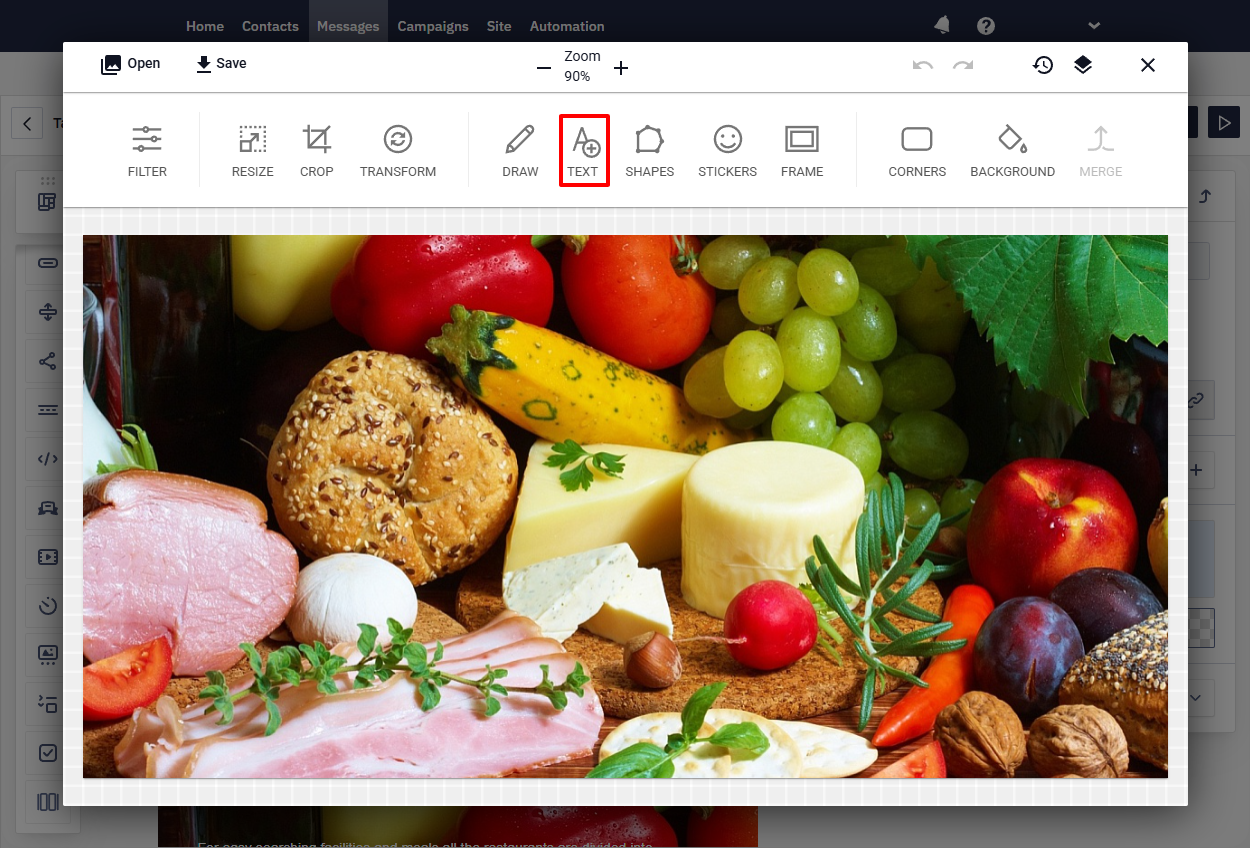
- Enter your text, then click Apply → Save.
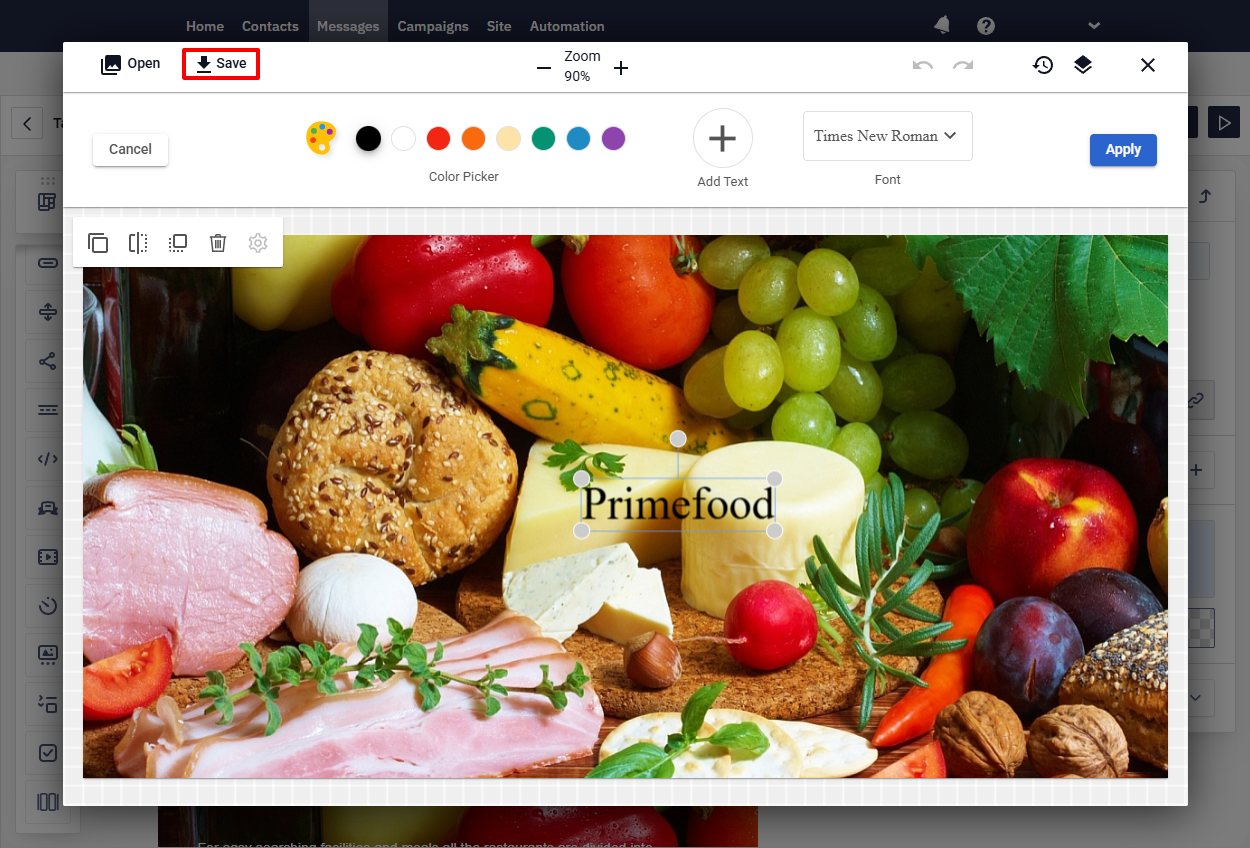
If you add text in the image editor and save it, you can’t edit the text or font later.
Adding text through the built-in image editor merges the text permanently into the picture. If you'd rather keep the text editable, combine an image with text another way instead: use a Banner block, which lets you overlay editable text on an uploaded image, or set the image as a structure's background (Stripe/Structure Styles → Background image) and place a regular Text block on top of it.
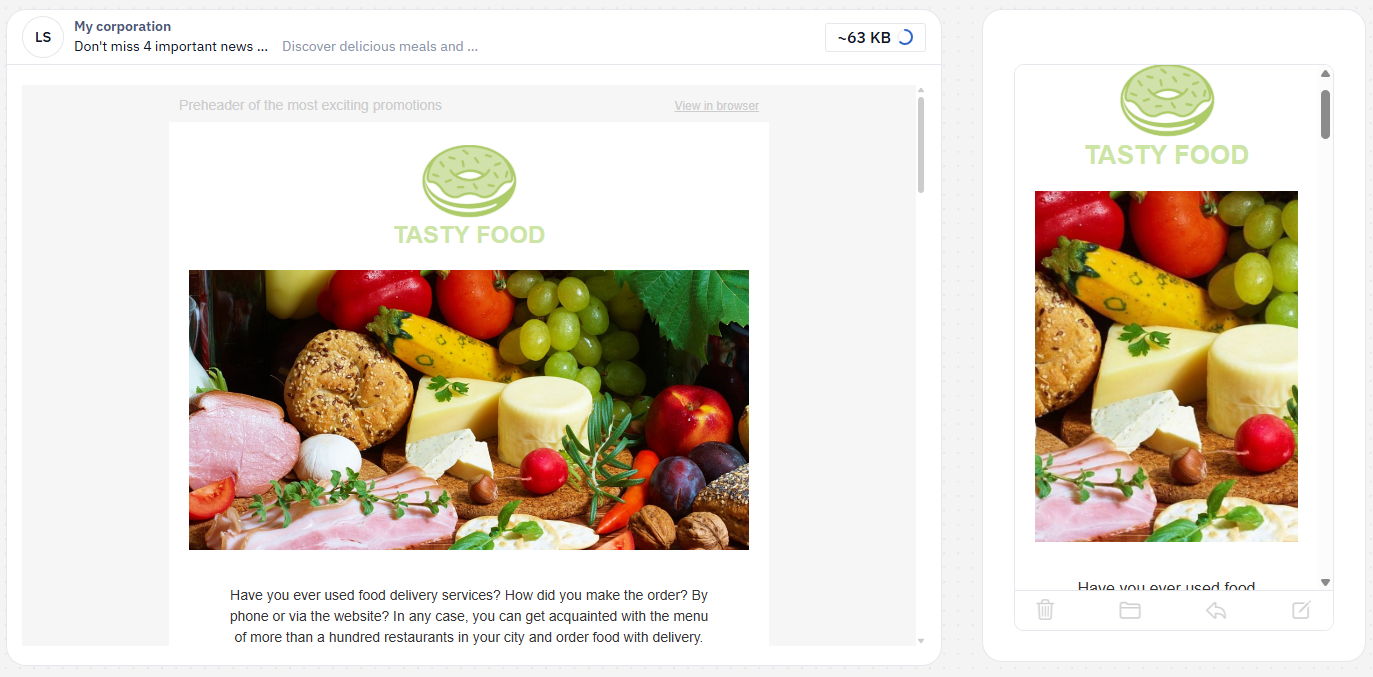
For a responsive layout, create separate banner versions for desktop and mobile, then hide each version where needed.
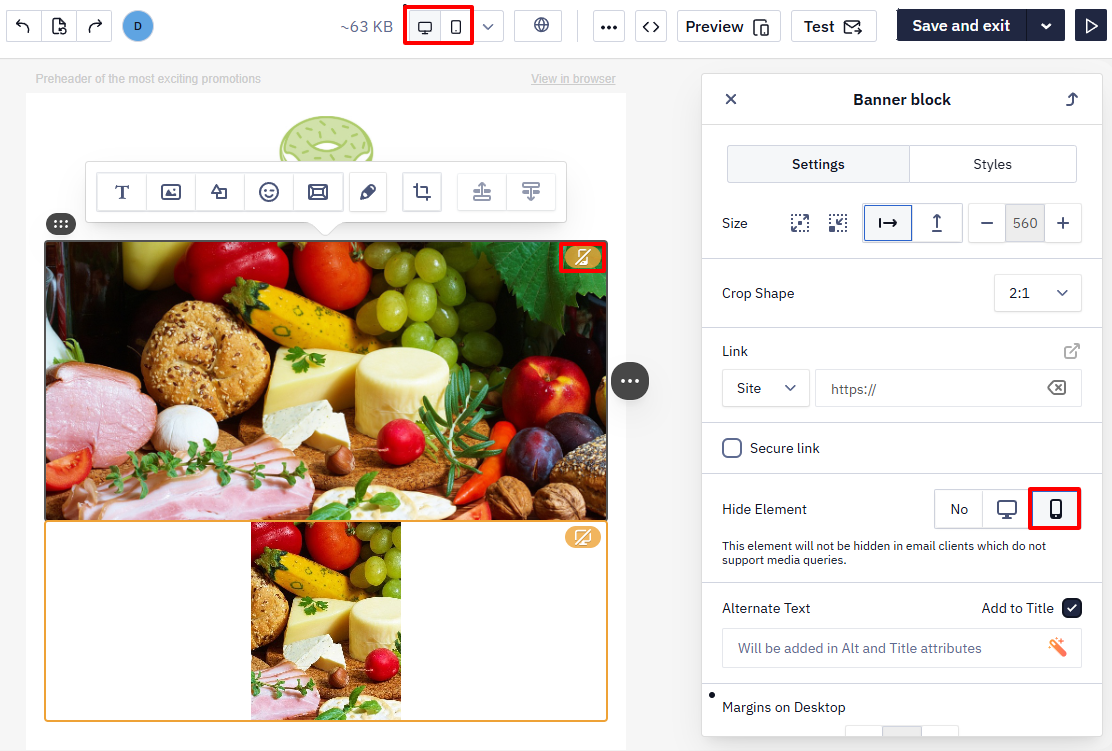
Appearance of both versions of the banners:
Timer
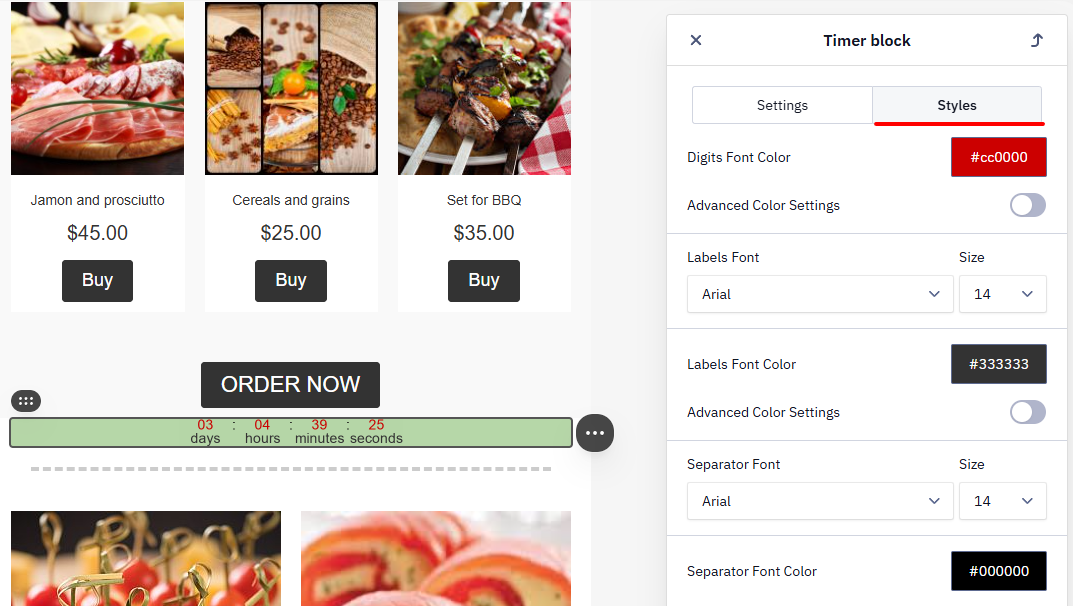
The Timer block encourages recipients to act quickly. The end date is the same for all recipients: a countdown from the moment a contact receives or opens the email can't be set up.
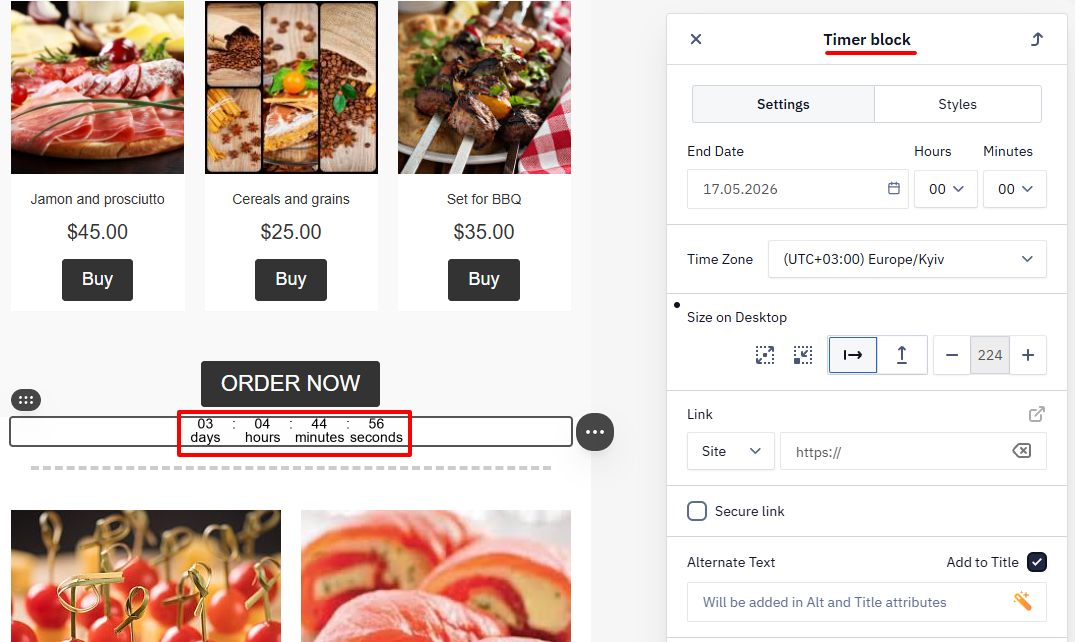
Configure the block using these settings: color, font, and size for each unit (days, hours, minutes, seconds).
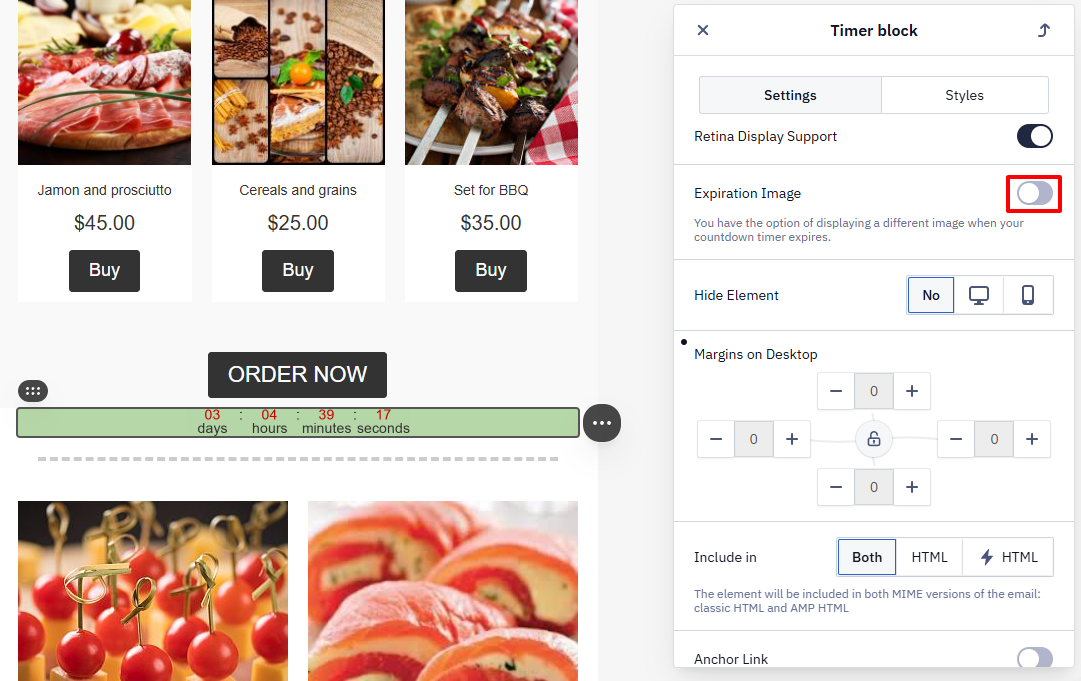
After the countdown ends, you can replace the timer with an image. This helps if a subscriber opens the email after the promotion ends.
Menu
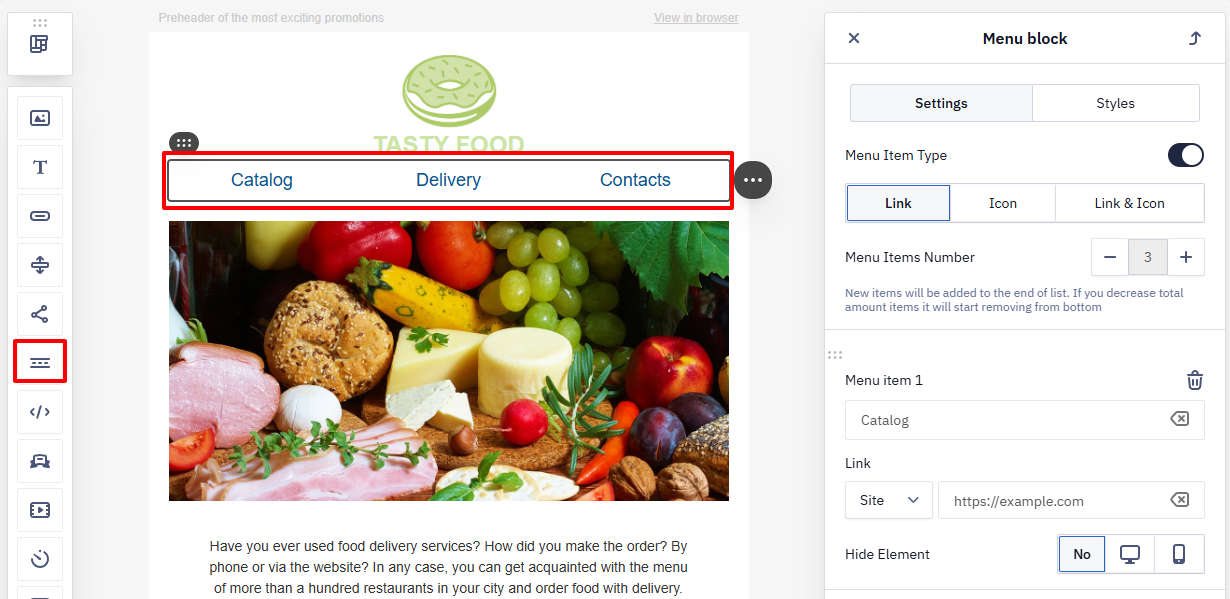
Use the Menu block to add navigation links to different areas of your message, such as the header or footer. It’s an easy way to include small CTAs — for example, if the user isn’t interested in the campaign offer but already knows what they want to find on the site. The block usually stays the same from one campaign to the next.
Reteno offers three menu types: Links, Icons, and Icons and links.
HTML
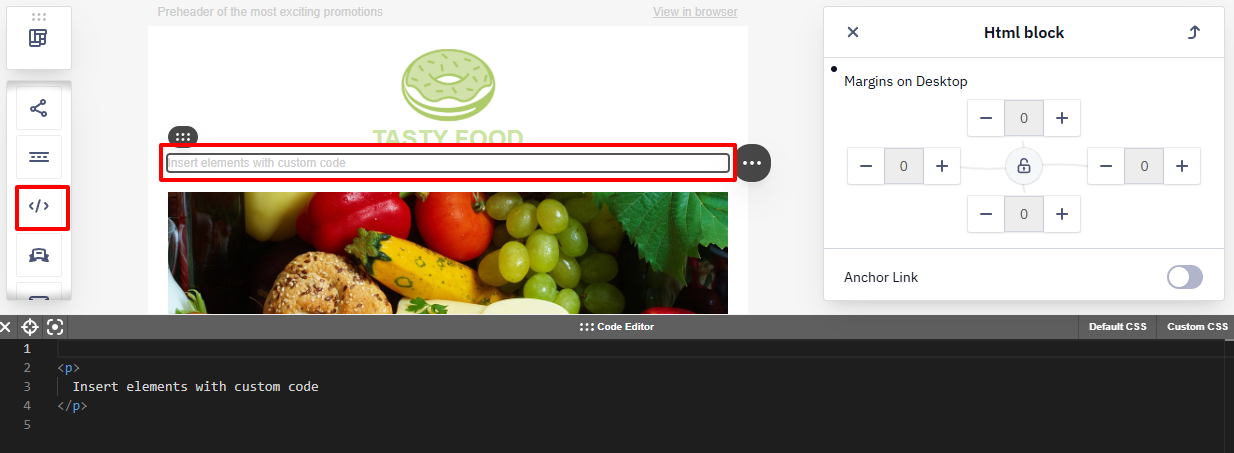
The HTML block lets you add your own HTML and CSS (Cascading Style Sheets). In the adaptive editor, you can only edit images and links. You set up responsiveness yourself.
AMP Elements
AMP (Accelerated Mobile Pages) technology lets you create emails that work like stand-alone web pages. Subscribers can take action right in the email – for example, browse products or book a meeting.
Learn more about creating a template at the link >
Accessibility Checker
The editor includes a built-in accessibility checker that scans your email for elements that might be hard to perceive for people with visual or cognitive impairments and suggests fixes for each issue found. Learn more about the accessibility checker at the link >
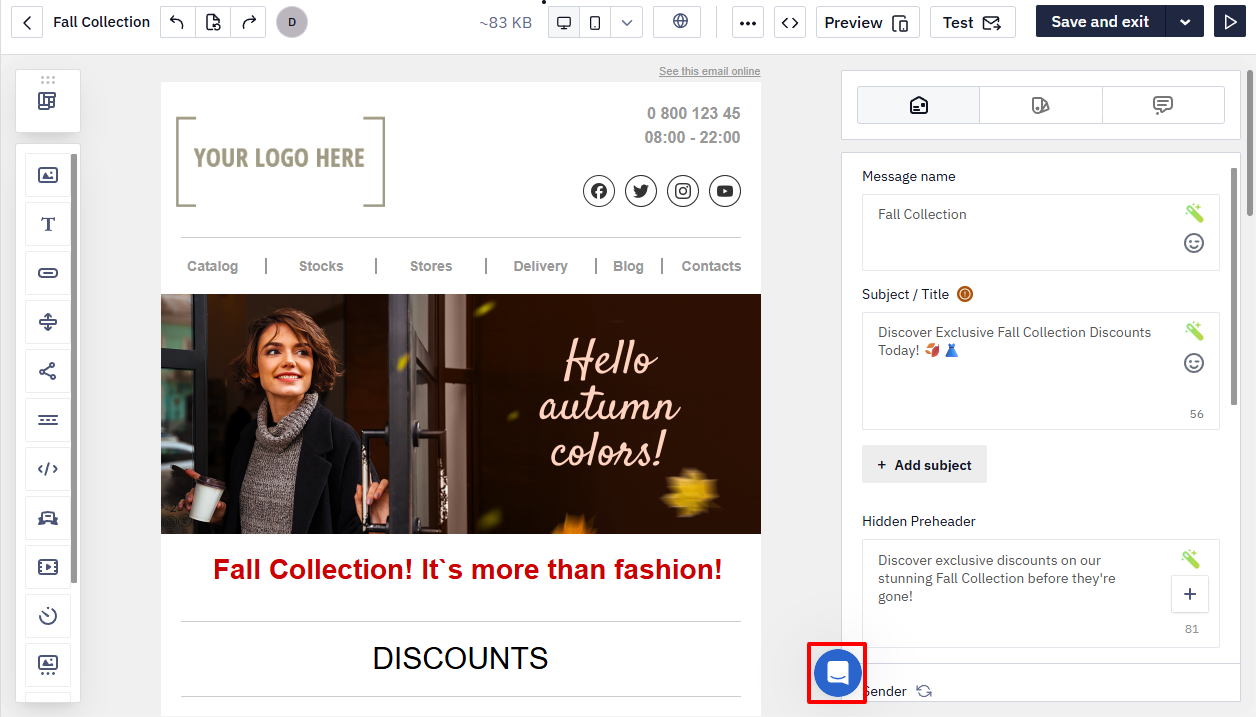
Support Chat
The email editor includes a built-in Intercom chat. If you have any questions while working on your email, you can contact the support team without leaving the editor or losing your workflow context.
Updated 15 days ago