
Creating a Welcome Email Series
Learn how to set up a welcome email series for new subscribers
A Welcome campaign is a sequence of automated emails you send after a user confirms their subscription (Double Opt-In). It introduces users to your brand and helps build ongoing communication.
Create a Welcome Сampaign
Define the logic of your campaign based on your business goals. For example:
- introduce your brand,
- offer a welcome bonus,
- collect additional data,
- prepare users for their first purchase.
In this example, we create a welcome campaign with two emails:
- the first email — a welcome message;
- the second email — a survey.
Step 1. Prepare Emails
NoteUse default templates, edit them, or create your own.
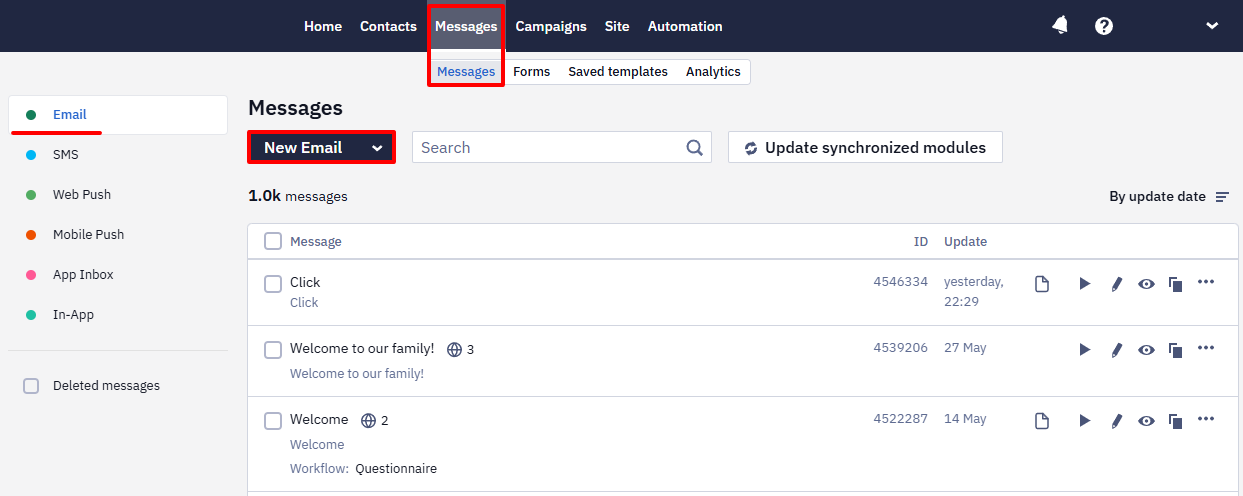
- Go to Messages → Messages → Email.
- Click New Email.
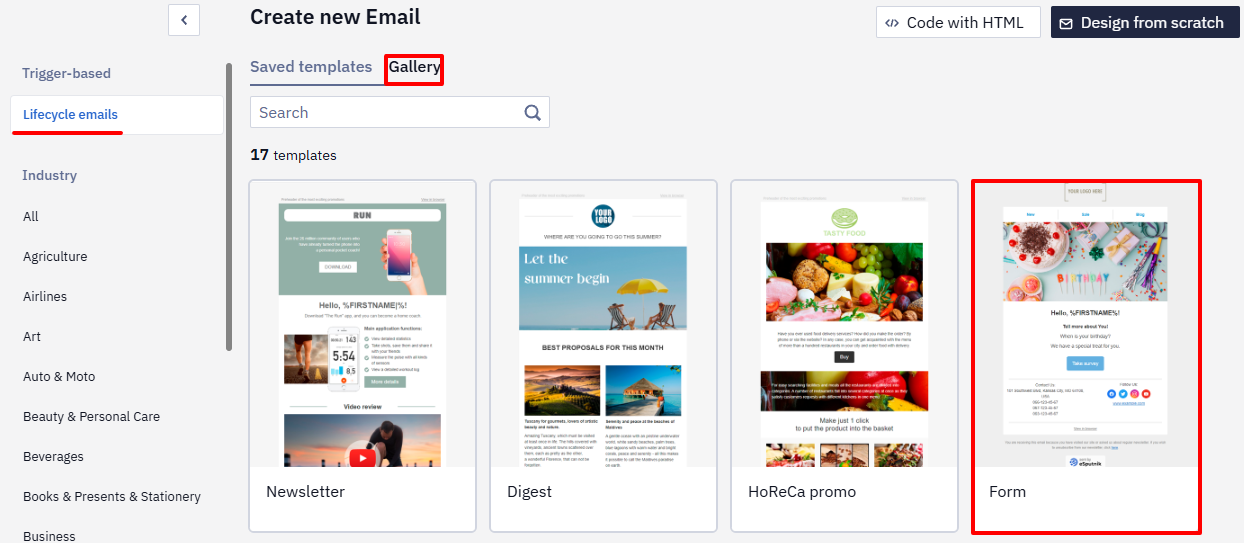
- Create two emails:
- the first — based on the Welcome template;
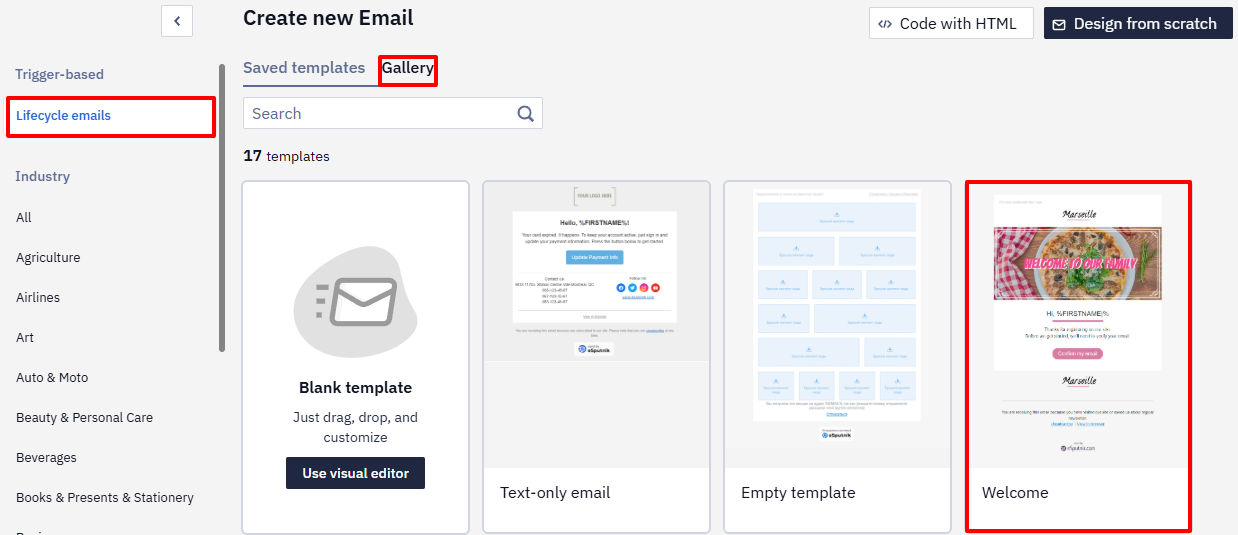
- the second — based on the Form template.
- Add content to the emails.
- Preview emails (1) on different devices and send a test email (2).
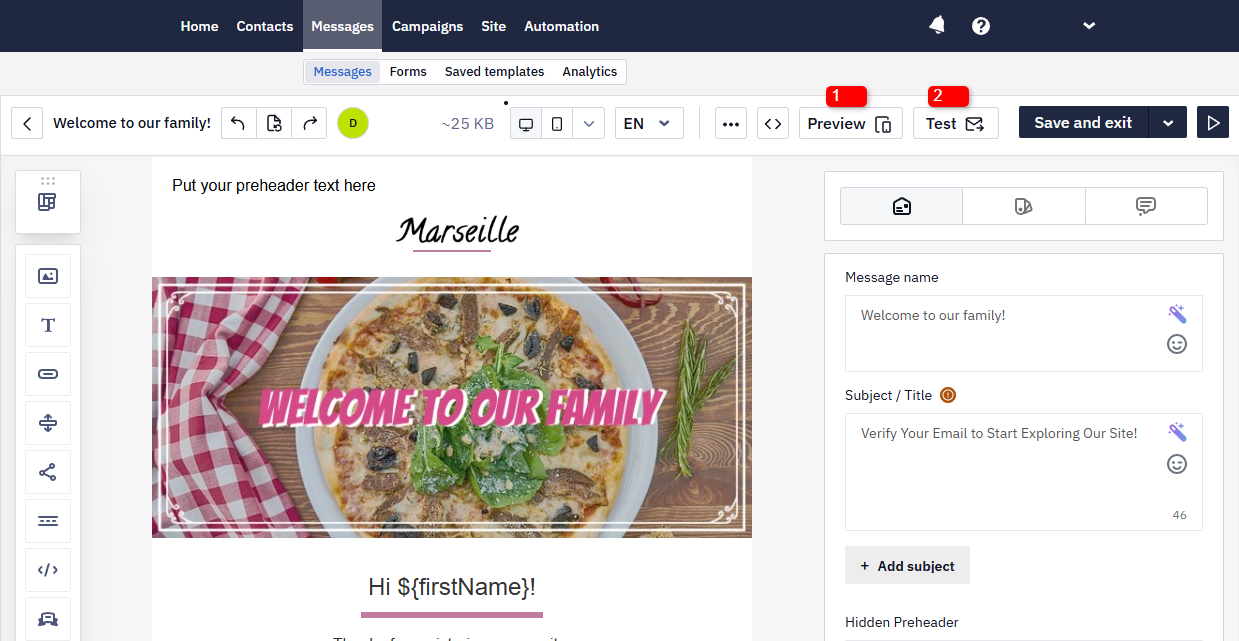
- Click Save.
NoteReview the workflow setup guide before you start.
Step 2. Create a Workflow
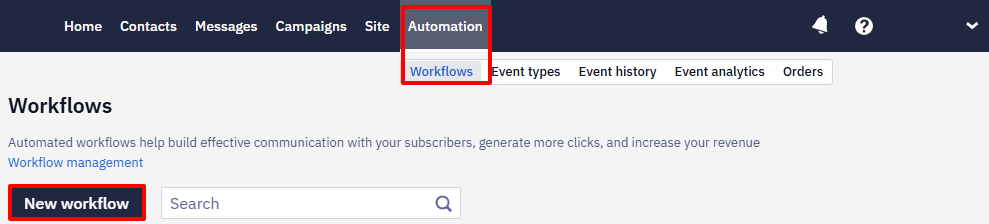
- Go to Automation → Workflows.
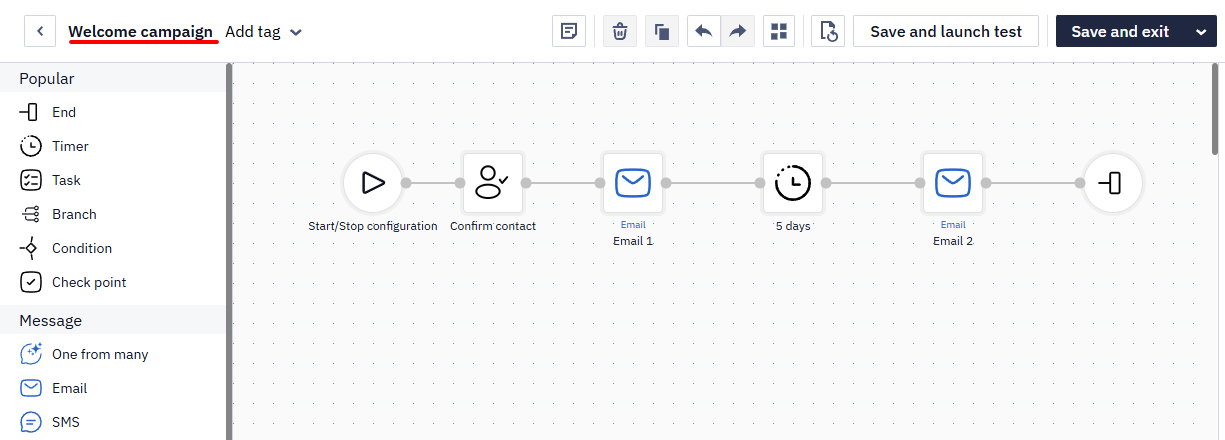
- Create a workflow with the following blocks:
- Start (added automatically);
- Task: Confirm contact;
- Email — first message;
- Timer — set to 5 days;
- Email — second message;
- End.
Step 3. Set Up the Workflow Launch
NoteIn the Double Opt-In email, the confirmation button is linked to the Subscription confirmed event. When a user clicks the button, the event triggers.
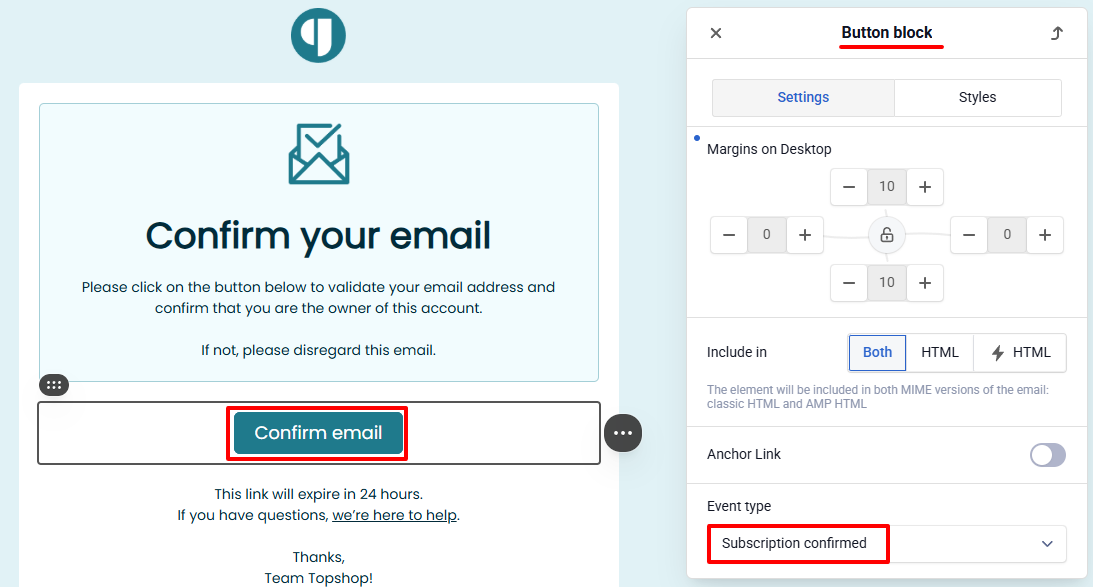
Use this event as the launch condition for the Welcome campaign workflow.
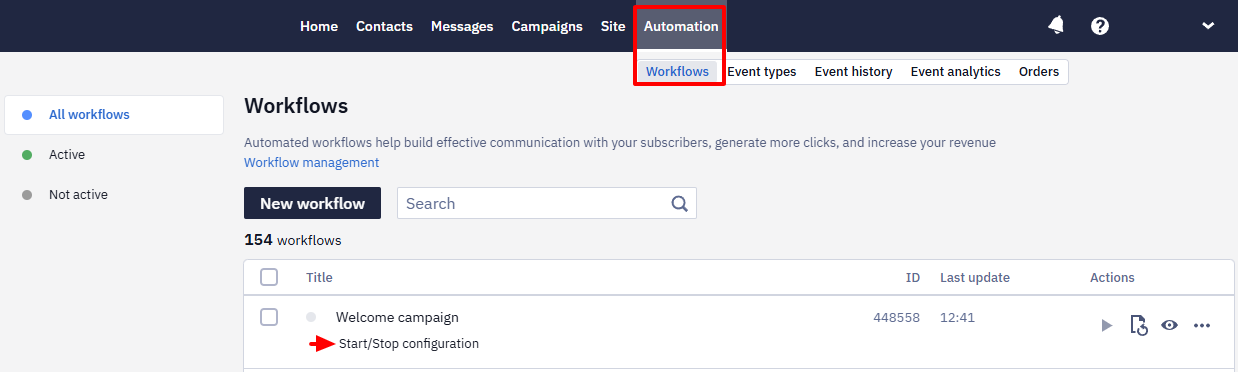
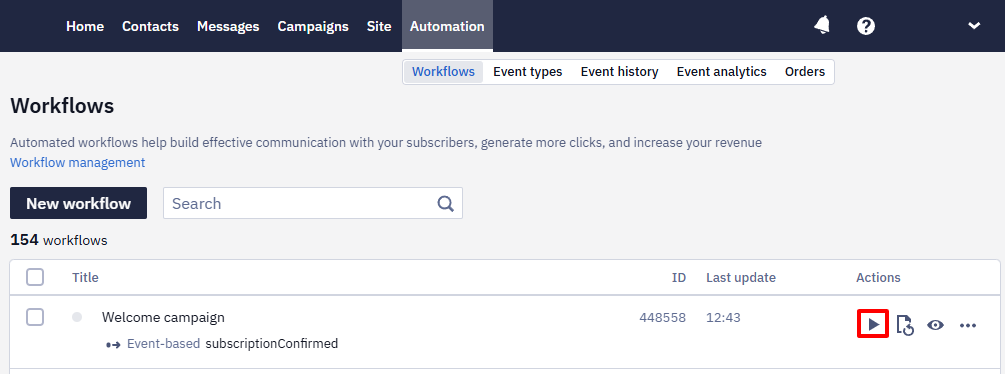
- Go to Automation → Workflows.
- Open Start/Stop configuration.
- Enable Start configuration.
- Select:
- Event-based launch condition;
- Subscription confirmed event.
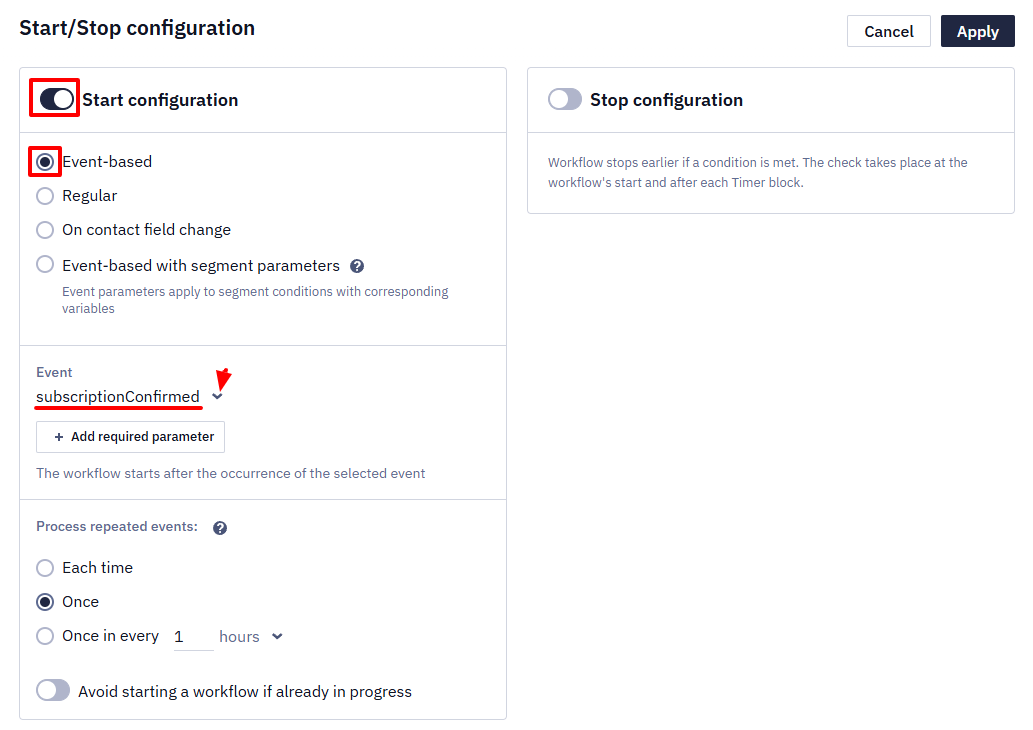
- Click Apply.
- Activate the workflow.
Result
After a user confirms the subscription:
- send the first email immediately;
- send the second email after 5 days.
This approach helps you gradually engage subscribers with your brand.
Updated 15 days ago