
Actions Blocks
Actions blocks control workflow execution and checkpoints, manage contacts, work with promo codes and orders, and integrate workflows with external services. Each block performs a task and then passes control on to the next block.
Use Actions blocks to keep contact data fresh and workflows running on schedule — from delaying a message until the right moment to updating records, managing segments, or exchanging data with external systems as contacts move through the workflow.
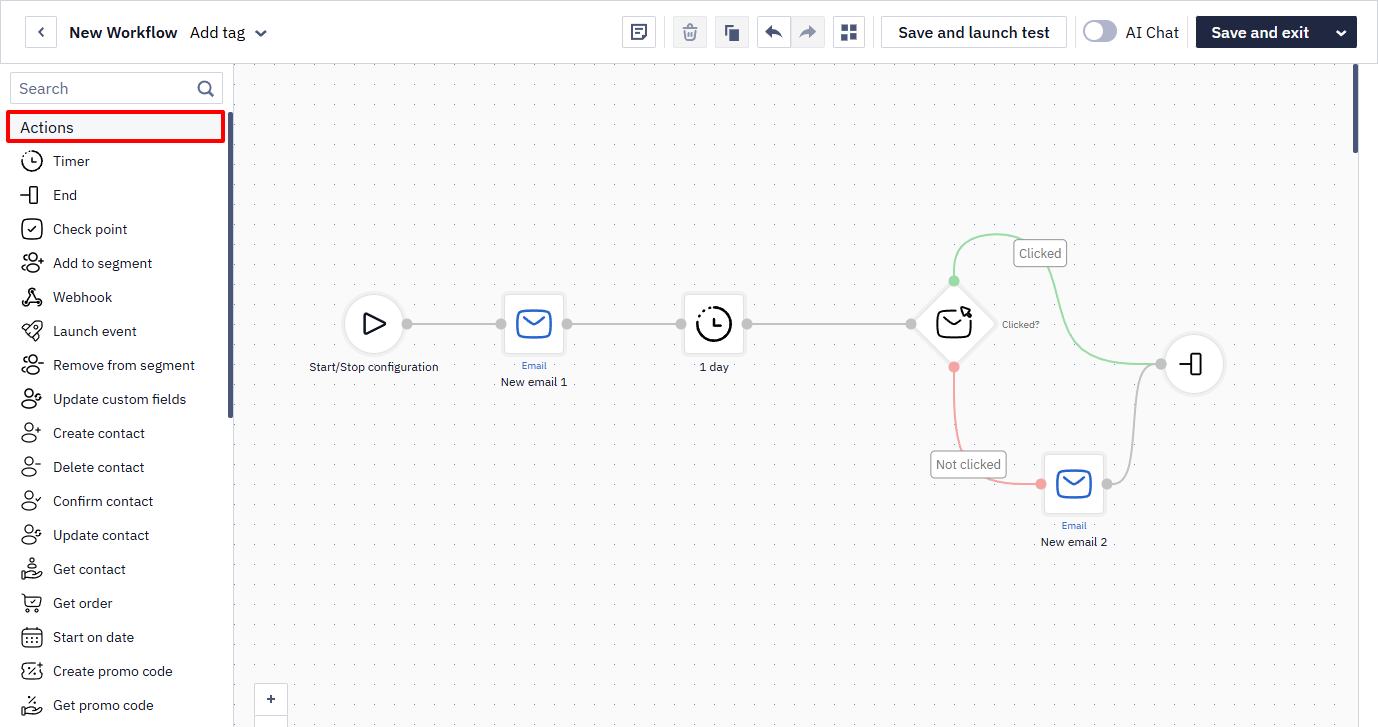
The Actions group contains the following blocks:
- Timer
- End
- Check point
- Add to segment
- Webhook
- Launch event
- Remove from segment
- Update custom fields
- Create contact
- Delete contact
- Confirm contact
- Update contact
- Get contact
- Get order
- Start on date
- Create promo code
- Get promo code
Timer
Sets a time gap before the next action or message.
Parameters:
- Wait time — minutes, hours, days, or months.
- Wait until — a manually specified time, a contact field, or an event parameter.
- Use contact's time zone parameter.
ImportantIf you delay for 1/2/3 days, the delayed action will start 24/48/72 hours after the workflow is triggered.
End
Marks the end of a workflow branch. Using an End block at every branch helps visualize the workflow logic, especially in complex workflows with multiple paths.
Check Point
Doesn't perform any task itself — it records in the launch history whether the workflow passed through this point, which helps debug complex branching workflows. A Check point can also bridge multiple incoming paths, since not all blocks support several incoming connections.
Parameter: Name.
Add to Segment
Adds a contact to a selected list segment.
Parameter: Segment — required.
Webhook
Requests the specified URL (use only the HTTPS protocol). Available request types are GET and POST. Data format: JSON, XML, text.
Using webhooks, you can access a data source by reference to return a promo code or authorization token, and then display this data in a message within a workflow. With this block, you can also transmit to the specified address:
- parameters from the event that launched the workflow,
- (additional) fields of the contact on which the workflow launched.
NoteThe Webhook block is used only in combination with a Sending block that sends a single message. It doesn't apply to workflows where a message is sent to a group.
Launch Event
Triggers another event from the workflow — for example, so one workflow can start another.
Parameters:
- Event — mandatory.
- Parameters — key-value pairs passed to the event.
- Unique key — optional.
- JSON — optional data format.
Remove from Segment
Removes a contact from a list segment. The contact remains in the system after removal.
Update Custom Fields
Automates contact data updates for custom fields.
For numeric fields, the following operators are available:
=— assigns the value transmitted in the block.+— adds the value transmitted in the block to the existing value.-— subtracts the value transmitted in the block from the existing value.
Create Contact
Creates a contact in the system. If a contact with this email address already exists, it will be updated.
Required: Email or Phone.
JSON field contains a line or a variable with a line in JSON format with contact data (phone number, name, surname, city, additional fields, confirmed status).
ImportantUse this task only when the contact data is passed via the Generate event API method, and only a part of the data needs to be specified when a contact is created.
Delete Contact
Automatically deletes contacts from the database — for example, to help stay within your plan's contact limit.
Optional: Deletion reason parameter. Deleted contacts can be restored.
Confirm Contact
Confirms the email address of the subscriber, adds them to the system, and makes them available for receiving campaigns. Typically follows a subscription form confirmation.
Parameters: Email, Contact ID — one of the parameters must be specified.
Update Contact
Updates the contact information. If the contact exists in the system, their info will be updated; if the contact doesn't exist, the system will skip them.
Parameters:
- Contact ID — optional; can be a variable.
- Email — required.
- Phone — required if updating by phone number.
- JSON — contact data format.
Get Contact
Gets contact data and passes it to the message or to a Condition block.
Identifier options (one required): Contact ID, Email, Phone, or Token.
You can use these variables in the message:
$!firstName— name;$!lastName— surname;$!email— email address;$!sms— phone number;$!contactKey— contact key;$!id— contact ID in the system;$!createdDate— creation date;$!updatedDate— date of the last contact update;$!confirmed— contact's email address status;$!fields['1234']— additional fields. Insert an ID of the additional field instead of1234.
NoteWhen searching contacts for Create contact, Update contact, Get contact, Delete contact, and Confirm contact tasks, Contact ID has the highest priority; if externalCustomerId is specified, the search uses it next; otherwise, the system searches by email address or phone number.
Get Order
Extracts data from an order and passes it to the message. Use this task only if you send order data to Reteno using the Add orders API method.
Options: Get order by Order ID or External Order ID.
Start on Date
Sends a message a specified number of hours, days, or minutes before a date and time taken from an event parameter or set manually.
Parameters:
- In — how long before the date to send the message.
- Before date — taken from an event parameter or specified manually.
- Use contact's time zone — optional.
Supported date formats: UTC (2011-12-03T10:15:30) or UTC offset (2011-12-03T10:15:30+02:00).
Create Promo Code
Generates an encrypted promo code and passes it to the message that follows in the workflow.
Parameters:
- Days — number of days until the promo code expires.
- Type — promo code type (0–31).
- Discount — discount size (01–99).
- Key — encryption key.
Message variable: $!data.get('promocode') or $!promocode.
Get Promo Code
Retrieves a matching promo code from an uploaded database and passes it to the message that follows in the workflow. If several promo codes meet the specified parameters, the system automatically selects one of them.
Parameters:
- Days — validity period (minimum number of days).
- Type — promo code type.
- Discount — discount size (01–99).
Message variable: $!promocode.
Updated about 7 hours ago