
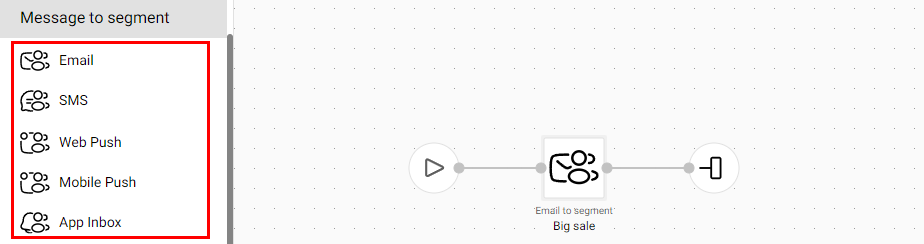
Message to Segment Blocks
The block sends one message to a segment. It’s used in a workflow after contact import or to launch a series of messages. For example, send a message to a segment, and then either resend it or send another message to those who have not read it or clicked the link.
Typically, one workflow includes either the block with one message to one contact (Contact blocks) or the block with the Message to segment.
There are six block types:
Important
Do not use these blocks for triggered messages. If the event passes the token or contact ID, use one of the Message blocks (one message to one contact).
The blocks Message to segment are only used for events that pass the segment ID, or for workflows that are launched for a selected segment (for example, dynamic).
Even if you set Regular in Trigger configuration and select a segment, you still need to use the block with one message to one contact, because this trigger type doesn’t pass a segment group ID to the workflow. Instead, it launches the workflow separately for each segment contact and passes the email and contact ID at each launch.
Common Block Parameters
Each Message to segment block contains several parameters:
- Message: required parameter.
To select a message:
- Click the Select message button on the right side of the settings panel.

- Select a message from the list (by default, the last created one is selected) or specify the dynamic variable
${emailMessageId}using the button next to the search bar.

To search the message in the list, use the search field by message name, subject, tag, or ID.
You can also sort messages by their update date.

If a workflow is associated with a message, it appears in the list. To open a preview of the workflow, hover over its name and click the corresponding icon.

The following actions are available in the message selection window:
- Create a message copy
- Message preview

- Click the Select button.

By clicking on the three-dot icon, after selecting the message in the block settings, you can:
- Preview the message
- Replace the message
- Edit the message in a new tab
- Copy the ID

If you delete the message, a corresponding tooltip will appear in the block settings.

In that case, you should select a new one by clicking the Replace message button.
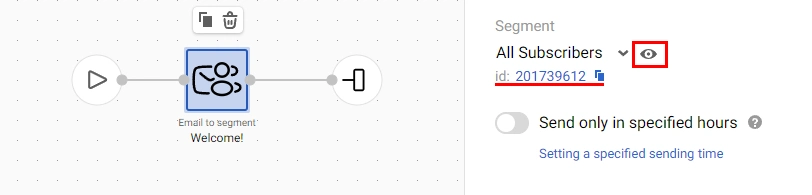
- Segment: required parameter. Select the segment in the drop-down menu or use dynamic variable
${segmentId}. You can also select New list segment / New dynamic segment options and create a segment directly in the workflow.
Note
Conditions are not yet set when creating a dynamic segment directly in the workflow, and, accordingly, there are no contacts. Therefore, before launching such a workflow, it is necessary to set the conditions for segment formation in its settings.
After adding or creating the segment in the block parameters, you can proceed to its preview and copy the ID.
Important
Each segment in the Reteno system has its own ID. For example, if you send an event and with an ID value pass the GroupId parameter
"name":"segmentId", "value":167039898167039898 will be substituted into the workflow instead of
segmentId, and the workflow will be launched to this segment. You need to know what the ID corresponds to so as to control the campaign, indicating what to send to which segment.
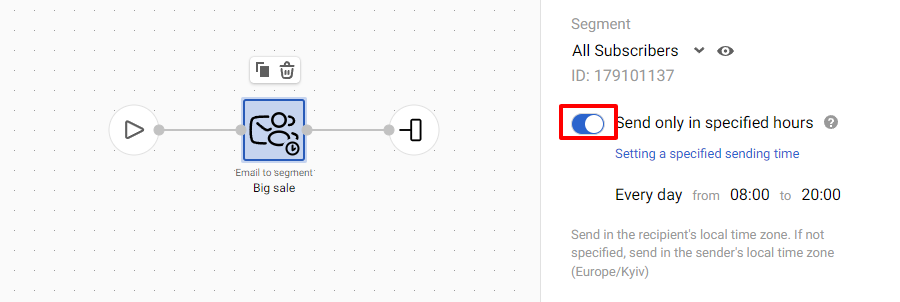
- Send only in specified hours: Enable this parameter to send messages only within a specified time gap.
Individual Block Parameters
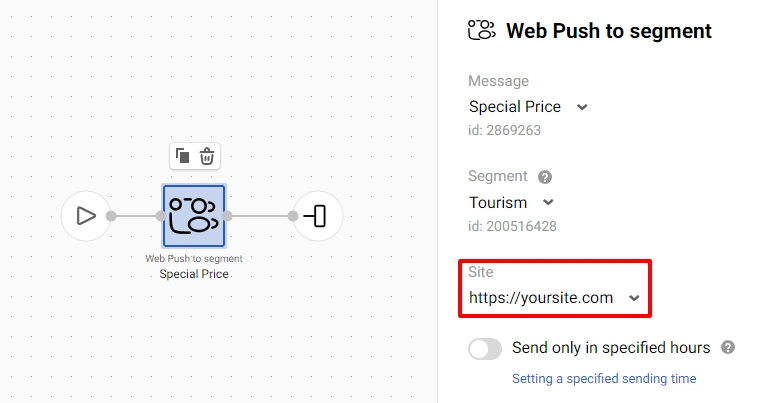
- Site (Web Push to segment parameter): required parameter. The website that collects tokens is specified by default. If you have several websites, choose one from the drop-down menu.
- Application (Mobile Push to segment parameter): required parameter. An app identifier for accounts with more than one app. You can select the app to send notifications from the dropdown list or specify dynamic parameter
${appId}. The system extracts the app ID from the event that has triggered the workflow. When sending events through the SDK, this parameter is passed automatically.
Updated 21 days ago