
Manage Translations
The Manage translations feature lets you work with language versions of email messages outside the editor.
You can work with translations using:
- local
xlsxandcsvfiles; - Google Sheets.
NoteThe Manage translations feature is available only if the message contains at least two language versions.
Export Texts for Translation
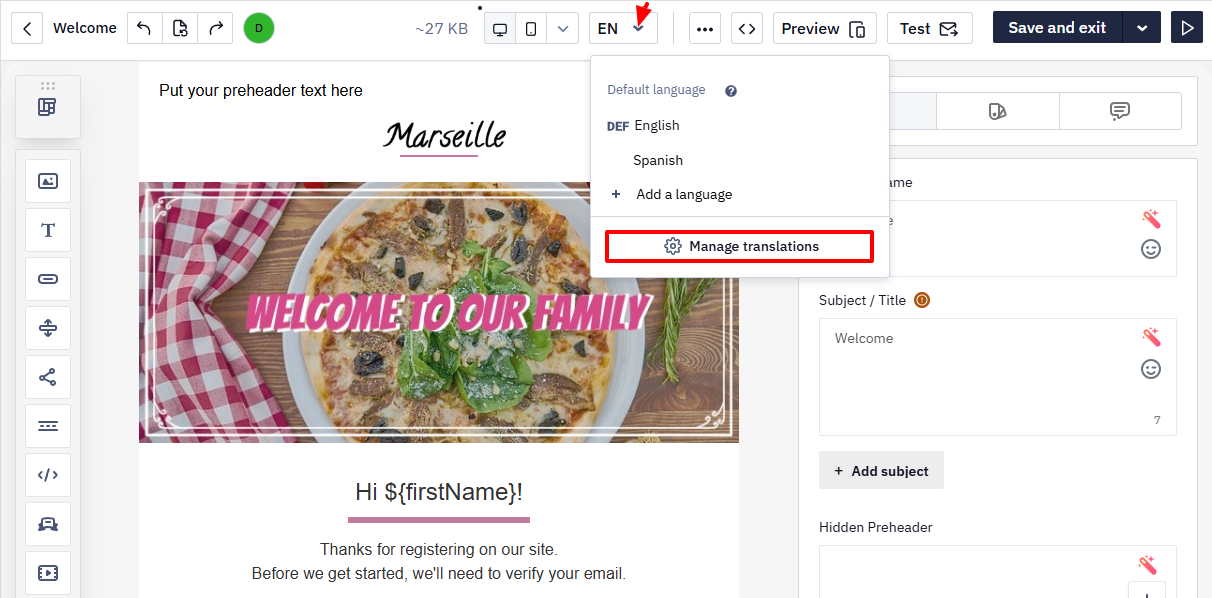
- Open the email message in the editor.
- On the Message management panel, click the language switcher.
- Select Manage translations.
- Choose the export option.
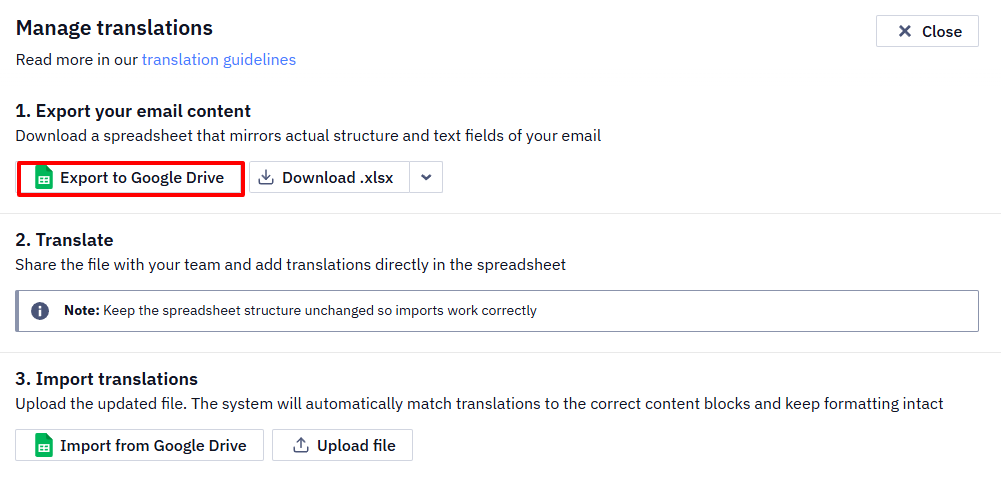
Export to Google Sheets
- Click Export to Google Drive.
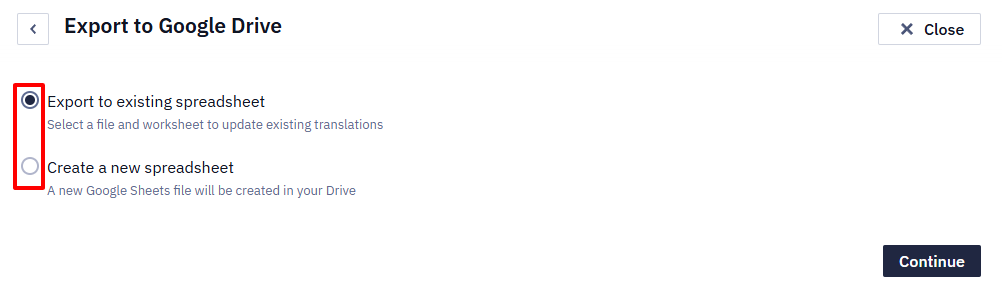
- Choose the export option:
- To an existing spreadsheet — updates translations in an existing Google Spreadsheet.
- To a new spreadsheet — creates a new Google Spreadsheet in Google Drive.
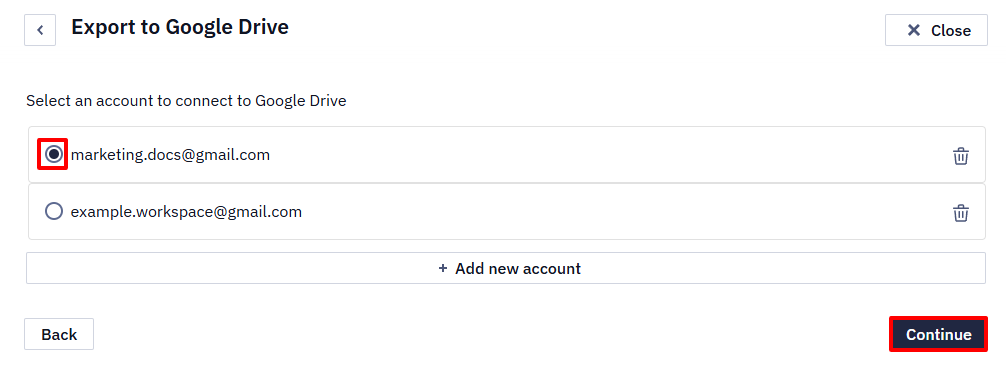
NoteWhen working with Google Drive for the first time, add a Google account and grant the required permissions.
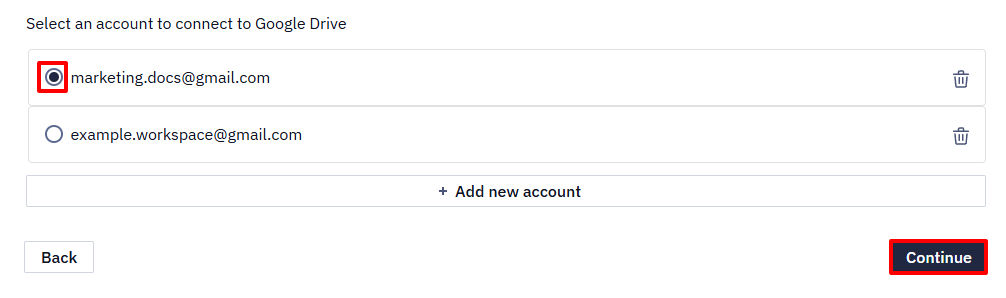
- Select the account to connect to Google Drive.
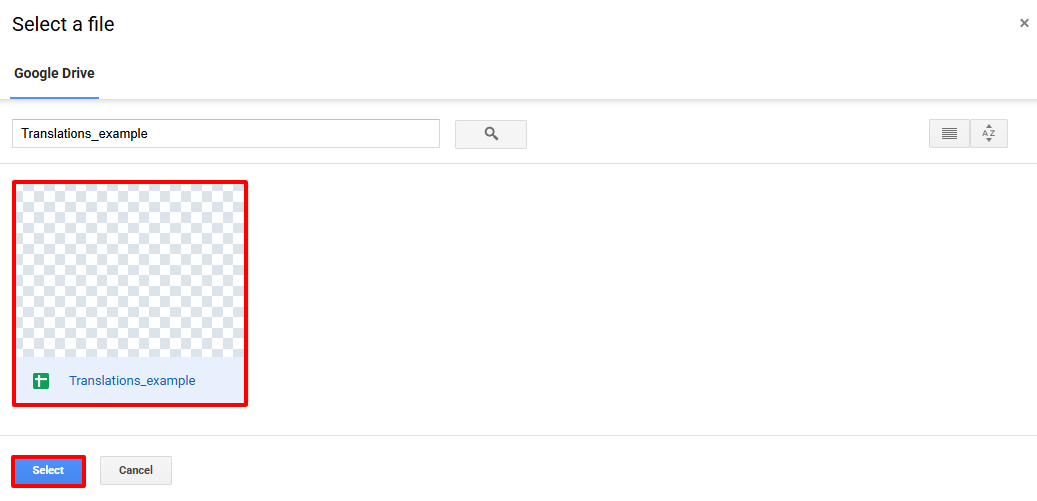
- Select a Google Spreadsheet.
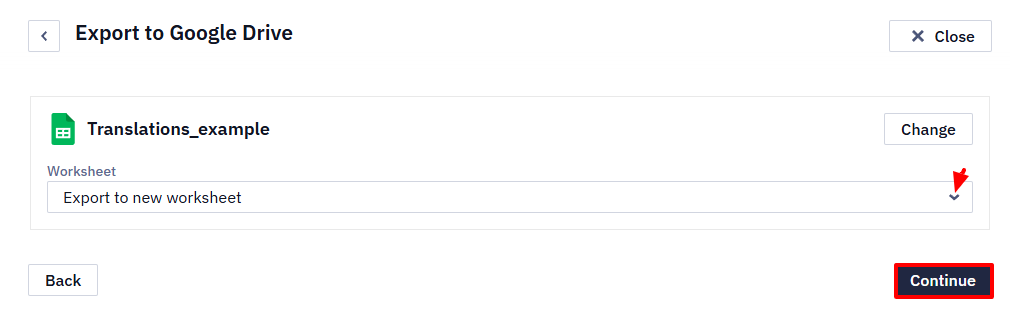
- If you export translations to an existing Google Spreadsheet, select the required sheet or create a new one..
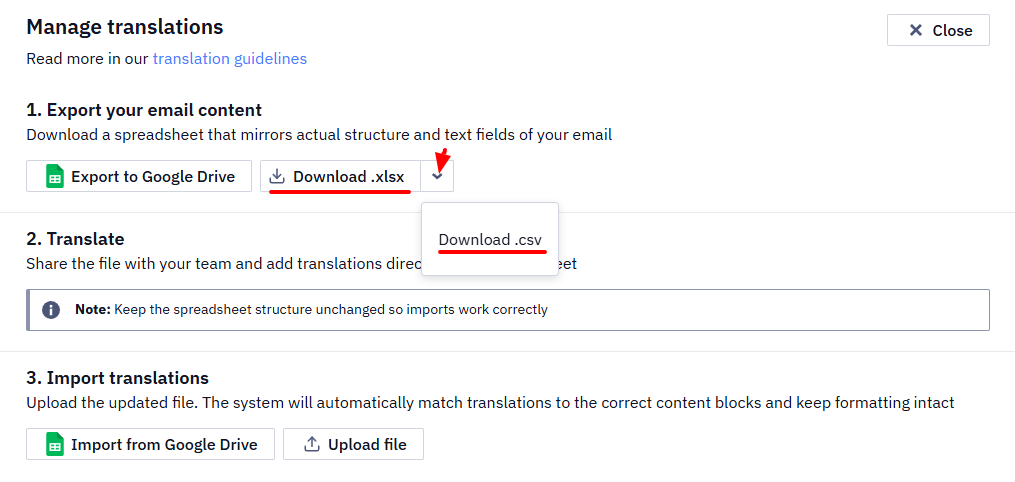
Export to Computer
- Download the file in
.xlsxor.csvformat.
Edit Translations
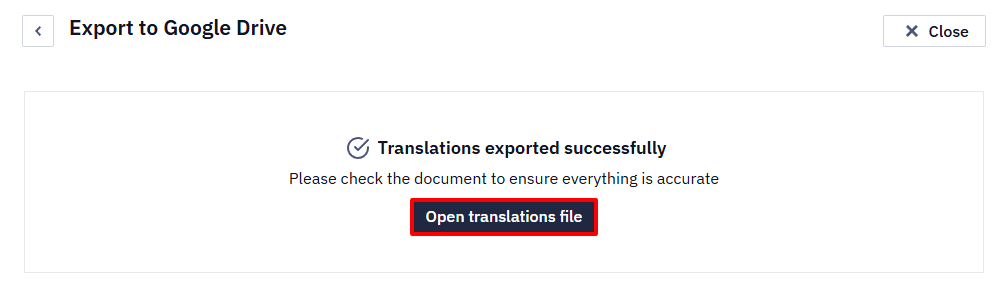
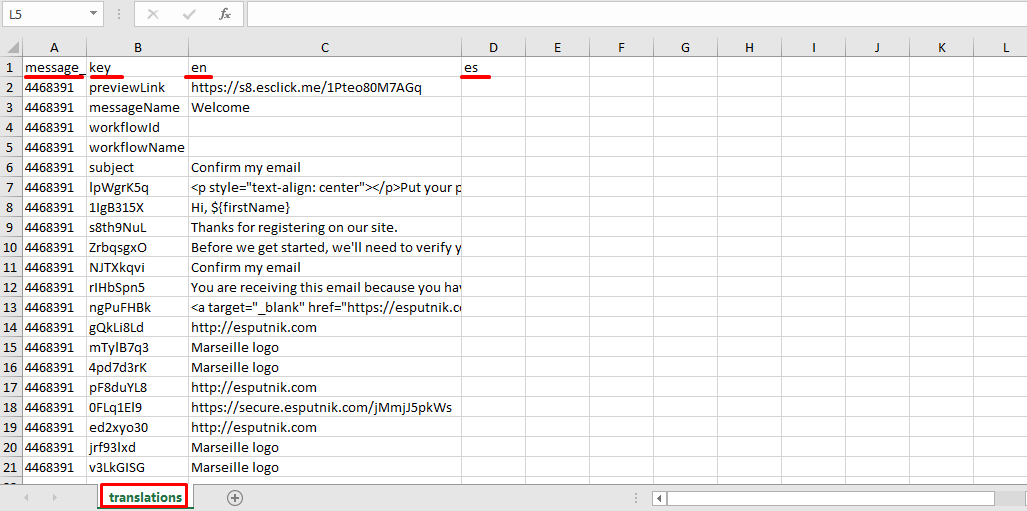
- Open translations file.
The translation file contains a sheet with the following columns:
- message_id – the message identifier in the system;
- key – a unique key of the text element;
- language — a separate column for each language version with translated texts.
NoteIf a translation is missing, the language column remains empty.
- Enter translations in the corresponding language columns.
ImportantTo ensure correct import, do not:
- change column names;
- delete or edit values in the message_id and key columns;
- modify service rows: previewLink, messageName, workflowId, workflowName;
- change the order of rows.
Import Translations
In the Manage translations window, choose the import option — from Google Sheets or from your computer.
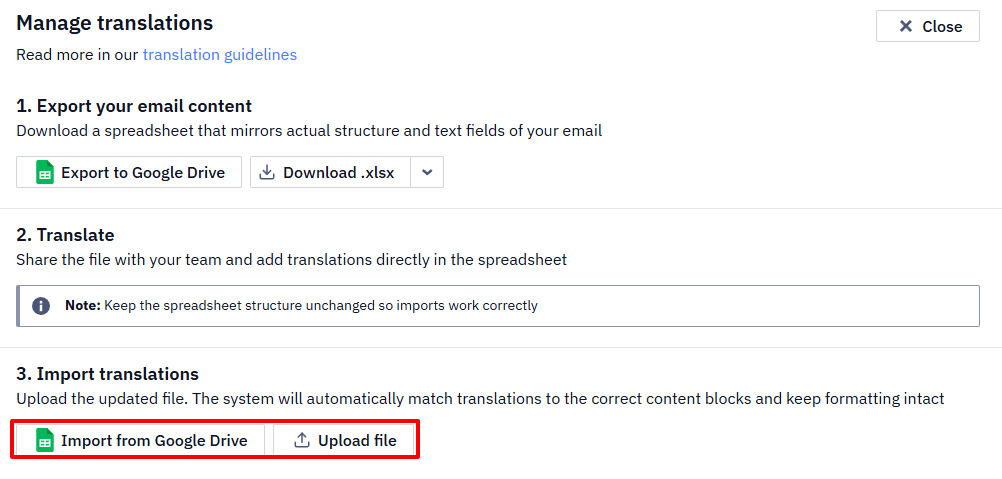
Import from Google Sheets
- Select an account.
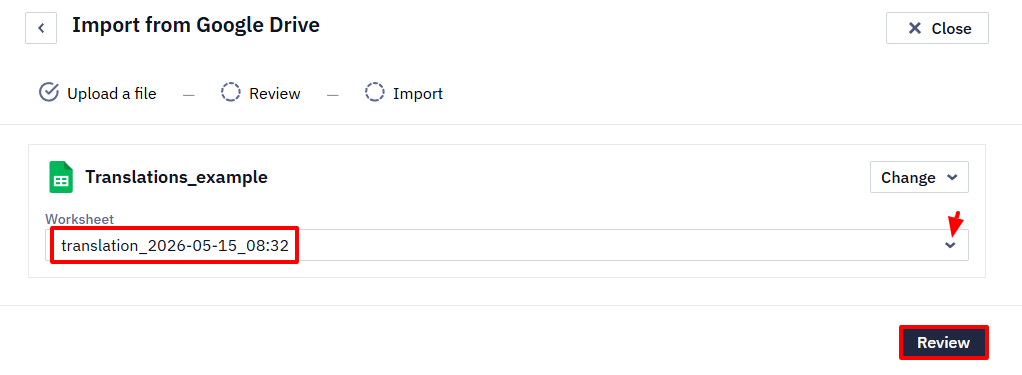
- Select a Google Spreadsheet.

NoteFor files with multiple sheets, you can select the required sheet with translations.
- Select the sheet with translations and click Review.
Import from Computer
- Drag and drop the file into the upload area or click to select it from your computer.
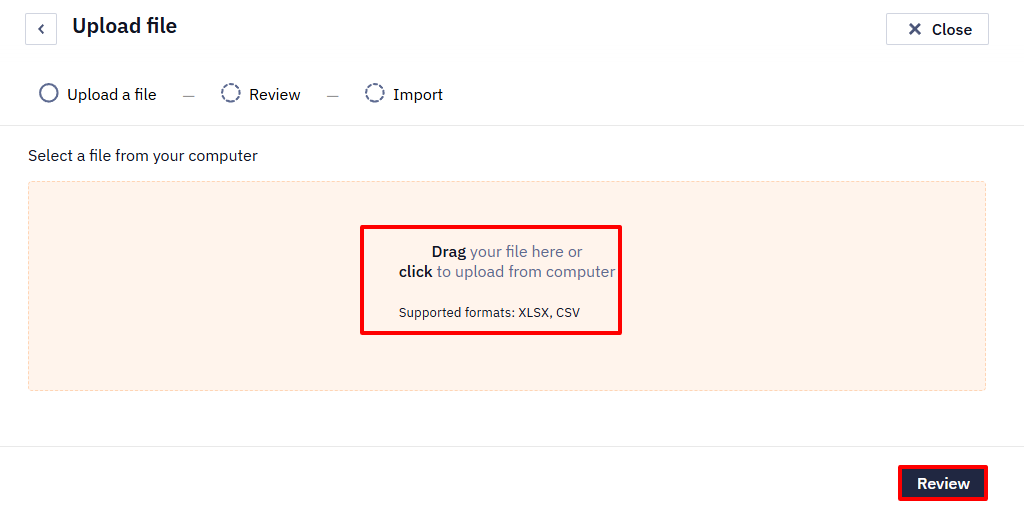
- Select the sheet with translations and click Review.

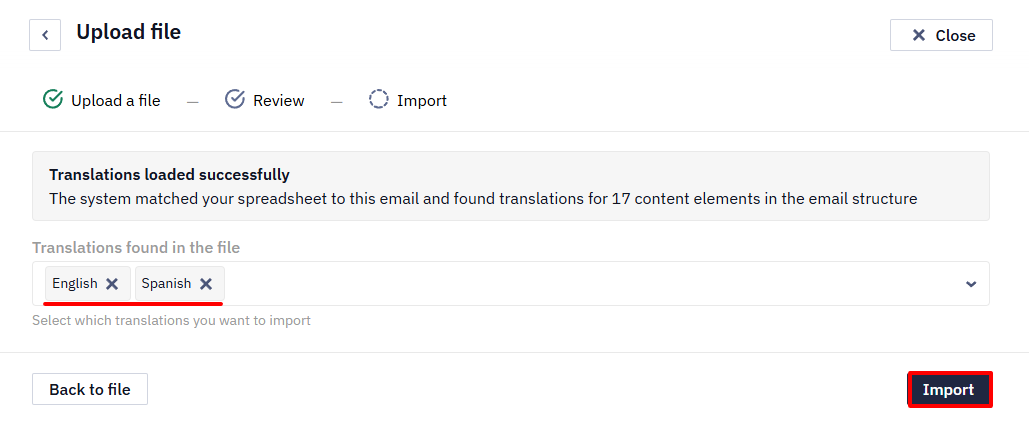
Complete Import
The system will validate the file and prepare the content for import.
- Click Import.
- Click Review applied translations and return to message editing.

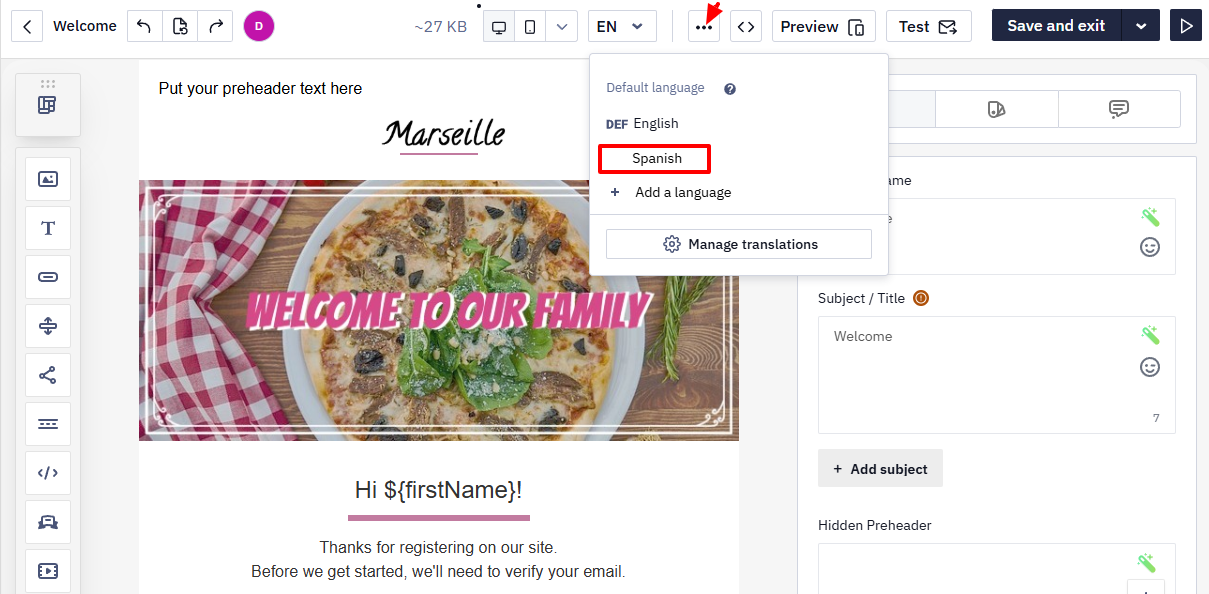
View a Language Version
- In the message editor, click the language switcher.
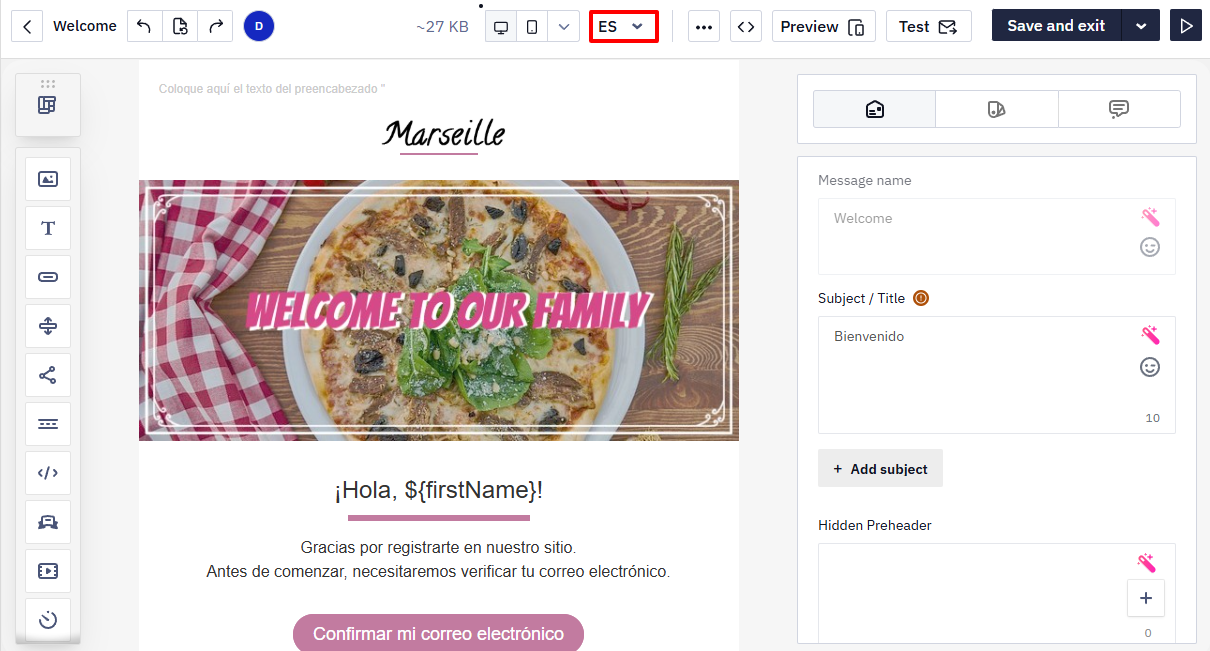
- Select the required language version.
Imported translations will appear in the message.
Updated about 2 months ago