
Setting Up the Reteno Plugin for Claude Code and Claude Cowork
The Reteno plugin works with both Claude Code and Claude Cowork. It combines the Reteno MCP connection with reusable skills for email template editing, email deliverability audits, messaging analytics, and onboarding funnel analysis.
Once installed, you can describe a Reteno task in plain language, let Claude retrieve the required data, and review proposed changes without repeatedly switching between Claude and the Reteno interface.
For the available skills, example tasks, and integration limitations, see Integrating Reteno with AI Agents.
Reteno also provides a plugin for OpenAI Codex.
NoteIn this article, Claude refers to both Claude Code and Claude Cowork. The same Reteno plugin repository supports both environments, although some interface labels may differ.
Requirements
Before you start, make sure you have:
- An active Reteno account.
- A Claude plan that supports Claude Code or Claude Cowork.
- Claude Desktop for macOS or Windows if you use Claude Cowork.
- Permission to install personal or organization plugins.
Configure Network Access for Claude Cowork
Before installing the plugin, allow Claude to connect to the required Reteno services.
- Open Claude Desktop.
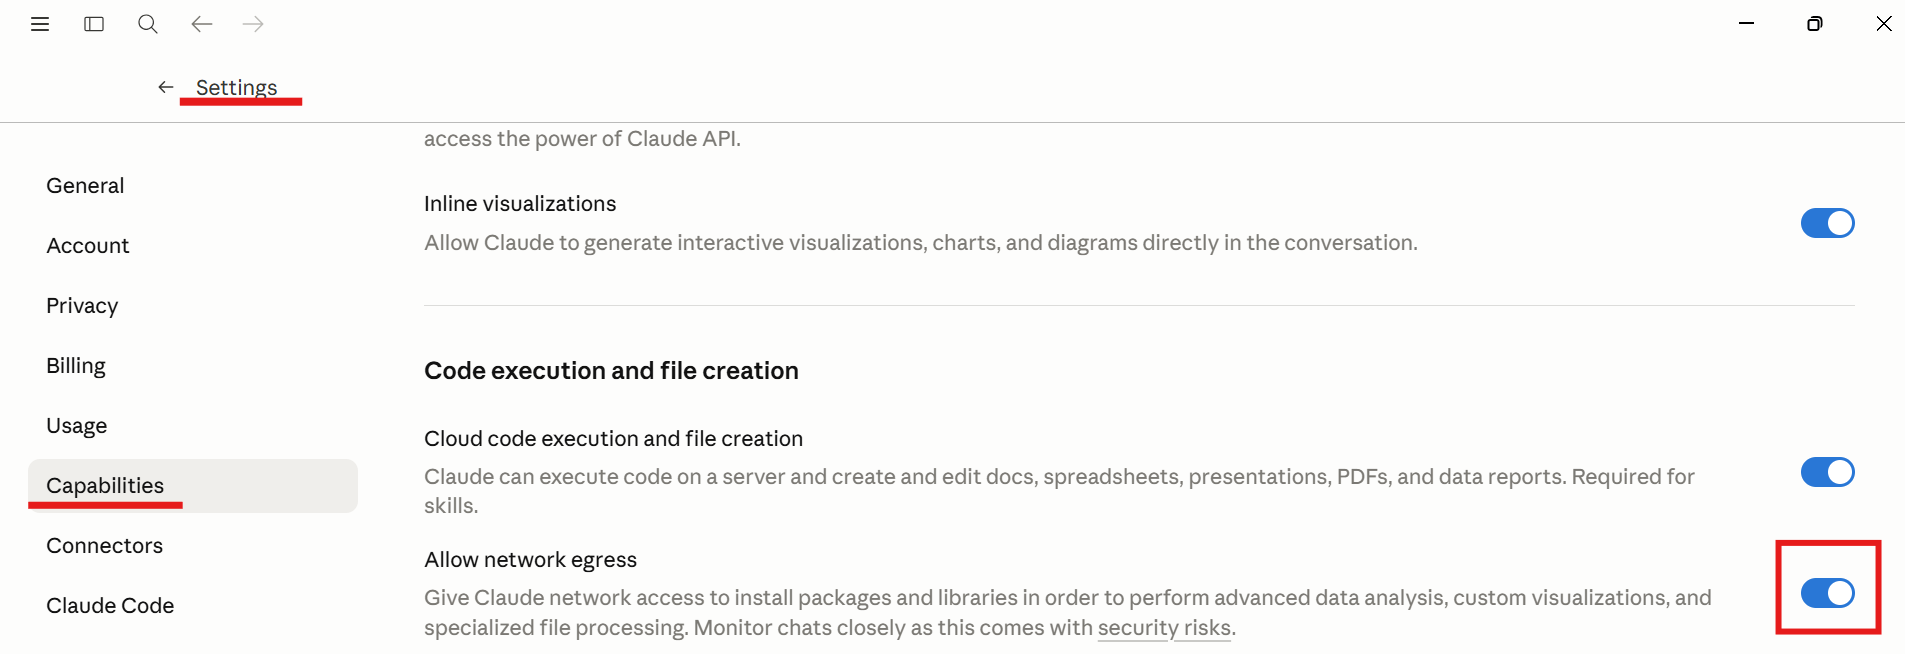
- Click your profile icon in the bottom-left corner, then go to Settings → Capabilities. Find Cloud code execution and file creation and allow network egress.
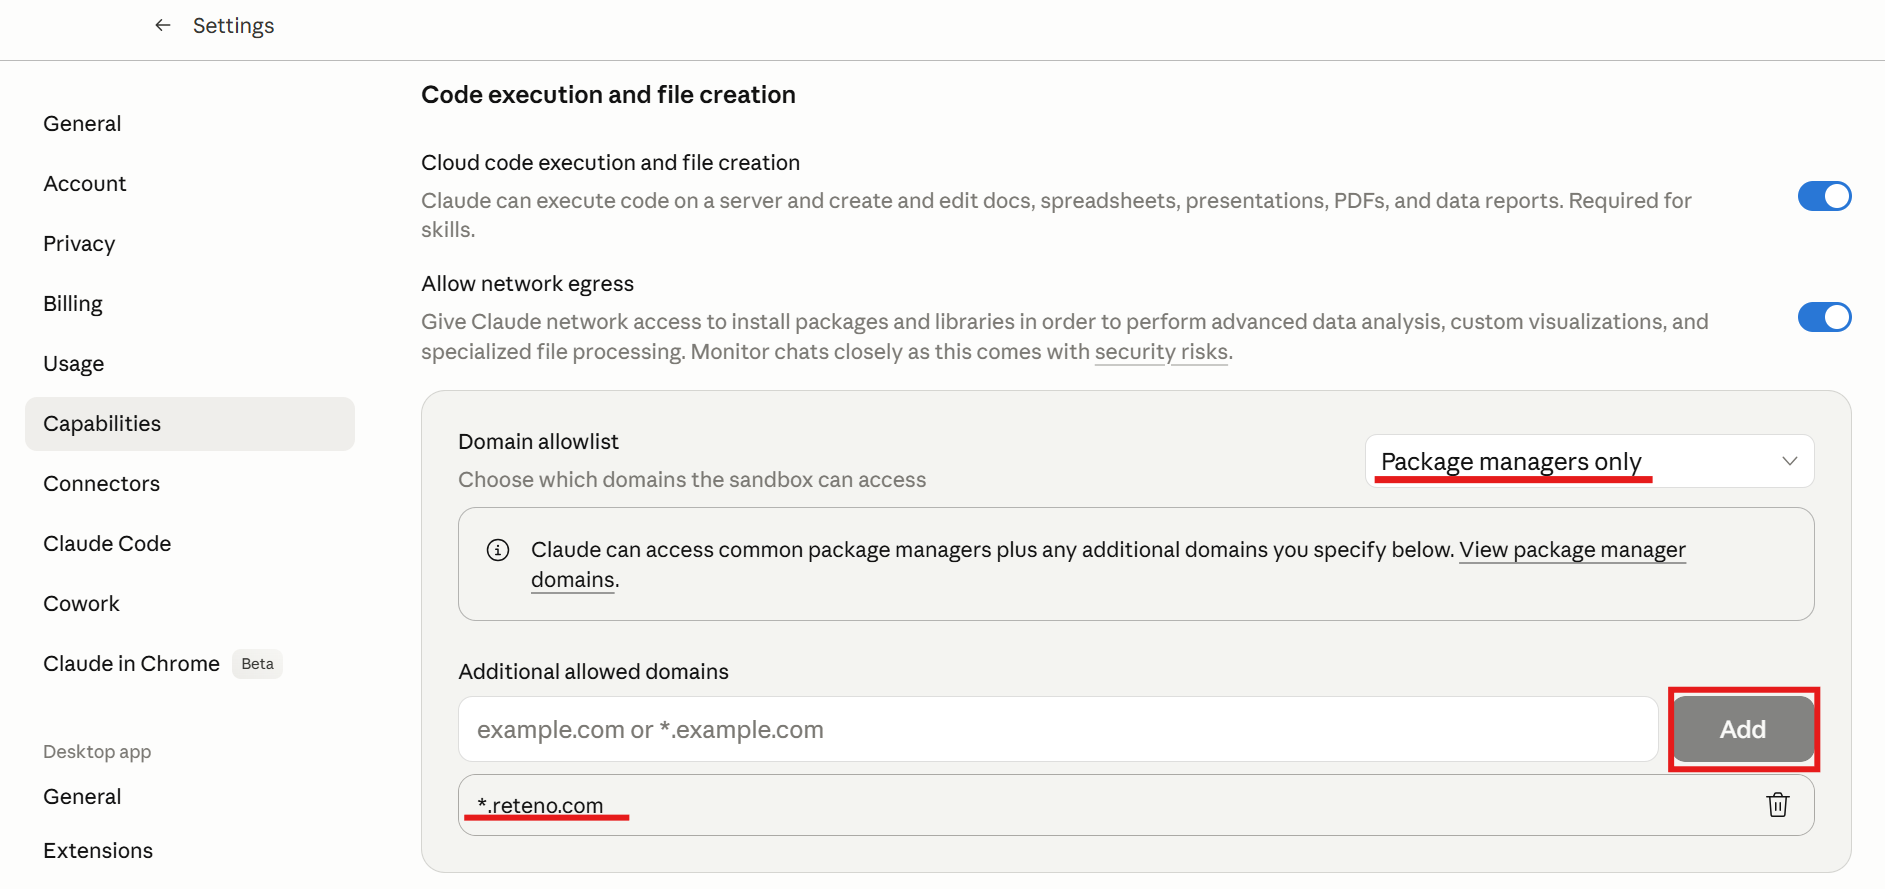
- In Additional allowed domains, enter
*.reteno.com, then click Add.
Installation
Step 1. Add the Reteno Plugin Marketplace
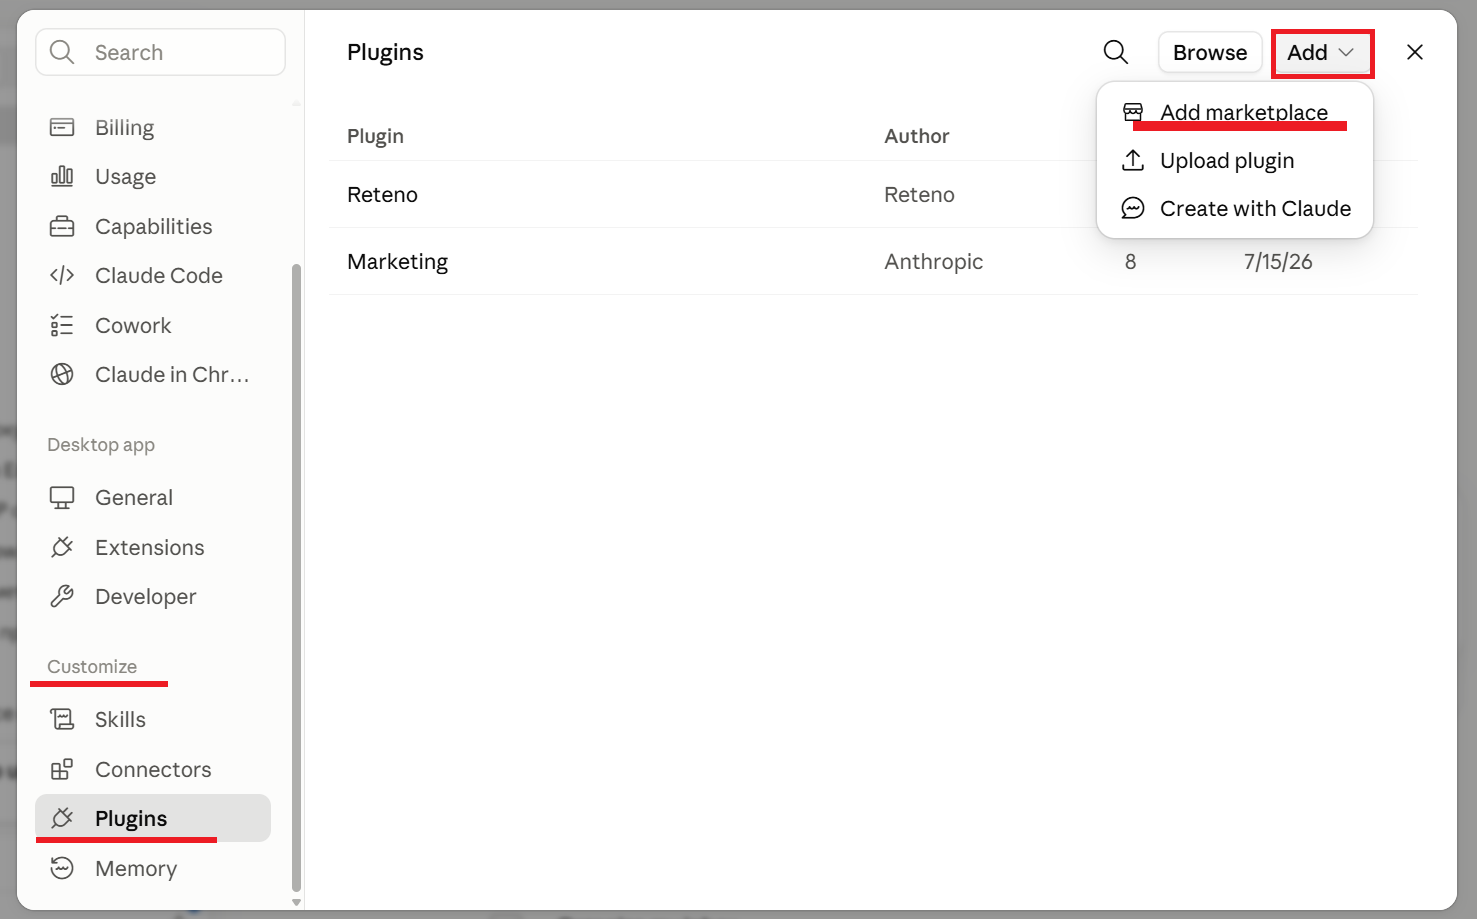
- In Claude Desktop, open Cowork and go to Customize → Plugins → Add → Add marketplace.
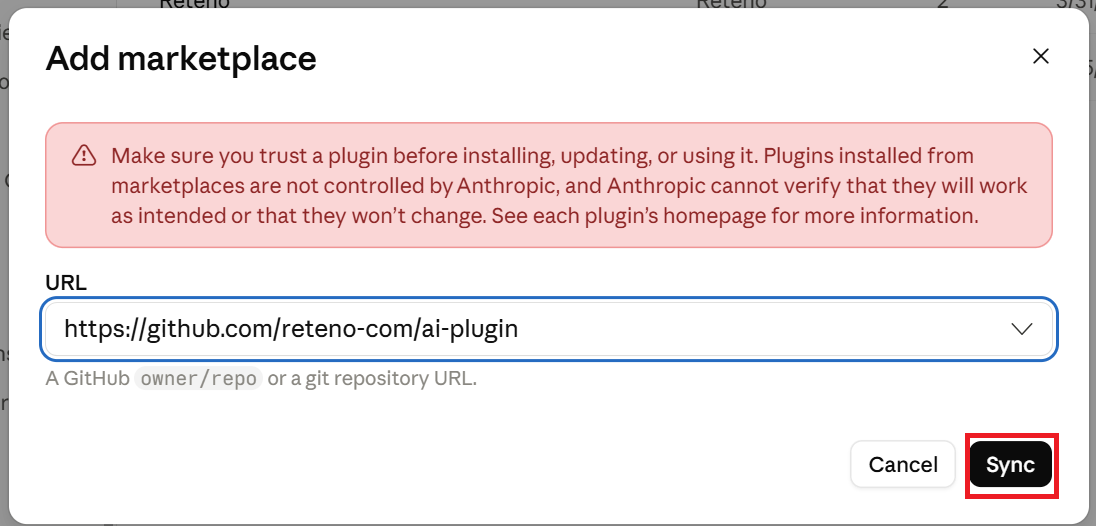
- Select Add from a repository and enter the Reteno plugin repository URL:
https://github.com/reteno-com/ai-plugin- Click Sync.
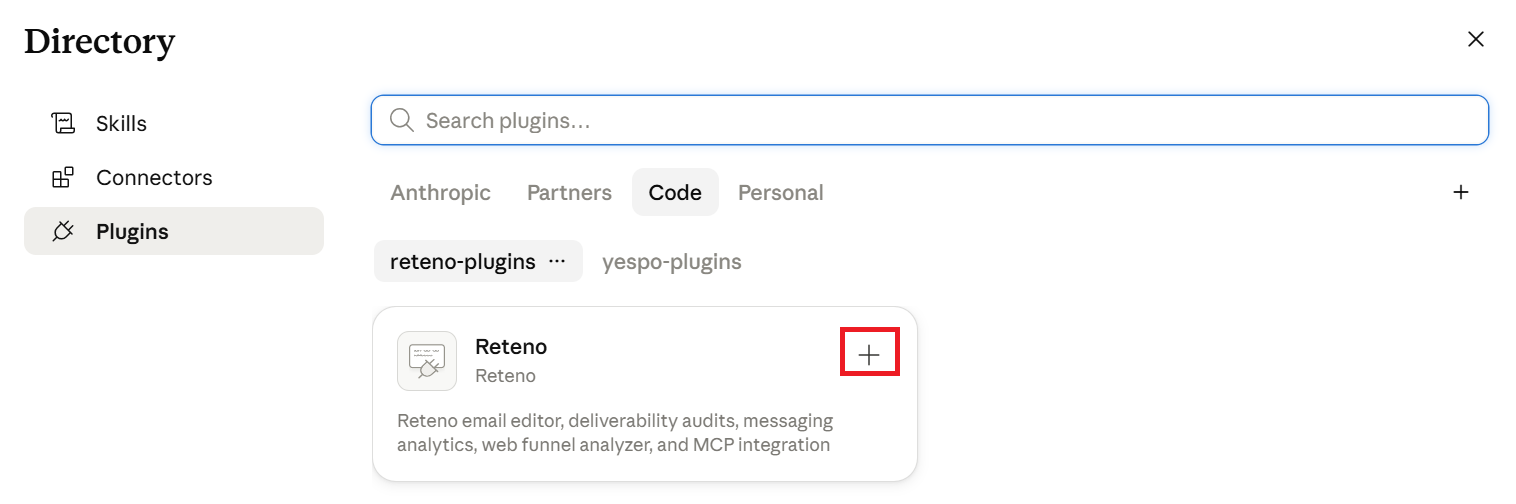
Claude adds the marketplace and displays the Reteno plugin.
Step 2. Install the Plugin and Connect Your Reteno Account
Installing the plugin adds the Reteno skills, but Claude cannot access your Reteno data until you connect the bundled Reteno connector. After you sign in and authorize access, Claude can use the Reteno MCP tools available to your account.
- In the plugin list, find the Reteno plugin and click +.
- Select the Reteno plugin card, then click Manage to open its Skills and Connectors settings.
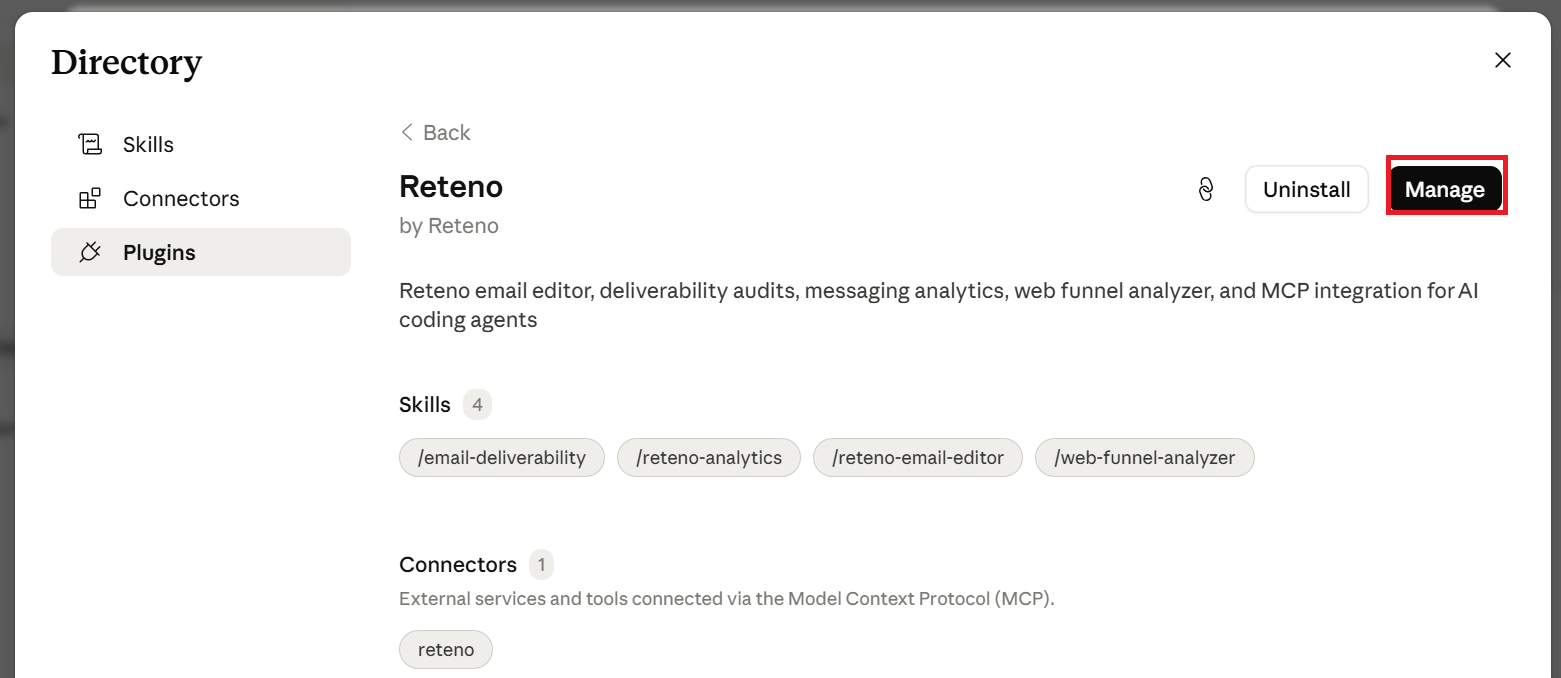
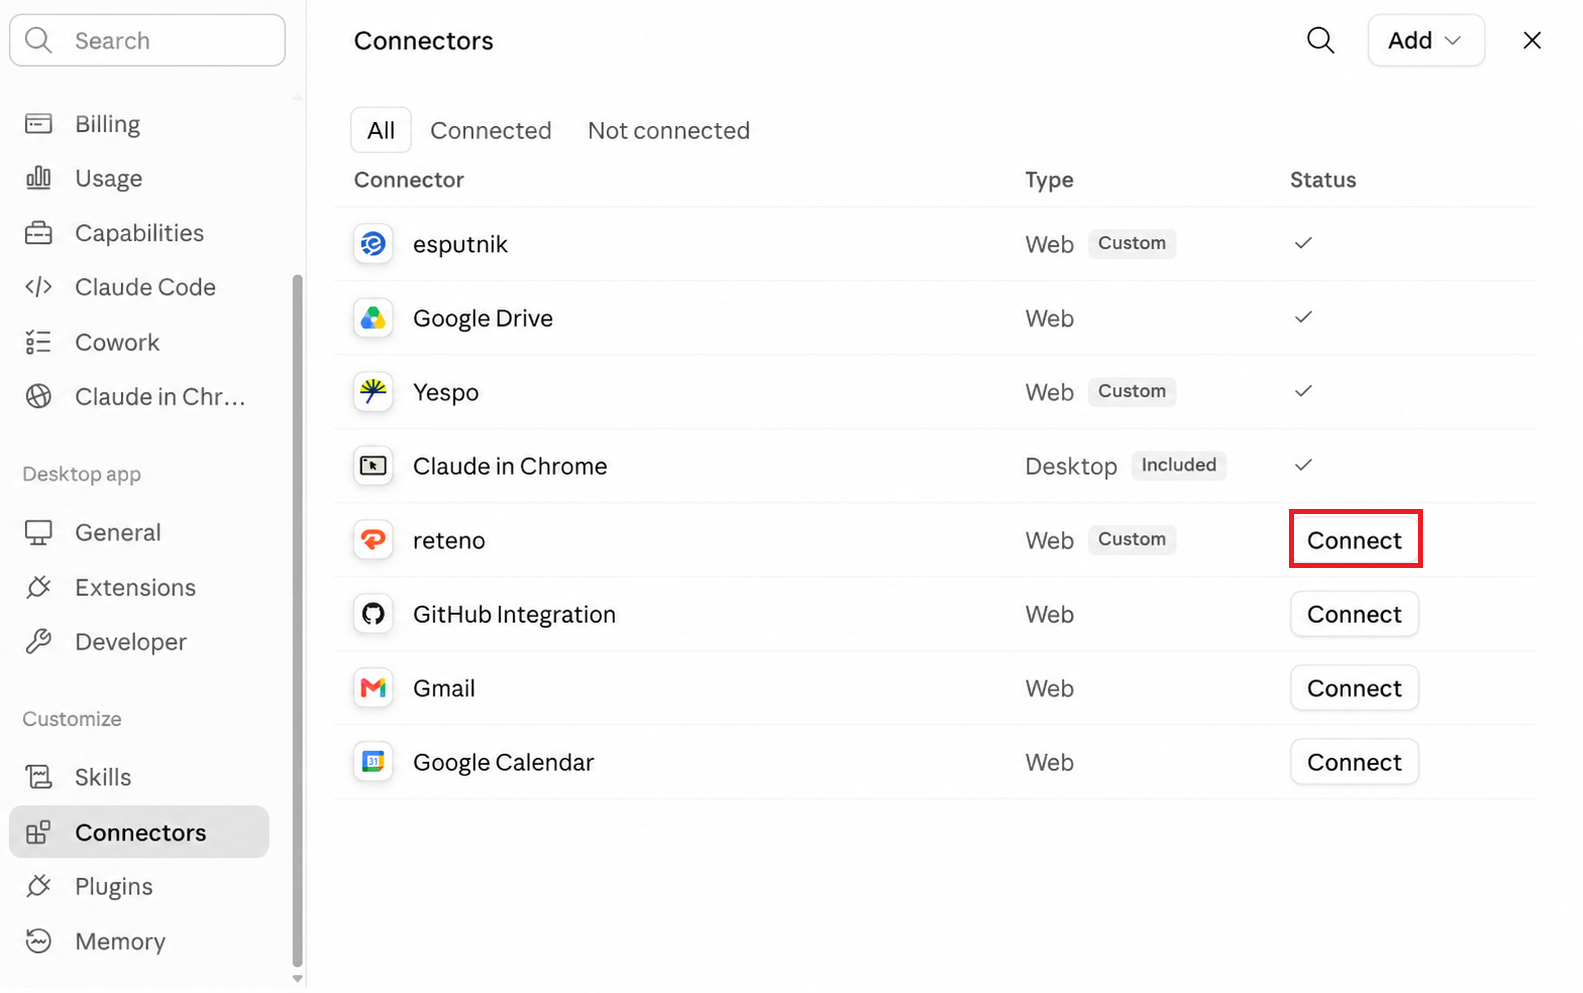
- Open Connectors and click Connect.
- Sign in to Reteno and confirm access.
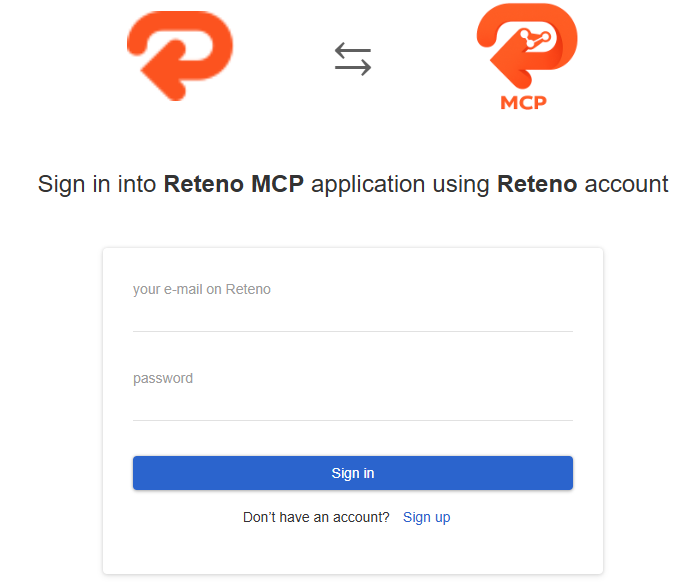
After authorization, click Open desktop app to return to Claude Desktop. You can also close the browser tab and return manually.
The connector uses Reteno account authorization. You do not need to enter a Reteno REST API key in Claude.
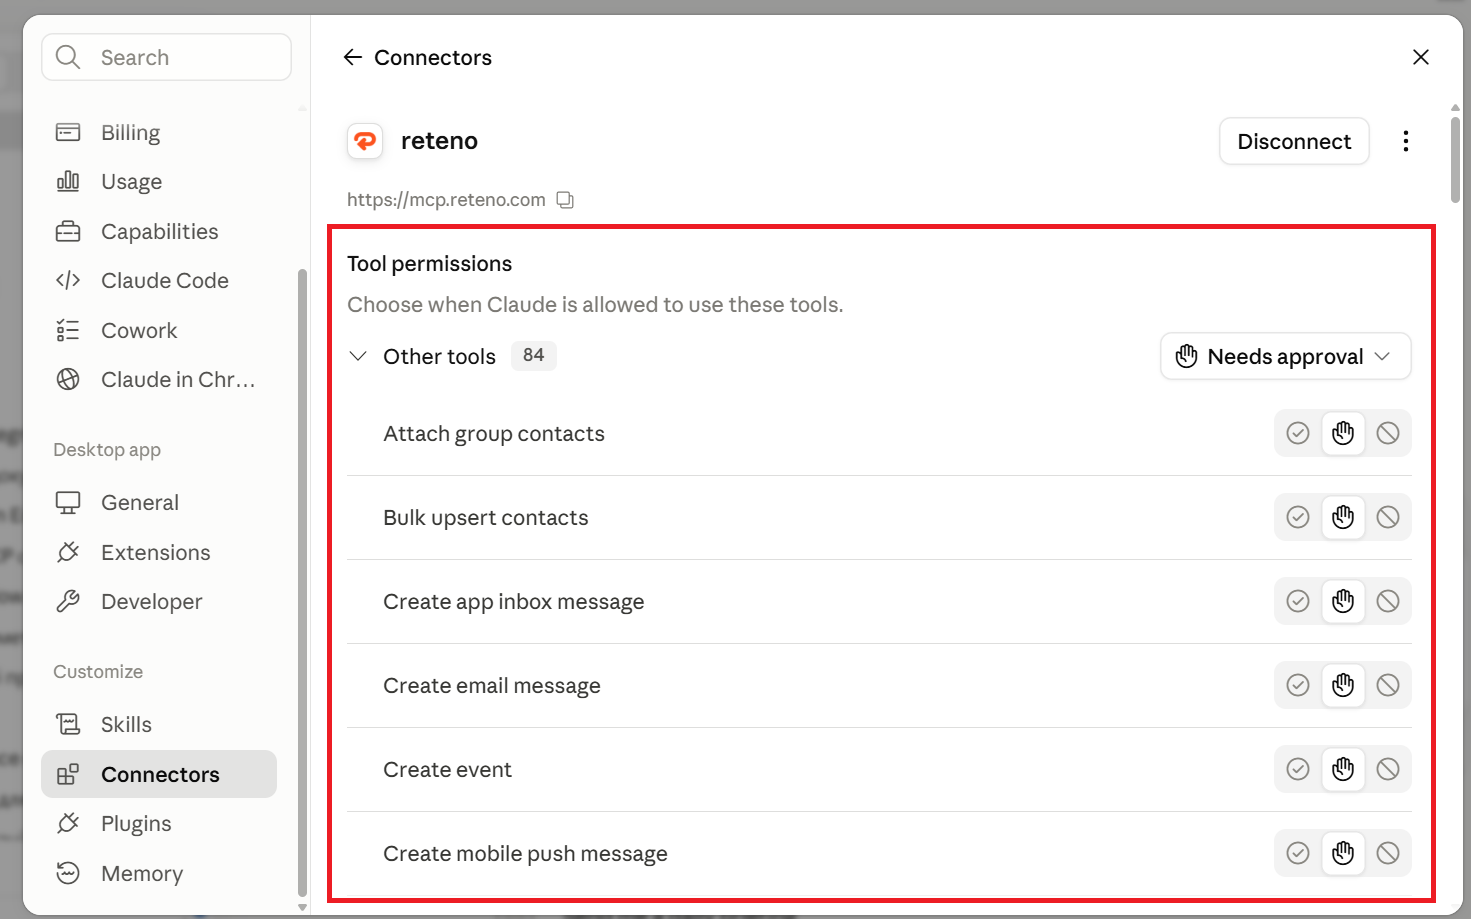
Tool Permissions
After connecting, you’ll see the available Reteno MCP tools. By default, Claude may ask for confirmation before using a tool.
You can set frequently used read-only tools to Always allow. Keep confirmation enabled for tools that create or update messages, contacts, workflows, or other account data unless broader access is approved by your organization.
Verify the Connection
Start a new Claude chat and ask:
Are any MCP servers connected?Claude should list the Reteno MCP server.
Next, test access to your Reteno account:
Use the Reteno MCP tools to show me my last 5 email templates.If Claude returns templates from your account, the connector is ready.
To check that the plugin skills are available, ask:
Which Reteno skills are installed?Claude should list:
reteno-email-editoremail-deliverabilityreteno-analyticsweb-funnel-analyzer
What to Do Next
Once the plugin is connected, describe the result you need rather than listing individual API calls.
Edit an Email Template
Use the reteno-email-editor skill.

Read email template ID 3935987, clone it, and translate the copy into German. Preserve the existing layout, dynamic variables, links, Unicode characters, and language-specific CSS. Show me a summary of the planned changes before updating the cloned template.
Audit Email Deliverability
Use the email-deliverability skill.

Audit the technical email deliverability setup of my Reteno organization. Check the Reteno configuration and run public SPF, DKIM, DMARC, MX, domain resolution, short-link domain, and SSL checks. Save the results as Markdown and JSON reports. Separate critical issues from recommendations.
Analyze Messaging Performance
Use the reteno-analytics skill.

Analyze all email campaigns from the previous calendar month. Rank them by Click Rate, include Sent, Delivered, Open Rate, Click Rate, CTOR, Conversion Rate, Bounce Rate, and Unsubscribe Rate, and exclude campaigns with fewer than 10,000 delivered messages.
Analyze an Onboarding Funnel
Use the web-funnel-analyzer skill.

Open the onboarding flow at the provided URL, capture each step, and summarize the screens, copy, required actions, and key conversion points. Save the findings as a reusable funnel brief for an onboarding email series.
For more examples and skill descriptions, see Integrating Reteno with AI Agents.
Troubleshooting
The Marketplace Cannot Be Added
Confirm that you entered the repository URL exactly as shown:
https://github.com/reteno-com/ai-pluginIf Claude still displays an error:
- Update Claude Desktop to the latest available version.
- Close and reopen the Add marketplace dialog.
- Restart Claude Desktop and try again.
- Confirm that your organization allows third-party plugin marketplaces.
- Check that your network can access GitHub.
The Reteno Plugin Does Not Appear
After adding the marketplace:
- Return to Customize → Plugins.
- Refresh the plugin list.
- Restart Claude Desktop if the marketplace was added during the current session.
- Check whether your organization restricts personal or third-party plugins.
The Reteno Connector Does Not Appear
Open the Reteno plugin card, click Manage, and check the Connectors section.
If the connector is still unavailable:
- Confirm that the Reteno plugin is installed.
- Restart Claude Desktop.
- Reopen the plugin settings.
- Check whether your organization restricts third-party connectors.
Authorization Is Complete, but Claude Cannot Use Reteno Tools
Restart Claude Desktop and start a new chat. Tools added during installation may not be available in an already open session.
Also confirm that:
- The Reteno connector shows as connected.
*.reteno.comis included in the allowed domains.- Network egress is enabled.
- You authorized the correct Reteno account.
Claude Can Read Data but Cannot Make a Change
Check the permission requested by Claude and the access rights of the connected Reteno user. The plugin cannot perform actions that are unavailable to that user.
Updated 2 days ago